?Do you ever finish a painting and wonder why the brushstrokes didn’t match your intention?

Top 5 Mistakes Artists Make When Using Paint Brushes
This article identifies the most common mistakes you make with paint brushes and gives practical, professional solutions you can implement immediately. You will gain actionable techniques for selection, loading, handling, and caring for brushes so your results become more consistent and controlled.
Introduction: Why brush technique matters
You may think skill alone determines the outcome of your painting, but brushes are the primary interface between your intention and the paint. Using the right brushes and treating them correctly often separates successful work from frustration and wasted materials.
You will find clear explanations, step-by-step fixes, and practice drills to correct each mistake. The emphasis is on reproducible behavior changes and small adjustments that deliver meaningful improvements to your process.
Quick summary table of the top 5 mistakes
The table below summarizes each mistake, the typical effect on your painting, and the core solution you can apply.
| Mistake | Typical effect | Core solution |
|---|---|---|
| 1. Wrong brush choice for medium or purpose | Poor control, unintended textures, inefficient working | Match brush type, shape, and size to medium and task |
| 2. Improper brush loading and paint consistency | Blotchy coverage, dripping, muddy colors | Learn correct loading techniques and adjust paint viscosity |
| 3. Poor handling and stroke technique | Stiff, unnatural lines; loss of fluidity | Work on angle, pressure, wrist vs arm movement |
| 4. Neglecting cleaning, shaping, and storage | Damaged bristles, reduced lifespan, inconsistent marks | Establish a cleaning and maintenance routine |
| 5. Over-reliance on one brush or misuse of brushes | Limited effects, ruined brushes, slow progress | Use a brush kit and assign brushes to specific tasks |
You should use this table as a quick reference while reading the detailed sections that follow. Implementation of the solutions requires structured practice, which you will find at the end of each mistake section.
How to read this guide
You will get a consistent structure for each mistake: an explanation, signs to watch for, practical corrections, practice exercises, recommended materials, and troubleshooting tips. This format will help you apply the advice directly in your studio practice.
You should keep this guide accessible until the improvements become habitual because small habits in brush use change the quality of your work dramatically over time.
Mistake 1: Choosing the wrong brush type, shape, or size
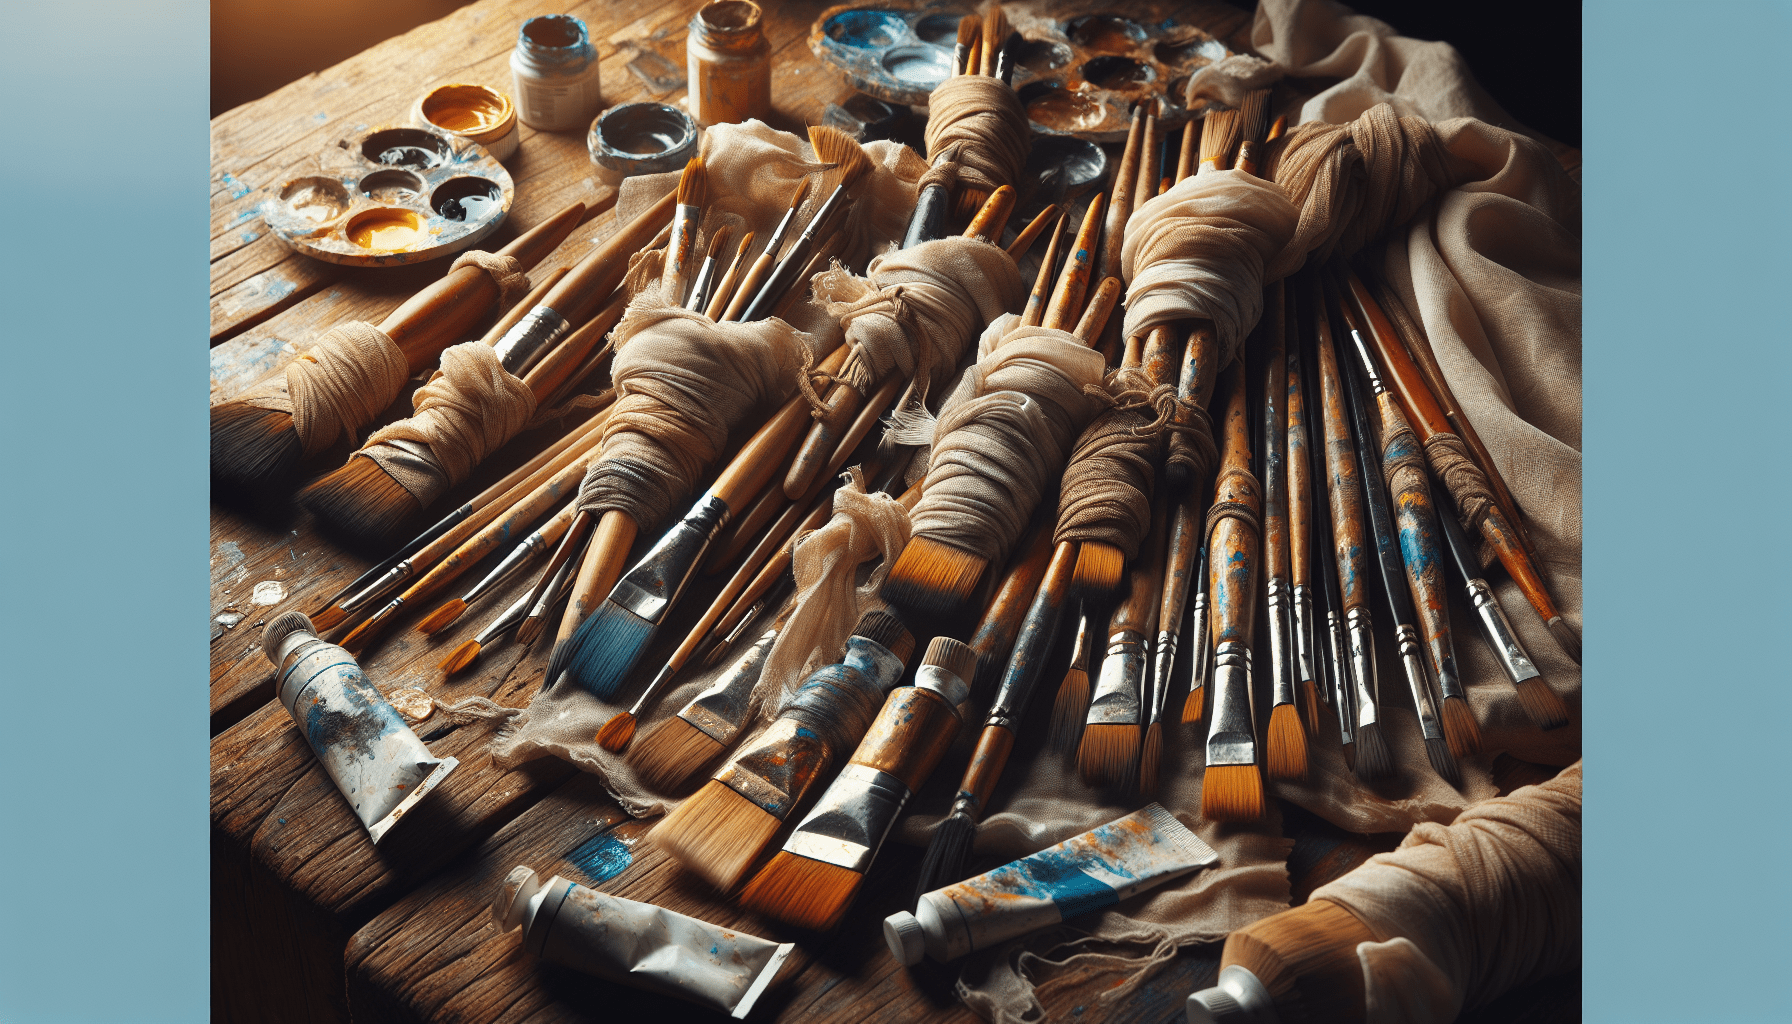
Many artists select brushes based on price, looks, or habit rather than matching the brush to the medium and task. The result is frustration: the brush doesn’t hold enough paint, it sheds, it won’t make the mark you expect, or it damages the surface.
You will benefit from understanding the basic categories—filbert, round, flat, bright, fan, mop, angular, and rigger—and how synthetic versus natural hairs behave in different media.
Why brush selection matters
Brush design directly affects the mark, paint holding capacity, responsiveness to pressure, and edge control. Using the wrong type forces compensations in technique that produce inconsistent or undesirable results.
You should think of each brush as a tool engineered for specific visual outcomes and physical demands. You will achieve better results by matching the tool to the required effect.
How to recognize this mistake
If you notice that small details look blobby, large washes are streaky, edges are uncontrollable, or hairs are constantly popping loose, you may be using the wrong brushes. Another sign is when you must constantly switch brushes because one cannot perform multiple tasks.
You should audit your brush kit: note which brushes consistently fail for tasks and which perform reliably. This informs purchases and replacement decisions.
How to fix it
Start by building a minimal, versatile kit tailored to your medium: a few synthetic flats for acrylics and heavy-body oils, a set of natural-hair rounds and mops for watercolors, and a couple of specialty bristles (rigger, fan) for detail and texture. Learn the intended use of each shape and keep a labeled compartment system.
You should purchase progressively: avoid buying many cheap brushes with no clear purpose. Instead, invest in one or two high-quality brushes suited to your usual working scale and medium.
Practice exercises
- Create a single sheet of studies showing the stroke range of one brush per page: full load, half load, thin glaze, edge stroke, drag stroke. Spend 10–15 minutes per brush.
- Paint the same small subject (a leaf, a cube) with three different brush shapes to observe differences in edge, texture, and speed.
You should track which brushes produce the most satisfying results for reproducible effects and gradually build your kit accordingly.
Recommended brushes by medium (table)
| Medium | Core brush shapes | Preferred hair |
|---|---|---|
| Watercolor | Round (sizes 2–10), mop, rigger | Sable/synthetic sable |
| Acrylic (thin to medium) | Flat, filbert, round, angular | Synthetic (nylon/TAI) |
| Heavy body oil | Filbert, bright, flat, rigger | Hog bristle / stiff synthetics |
| Ink/gouache | Round, rigger, wash brush | Synthetic or sable mix |
You should use this as a baseline but adjust to your personal technique and working scale.
Mistake 2: Improper brush loading and paint consistency
Loading a brush incorrectly is one of the most immediate problems you can correct to improve control and reduce waste. Overloaded brushes drip and make puddles; underloaded brushes skip and leave rough edges.
You must learn how to control the amount of paint your brush holds and how to adjust paint viscosity relative to your brush and surface.
Why loading matters
The amount and consistency of paint on the brush determine opacity, blending ability, and drying behavior. Proper loading produces cleaner edges, smoother transitions, and less color contamination.
You should view loading as a technical skill: mastering it reduces corrective work and gives you predictable outcomes.
How to recognize incorrect loading
Signs include paint pooling at the brush tip, frequent blotches, trailing tails of paint, or constant need to reload. You may also see inconsistent opacity across a wash or unwanted textures.
You should test load before applying to the final surface—apply a small stroke on scrap paper or canvas to verify the result.
How to fix it
Master three loading techniques: full-body load (for opaque coverage), edge load (for controlled edges and varying opacity), and belly load (for long, continuous strokes). Adjust paint thickness with medium or water as appropriate to your medium: thin acrylics with flow medium, dilute watercolors carefully, and bodying mediums for oils.
You should practice measuring: load the brush and predict how many consistent strokes you can make before reloading. This builds muscle memory for work sessions.
Step-by-step loading guide
- Dip the brush into the paint and rotate gently to work paint into the belly, not only onto the tip.
- Wipe the ferrule gently on the jar rim or palette to remove excess for controlled edge.
- Make a test stroke—if paint pools, blot some on the palette; if the stroke skips, add a small amount of medium.
- For gradations, load the tip with lighter pigment and the belly with stronger pigment for seamless transitions.
You should repeat these steps until the amount of paint you load correlates reliably with the number of strokes you can make.
Practice drills
- Load and make 10 consistent, even-length strokes without reloading. Increase brush size to make longer strokes.
- Create a three-stroke gradation by loading two colors on a full brush: maintain a smooth transition across the strokes.
You should evaluate each drill with a loupe or close inspection for pooling, feathering, and edge control.
Mistake 3: Poor handling and stroke technique
Brush handling determines the line quality and fluidity of your work. Using your wrist for long strokes or applying inconsistent pressure leads to uneven marks that distract from composition and form.
You must develop control of angle, pressure, and motion to make intentional marks rather than accidental ones.
Why technique matters
Your hand and arm mechanics affect the dynamics of the brush. Proper technique allows for consistent lines, smoother blending, and more expressive strokes while minimizing strain.
You should train both the fine motor control for detail and the larger arm movements for broad effects.
How to recognize poor technique
If your lines wobble, your edges are inconsistent, or you feel fatigue quickly, your technique likely needs work. Another sign is overcorrection: you press harder to compensate for weak lines and then create unwanted marks.
You should video record short sessions to analyze motion—playing them back reveals unconscious habits such as excessive wrist movement or gripping too tightly.
How to fix it
Adjust your grip: hold the brush further back for long, flowing strokes and closer to the ferrule for detail work. Use your whole arm for continuous straight lines and your wrist for small curves. Maintain a neutral wrist and a relaxed grip to increase precision and reduce tension.
You should practice different grip positions and alternate them deliberately during exercises to develop versatility.
Stroke mechanics breakdown
- Angle: 10–30 degrees for glazes and broad coverage; near vertical for precision.
- Pressure: Light pressure for thin lines; gradual increase yields thicker marks without splaying the bristles.
- Motion: Use elbow and shoulder for long strokes; wrist and fingers for small controlled movements.
You should annotate a practice sheet with the angle and pressure used for each stroke to build awareness.
Practice exercises
- Long-arm drill: Paint continuous lines across a large sheet using only your shoulder and elbow. Aim for consistent width and smoothness.
- Pressure gradation: On a single line, gradually increase pressure to produce a built-in taper and then reduce pressure to lift the brush cleanly.
You should repeat these drills daily for short sessions to develop muscle memory and reduce tension.

Mistake 4: Neglecting brush care, cleaning, shaping, and storage
Brushes are consumable tools that require maintenance; neglect accelerates wear and deforms bristles, making even good brushes perform poorly. Improper cleaning or storage can permanently damage the ferrule and glue holding the hairs.
You will extend brush life and maintain performance by establishing a simple, consistent care routine tailored to your medium.
Why maintenance matters
Proper cleaning prevents pigment buildup, splayed tips, and damaged ferrules. Caring for brushes saves money and ensures reliable performance, which contributes to the quality of your work.
You should integrate cleaning into your workflow, making it as routine as stretching a canvas or preparing your palette.
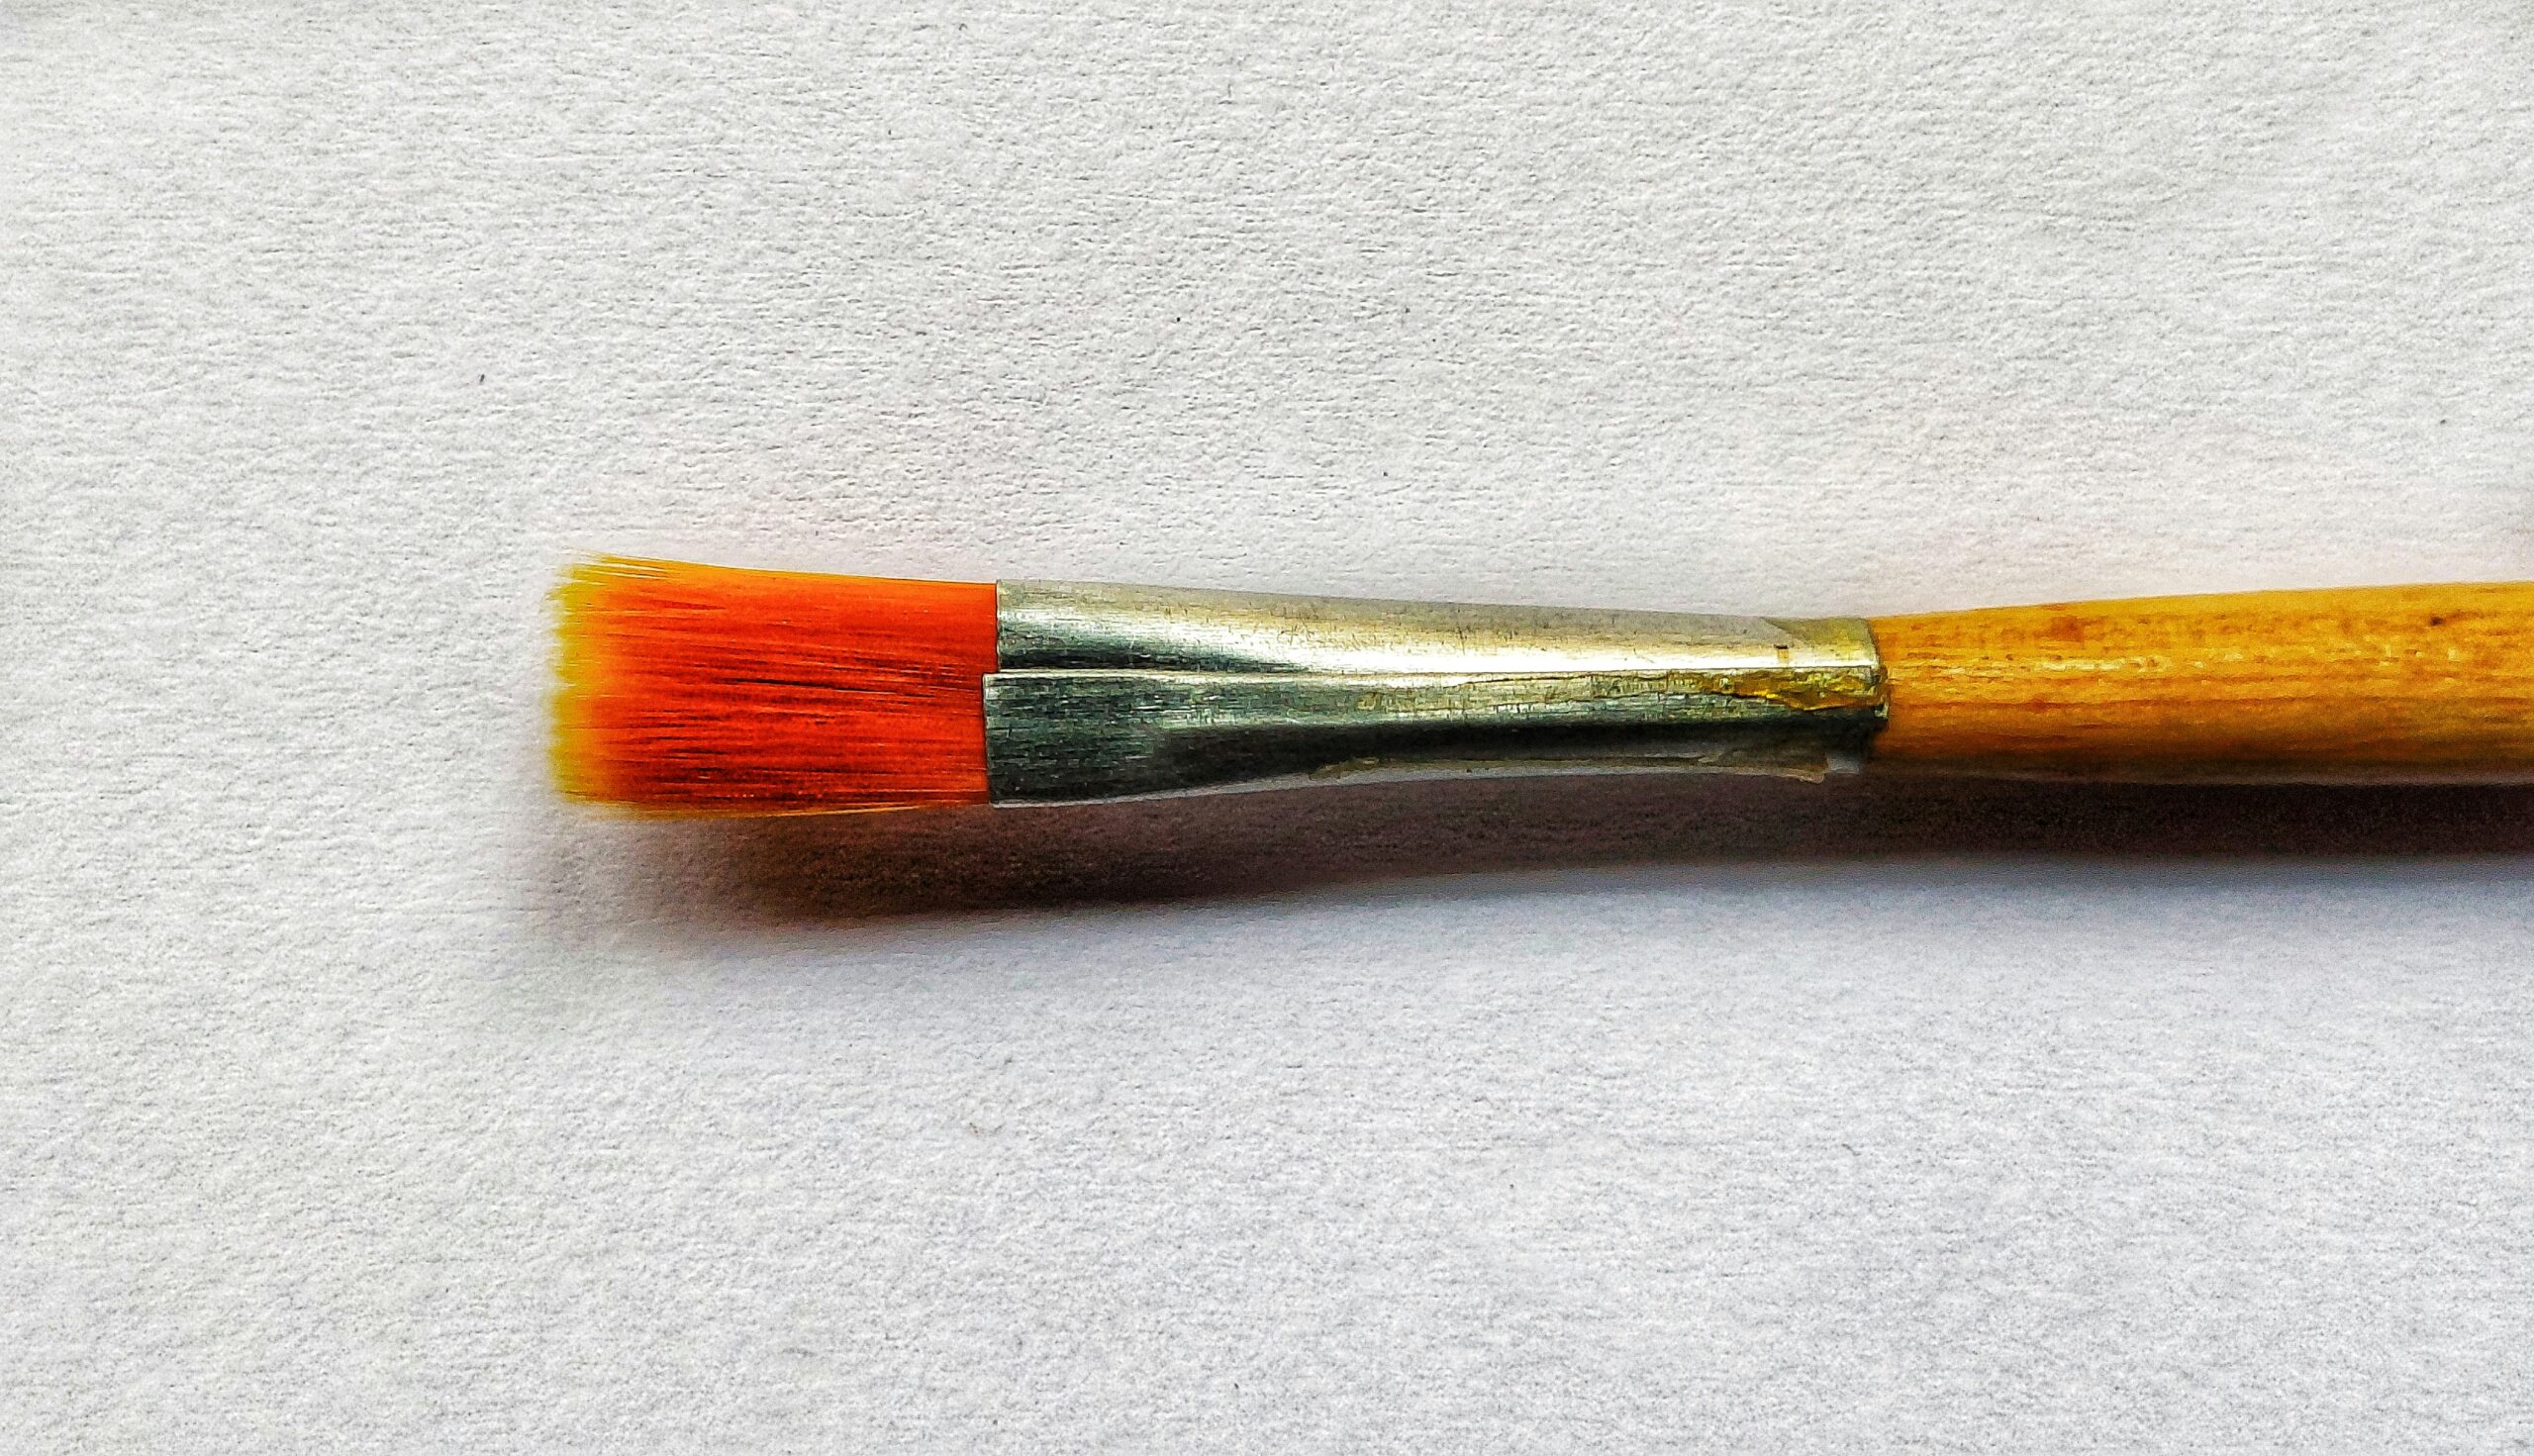
How to recognize poor maintenance
Bristles that lose their point, hairs that separate, stiffer or gummy textures, and rust around ferrules indicate neglect. If you find that brushes no longer return to shape after cleaning, replacement is imminent.
You should inspect brushes before each session to catch early signs of wear.
How to fix it
Clean brushes immediately after use using the appropriate solvent or cleaner: water for water-based media, odorless mineral spirits or alkyd cleaners for oils, and specialized brush soaps for thorough cleaning. Reshape the ferrule after cleaning, rinse thoroughly, and store brushes horizontally or bristle-up in a cup once dry.
You should avoid leaving brushes standing in solvent or water for extended periods because this weakens the glue and causes hair loss.
Step-by-step cleaning regimen
- Wipe excess paint on a rag or palette knife.
- Rinse briefly (water or solvent) to remove most pigment.
- Work a mild brush soap or cleaning solution into the bristles and lather gently.
- Rinse until water/solvent runs clear and reshape the tip with your fingers.
- Lay flat or hang with bristles down to dry fully; never use a heat source to speed up drying.
You should perform a periodic deep clean with a specialized cleaner for stubborn pigments and varnishes.
Brush care table: common issues and remedies
| Problem | Likely cause | Immediate fix |
|---|---|---|
| Splayed tip | Paint buildup or heat damage | Deep clean, reshape, compress gently |
| Bristles falling out | Old glue or solvent soak | Retire brush; avoid prolonged soaking |
| Stiff bristles | Residual paint | Use brush soap and conditioner |
| Rust at ferrule | Water left inside handle | Dry thoroughly, store horizontal |
You should replace brushes once maintenance no longer restores usable performance; continuing to use compromised brushes will harm your work.
Mistake 5: Over-reliance on one brush or misusing brushes across tasks
Many artists attempt to get away with a single “all-purpose” brush and expect it to handle everything from broad washes to fine lines. This compromises results and wears brushes unnecessarily. Similarly, using a brush intended for oil in water-based media (or vice versa) can degrade the brush quickly.
You will be more efficient and produce cleaner results when you assign brushes to roles and avoid cross-contamination.
Why specialization matters
A brush performs best when dedicated to tasks that match its characteristics—size, shape, hair type, and flexibility. Specializing reduces color contamination and preserves performance.
You should label or organize brushes by task (e.g., “glaze,” “detail,” “varnish”) to make specializations easy to maintain.
How to recognize misuse
If you find frequent color contamination, or if a brush loses its responsiveness after switching media, you’ll know misuse is occurring. Another indicator is frustration from repeatedly failing effects that would be simple with the right tool.
You should keep test strips next to your workspace to quickly see whether a brush is contaminated or unsuitable for a particular application.
How to fix it
Create sets: a detail set, a wash set, and a texture set. Label handles or store in separate cups or compartments so you never grab the wrong brush in the middle of a session. For varnishes and mediums, use dedicated old brushes to avoid contaminating your painting kit.
You should accept that some brushes are expendable for specific tasks like applying gesso, varnish, or texture pastes.
Examples of brush assignments
- Detail set: small rounds (sizes 0–4), rigger, small liner.
- Wash set: large synthetic flats, mops, soft-bristle washes.
- Texture/impasto: stiff hog bristle flats, palette knives for heavy texture.
- Medium-only: an old brush reserved for varnish or mediums.
You should maintain a small inventory of dedicated brushes to save time and protect your primary tools.
Practice: build an assignment chart
Make a simple chart mapping brushes to tasks and medium compatibility. Use it as a checklist before each session to assemble the correct kit. This small discipline reduces mid-session interruptions and improves consistency.
You should update the chart as your preferences or techniques evolve.
Common myths and troubleshooting
You will encounter persistent myths about brushes that impede progress and lead to bad habits. Addressing these myths helps you avoid wasted time and resources.
You should treat the information below as practical corrections to widely held but inaccurate beliefs.
Myth: More expensive brushes always perform better
Higher price often correlates with quality, but suitability for your technique and medium matters more than price alone. A mid-range brush that matches your style will outperform a premium brush that doesn’t.
You should test brushes when possible and buy only the ones that give you a consistent return on investment in terms of control and durability.
Myth: All natural hairs are superior
Natural hairs like sable excel for watercolors and soft edges, but synthetic options often outperform natural hair in durability, stain resistance, and cost-effectiveness for acrylics and heavy-body oils. In some cases, synthetics provide more spring and easier cleaning.
You should select hair type based on medium and workload rather than prestige.
Myth: You can repair a ruined brush
Minor reshaping is possible, but once glue fails or ferrule rusts, repair is rarely effective. Preventive care is more cost-effective than attempting to restore severely damaged brushes.
You should budget for replacement and retire brushes gracefully when they no longer perform.
Quick troubleshooting checklist
- If bristles splay: deep clean and reshape; if permanent, replace.
- If paint beads at ferrule: check for hardened paint inside ferrule—clean with solvent.
- If stiffness persists: use a brush conditioner and let it soak briefly.
You should treat recurring issues as process problems and adjust habits rather than attempting one-off fixes.
Maintenance schedule and recommended supplies
You will maintain brush performance with a simple schedule and a small set of supplies. Regular and correct maintenance prevents many common problems.
You should acquire the following supplies and follow the recommended cadence.
Maintenance schedule table
| Frequency | Task |
|---|---|
| Daily | Clean brushes immediately after each session; reshape and air dry |
| Weekly | Deep clean stubborn paint with brush soap or specialized cleaner |
| Monthly | Inspect handles and ferrules; remove rust, tighten if necessary |
| Quarterly | Replace frequently used brushes showing permanent wear |
You should adapt frequency to your workload and media—heavy impasto or solvent use requires more frequent checks.
Recommended supplies
- Mild brush soap or glycerin-based cleaner
- Odorless mineral spirits or specialized oil brush cleaner (for oils)
- Soft cloths and a jar for solvents (with lid)
- Brush roll or divided storage for drying and storage
- Brush conditioner for natural hairs
You should keep a small sink or cleaning station with good lighting to perform care tasks efficiently.
Exercises to accelerate improvement
You will improve faster by working with intent and measurable drills rather than random painting. The exercises below are designed to build skill areas associated with common mistakes.
You should practice them routinely and track progress by keeping dated sheets in a sketchbook.
Week-long focused practice plan
- Day 1: Brush selection trials — make samples with each brush in your kit and annotate results.
- Day 2: Loading exercises — full, belly, and edge loads; measure stroke consistency.
- Day 3: Technique drills — long-arm lines, pressure gradations, and shape control.
- Day 4: Cleaning and maintenance — deep clean all brushes and document before/after performance.
- Day 5: Assignment test — complete a small study using dedicated brush sets from start to finish.
- Day 6: Solve one persistent problem identified earlier (e.g., muddy mixes) with deliberate changes.
- Day 7: Project day — apply learned skills to a finished small piece and compare with past work.
You should repeat the plan with increasing complexity after two weeks to build mastery.
Frequently asked questions
You will likely have questions about transitioning habits and purchasing decisions; the brief answers below give straightforward guidance.
You should consult manufacturer instructions and trusted peers for medium- or brand-specific advice.
Can I use one brush for both acrylic and oil?
It is possible but not recommended. Acrylic can stiffen bristles and contaminate oils, while oil solvents can damage synthetic brushes intended for acrylics. Keep separate sets for each medium.
You should label or color-code brushes when using multiple mediums to avoid cross-contamination.
How often should I replace my brushes?
Frequency depends on use intensity and care quality. With good care, a well-made brush can last months to years; neglect can ruin brushes in days. Replace when cleaning no longer restores a proper tip and responsiveness.
You should budget for regular replacement in your studio expenses.
Are synthetic brushes suitable for detail work?
Yes. Modern synthetic brushes can hold a fine point and are especially durable for detail work in acrylics and water-based media. They’re also easier to clean and less expensive than high-end natural hair.
You should try mixed sets to evaluate which hairs suit your touch.
Conclusion: Apply small changes for big results
You will make significant progress by addressing these five mistakes with disciplined, focused changes in selection, loading, handling, maintenance, and brush assignment. Small habitual improvements compound into clearer marks, cleaner color, and less frustration.
You should implement the practice plan and adopt the maintenance schedule to make these improvements permanent. With consistent attention to these fundamentals, your brushes will become reliable partners in translating your creative intent into finished work.