? Do you want your new artist brushes to perform reliably from the first stroke so your work reflects skill rather than equipment glitches?

How To Break In New Artist Brushes for Better Performance
You will learn practical, step-by-step methods to break in new artist brushes so they behave predictably, retain their shape, and deliver the control you expect. This guide covers brush anatomy, differences among bristle types, safe preparation techniques, media-specific routines, troubleshooting, and maintenance for long-term performance.
Why breaking in new brushes matters
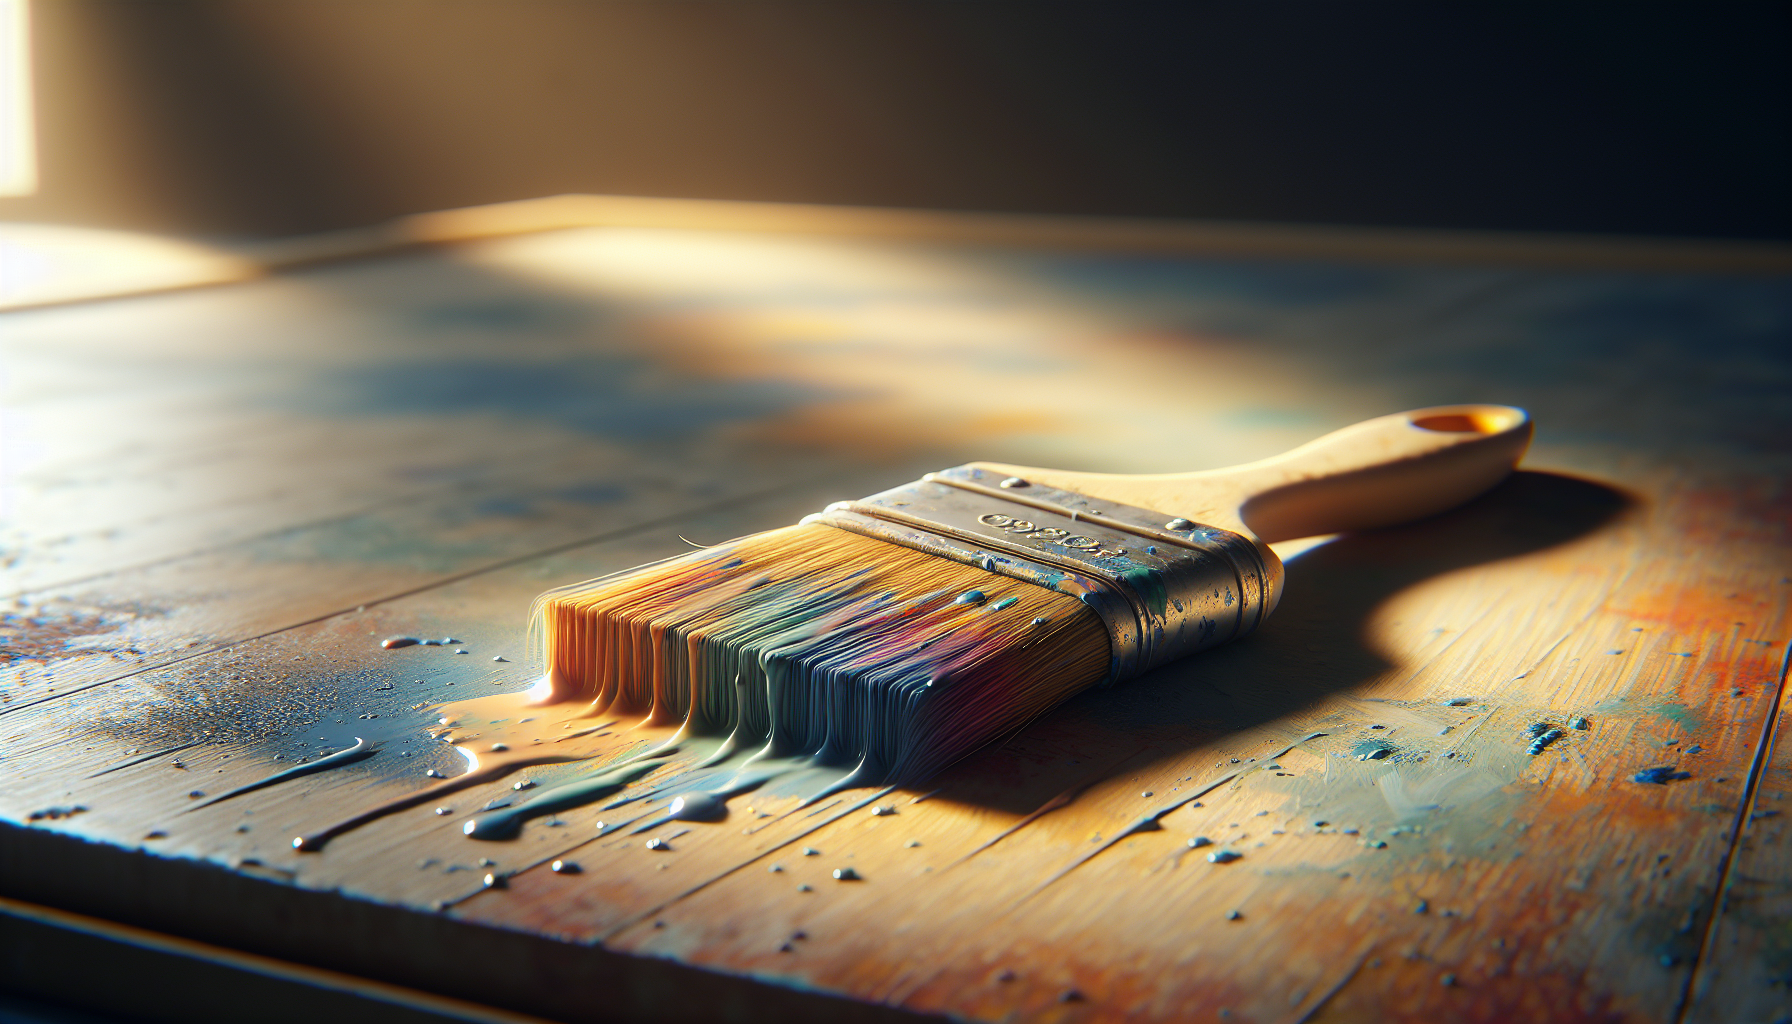
New brushes often contain manufacturing sizing, adhesives, or residual oils that alter water absorption, stiffness, and point retention. If you use them straight out of the package, you may encounter poor paint pickup, irregular strokes, limp tips, or unwanted shedding. Breaking in is the process of removing or conditioning those residues and aligning bristles so your brush behaves consistently.
What you should expect after breaking in
A properly broken-in brush will pick up and release paint evenly, retain a fine point or edge, respond to pressure changes, and show minimal shedding. The process rarely needs harsh modification; most brushes only require gentle cleaning, reshaping, and a short usage period before they reach optimal performance.
Understanding brush anatomy and materials
Knowing the construction of your brush helps you choose the right breaking-in method. Each component influences the brush’s behavior.
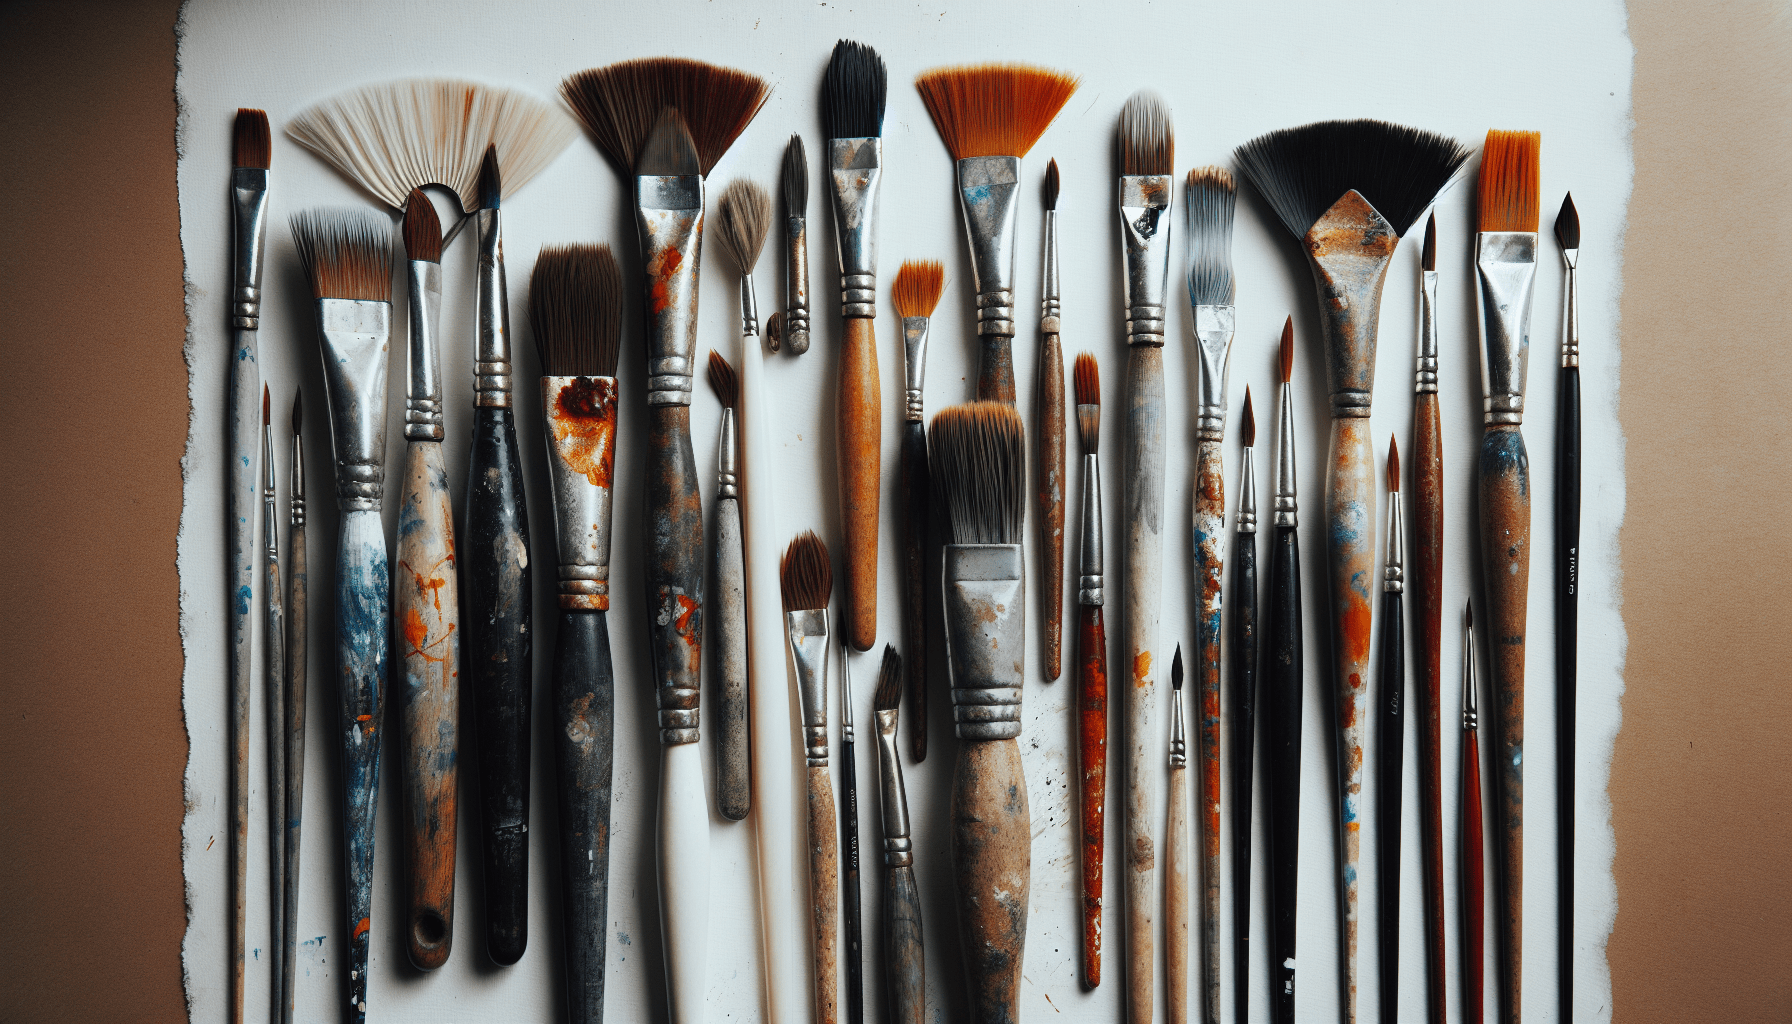
Brush anatomy: parts that affect performance
You will recognize these basic parts: the handle, ferrule (metal band), bristles or filaments, and glue/sizing inside the ferrule. The ferrule secures bristles; adhesives and sizing help maintain shape during shipping but can interfere with paint flow and absorbency until removed or softened.
Bristle and filament types: characteristics and behavior
Different hair and synthetic materials respond differently to breaking-in and to specific media. You should match your method to the material to avoid damage.
| Bristle/Filament Type | Typical Use | Key Characteristics | Breaking-in Notes |
|---|---|---|---|
| Kolinsky sable (natural) | Watercolor, fine detail | Excellent water retention, fine point, springy | Remove excess sizing gently; avoid harsh heat or solvents |
| Sable blends / red sable (natural blends) | Watercolor, acrylic glazing | Good absorbency, durable | Gentle cleansing recommended |
| Hog bristle (natural) | Oil, heavy-bodied acrylic | Stiff, good for impasto | May need loosening for flexibility; remove factory starch |
| Taklon / nylon (synthetic) | Acrylic, watercolor, oils (some) | Resilient, low water retention (varies) | Heat shaping and trimming optional; may need tip refinement |
| Synthetic-sable blends | Versatile | Combines spring and durability | Break-in similar to synthetics with careful shaping |
Initial inspection and preparation
Before you take any action, inspect the brushes and plan your method.
What to check on arrival
You should inspect bristle alignment, look for humps of glue inside the ferrule, check for shedding when you tug lightly, and confirm intended shape and size. Note whether handles are varnished and whether any protective packaging has compressed the tip.
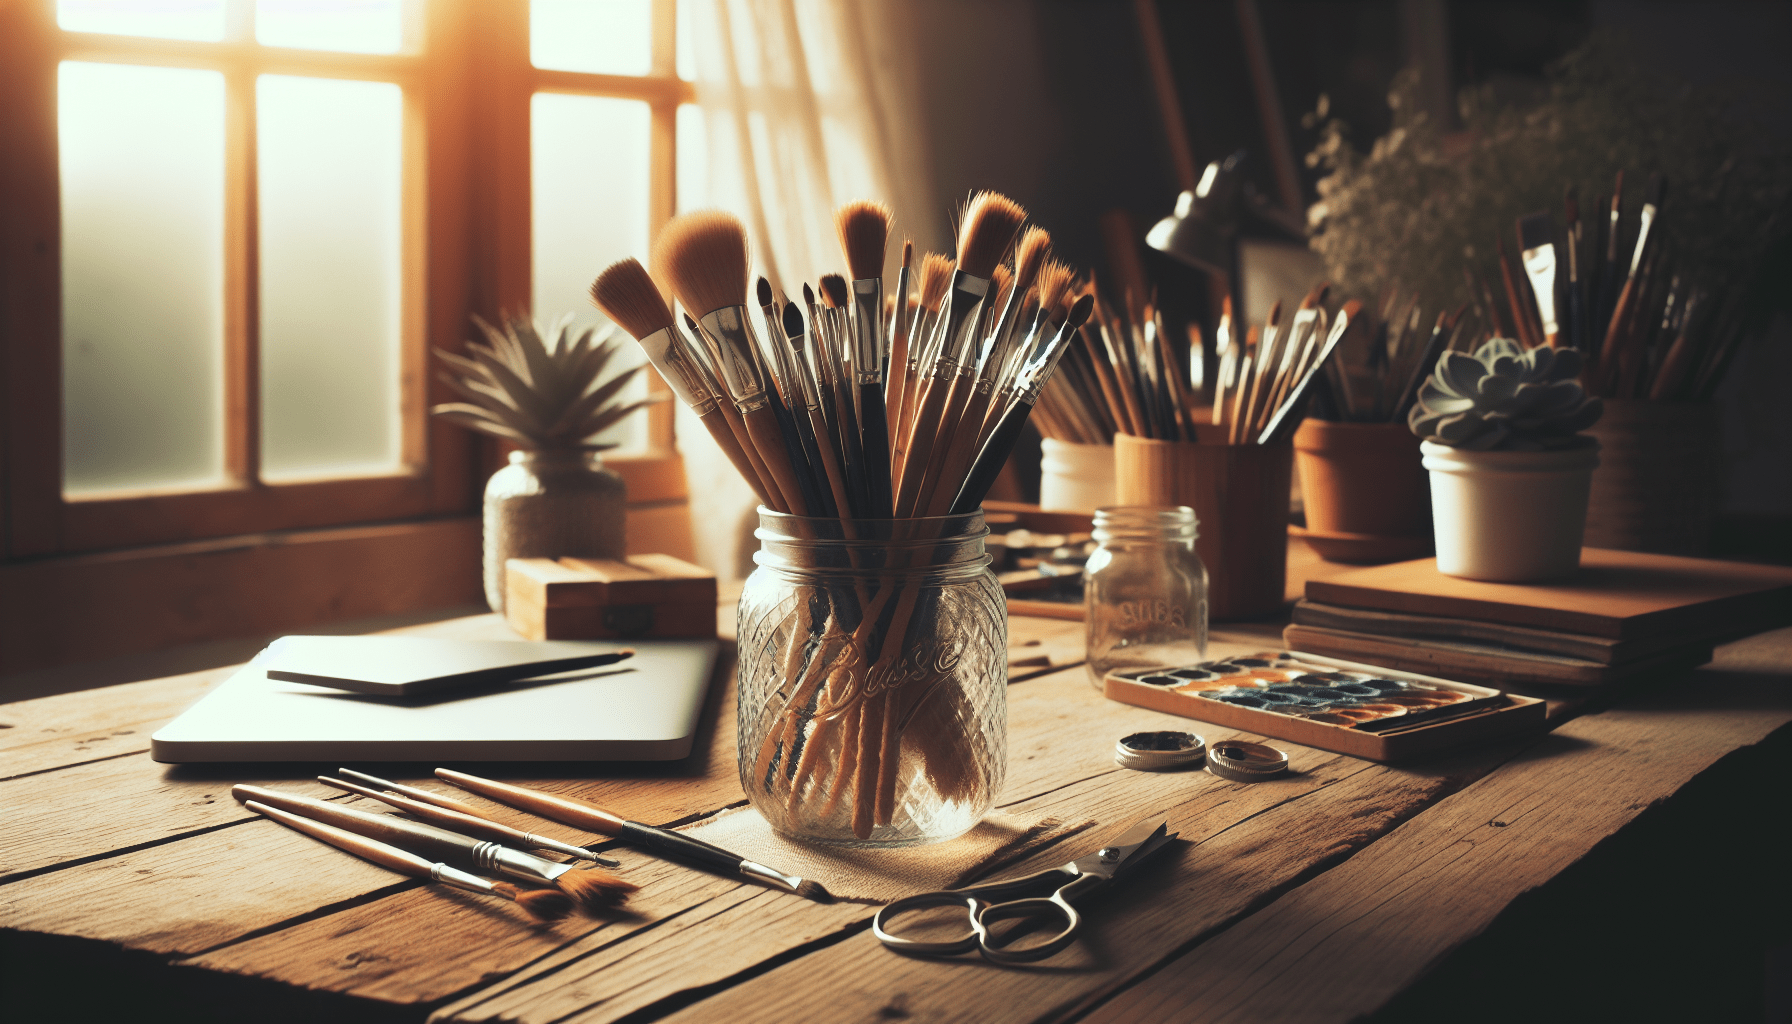
Gather supplies before you start
Prepare a clean workspace and these items: warm water, mild dish soap or specialized brush soap (e.g., Masters or gentle glycerin soap), a container for solvents (for oil brushes), a soft cloth, an old towel, a gentle comb or brush cleaner rake, and optionally a brush restorer or conditioner. Ensure good ventilation when using solvents.
Safe first cleaning to remove manufacturing residues
First cleaning removes starches, sizing, waxes, or oils added during manufacturing. The method will depend on brush material and intended medium.
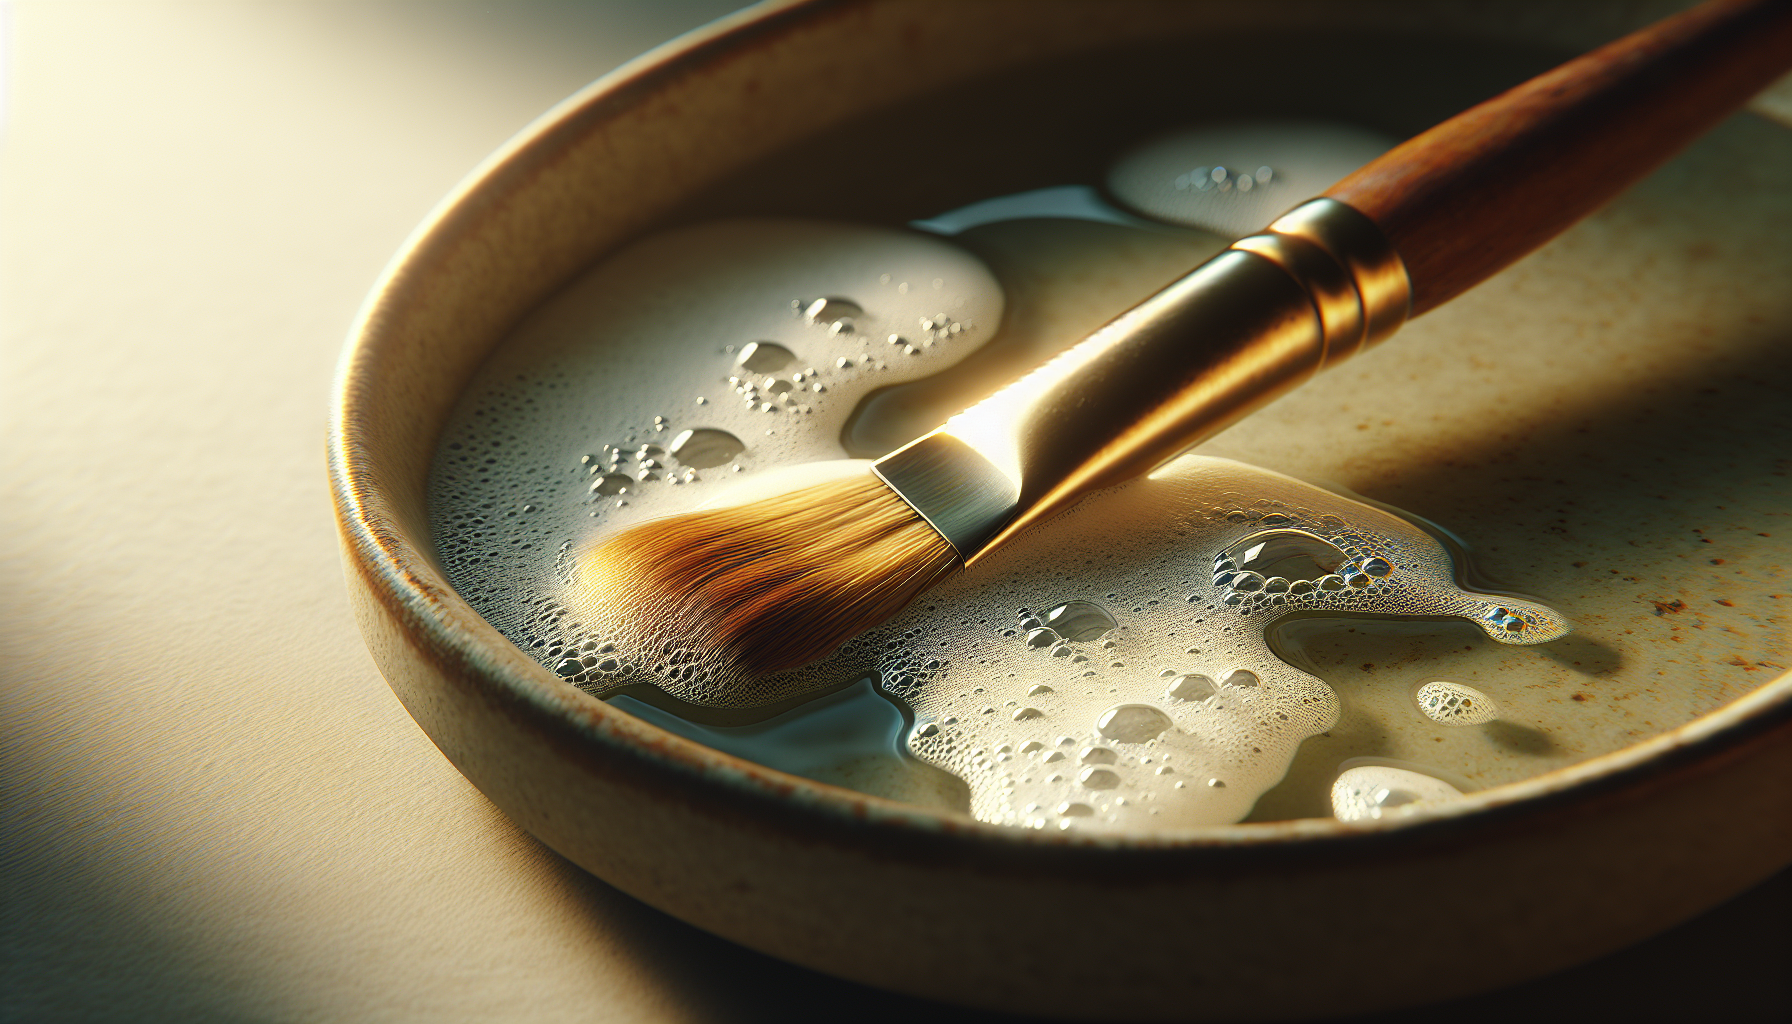
General wet-clean routine (all-purpose, safe)
You should begin with this safe sequence for most new brushes:
- Rinse bristles under lukewarm running water, pointing downward so water does not run into the ferrule.
- Apply a small drop of mild soap to the bristles and gently work it from ferrule to tip; avoid pushing soap into ferrule.
- Massage the bristles with your fingers to loosen residues; for stiff or long brushes, use a rubber brush comb or a sueded patch.
- Rinse thoroughly until the water runs clear.
- Reshape the point with your fingers and blot excess water on a clean towel.
This routine removes surface sizing and allows you to evaluate whether further steps are necessary.
Add-ons for oil brushes (solvent-safe step)
Because oil brushes can carry manufacturing oils and pigments, you should perform a solvent soak before soap washing:
- Swirl bristles briefly in a small jar of low-odor mineral spirits or artist-grade solvent—no more than 30–60 seconds for most brushes.
- Press the bristles against the jar’s side to dislodge residues, then transfer to warm soapy water and follow the general wet-clean routine.
- Rinse thoroughly, reshape, and dry.
Always use solvents in a well-ventilated area and wear gloves if needed.
Gentle approach for natural-hair watercolor brushes
For Kolinsky and other watercolor brushes, you should avoid prolonged soaking and heated methods:
- Rinse in warm water to soften and remove sizing; avoid boiling or high heat.
- Use a few gentle strokes on soap and rinse quickly.
- Form the tip with your fingers and allow to dry upright (bristles up) inside a cup or with a protector to preserve the point.
Methods to mechanically break in and shape bristles
After cleaning, you will often need to shape and align bristles. These methods refine the tip and establish spring.
Finger rolling and pointing
You should shape the brush by rolling it between your fingers while pointing the tip downward. This aligns filaments and reforms the point. Repeat until the tip feels cohesive and responsive. For round and pointed brushes, repeated pointing during painting further improves the point.
Pull-through or combing
Use a rubber brush comb or a fine-toothed comb to gently pull along the bristles from ferrule to tip. This removes tangles and aligns filaments. Work gently with natural-hair brushes to avoid breakage.
Heat shaping for synthetics (controlled and cautious)
Some synthetic filaments respond to heat, which temporarily softens internal bonding and allows you to taper the tip more finely. If you choose this:
- Heat water to just-below boiling; remove from heat and let sit ~30 seconds.
- Dip the synthetic brush tip into hot water for 3–8 seconds while holding the ferrule safely away from water.
- Form the point with fingers while warm, then cool in clean water to set.
- Avoid direct flames, high temperatures at the ferrule, and excessive heat exposure.
Only use this on synthetics and follow manufacturer guidance; do not heat natural hairs.
Tip refinement and selective trimming
In rare cases, if a synthetic brush has an imperfect tip, you may trim a few stray filaments to create a cleaner point. Do this conservatively:
- Dry the brush and comb the tip into a precise point.
- Use sharp barber scissors and trim single stray fibers only—never remove bulk material.
- Re-clean and reshape after trimming.
Trimming natural-hair brushes is not recommended unless performed by a professional.
Media-specific break-in protocols
Different painting media require distinct preparation because they affect absorbency, stiffness, and surface wear.
Watercolor brushes (natural and synthetic)
Watercolor relies on absorbency and a fine point. Your goal is to ensure even water pick-up and release.
Protocol:
- Rinse thoroughly in warm water to remove any sizing.
- Work a mild soap into the ferrule area briefly if water beads; rinse until water penetrates evenly.
- Load with water and make several test strokes on blotting paper, repeating until water release is even and the point is consistent.
- If the brush remains resistant to water, repeat the soap step but avoid long soaks.
Watercolor brushes often improve rapidly with a few hours of active use.
Acrylic brushes (synthetic or mixed fibers)
Acrylic paints can stiffen and degrade bristles if not prepared correctly. Your aim is to ensure good paint pickup and prevent premature stiffening.
Protocol:
- For synthetics, perform the general wet-clean routine.
- After drying, run the brush in a diluted acrylic medium or glaze on the palette to simulate working conditions; make test strokes.
- Use the brush repeatedly with water and medium to wear off any surface coating that impairs pickup.
- Clean promptly after each session using water and brush soap to prevent acrylic from drying in the ferrule.
Synthetic filaments tolerate more mechanical conditioning than natural hairs.
Oil brushes (hog bristle and synthetics)
Oil requires thorough solvent cleaning initially and after each session.
Protocol:
- Swirl briefly in mineral spirits to remove factory oils.
- Wash with warm water and soap; repeat solvent wash if necessary.
- Use oil paints in short strokes on canvas or primed board, then clean thoroughly with solvent and soap.
- Regularly condition hog bristle with a small amount of linseed oil only when reconditioning (avoid leaving oil in the ferrule).
Hog bristle will soften with repeated use and tend to reach optimal flexibility after several painting sessions.

Cleaning, conditioning, and drying for longevity
Ongoing maintenance is the most important factor in brush performance.
Cleaning after each painting session
You should remove all paint before it dries in the ferrule:
- Water-based (acrylic, gouache): Rinse under lukewarm water, use soap and massage until water runs clear.
- Oil-based: Wipe excess paint, then use a solvent rinse followed by soap and water.
- Watercolor: Rinse thoroughly and reshape.
A final rinse, shape, and blotting on an absorbent towel will prepare the brush for drying.
Conditioning to maintain softness and elasticity
Occasional use of a brush conditioner or a dab of hair conditioner can restore flexibility to natural hair brushes. Apply sparingly, rinse, and reshape. For hog bristle, occasional very light linseed oiling can maintain pliability but avoid leaving oil in the ferrule.
Drying and storage
You should dry brushes horizontally or with bristles up depending on the brush and storage available:
- Long-handled brushes: Lay flat on a towel to dry. This prevents water from creeping into the ferrule and loosening adhesive.
- Short-handled watercolor brushes: Storing bristles up in a cup is acceptable after they have mostly drained, or use a protective point cover.
- Avoid drying with bristles down in a cup as this can deform the point. After drying, store brushes in a clean, dry place with points protected, preferably standing with bristles up or in a case.
Troubleshooting common problems
Even with proper breaking-in, challenges can arise. You can solve most issues with targeted fixes.
Splayed or frayed tip
Cause: dried paint, improper drying, or poor initial shaping. Fix: Clean thoroughly, reshape gently, roll between fingers to reform the tip. For irreversible fray, trim minimal stray fibers.
Loss of point or limp spring
Cause: excessive water or oil in ferrule, or too much pressure during shaping. Fix: Clean and dry properly; for natural-hair brushes, use a conditioning dip and allow to dry in correct orientation. Frequent light use will often restore spring.
Shedding or short-term fiber loss
Cause: loose manufacturing glue or rough cleaning. Fix: If shedding persists after gentle cleaning, return the brush if possible. For minimal initial shedding, break-in will usually stop shedding after two to three sessions.
Hardened, crusted paint near ferrule
Cause: dried paint allowed to accumulate. Fix: Soften with appropriate solvent (mineral spirits for oil; water for acrylic), then gently work with your fingers and soap. Avoid banging the ferrule to remove paint; use a small brush comb near the ferrule.
Tools and products that improve breaking-in and maintenance
Having the right tools speeds the process and reduces accidental damage.
| Tool/Product | Purpose | When to Use |
|---|---|---|
| Mild dish soap or artist brush soap | Cleans and preserves oils | After initial purchase and after each use |
| Masters Brush Cleaner & Preserver (or similar) | Deep cleaning, conditioning | Occasional deep clean for heavy use brushes |
| Mineral spirits / turpentine / low-odor solvent | Remove oils and oil paint | Initial oil brush prep and oil cleanup |
| Rubber brush comb / fine-tooth comb | Aligns bristles, removes tangles | During shaping and routine cleaning |
| Brush protector / point cover | Keeps tip safe during storage | Long-term storage or transport |
| Clean soft cloths or microfiber towels | Blotting and drying | After rinsing and shaping |
| Small jar for solvents | Controlled cleaning | Oil brush work; keep solvents separate from potable containers |
Step-by-step break-in protocols (quick reference)
Below are concise, numbered protocols tailored to your medium. Follow them for efficient conditioning.
Watercolor brush protocol (pointed and round)
- Rinse in lukewarm water until initial beads or sizing are removed.
- Lather gently with mild soap and rinse.
- Reshape into a point and test on blotting paper, repeating until water release is even.
- Dry bristles vertically with tips up in a cup or use a point protector.
Acrylic brush protocol (synthetic/mixed)
- Wash in warm water with dish soap to remove factory coatings.
- Run the brush through a diluted acrylic medium on the palette to simulate painting.
- Make several test strokes; repeat washing if water resist remains.
- Clean thoroughly after use to prevent dried acrylic damage.
Oil brush protocol (hog bristle and synthetic)
- Swirl bristles briefly in mineral spirits to remove factory oil.
- Wash in warm water and soap; repeat if necessary.
- Paint several short strokes using a heavy-bodied oil to establish spring.
- Clean with solvent then soap; store flat until dry.
Timeline: how long will breaking in take?
Expect initial improvements immediately after the first wash and shaping. For many brushes, satisfactory performance arrives within a few painting sessions (2–10 hours of use). Hog bristle and some synthetics may require more time to soften and adapt to pressure; hog bristle often reaches optimal feel after several weeks of regular use.
Best practices and mistakes to avoid
You will protect your brushes and improve their life span by following these guidelines.
Best practices
- Clean brushes immediately after use—dried paint is the primary cause of damage.
- Use appropriate solvents for the medium; never use harsh chemicals unnecessarily.
- Store brushes with points protected to avoid deformation.
- Use gentle shaping methods rather than aggressive trimming or heat on natural hair.
- Rotate brushes during a session to reduce wear on any single tool.
Mistakes to avoid
- Never soak brushes for extended periods with water or solvent; prolonged exposure weakens glue.
- Avoid boiling natural-hair brushes—extreme heat damages cuticles and adhesives.
- Don’t leave bristles pointing down while drying—this encourages water into the ferrule.
- Avoid excessive force when combing or aligning bristles to prevent breakage.
When to retire or replace a brush
You should consider retirement when:
- The brush has lost natural spring and cannot be restored.
- The majority of filaments are permanently splayed or split.
- The ferrule is loose, corroded, or the handle is damaged.
- Shedding becomes excessive and persistent.
Investing in quality replacements is more cost-effective than attempting repeated repairs on a compromised tool.
Frequently asked questions
You will likely have specific concerns. Here are answers to common queries.
Q: Can I use dish soap to break in all brushes? A: Yes. Mild dish soap or artist brush soap works for most brushes. For oil brushes, combine solvent pre-wash with soap.
Q: Is it safe to use boiling water on synthetic brushes? A: Use caution. Near-boiling water can help reshape some synthetics, but avoid submerging the ferrule or repeated high-heat exposure. Test on a single inexpensive brush first.
Q: Will trimming the bristle tip ruin a brush? A: Conservative trimming of stray filaments on synthetic brushes can refine the tip. Never remove large amounts or trim natural-hair brushes unless performed by a professional.
Q: How often should I condition natural-hair brushes? A: Condition sparingly—perhaps once every few months with a small amount of specialized conditioner or hair conditioner if usage is frequent. Over-conditioning can leave residues.
Q: Can you restore a hardened brush? A: Hardened brushes can often be softened using appropriate solvents and brush restorers, but success depends on how long paint has been allowed to set and the brush quality.
Final recommendations for consistent performance
To maximize the value and performance of your brushes:
- Invest in quality brushes appropriate to your medium; better materials respond more predictably to breaking-in and maintenance.
- Spend a few minutes breaking in each new brush before using it on a final piece—this saves time and frustration.
- Establish a simple cleaning routine after each painting session to prolong life and maintain performance.
You will find that a modest investment of time in breaking-in and regular care yields brushes that respond consistently, maintain their points longer, and let you focus on technique rather than equipment. Use the protocols above as a reference for each purchase, and adapt them based on your experience with specific brush lines.