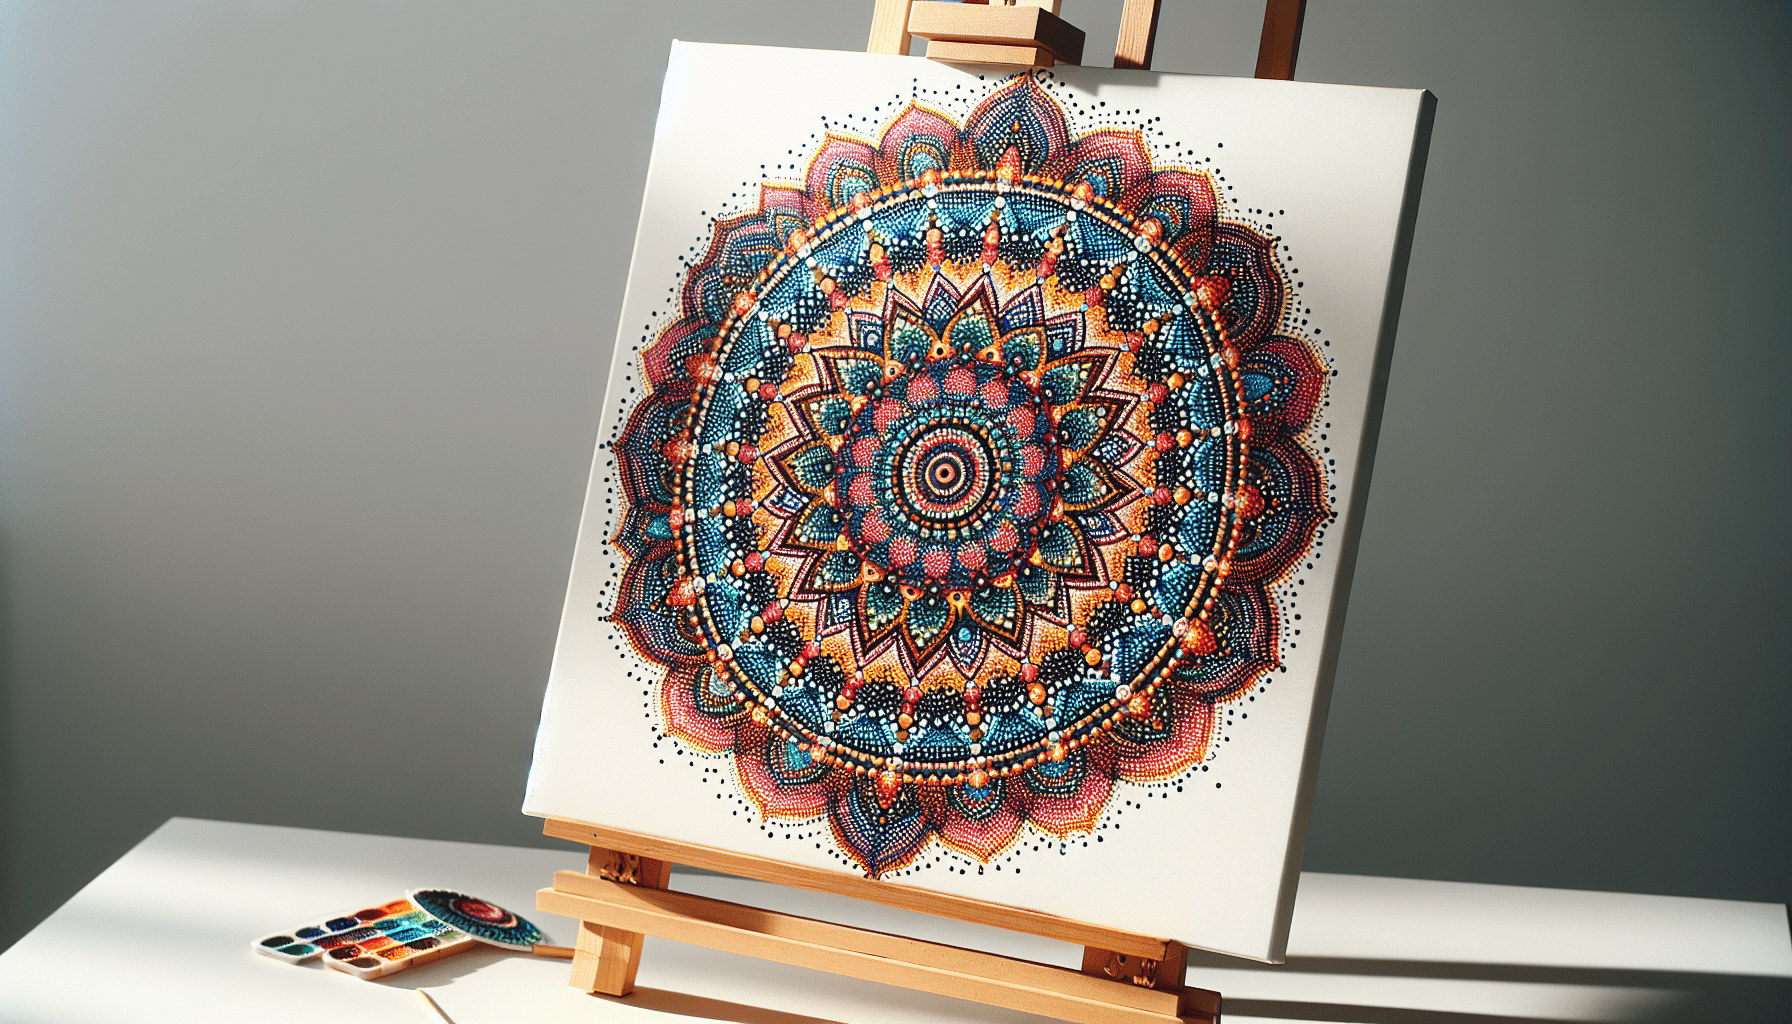
Have you ever gazed at intricate and colorful mandala designs and wondered about the process behind their creation, particularly when they are crafted through the art of dot painting? Mandala dot painting is a fascinating and meditative art form combining both precision and creativity, resulting in stunning visual patterns that captivate the senses and soothe the mind. This article will guide you through the nuances of mandala dot painting, explaining everything from the basic tools required to advanced techniques.

Understanding Mandala Dot Painting
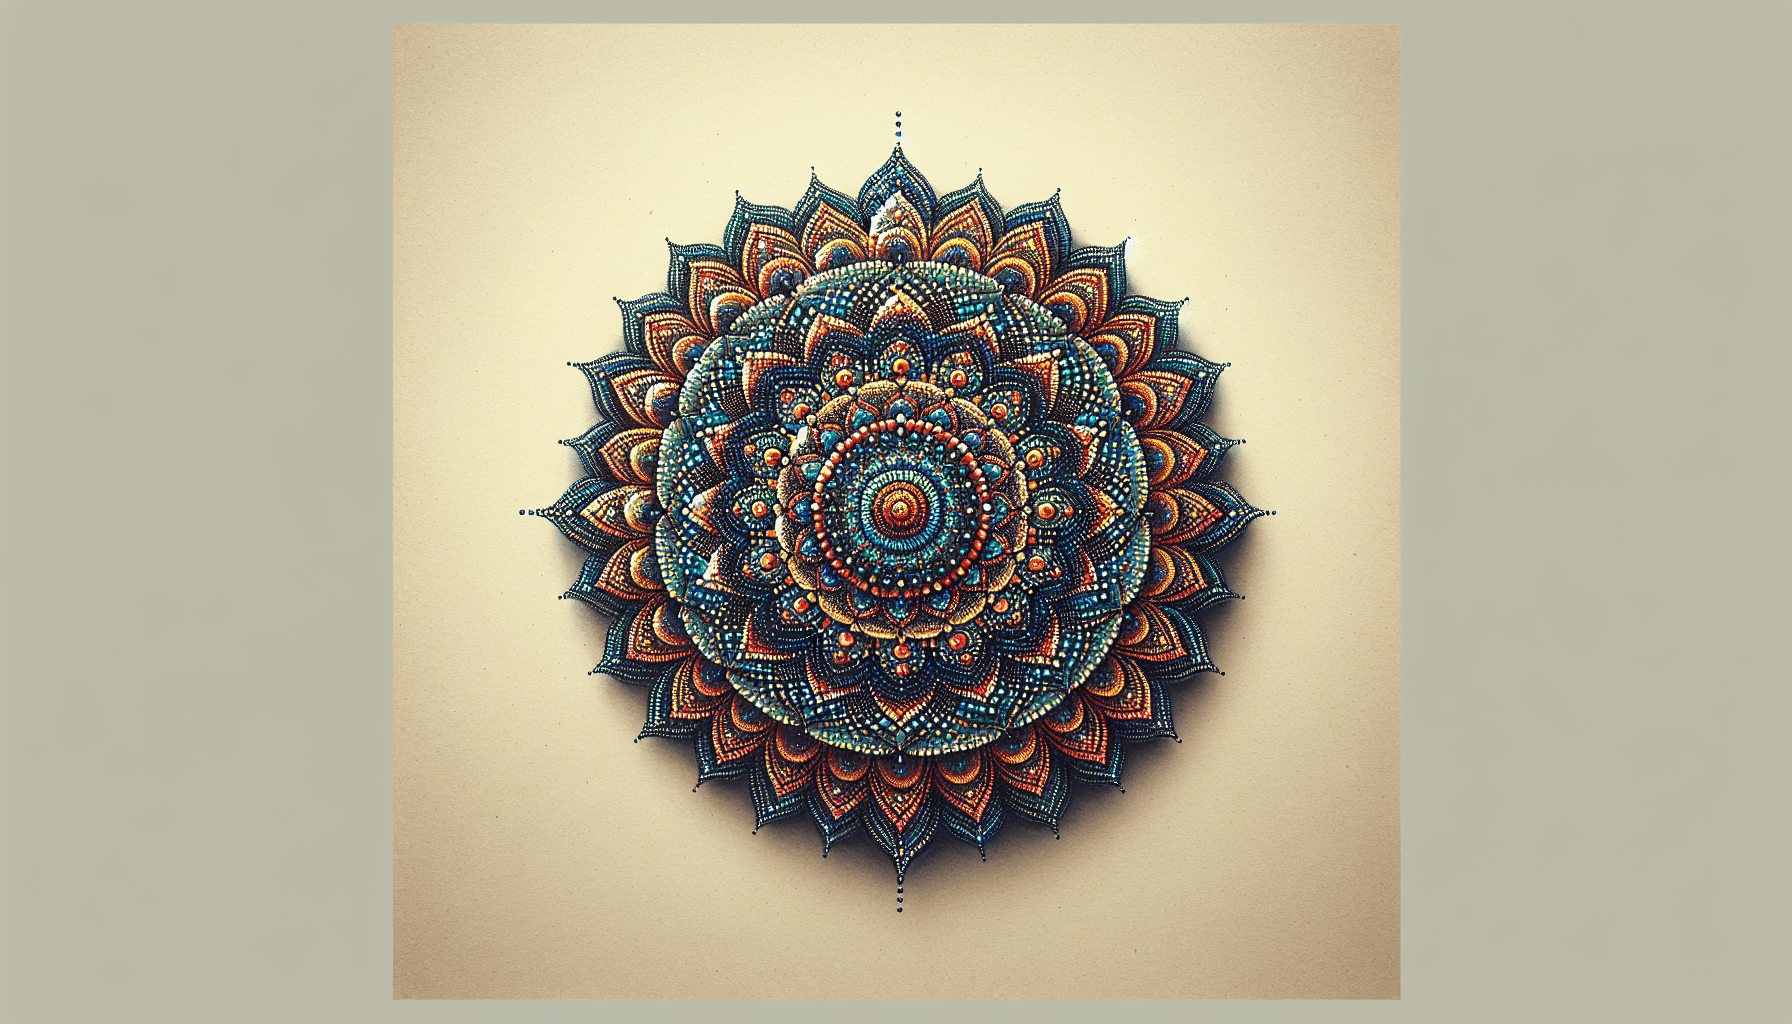
Mandala dot painting is a type of pointillism, an art technique where dots of a single color are grouped closely together to form an image. The form centers around the concept of the mandala, which is a spiritual and ritual symbol representing the universe in Hinduism and Buddhism. In this art form, dots are used to create these intricate circles and geometric patterns, resulting in a calming and visually appealing artwork.
Historical Context
The origin of mandalas can be traced back to ancient India, where they were used as spiritual symbols across various cultures. Dot painting, on the other hand, has deep roots in Indigenous Australian art, where it has been used to depict stories and convey messages. Combining these two creates a new fusion art that is both aesthetically pleasing and meditative.
The Appeal of Mandala Dot Painting
The art form is not only favored for its beautiful outputs but also for the process. Engaging in mandala dot painting is known to enhance focus, reduce stress, and promote mindfulness. The repetition and symmetry involved in the creation of mandalas offer a therapeutic experience, making it a popular hobby for individuals seeking stress relief.
Essential Tools and Materials
Before embarking on your mandala dot painting journey, it is crucial to gather the necessary tools and materials. These will lay the foundation for your work, ensuring a smooth and enjoyable painting process.
Tools Required
To begin, here are some essential tools you may need:
- Dotting Tools: Available in various sizes, these are specifically designed to apply consistent, round dots of paint. You can also use household items like the ends of pencils or paintbrushes.
- Paint Palette: Necessary for mixing and holding colors.
- Ruler and Compass: To draw perfect concentric circles that form the base of your mandala.
- Transfer Paper: Useful for transferring detailed designs onto your painting surface.
Below is a table summarizing the primary tools and their purposes:
| Tool | Purpose |
|---|---|
| Dotting Tools | For precise dot application |
| Paint Palette | To mix and store paint |
| Ruler and Compass | For drawing initial structure of mandalas |
| Transfer Paper | To transfer intricate designs |
Materials
Key materials include:
- Paint: Acrylic paint is most commonly used due to its opacity and quick drying time.
- Canvas or Suitable Surface: Choose a non-porous, smooth surface for optimal paint adherence.
- Varnish: To seal and protect your artwork after completion.
Choosing the Right Paint
Selecting the right paint is a critical aspect of mandala dot painting. Acrylic paint is favored for its versatility, vibrant colors, and quick drying time. It’s essential to choose high-quality paint for consistent results. Some artists prefer to mix acrylic paints with flow-improvers or thinning agents for ease of use.
Pre-Painting Preparation
Before diving into creating dot masterpieces, you must prepare adequately to ensure an organized and successful painting session.
Setting Up Your Workspace
A clutter-free, well-lit workspace is ideal for mandala dot painting. Ensure you have enough room to move comfortably around your canvas and reach all your tools and materials. The environment should be calm, allowing you to focus purely on the painting process.
Designing Your Mandala
Begin by conceptualizing and sketching the initial design of your mandala. Start with a central point and expand outwardly, dividing the canvas into equal sections using a pencil and ruler. This framework will guide the placement and structure of your dots.
Transferring Your Design
Using transfer paper, you can easily shift intricate designs onto your painting surface. This step allows you to focus on the color and pattern rather than the accuracy of direct sketching, which is especially helpful for beginners or complex designs.
Mastering Basic Techniques
With your materials and setup ready, it’s time to focus on mastering basic techniques that will elevate your mandala creations.
Creating Consistent Dots
Consistency is the backbone of dot painting. It is this uniformity that ensures symmetry in patterns. Practice on a scrap surface to become familiar with varying the dot size by adjusting the amount of paint and the pressure applied. Use multiple dotting tools for a range of sizes.
Understanding Symmetry and Balance
A mandala thrives on symmetry and balance. Balance ensures that all components of your design are harmonious and unified. Start with simpler designs, focusing on creating symmetrical patterns before attempting complex artworks.
Color Theory and Harmony
Mix colors carefully and be mindful of color theory. Employ complementary and analogous color schemes to enhance the visual impact of your artwork. Some artists prefer a limited palette to maintain harmony, while others explore vibrant, contrasting colors for dramatic effects.

Advancing Your Skills: Intermediate and Advanced Techniques
Once you have mastered the basics, you can move on to more complex techniques that add depth and texture to your mandalas.
Layering Dots
Layering involves applying dots on top of other dots after the base layer has dried, adding dimension and complexity to your artwork. This technique allows for the creation of intricate patterns and provides an opportunity for creative expression.
Experimenting with Textures
Incorporate texture into your paintings through innovative techniques such as mixing mediums with acrylic paints, incorporating glitter, or utilizing three-dimensional paints for raised surfaces. These techniques add visual interest and depth to your work.
Exploring Advanced Patterns
Explore different mandala styles such as geometric, floral, or even abstract patterns. Each style offers unique challenges and opportunities for creativity. Delve into various cultural patterns for inspiration and diversify your artwork’s appearance.
Caring for Your Finished Artwork
Proper care and protection can prolong the life of your mandala dot paintings, preserving their vibrancy and integrity.
Sealing Your Artwork
Applying a coat of clear varnish will act as a protective seal for your painting, safeguarding against dust, moisture, and fading. Use a spray varnish for even coverage and a glossy or matte finish depending on your preference.
Displaying and Storing
Display your artwork in a location safe from direct sunlight and extreme humidity, as these conditions can damage the paint over time. For storage, consider wrapping paintings in acid-free paper and storing them flat to maintain their form.
Conclusion: Embracing the Journey of Mandala Dot Painting
Mandala dot painting is not merely a creative outlet, but a journey that enriches mind and spirit. By starting with simple designs and progressing toward complex patterns, you are both nurturing your creativity and embracing a meditative practice. This art form teaches patience, promotes focus, and brings joy both in creation and appreciation. Whether you produce artwork for personal enjoyment or to share with others, the fulfilling experience behind each dot and pattern remains invaluable.