Have you ever wondered how to create the illusion of a broken rock through painting? The art of transforming a flat surface into a three-dimensional masterpiece is a skill highly coveted by artists and hobbyists alike. In this article, we will guide you through the meticulous process of painting a broken rock illusion. Whether you are a seasoned artist or a beginner, this guide will provide you with the fundamental techniques and tips necessary to achieve a stunning broken rock illusion.
Understanding the Basics of Illusion Art
To paint a broken rock illusion, it is essential first to understand the principles of illusion art. Illusion, or trompe-l’œil (French for “deceive the eye”), is a visual art technique that uses realistic imagery to create the optical illusion that depicted objects exist in three dimensions.
The Importance of Perspective
Perspective is the technique used to represent three-dimensional objects on a two-dimensional surface. By mastering the use of perspective, you can create depth and volume in your painting, which are crucial for achieving a broken rock illusion.
Linear Perspective
Linear perspective involves drawing lines that converge at a vanishing point on the horizon line. This technique is essential for giving your broken rock a realistic three-dimensional appearance.
| Key Element | Description |
|---|---|
| Horizon Line | The level at which the sky meets the ground or sea |
| Vanishing Point | The point where parallel lines appear to converge |
| Converging Lines | Imaginary lines that guide the viewer’s eye to the vanishing point |
Light and Shadow
Light and shadow are equally critical in creating the broken rock illusion. Proper shading can make your painting appear more realistic by providing depth and dimension.
Source of Light
Identifying the source of light in your painting will determine where shadows and highlights should appear on the rock’s surface.
| Light Effect | Impact on Rock Illusion |
|---|---|
| Highlights | Areas on the rock that are directly hit by the light source |
| Midtones | Areas that receive indirect light |
| Shadows | Areas that are shaded or blocked from the light |
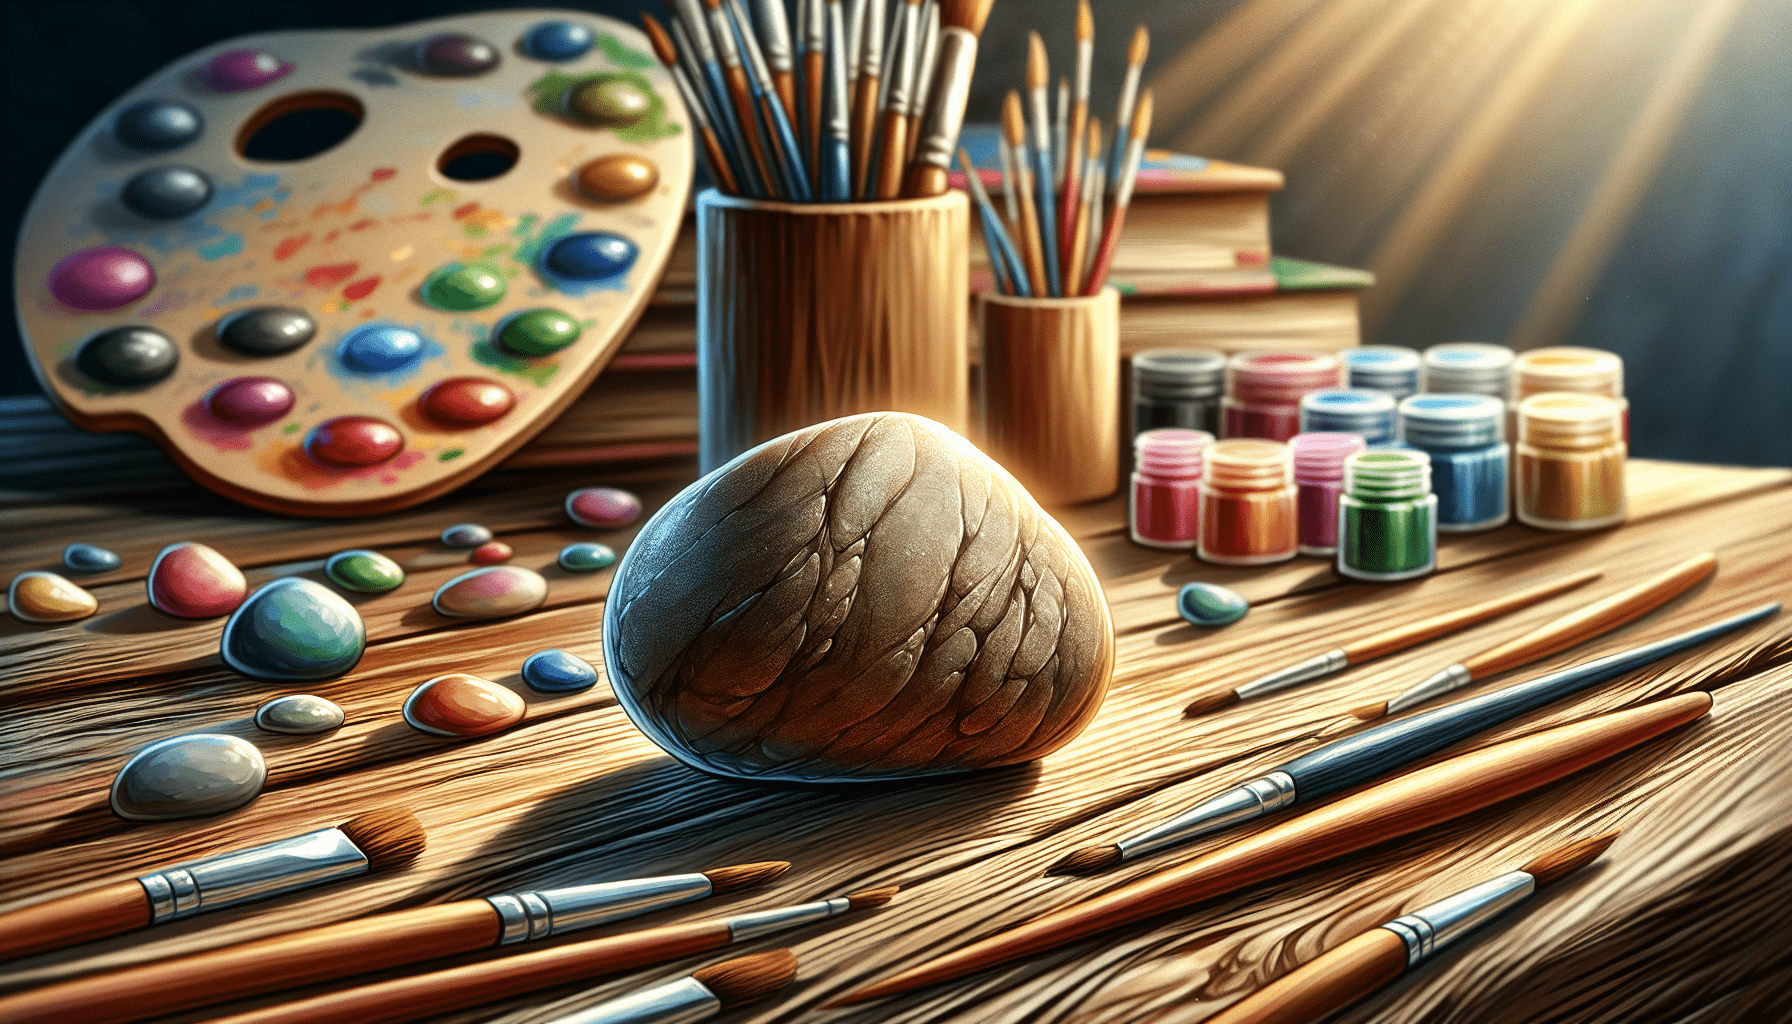
Materials You’ll Need
Before starting your painting, gather all necessary materials. The right tools can significantly impact the quality and ease of your work.
Paints
Selecting the appropriate type of paint is crucial. Acrylic paints are often recommended due to their versatility, quick drying time, and ease of use.
Brushes
Different brushes serve different purposes in your painting process.
| Brush Type | Use |
|---|---|
| Flat Brush | Covering large areas and creating straight edges |
| Round Brush | Detailed work and creating smooth, curved lines |
| Fan Brush | Texturing and blending |
Other Supplies
Additional materials you may need include a canvas or painting surface, a palette for mixing colors, a rag or paper towel for cleaning brushes, and a cup of water or solvent for thinning the paint and cleaning brushes.

Step-by-Step Painting Process
Now that you have a foundational understanding of the principles and tools required, let’s move on to the step-by-step process of painting a broken rock illusion.
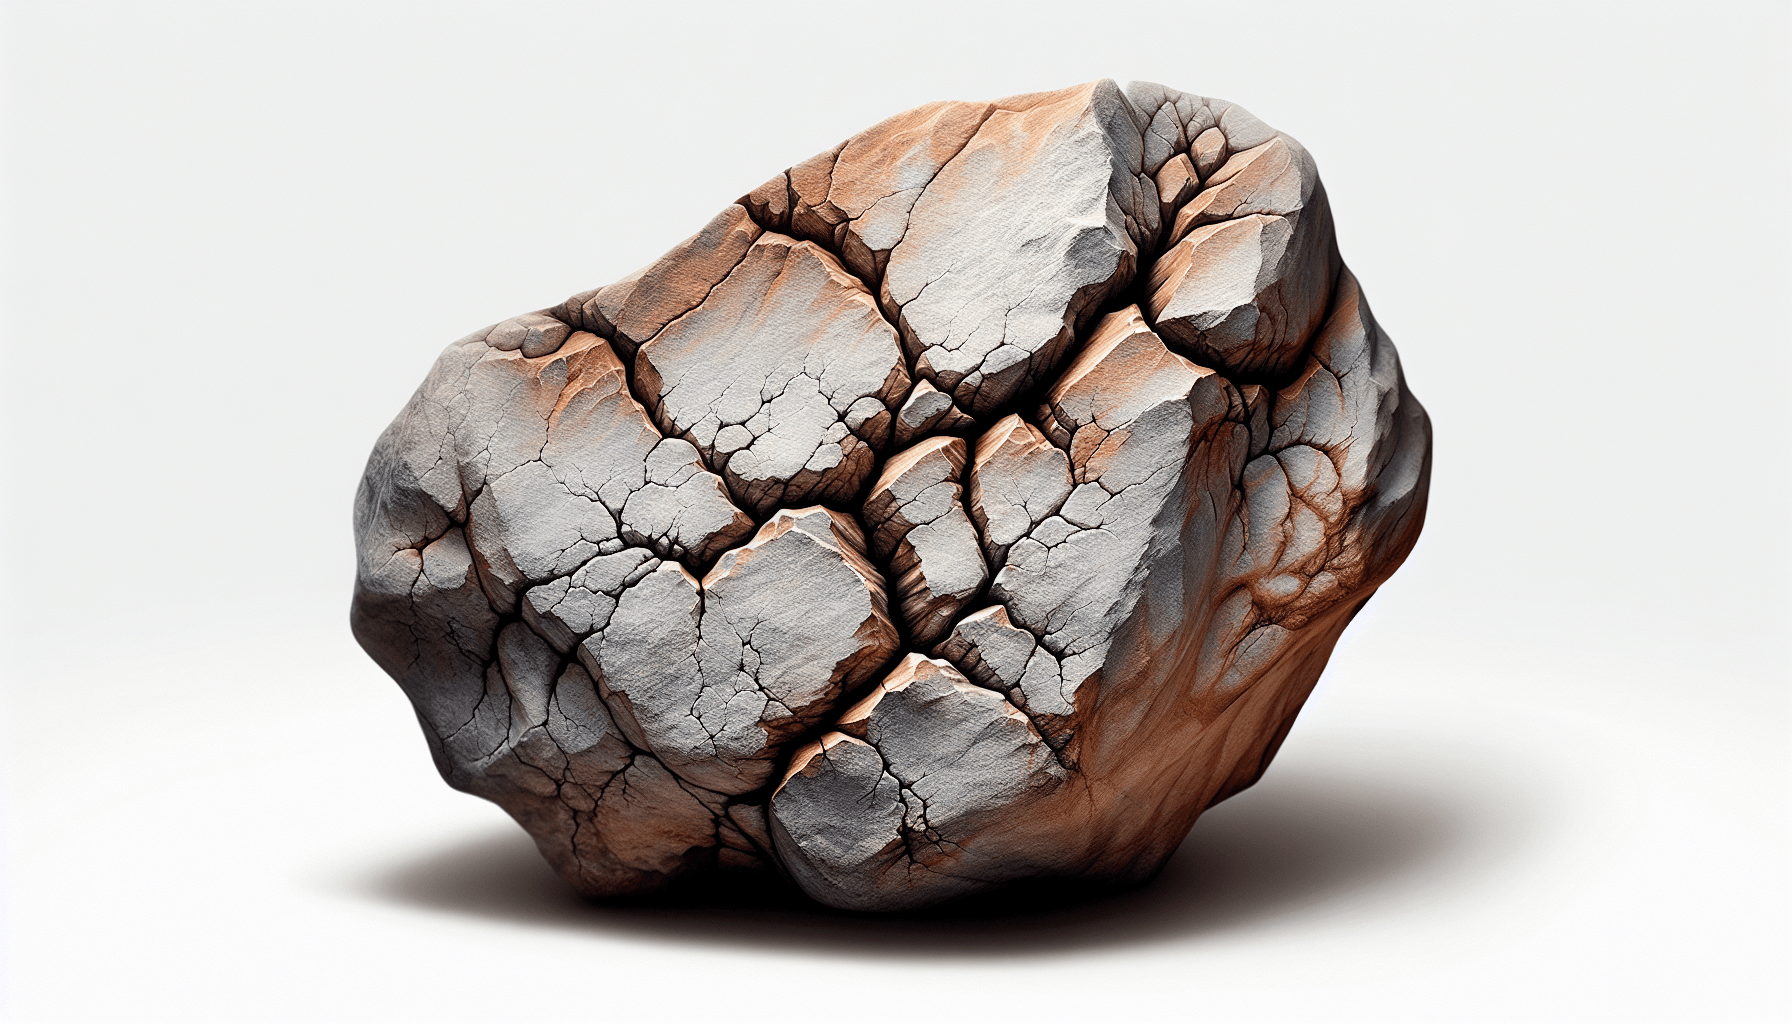
Step 1: Sketching the Outline
Begin by sketching the outline of your broken rock on your canvas. Use a light pencil to draw basic shapes and contours. Focus on the main cracks and edges that define the rock’s broken sections.
Step 2: Establishing the Base Color
Apply a base coat of color to your rock. This layer will serve as the foundation for the texture and details to come. Use a flat brush to cover the entire rock area evenly.
Step 3: Adding Texture
To create a realistic rock texture, stipple or dab various shades of your base color onto the rock using a dry brush. This technique will mimic the natural roughness and uneven surface of a rock.
Step 4: Shading and Highlighting
Referring to your light source, add shadows and highlights to your rock. Use darker shades where shadows would naturally fall and lighter shades for highlights. Blend these shades seamlessly to enhance the rock’s three-dimensional illusion.
Step 5: Detailing the Cracks
Focus on the cracks and broken sections. Use a fine round brush to paint the edges of the cracks with a darker color. Gradually blend outwards to create a gradient effect, giving the illusion of depth within the cracks.
Step 6: Final Touches
Lastly, review your painting for any areas that may require additional shading, highlighting, or texturing. Make the necessary adjustments to ensure a cohesive and realistic appearance.
Common Mistakes to Avoid
Even with detailed guidelines, mistakes can happen. Being aware of common pitfalls can help you refine your technique and produce a more polished final product.
Overblending
Overblending can make the rock appear flat. Maintain defined shadows and highlights to preserve the three-dimensional effect.
Ignoring Light Source
Neglecting the light source can result in inconsistent shading, which diminishes the illusion of realism. Consistently refer to your light source throughout the painting process.
Rushing the Process
Patience is key. Each step requires careful attention and time to achieve the best results. Rushing can lead to sloppy work and a less convincing illusion.

Advanced Techniques for Enhanced Realism
If you wish to elevate your broken rock illusion further, consider incorporating advanced techniques.
Glazing
Glazing involves applying a translucent layer of paint over a dry coat. This technique can enrich the color depth and create more nuanced shadows and highlights.
Scumbling
Scumbling is a dry brush technique where a lighter color is lightly dragged over a darker underpainting. This method enhances texture and adds depth to your rock surface.
| Technique | Description |
|---|---|
| Glazing | Applying a translucent layer to enhance color depth |
| Scumbling | Using a dry brush to add texture by layering lighter colors |
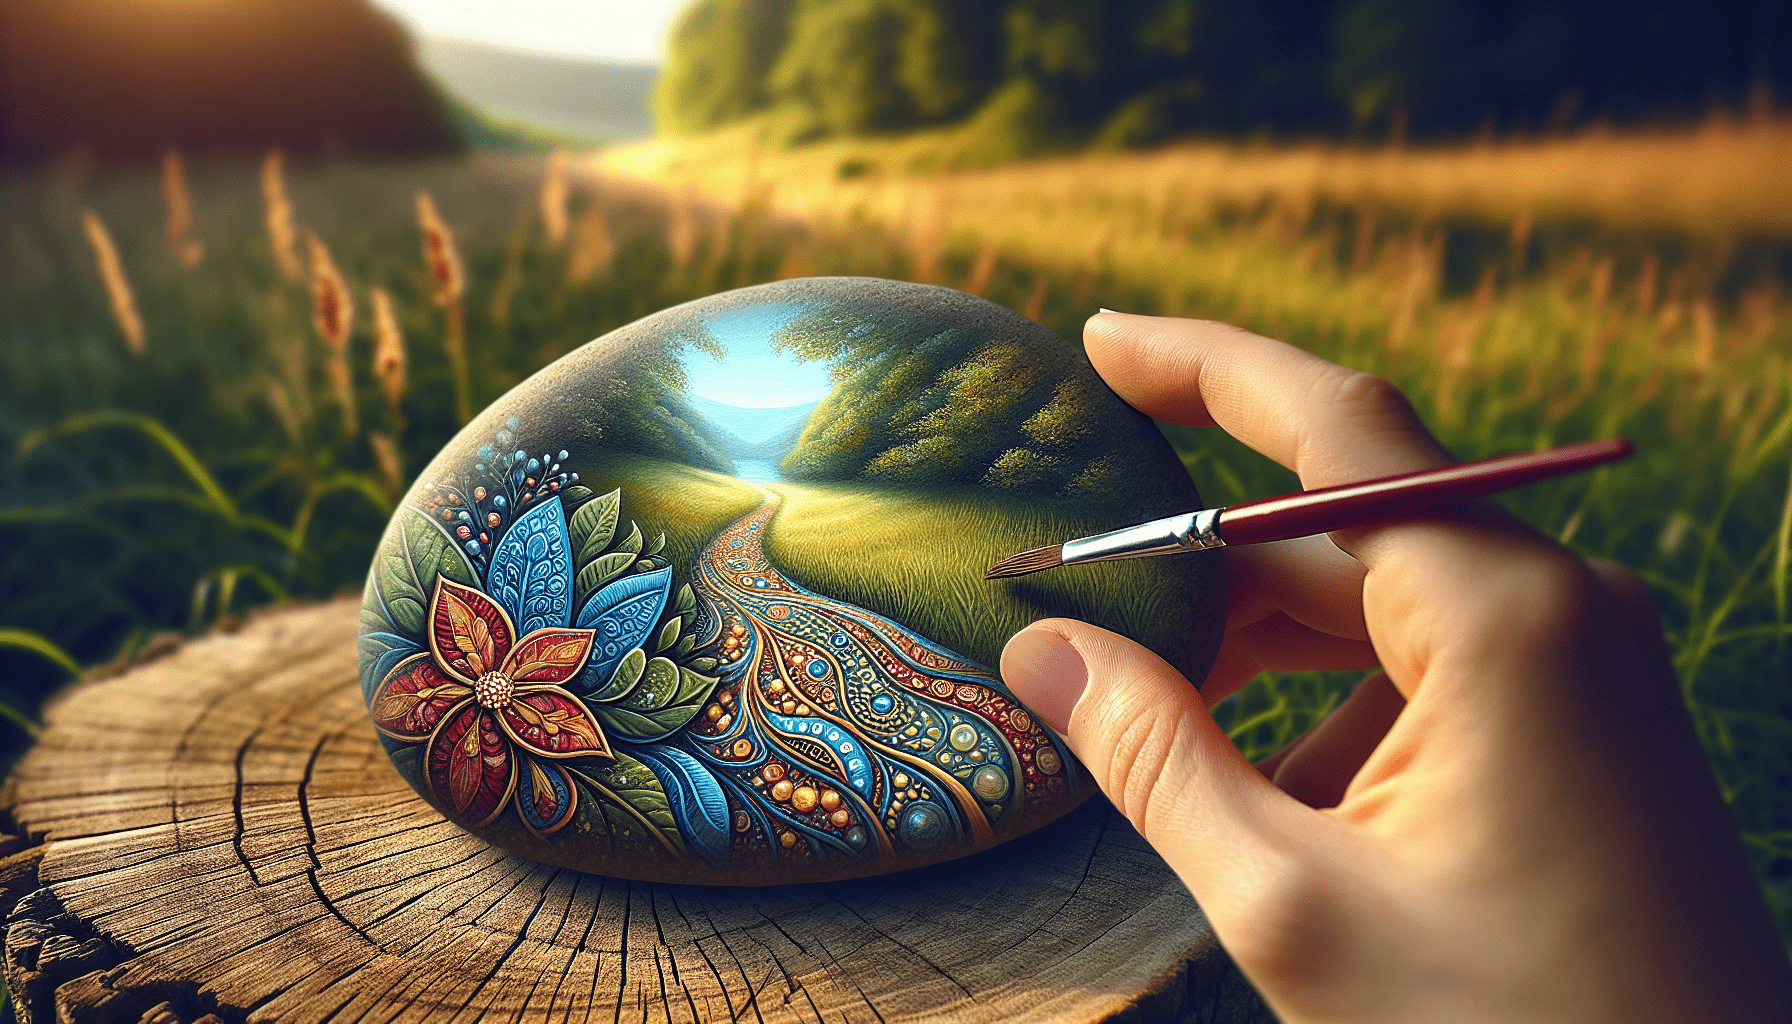
Adding Environmental Details
Incorporate surrounding elements such as grass, moss, or other rocks to enhance the realism of your broken rock scene. These details can provide context and make the rock appear naturally integrated into its environment.
Practical Applications of Broken Rock Illusion
Understanding how to paint a broken rock illusion can be valuable for various applications in both art and design.
Fine Art
Artists can use this technique to create captivating pieces that play with perspective and reality, engaging viewers with optical illusions.
Stage and Movie Sets
Creating realistic props and backgrounds for theater and film productions often involves painting illusions of rocks and other natural elements.
Home Decor
Murals and accent walls featuring broken rock illusions can add a unique and artistic touch to interior spaces.
Conclusion
Mastering the art of painting a broken rock illusion requires patience, practice, and attention to detail. By understanding the principles of perspective, light, and shadow, selecting the appropriate materials, and following a structured step-by-step approach, you can create stunning and realistic rock illusions. Avoid common mistakes, consider advanced techniques for added realism, and explore the various applications of this skill in art, design, and beyond. Through dedication and practice, you can hone your ability to deceive the eye and transform a flat surface into a captivating three-dimensional masterpiece.