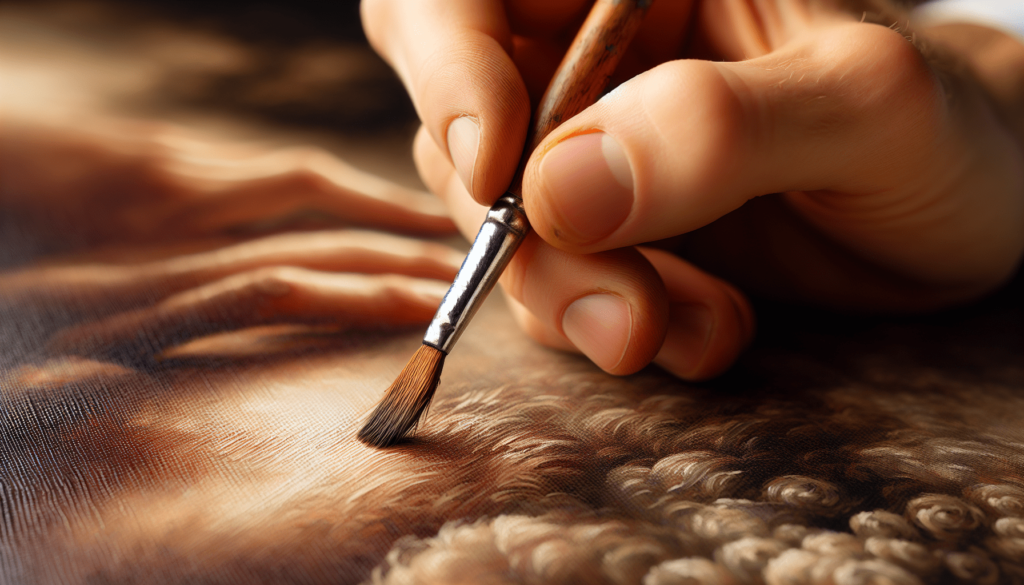
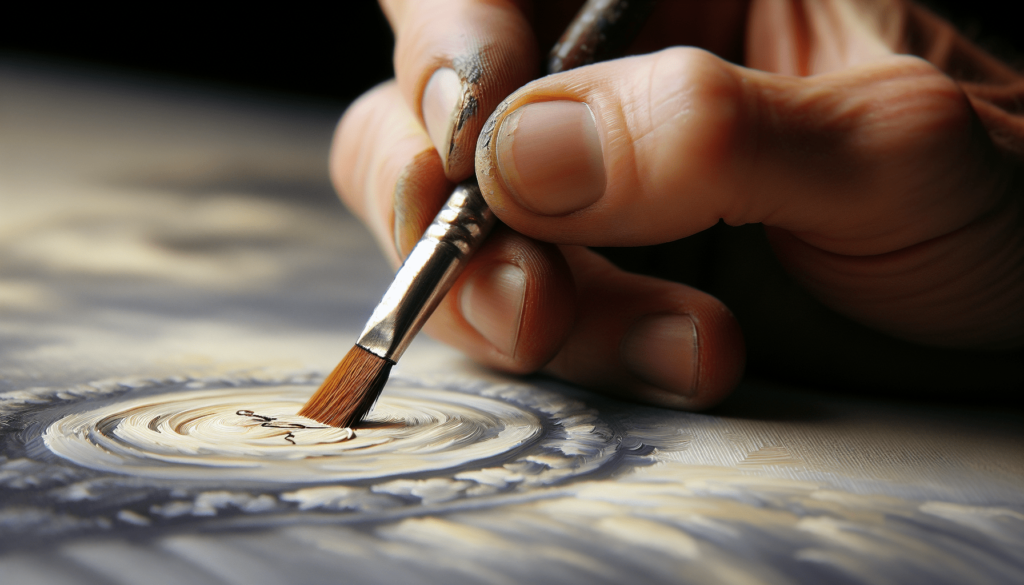
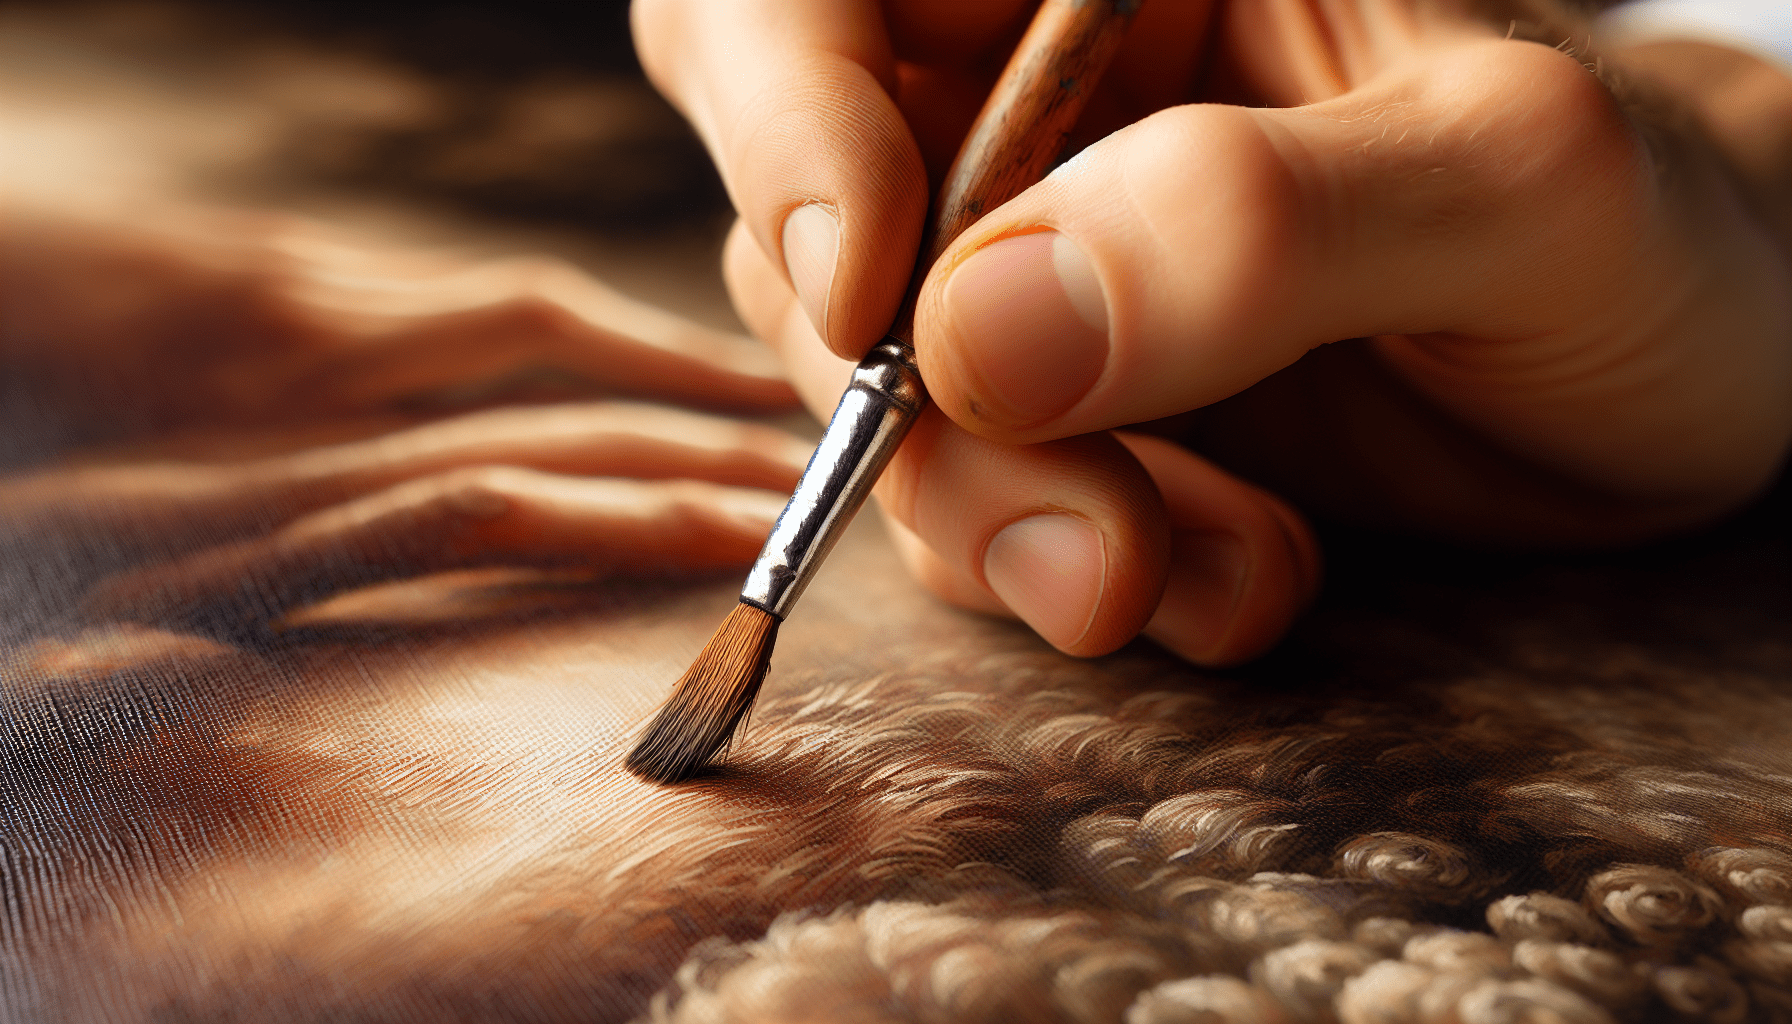
In the nuanced world of fine art, the act of signing an oil painting transcends mere formality; it serves as the artist’s final proclamation of authorship and personal connection to the work. This article provides an expert guide on how to sign an oil painting, offering detailed insights into the selection of appropriate tools and techniques, the most effective placement of a signature, and the stylistic considerations that distinguish a thoughtful inscription. By adhering to these professional guidelines, you ensure that your signature not only honors the integrity of your artwork but also reinforces your unique identity as an artist. Have you ever wondered how to sign an oil painting effectively, ensuring your masterpiece is not only identified but also protected from forgery? The process involves more than merely scribbling your name in the corner. It requires a combination of skill, technique, and understanding of materials to both preserve the integrity of your artwork and convey your unique artistic identity. In this article, we break down the steps and considerations involved in signing an oil painting.

Why Signing Your Oil Painting Matters
Establishing Authorship
When you sign your painting, you are establishing your authorship. This can be crucial for building your reputation as an artist, ensuring that your work is recognized and can be traced back to you.
Enhancing Provenance
A signature contributes to your artwork’s provenance, the documented history that may include information on previous owners and exhibitions. Provenance can significantly affect the value and authenticity of your work.
Preventing Forgery
A well-placed and unique signature can also help to protect your work from forgery. It can be challenging to replicate an authentic signature exactly, adding an extra layer of security to your artwork.
Preparing to Sign Your Painting
Selecting the Right Moment
It’s essential to choose the right moment to sign your oil painting. Ensure the paint is completely dry to avoid smudging or damaging your work. This might take anywhere from several days to a few weeks, depending on the thickness of the paint layers and the specific oil paints used.
Choosing the Correct Location
You should carefully choose where to place your signature. Traditionally, artists sign at the bottom right corner, but consider the composition and overall balance of your piece. Ensure the signature is visible but not distracting.
The Signature: Materials and Techniques
Types of Brushes and Tools
The most common tools for signing an oil painting are fine-tipped brushes and liners, which allow for precision. Here is a table with recommended tools:
| Tool Type | Recommended Use |
|---|---|
| Fine-tipped brush | Ideal for thin, precise lines |
| Liner brush | Suitable for cursive strokes and signatures |
| Palette knife | Useful for dramatic and textural signatures |
| Painting pen | Provides control for detailed, intricate signatures |
Selecting the Right Paint
Use high-quality oil paint for your signature to ensure longevity. You may opt for a color that stands out but harmonizes with the overall palette of your painting. Common choices are black, white, or a color that contrasts the background.
Practicing Your Signature
Before committing to the painting, practice your signature on a separate canvas or paper. This helps you work out any kinks and achieve a consistent, confident signature.
Step-by-Step Guide to Signing Your Painting
Step 1: Prepare Your Materials
Gather all necessary materials, including your chosen brush, paint, and possibly some retouch varnish if you need to thin the paint slightly for better flow.
Step 2: Decide on Placement
Evaluate your painting and decide where to place the signature. Ensure it’s in a location that doesn’t disrupt the composition.
Step 3: Practice Your Signature
Practice signing on a disposable surface until you can consistently replicate your signature style.
Step 4: Apply the Signature
Dip your brush into the paint and remove any excess by dabbing it onto a palette or cloth. With a steady hand, apply your signature to the painting.
Step 5: Let it Dry
Allow the signature to dry completely. This process can take several days, depending on the paint thickness and environmental factors.
Step 6: Apply a Final Varnish
Once the signature is dry, apply a final varnish layer to protect both the painting and the signature. This seals the artwork and adds a protective barrier against dust and UV rays.

Advanced Considerations
Signature vs. Monogram
Some artists prefer using a monogram instead of a full signature. Monograms can be a distinctive and elegant way to sign your work. Ensure it’s unique and recognizable to prevent any confusion.
Adding a Date
Including the date of completion next to your signature can provide valuable context for the painting’s creation. This can be particularly useful for collectors and historians.
Certificate of Authenticity
Accompany your signed painting with a Certificate of Authenticity (COA). This document can attest to the artwork’s origin and provide additional protection against forgery.
Common Challenges and Solutions
Smudging the Signature
To prevent smudging, make sure the underlying paint is completely dry. If you accidentally smudge, carefully remove the signature with a small amount of solvent and try again once it’s dry.
Signature Not Visible
If your initial signature isn’t adequately visible, you can carefully apply another layer of paint over it once it’s dry. Ensure you use a color that stands out against the background.
Uneven Brush Strokes
Ensure your brush is in good condition and not overloaded with paint. Practicing on a separate surface can also help achieve smoother strokes.
Conclusion
Signing an oil painting is an essential step in solidifying your artistic identity and protecting your work. By carefully selecting your materials, practicing your technique, and taking your time, you can ensure your signature enhances rather than detracts from your creation. Always remember, your signature is more than just a name; it’s a mark of authenticity, quality, and artistic integrity. By following the guidelines detailed in this article, you can master the art of signing your oil paintings, ensuring they are both recognized and respected for years to come.


