In this article, you will learn how to create your own chalk paint using acrylic paint. By following a few simple steps, you can transform regular acrylic paint into a versatile and easy-to-use chalk paint, perfect for a variety of DIY projects. Whether you are a seasoned painter or just starting out, this guide will provide you with the knowledge and skills to create chalk paint that will enhance your creative endeavors. Say goodbye to expensive store-bought options and say hello to the satisfaction of making your own chalk paint at home.
Materials Needed
To create your own chalk paint with acrylic paint, you’ll need the following materials:
Acrylic paint in desired color
Choose the acrylic paint color that you want for your chalk paint. Acrylic paint comes in various shades, allowing you to customize your chalk paint to suit your project.
Non-sanded grout
Non-sanded grout is a crucial ingredient in chalk paint. It acts as a binder, giving your paint a chalky texture once it dries. Make sure to use non-sanded grout specifically, as sanded grout can result in a rough finish.
Mixing container
You’ll need a container to mix your paint and grout. A small bucket, bowl, or even a large jar can work well as a mixing container. Just ensure it is clean and free of any paint residue or debris.
Whisk or spoon for mixing
A whisk or a spoon will be necessary to thoroughly mix the acrylic paint and non-sanded grout together. Make sure to use a utensil that is suitable for mixing thick substances.
Measuring spoons
Accurate measurements are essential when making chalk paint. Having a set of measuring spoons on hand will help you achieve the desired consistency and texture.
Preparing the Paint Mixture
Now that you have gathered all the necessary materials, it’s time to prepare your chalk paint mixture.
Measure the Acrylic Paint
Begin by measuring the desired amount of acrylic paint for your project. The amount needed will depend on the size of your project and the intensity of color you desire. Use a measuring spoon or a scale to ensure accurate proportions.
Measure the Non-sanded Grout
Next, measure the non-sanded grout. The general rule of thumb is to use a ratio of one part grout to eight parts paint. However, you can adjust this ratio based on personal preference. Carefully measure and add the non-sanded grout to the mixing container.
Mix the Paint and Grout
Use a whisk or spoon to thoroughly blend the acrylic paint and non-sanded grout together. Make sure there are no lumps or clumps remaining in the mixture. Stir until the grout is evenly distributed throughout the paint.
Adjust Consistency if Needed
If the mixture appears too thick, you can add a small amount of water to adjust the consistency. Gradually add water and mix well until the desired thickness is achieved. Keep in mind that the consistency should resemble that of regular paint, but with a slightly thicker texture.
Applying the Chalk Paint
With your chalk paint mixture prepared, it’s time to apply it to your desired surface.
Prepare the Surface
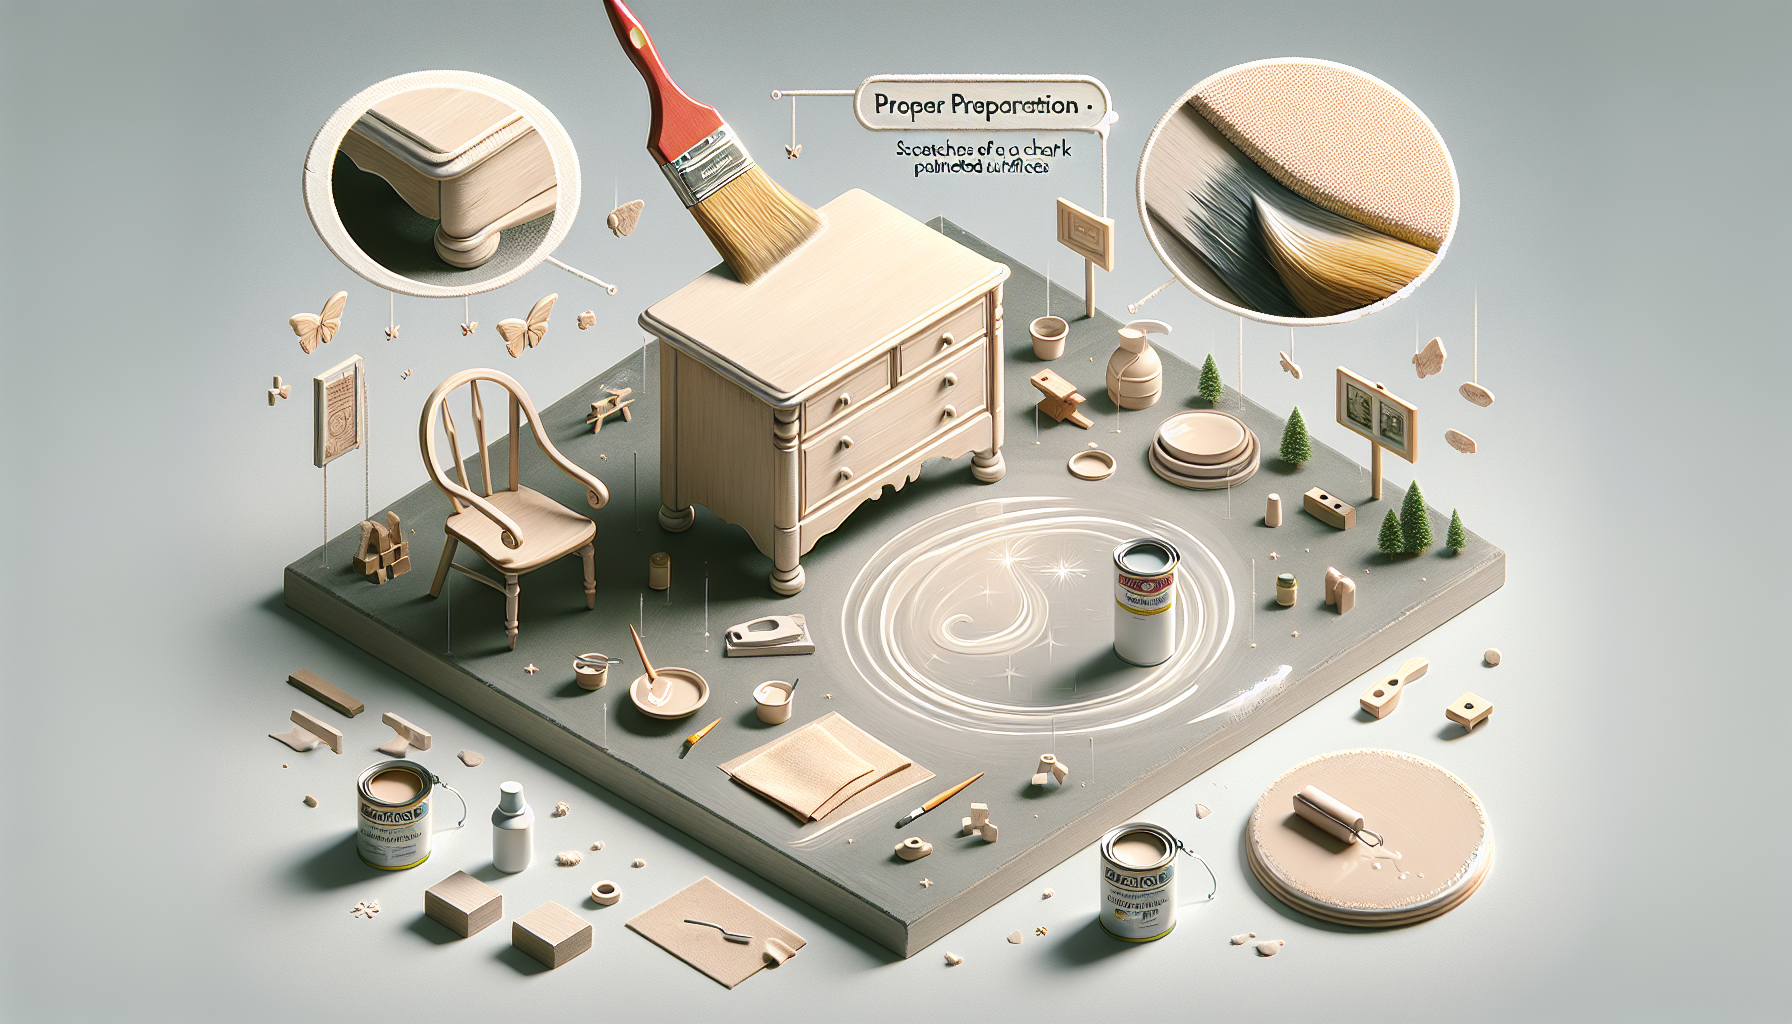
Before applying the chalk paint, ensure that the surface is clean and free from any dirt, grease, or previous paint. If necessary, lightly sand the surface to create a smooth surface for the paint to adhere to. Use a damp cloth to remove any dust or debris from sanding.
Apply the First Coat
Using a brush or roller, apply the first coat of chalk paint to the surface. Work in even strokes, ensuring complete coverage. Depending on the surface and the intensity of color desired, you may need to apply multiple coats. Allow each coat to dry thoroughly before applying the next.
Sand the Surface (Optional)
For a distressed or vintage look, you can choose to sand the surface of the dried chalk paint. Use fine-grit sandpaper and gently rub the surface, focusing on areas that would naturally wear over time. This technique adds character and texture to your project.
Apply Additional Coats if Desired
If the first coat of chalk paint does not provide the desired coverage or intensity, apply additional coats as needed. Allow each coat to dry completely before applying the next. Remember to work in even strokes and maintain consistency in color throughout the project.
Seal the Surface (Optional)
To protect your chalk paint and enhance its durability, you have the option to apply a sealant. There are various sealants available, such as wax or polyurethane. Follow the manufacturer’s instructions for application to ensure proper sealing and protection.
Tips and Tricks
Here are some helpful tips and tricks to make the most out of your chalk paint experience:
Experiment with Colors
Don’t be afraid to mix different acrylic paint colors together to create your own unique shades. By experimenting with color ratios, you can achieve a wide range of hues and tones for your chalk paint projects.
Use a Primer for Dark Surfaces
If you’re painting a dark or heavily pigmented surface, consider using a primer before applying the chalk paint. A primer will help to ensure better coverage and prevent any underlying colors from showing through.
Mix in a Blender for a Smoother Finish
For an extra smooth finish, you can use a blender to mix your chalk paint mixture. This method helps to break down any remaining clumps and achieve a more consistent texture.
Use a Spray Bottle to Keep the Paint Moist
Chalk paint can dry quickly, especially in warm or dry conditions. To keep your paint moist and workable for longer periods, use a spray bottle filled with water to mist the surface as needed.
Store the Paint Properly
If you have leftover chalk paint, make sure to store it properly for future use. Transfer the paint into an airtight container and label it with the color and date. Store the paint in a cool, dry place away from direct sunlight.
Frequently Asked Questions
Here are answers to some commonly asked questions about making chalk paint with acrylic paint:
Can I Make Chalk Paint with Any Acrylic Paint?
Yes, you can make chalk paint with most acrylic paints. However, it’s important to note that different brands and types of acrylic paints may vary in consistency and performance. It’s always a good idea to test a small area first before applying the chalk paint to your entire project.
Do I Need to Seal Chalk Paint?
Sealing chalk paint is not necessary, but it can help protect the surface and enhance durability. Many people choose to apply a sealant, such as wax or polyurethane, to safeguard their chalk paint projects. The need for sealing largely depends on the intended use and exposure of the painted surface.
Can I Use Chalk Paint on Outdoor Surfaces?
While chalk paint is primarily used for interior surfaces, there are outdoor variations available that are specifically designed to withstand the elements. If you intend to use chalk paint for outdoor projects, make sure to select a suitable outdoor formula that is weather-resistant and provides long-lasting protection.
What Brushes or Tools Should I Use?
When applying chalk paint, you can use a variety of brushes or tools depending on the desired finish and texture. Natural bristle brushes are commonly used, as they provide a smoother application and better coverage. Foam brushes and rollers can also work well, especially for larger surfaces. Experiment with different brushes and tools to find the best fit for your project.
By following these steps, utilizing the provided tips and tricks, and understanding the frequently asked questions, you can confidently create your own chalk paint using acrylic paint. Whether you’re upcycling furniture or adding a vintage touch to your decor, chalk paint offers endless possibilities for creative projects.
