Tempera paint, a versatile and widely-used medium in the world of art, has sparked curiosity regarding its suitability for pumpkins. Are you wondering if tempera paint can be used to create vibrant designs on these seasonal favorites? Look no further as we explore the compatibility of tempera paint with pumpkins. Whether you’re a seasoned artist or simply a Halloween enthusiast, this article will shed light on the potential of using tempera paint to transform pumpkins into works of art, while providing valuable tips for achieving long-lasting and visually stunning results. Prepare to discover the possibilities that lie within this dynamic combination of paint and pumpkin.

Introduction
What is tempera paint?
Tempera paint is a vibrant and versatile water-based paint that is commonly used in various art projects, including painting on pumpkins. It is made by combining pigment with a binding agent, usually egg yolk or another protein-based substance, which gives it a smooth and creamy consistency. Tempera paint has been used for centuries and is favored by artists for its ability to create bold, opaque colors with a matte finish.
Why paint pumpkins?
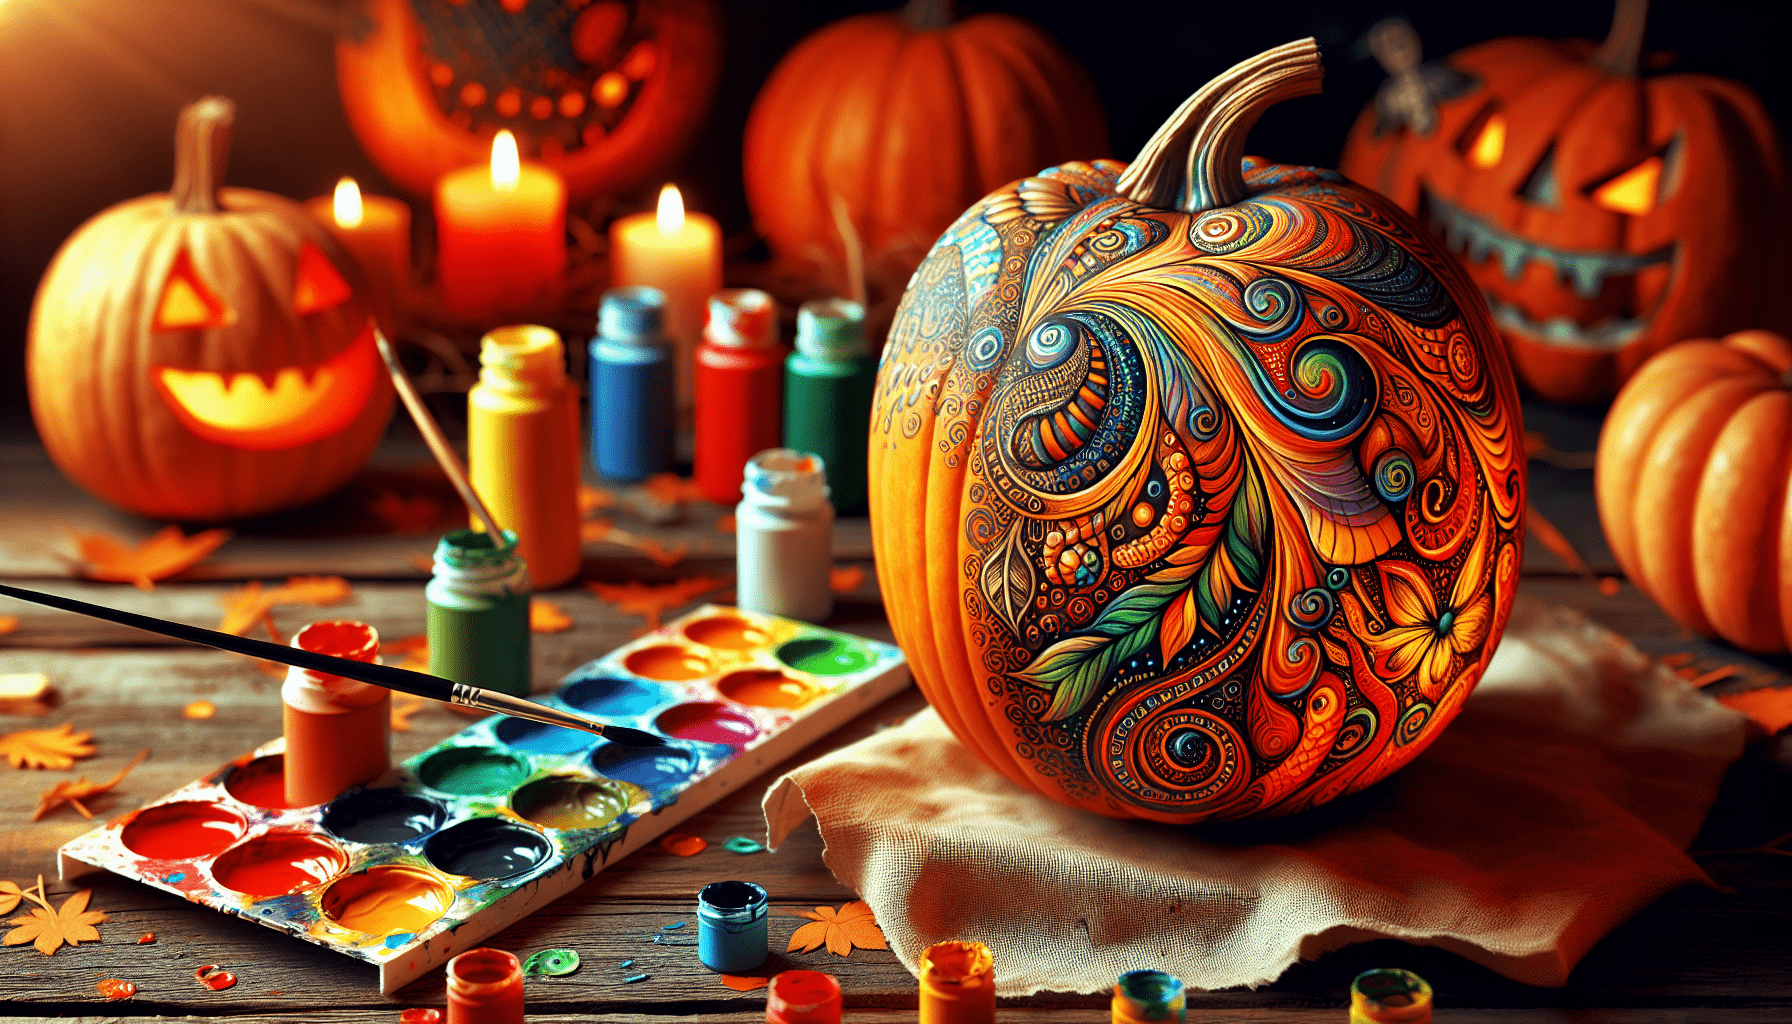
Painting pumpkins is a fun and creative way to decorate for the fall season. Whether you are looking to create a unique centerpiece for your Thanksgiving table or a spooky Jack-o’-lantern for Halloween, tempera paint offers endless possibilities. Unlike carving, painting allows for more intricate designs, and it also eliminates the mess and potential dangers associated with using sharp carving tools. Additionally, painted pumpkins can last longer than carved ones, allowing you to enjoy your creations throughout the season.
Safety precautions
While painting pumpkins with tempera paint is generally safe, it is important to take some precautions to ensure a positive and safe experience. First, make sure to choose non-toxic paints that are specifically labeled as safe for use on pumpkins or other porous surfaces. Avoid using traditional oil or acrylic paints, as these may not adhere well to the pumpkin’s surface and can be harmful if ingested. It is also recommended to work in a well-ventilated area to minimize exposure to paint fumes. Lastly, always supervise children when painting pumpkins to prevent accidental ingestion of paint or other safety hazards.
Preparing the Pumpkins
Choosing the right pumpkin
To ensure the best results when painting pumpkins, it is essential to choose the right pumpkin for your project. Look for pumpkins that are firm and free from any soft spots or blemishes. The surface should be smooth, without any deep ridges or bruising, as this can affect the paint application. Consider the size and shape of the pumpkin, depending on the design you have in mind. Tall and slender pumpkins work well for vertical designs, while rounder ones are ideal for patterns that wrap around the entire pumpkin.
Cleaning the pumpkin
Before you start painting, it is crucial to clean the pumpkin thoroughly. Use a damp cloth or sponge to remove any dirt or debris from the surface. If there are any stubborn stains, you can gently scrub them with a soft brush. Avoid using harsh cleaning chemicals or solvents, as they may damage the pumpkin’s skin or affect the paint adhesion.
Drying the pumpkin
After cleaning the pumpkin, allow it to dry completely before applying any paint. This can take several hours or even overnight, depending on the pumpkin’s size and moisture content. Drying the pumpkin thoroughly will ensure that the paint adheres properly and prevents any streaking or smudging during the painting process. Place the pumpkin in a well-ventilated area, away from direct sunlight or heat sources, to allow for even and natural drying.
Selecting the Right Paint
Understanding tempera paint
Before choosing the paint for your pumpkin painting project, it is important to understand the properties of tempera paint. Tempera paint dries relatively quickly, which can be advantageous when working on intricate designs or layering colors. It also provides good coverage and offers a smooth, matte finish. However, it is worth noting that tempera paint is water-soluble, so it may not be suitable for outdoor displays or in areas prone to moisture.
Choosing non-toxic paint
When painting pumpkins, it is essential to prioritize safety and choose non-toxic paint. Look for tempera paints that are specifically labeled as non-toxic and safe for use on pumpkins or other porous surfaces. These paints are formulated to be non-harmful if ingested and are generally safer for children to use. Avoid using traditional oil or acrylic paints, as they may contain harmful ingredients and are not intended for use on pumpkins.
Exploring different colors
One of the exciting aspects of using tempera paint on pumpkins is the wide range of colors available. Tempera paint comes in an assortment of vibrant shades, allowing you to let your creativity run wild. Whether you prefer traditional autumn hues like orange, red, and yellow, or want to experiment with bold and unconventional colors, tempera paint offers endless possibilities. Consider mixing colors to create unique shades or use metallic or glitter paints to add a touch of sparkle to your designs.
Applying the Paint
Getting started
Now that you have chosen your pumpkin and paint, it’s time to begin the painting process. Start by setting up a clean and clutter-free workspace, preferably covered with a drop cloth or old newspapers to protect the surface. Place the pumpkin on the prepared surface, ensuring stability by resting it on a flat base or using a stable stand. This will make it easier to paint and prevent the pumpkin from rolling or moving during the process.
Using brushes or other tools
When it comes to applying paint to the pumpkin, you can use brushes or other tools, depending on the desired effect. Small paintbrushes with fine bristles are ideal for intricate details and precise lines. For broader strokes and larger areas, use larger brushes with wider bristles. Foam brushes can also be used for a smooth and even application. If you want to experiment with textures, consider using sponges, cotton swabs, or even your fingers to create unique patterns and effects.
Layering the paint
To achieve depth and dimension in your painted pumpkin design, consider layering the paint. Allow each layer to dry before applying additional coats to prevent smudging or color mixing. Apply thinner layers for a translucent effect and build up the opacity gradually. For a smoother finish, lightly sand the surface between layers with a fine-grit sandpaper. This will also help the subsequent layers adhere better to the pumpkin’s skin.

Adding Details and Designs
Sketching your design
Before directly applying paint to the pumpkin, it can be helpful to sketch your design lightly with a pencil or chalk. This will serve as a guide and help you visualize the placement of different elements. Start with simple shapes and outlines, gradually adding more details as you progress. If you make any mistakes, you can easily erase or adjust the sketch before painting over it. Take your time during this stage, as a well-planned design will result in a more polished and professional-looking finished pumpkin.
Using stencils or templates
If you are not confident in your freehand drawing skills, using stencils or templates can be a great alternative. Stencils are pre-designed patterns or shapes that you can trace onto the pumpkin’s surface and fill in with paint. You can find a wide variety of pumpkin stencils online or in craft stores, ranging from simple shapes to intricate designs. Templates, on the other hand, provide guidelines for creating specific characters or themes. Simply transfer the template onto the pumpkin’s surface and paint within the designated areas for a precise and consistent design.
Incorporating patterns and textures
To add interest and dimension to your painted pumpkin, consider incorporating patterns and textures into your design. You can achieve this by using various techniques such as stippling, cross-hatching, or dry brushing. Stippling involves using a brush or sponge to create small, dot-like marks on the pumpkin’s surface. Cross-hatching is achieved by applying parallel lines that intersect to form a pattern. Dry brushing refers to using a dry brush with minimal paint to create a feathery or textured effect. Experiment with different techniques and combinations to create a visually dynamic and unique painted pumpkin.
Drying and Sealing
Allowing the paint to dry
After completing the painting process, it is crucial to allow the paint to dry completely before handling or displaying the pumpkin. The drying time will vary depending on the thickness of the paint layers and the environmental conditions. Typically, tempera paint dries within a few hours, but it is advisable to leave the pumpkin overnight to ensure that the paint is fully cured. Avoid touching or moving the pumpkin while it is drying to minimize the risk of smudging or ruining the design.
Protecting the paint with sealant
To protect your painted pumpkin from smudging, chipping, or fading, it is recommended to apply a sealant. Look for a clear acrylic sealant spray that is specifically designed for crafts or outdoor use. Hold the spray can at a distance and apply a thin, even coat over the entire painted surface of the pumpkin. Allow the sealant to dry completely according to the manufacturer’s instructions before handling or displaying the pumpkin. The sealant will provide an extra layer of protection against moisture and the damaging effects of the environment, ensuring the longevity of your painted pumpkin masterpiece.
Displaying and Preserving Your Painted Pumpkins
Choosing the right location
When it comes to displaying your painted pumpkins, choose a location that showcases their beauty and complements your overall decor. Indoor areas such as mantels, shelves, or dining tables are popular choices, as they provide a controlled environment and minimize exposure to external elements. You can also create a captivating display by grouping painted pumpkins of varying sizes and designs. When deciding on a location, consider the lighting and backdrop to enhance the colors and details of your painted pumpkins.
Avoiding direct sunlight
While painted pumpkins are more durable than carved ones, prolonged exposure to direct sunlight can still cause the colors to fade or the paint to peel. To preserve the vibrancy of your painted pumpkin, avoid placing it in direct sunlight or near windows where it can be exposed to harsh UV rays. If you want to display your painted pumpkin outdoors, consider placing it in a shaded area or using a cover to protect it from excessive sunlight.
Preserving the paint for longer
To prolong the life of your painted pumpkin, there are a few additional steps you can take. Avoid placing the pumpkin in areas with high humidity or moisture, as this can cause the paint to soften or peel over time. If you live in a particularly humid environment, consider using a dehumidifier in the room where the pumpkin is displayed. You can also regularly dust the painted surface with a soft, dry cloth to prevent any buildup of dirt or debris that may affect the appearance of the paint.
Alternative Paint Options
Acrylic paint
While tempera paint is the preferred choice for painting pumpkins, you can also use acrylic paint as an alternative. Acrylic paint offers the advantage of being water-resistant and more durable, making it suitable for outdoor displays or pumpkins that may be exposed to moisture. However, it is important to note that acrylic paint may have a shinier finish compared to the matte look of tempera paint. If you decide to use acrylic paint, make sure to choose non-toxic and water-based options that are safe for pumpkins.
Spray paint
Another alternative to consider is spray paint, which allows for quick and even coverage. Spray paint can create a smooth and glossy finish that is different from the textured appearance of brush-applied paint. When using spray paint, it is crucial to work in a well-ventilated area and cover the surrounding surfaces to protect them from overspray. Take care to follow the manufacturer’s instructions and avoid spraying directly onto the pumpkin’s stem, as it can affect its longevity.
Other decorative options
If you want to explore more decorative options for your painted pumpkins, consider using additional materials or techniques. Glitter, sequins, or rhinestones can be glued onto the painted surface to add sparkle and dimension. Ribbons, fabric, or faux foliage can be wrapped around or attached to the stem for an elegant touch. You can also experiment with decoupage techniques by adhering cut-out images or decorative paper to the pumpkin’s surface using a specialized glue or decoupage medium. The possibilities are endless, so feel free to let your creativity shine!
Other Tips and Ideas
Mixing tempera paint colors
If the available tempera paint colors do not fully meet your creative vision, you can mix them to create custom shades. Start with a small amount of each color and experiment by gradually adding more of one color to achieve the desired hue. Keep a record of the ratios used for future reference, as this will allow you to reproduce the same color if needed. Remember to mix paints in a separate palette or container and avoid mixing them directly on the pumpkin’s surface to maintain a clean, professional look.
Incorporating other materials
To add visual interest and texture to your painted pumpkin, consider incorporating other materials into your design. Items such as ribbons, bows, buttons, twine, or even natural elements like leaves or twigs can be attached to the pumpkin’s surface using glue or other adhesives. These additional materials can enhance the overall aesthetic of your painted pumpkin and make it stand out as a unique piece of art.
Creating themed pumpkins
Take your painted pumpkin decorating to the next level by creating themed pumpkins. Whether you want to showcase your favorite book or movie characters, celebrate a specific holiday, or highlight a particular interest, themed pumpkins can be a fun and engaging project. Research different design ideas online or look for inspiration in magazines or craft books. Plan your design in advance and gather all the necessary materials to bring your themed pumpkin to life.
Conclusion
Tempera paint as a fun and versatile option
Painting pumpkins with tempera paint is a creative and enjoyable activity that offers numerous possibilities for self-expression. The smooth consistency, vibrant colors, and matte finish of tempera paint make it an excellent choice for decorating pumpkins, creating striking designs with ease. The water-based nature of tempera paint also allows for easy cleaning, making it a suitable choice for both children and adults alike.
Enjoying the creative process
Painting pumpkins provides an opportunity to explore your artistic abilities and let your imagination soar. From sketching the design to selecting a color palette and applying the paint, every step of the process allows you to express your creativity and create a unique work of art. Take your time, experiment with different techniques, and enjoy the journey of transforming a simple pumpkin into a personalized masterpiece.
Long-lasting painted pumpkin display
By following the proper techniques and taking necessary precautions, your painted pumpkins can be enjoyed for an extended period. By choosing the right paint, allowing it to dry fully, and applying a sealant, you can ensure the longevity and durability of your painted designs. Displaying your painted pumpkins in suitable locations, protecting them from direct sunlight, and implementing preservation measures will help them maintain their vibrant colors and overall appearance throughout the fall season.