Enhancing the longevity and preserving the vibrant integrity of your cherished oil painting rests on your understanding of appropriate cleaning techniques. “How To Clean An Oil Painting On Canvas” offers an invaluable guide, outlining proven methods recommended by art conservators around the globe. This article flawlessly leads you through the intricate steps to remove surface dirt, grime, and the yellowish varnish that time so mercilessly imparts on your work of art. A commitment to the careful revitalization of your oil painting starts here.
Materials Needed
Before embarking on the task of cleaning an oil painting on canvas, it is crucial that you first assemble all the necessary cleaning materials. You’ll require soft brushes, which are essential for gentle removal of dust and dirt accumulated over time on the painting’s surface. Cotton swabs, which will facilitate cleaning of the hard-to-reach areas with precision, are also a must-have. Lint-free cloths will be used to apply and wipe off the cleaning solutions without leaving any residue.
On the chemical front, you’ll need a mild soap or detergent to make the cleaning solution. Distilled water is necessary for diluting the soap and for rinsing the surface of the painting. White vinegar could prove helpful when dealing with tougher stains.
Given that you’ll be handling potentially harmful substances, you should ensure that you have gloves and protective eyewear for personal protection. A cleaning solution specifically made for oil paintings is optional, but could be very helpful for effective cleaning.
Preparing the Workspace
Choosing the right workspace is a key prerequisite for this delicate task. Go for a well-ventilated area to minimize inhalation of potentially harmful fumes emanating from the cleaning substances. Cover the surface where you’ll be working with a protective sheet to prevent the cleaning solution and any dislodged dirt or dust from damaging it.
Personal safety should never be compromised, therefore, before you start, make sure you wear gloves to protect your hands and protective eyewear to keep your eyes safe.
Dust Removal
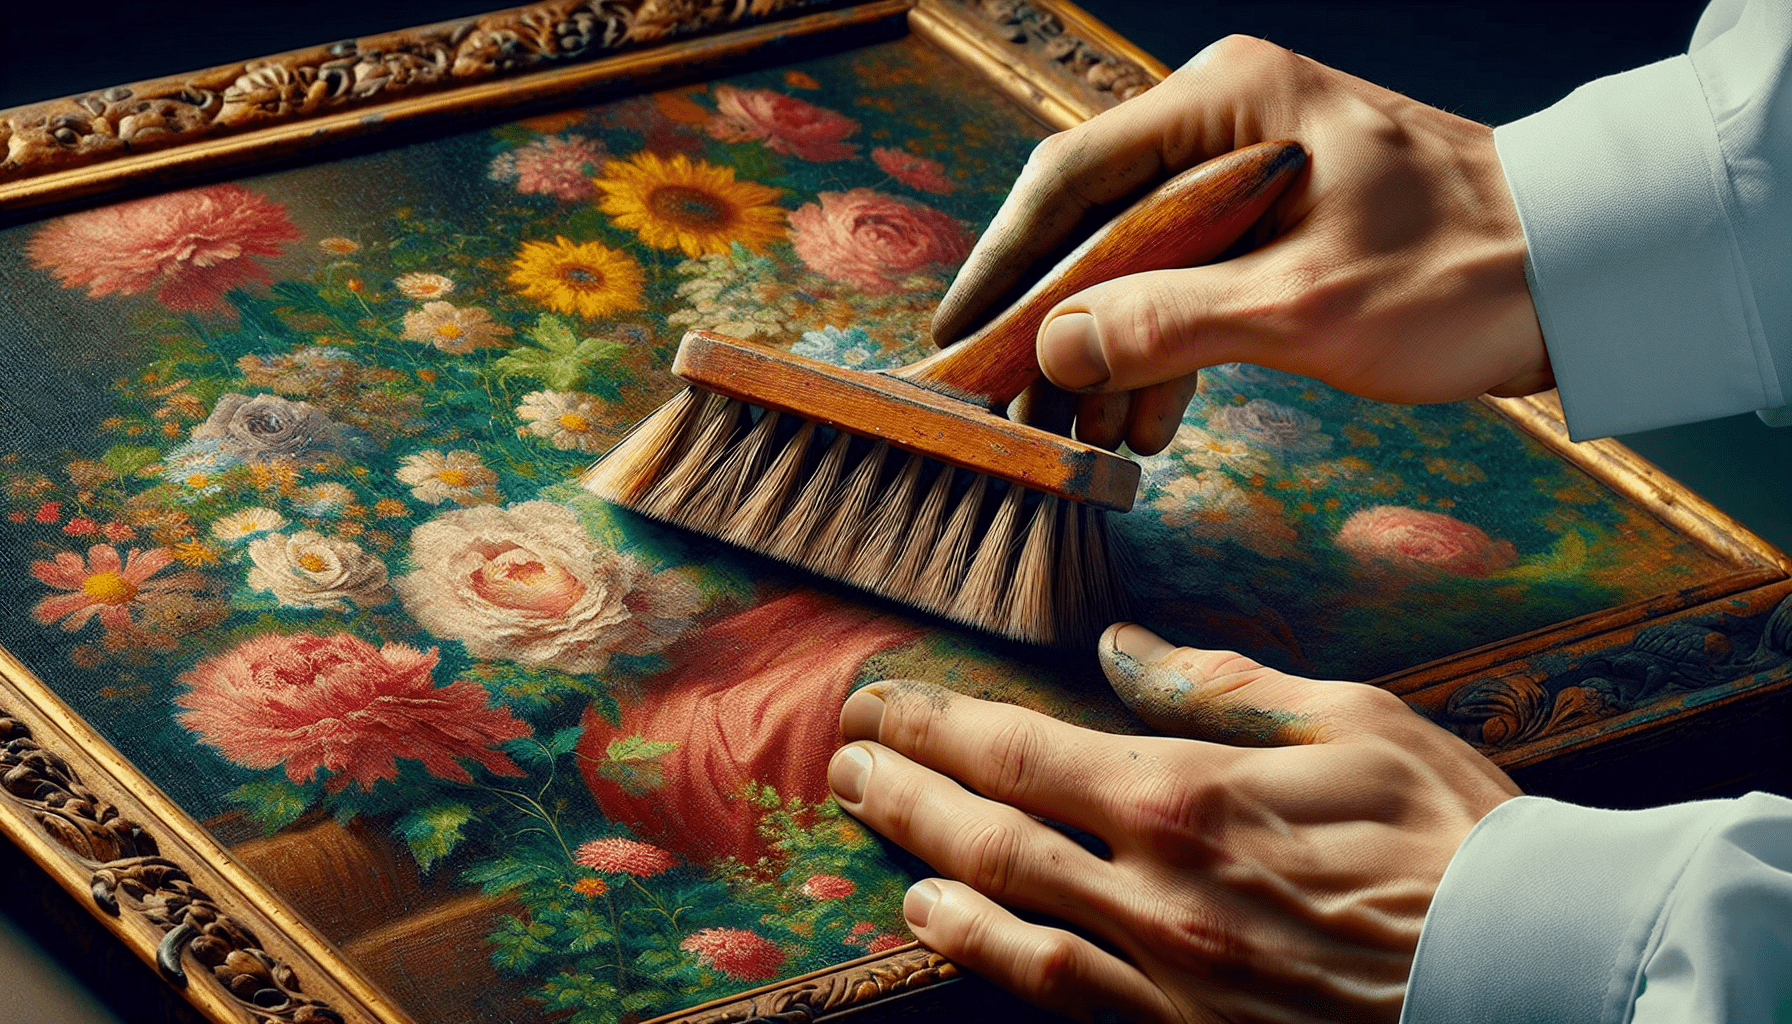
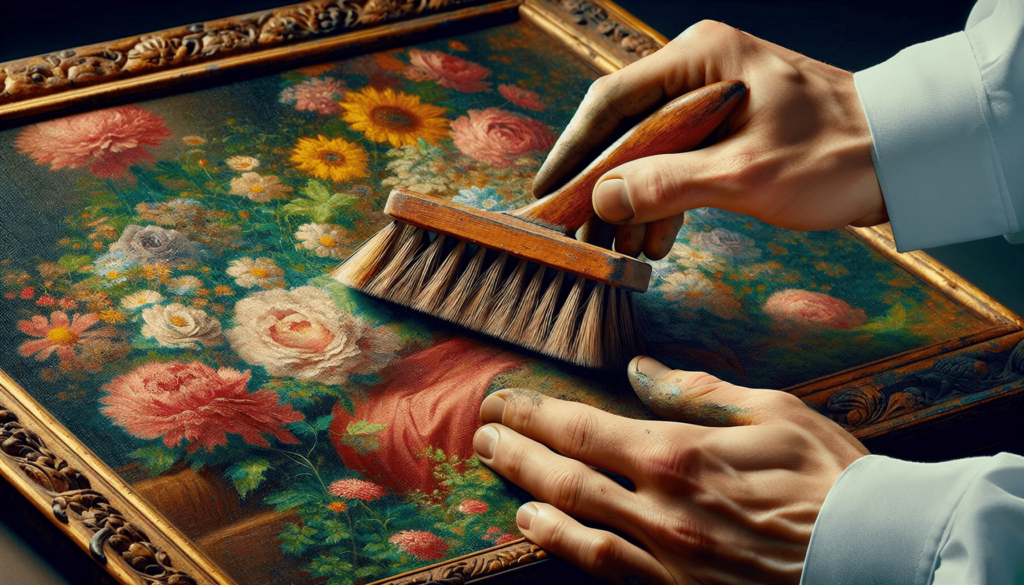
After preparing your workspace, the initial cleaning phase should focus on removing any dust that has accumulated on the surface of the painting. This process should be careful and meticulous. Start with a soft brush and gently sweep it across the painting’s surface to dislodge any loose dust or dirt.
Corners and crevices often harbor more dirt, so pay extra attention to these often-neglected spots. Go a step further to use the cotton swabs to go deep into any crevices and corners where your brush might not have reached.
Cleaning Solution Preparation
Primary cleaning ought to be done using a home-made solution of mild soap or detergent and distilled water. This solution is usually gentle enough for the painting, while still being effective in removing dirt and grime. For tougher stains, you could consider adding a small amount of white vinegar. The acid in the vinegar should help break down the stubborn stains without harming the painting.
Spot Testing
Even with the most gentle of cleaning solutions, it’s always prudent to conduct a small spot test before you proceed with cleaning the entire painting.
Find an inconspicuous area on the painting and apply a small quantity of the cleaning solution. Give it some time then check for any adverse reactions such as discolorations or fading. This is an important step as it could save your valuable artwork from permanent damage.
Cleaning the Surface
Cleaning should always be done with a gentle touch. Dampen a lint-free cloth with the cleaning solution and apply it to the surface of the painting. Use small circular motions and avoid using excessive pressure that might damage the artwork. It may be a slow process but patience pays off in maintaining the integrity of your painting.
Rinse and Pat Dry
After the entire surface has been cleaned, it’s time to rinse off the cleaning solution. Take a separate lint-free cloth and dampen it with some distilled water. Use it to gently wipe off the cleaning solution from the painting’s surface. Afterward, use a clean, dry cloth to pat the surface dry. This prevents any residual solution or water from seeping into the painting.
Removing Tough Stains
Tough stains might survive the initial cleaning. However, they can still be dealt with effectively. Take a cotton swab and dip it in the cleaning solution then apply it to the stained area through gentle circular motions. This should gradually break down the stain. If it persists, repeat the process.
Varnish Removal (if needed)
Varnish removal is a sensitive job and is generally recommended for delicate or valuable paintings that have been painted over with a layer of varnish. Before attempting this yourself, consult a professional restorer for advice. If you decide to carry on yourself, make sure to follow the instructions on the varnish remover carefully. Use a clean cloth to gently remove the varnish.
Preservation and Protection
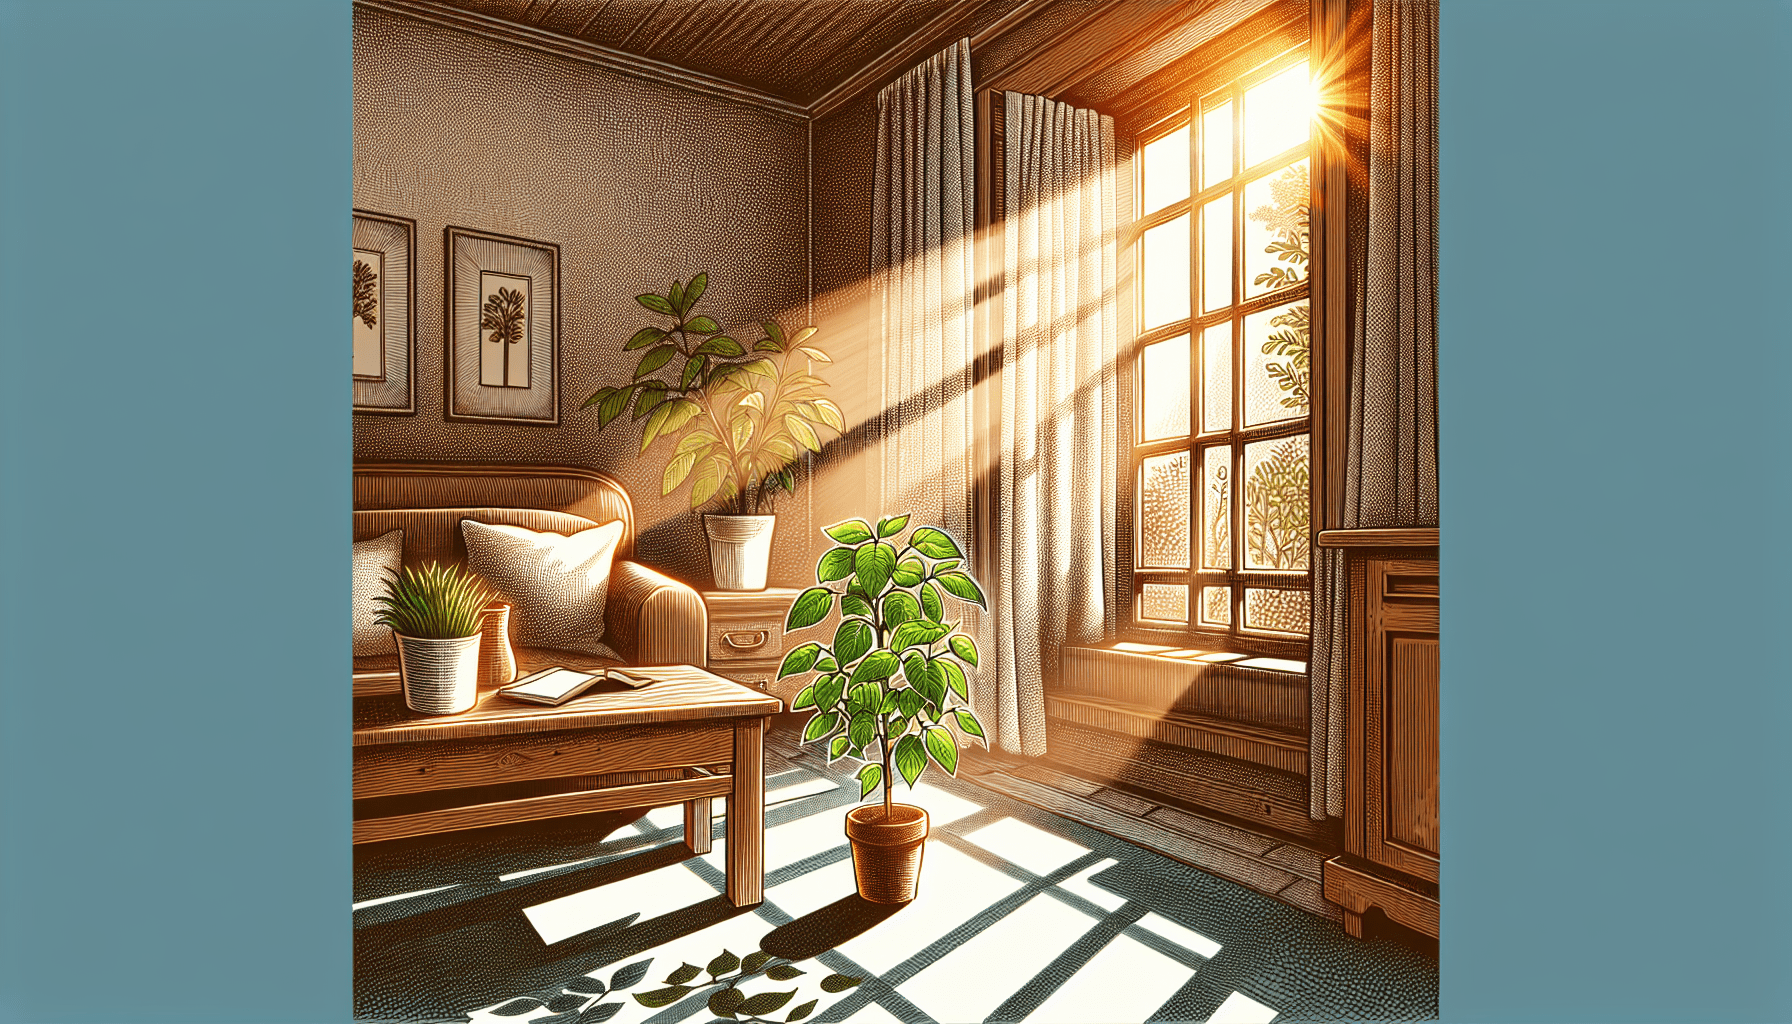
Cleaning your oil painting on canvas is simply the first step in maintaining its good condition. Protection measures need to be implemented for long-term preservation. Keep the painting out of direct sunlight and avoid exposing it to excessive humidity, both of which can cause damage over time. Finally, consider using a protective varnish that will form a barrier against dirt, dust, and environmental damage. This will keep your oil painting looking vibrant and in excellent condition for a longer period. Conclusively, these steps can not only clean but also extend the life of your oil painting.
