Eager to give your old bike a new look but don’t have spray paint on hand? Don’t worry! The article “How To Paint A Bike Without Spray Paint” provides you with an easy and practical guide. It demonstrates how you can effortlessly transform your dull bike into an eye-catching cruiser using only basic tools and paint you probably already have at home. Stick around if you’re ready to breathe new life into your bike and impress your friends with your DIY skills.

Preparing the Bike
Before you start painting your bike, the first thing you need to do is preparation. This is a crucial step to improve the longevity of the paint and ensure a smooth, uniform finish. Don’t rush the process; adequate prep work can make a huge difference to the final outcome.
Cleaning the Bike
Begin with cleaning your bike thoroughly. Remove all sorts of dirt, grime, and debris from every corner. You can use a brush to clean hard-to-reach areas or soak a cloth in soapy water and wipe down the frame. Make sure your bike is completely dry before moving to the next step. You wouldn’t want any kind of moisture trapped under the new coat of paint.
Removing the Existing Paint
In order to create a completely new look, you’ll need to remove the bike’s existing paint. You may use a chemical paint remover, which can be gently applied and then scraped off, taking the old paint with it. Make sure to protect your skin from chemicals and wear safety glasses to protect your eyes.
Sanding the Surface
Sanding is required to roughen the surface so that new paint can adhere properly. For this job, you can use medium-grit sandpaper. Remember to sand evenly over the entire frame to create a uniform surface. Follow the contours of the bike frame as closely as possible to avoid marking or digging into the metal.
Choosing the Paint
Choosing the right kind of paint is crucial when it comes to an efficient bike painting job. The market is flooded with various types of paints, each with its own pros and cons.
Types of Paint
You can choose between acrylic enamel, urethane, and epoxy paints. Often, the best paints for bikes are either urethane-based or epoxy-based. These paints are extremely durable and resistant to various elements. An important thing to remember is to match your paint with the primer; they should be from the same product family.
Selecting the Right Color
When it comes to color, it is an entirely personal choice. You may wish to go with a classic black or white or even choose an eye-catching neon for a unique look. Choose something that reflects your personality and makes you feel a sense of pride when you’re riding your bike.
Considering Durability
It is also important to consider the durability of the paint. Make sure you buy high-quality, long-lasting paint that can withstand both weather elements and the typical wear and tear of riding.
Gathering the Supplies
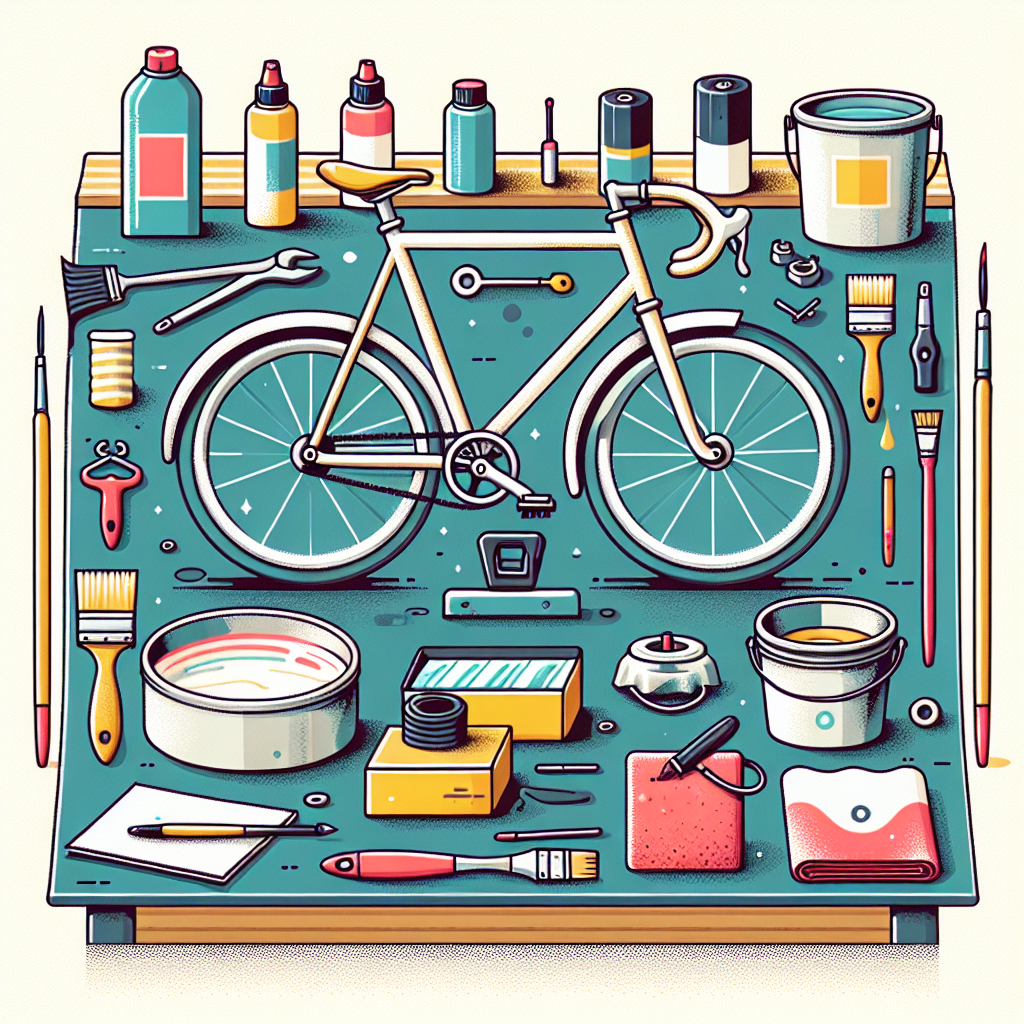
Before you start the repainting process, gather all the supplies that you would need. This ensures that you have everything at hand when you start the job, making the process much smoother.
Paints and Primers
Based on the type of paint you have chosen, buy the compatible primer. The primary purpose of the primer is to ensure the paint adheres to the bike’s frame and lasts for a long time.
Brushes and Rollers
Invest in good quality brushes or rollers as they directly impact the finish of the paint job. Nylon or polyester brushes along with foam rollers can be a good choice.
Masking Tape and Newspaper
To protect parts you do not wish to paint, you’ll need masking tape and old newspapers.
Sandpaper and Steel Wool
As discussed earlier, sanding is an essential part of prepping the bike. So, stock up on sandpaper of varying grits to get the job done.
Painting Accessories
Other accessories like gloves, goggles, masks, and a painting tray should be included in your supplies for a thorough and safe process.
Prepping the Bike
Proper preparation of the bike ensures a seamless painting experience and a flawless result.
Protecting Areas Not to Be Painted
Using masking tape and newspapers, cover any areas that you don’t want to be painted such as the chain, seat post, wheels, and handlebars. Doing this will protect these parts from accidental spills or strokes of paint.
Removing Bike Components
Some bike components such as pedals, brakes, or gears might prove cumbersome and stand in the way of a good paint job. You could consider removing them before starting the painting process.

Applying the Primer
Primer acts as a foundation that helps the paint adhere to the bike’s frame.
Cleaning the Surface Again
Before you apply the primer, make sure to clean the surface again to remove any residues of dust or dirt from the sanding process.
Applying Primer Coats
Use a brush or roller to apply primer onto the bike frame. It is recommended to apply multiple thin coats rather than a single thick coat. Remember, even strokes lead to a smooth finish.
Waiting for Drying Time
Each layer of primer needs to be completely dry before you apply another layer. Follow the instructions on the primer package to know how long you should wait between coats.
Sanding the Primed Surface
Once the primer is dry, you should lightly sand the surface again using a fine-grit sandpaper. This removes any imperfections and ensures a smooth surface for the paint to adhere to.
Painting the Bike
After the primer has dried and you have sanded the surface again, the bike is ready for a coat of paint.
Choosing a Painting Technique
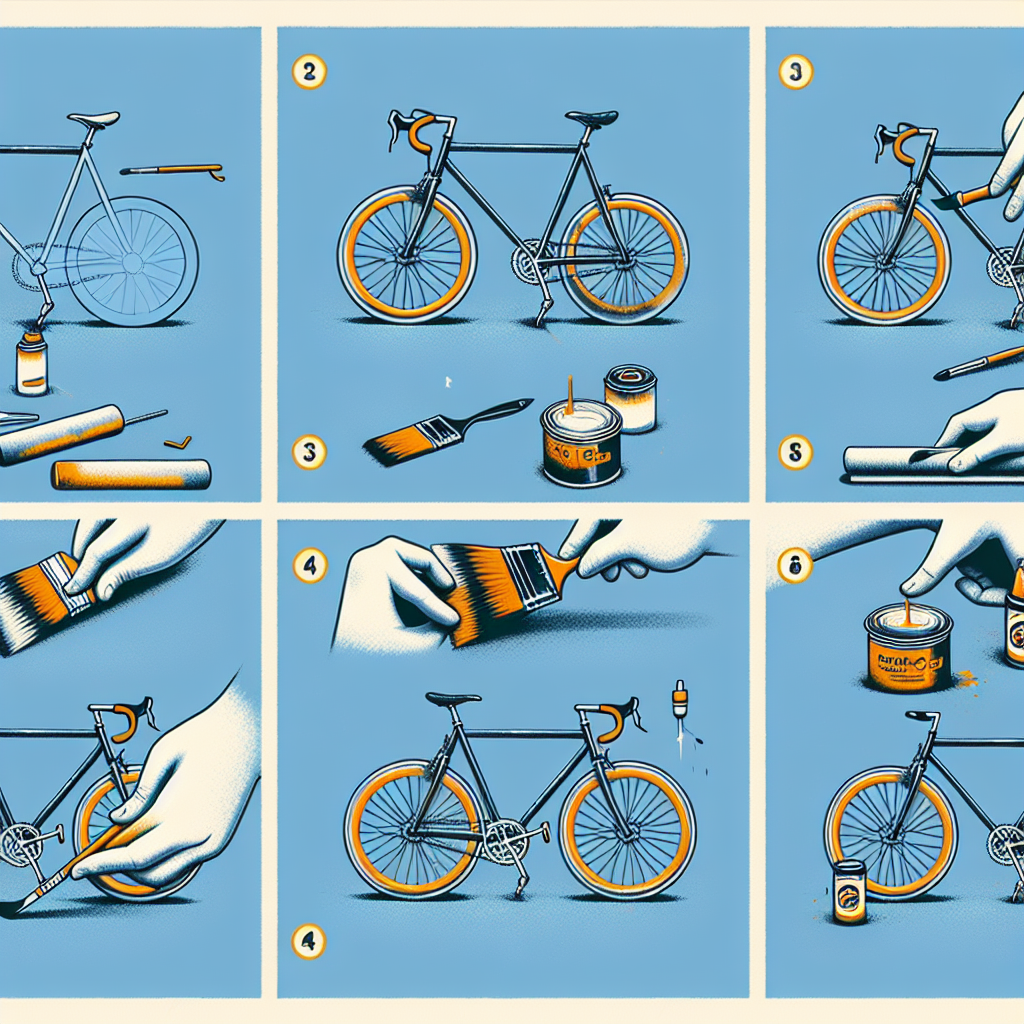
The painting technique ultimately depends on the type of paint you have chosen. However, it is usually recommended to use a brush or roller for painting a bike without spray paint.
Applying Multiple Thin Coats
As with the primer, it’s better to apply several thin coats of paint rather than one thick one. Make sure to let each layer dry before applying the next one.
Allowing Drying Time between Coats
Just like primer, paint requires sufficient drying time to maintain its durability. Always end your painting sessions early enough for the paint to dry overnight.
Touching Up Any Imperfections
After the paint has dried completely, inspect it thoroughly for any imperfections. If you find any areas that need touch-ups, lightly sand the surface and apply another layer of paint.
Adding Designs and Details
After you have successfully painted the bike, you might want to add some extra designs and details for a unique touch.
Using Stencils
Stencils can help you paint precise and complicated designs with ease. Simply place your stencil over the area you want to paint, and fill in the design with the chosen color.
Creating Freehand Designs
If you have a steady hand and a knack for arts, freehand designs can lend a personal and unique touch to your bike.
Adding Pinstripes or Decals
Adding pinstripes or decals can enhance the appeal of your bike. You can buy pre-made decals, or create your own and apply them to your painted bike frame.
Protecting the Paint
After painting and designing, it’s time to protect your bike’s new look.
Applying Clear Coat
Applying a clear coat will seal and protect the paint from the elements, as well as give your bike a glossy finish.
Polishing the Surface
After the clear coat has completely dried, polish the surface for a more professional finish and shine.
Using Wax or Sealant
Finally, consider applying a wax or sealant for added protection against dust, dirt, and moisture.
Reassembling the Bike
Once you have finished painting, it’s time to reassemble the bike.
Cleaning the Bike Components
Before you reattach the bike components, clean them thoroughly to remove any dirt or dust that may have accumulated during painting.
Lubricating Moving Parts
Apply sufficient lubrication to all moving parts like chains, gears and brakes for smoother functioning of the bike.
Reattaching Bike Components
Carefully reattach all the components including pedals, brakes, gears, wheels, and anything else that was removed during the painting process.
Curing and Final Adjustments
Finally, allow the bike ample time to cure before you start using it again.
Allowing Sufficient Curing Time
Paint needs time to fully cure and harden. Depending on the type of paint you used, this could be anywhere from a few days to a week.
Inspecting the Paint Job
Once the paint has fully cured, do a final inspection to make sure everything looks perfect.
Making Final Adjustments
If needed, make any final adjustments to the bike such as aligning the wheels, adjusting the seat and handlebars, and tightening any loose nuts or bolts. Once this is done, your bike is ready to hit the road again!
And there you have it! Painting your bike without using spray paint may be a bit time-consuming, but the sense of satisfaction you get in revamping your old bike in your way is truly rewarding. Just remember, the key to a great paint job is patience and preparation. Happy painting!


