If you’ve ever been curious about adding some unique techniques to your acrylic painting repertoire, then you’ve come to the right place. In this article, we’ll be exploring the fascinating world of the Dutch Pour in acrylic painting. Discover what makes this technique so captivating and how you can incorporate it into your own artistic creations. Let’s dive in and unlock the secrets of the Dutch Pour!
What is a Dutch Pour in Acrylic Painting

Understanding the Dutch Pour Technique
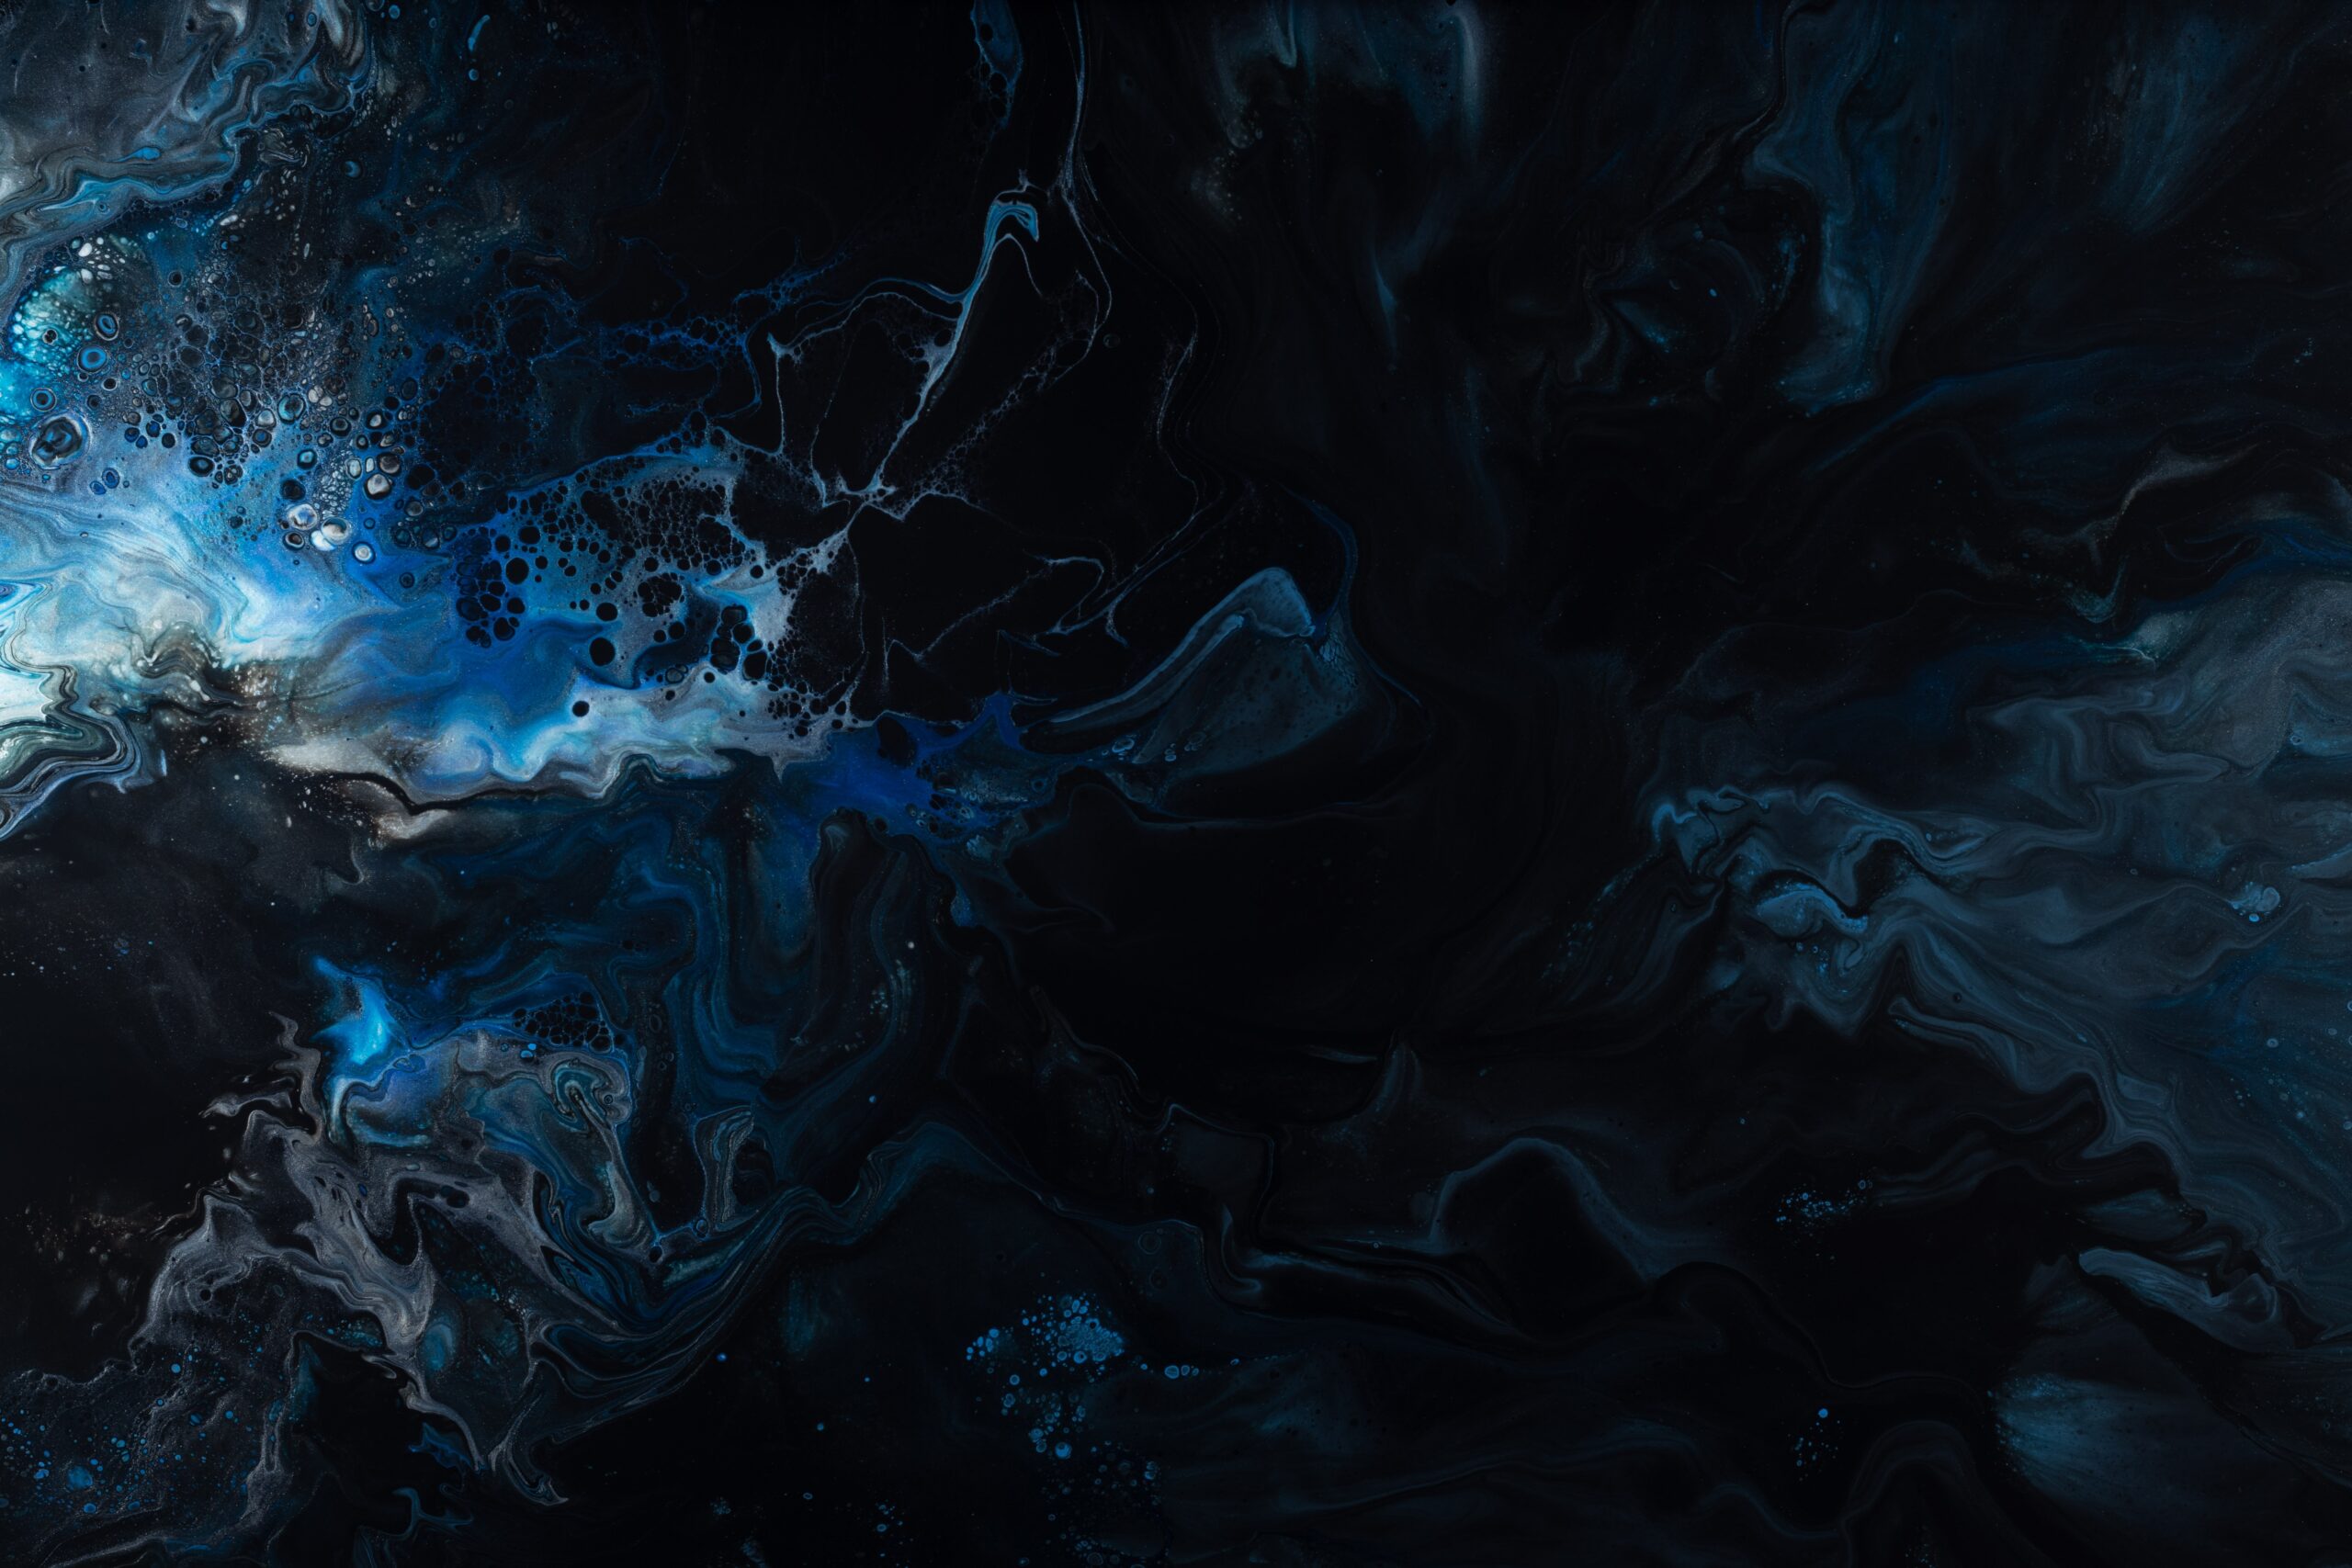
The Dutch Pour is a popular acrylic pouring technique that involves pouring multiple colors of paint onto a canvas in a controlled manner, creating beautiful and mesmerizing patterns. It is known for its distinctive cell formations, which are achieved through the use of various additives, such as silicone oil. This technique allows artists to create unique and vibrant abstract artworks with a high level of spontaneity and fluidity.
Origin and History of the Dutch Pour
The Dutch Pour technique originated in the Netherlands, hence its name. Although the exact origins of this technique are unclear, it has gained significant popularity in recent years, particularly within the acrylic pouring community. Artists in the Netherlands have long been recognized for their use of vibrant colors and innovative painting techniques, and the Dutch Pour is a prime example of their creative approach to acrylic painting.
Materials Needed for a Dutch Pour
To create a Dutch Pour, you will need a few essential materials. Acrylic paints in various colors are the foundation of this technique. Additionally, a pouring medium is necessary to achieve the desired consistency and flow of the paint. Silicone oil is another crucial ingredient that helps to create the characteristic cell formations. You will also need cups or containers for mixing and pouring the paint, stirring tools, protective gloves to keep your hands clean, a palette knife for manipulating the paint, and a blowtorch or heat gun for activating the cells. Lastly, you will need a canvas or another suitable surface to pour your paint onto and a drying rack or an elevated surface to allow the artwork to dry evenly.
Preparing the Acrylic Paints
Before starting a Dutch Pour, it is important to select the right colors that will harmonize well together. Experiment with different color combinations to achieve the desired effect. Once you have chosen your colors, it’s time to mix the paints. Pour each color into separate cups and add the pouring medium to achieve the desired consistency. Stir the mixture thoroughly to ensure even distribution of the medium. At this stage, you can also add a few drops of silicone oil to each color cup to promote cell formation. Mix the paint and silicone oil gently to avoid overmixing, which can lead to muddy colors.

Preparing the Pouring Medium
The pouring medium is an essential component of the Dutch Pour technique. It helps to thin the paint, improve its flow, and prevent cracking and crazing when drying. There are various types of pouring medium available, such as acrylic pouring mediums or even DIY alternatives like a mixture of glue and water. Mix the pouring medium according to the instructions provided by the manufacturer. The consistency of the pouring medium is crucial for the success of your Dutch Pour. It should be thick enough to hold its shape when poured, but still fluid enough to flow easily across the canvas. Experiment with different ratios of pouring medium to achieve the desired consistency for your artwork.
Choosing a Surface for the Dutch Pour
When selecting a surface for your Dutch Pour, consider factors such as the desired size of your artwork and the level of absorbency. Canvas is a popular choice as it provides a stable and durable surface to work on. Wood panels can also be a great option, providing a smooth and rigid surface for the paint to flow across. Paper can be used for smaller, experimental pieces, while tiles or ceramics offer a unique and unconventional surface for the Dutch Pour technique. Whichever surface you choose, ensure that it is adequately primed or prepared to prevent any unwanted absorption or warping of the paint.

Application Techniques for a Dutch Pour
There are several application techniques that can be used to create a Dutch Pour. The Dirty Pour involves layering different colors of paint in a cup and pouring it onto the canvas. The Flip Cup technique requires pouring the colors into a cup, then flipping the cup onto the canvas and lifting it to release the paint. The Swipe technique involves pouring the paint onto the canvas and using a palette knife or other tool to swipe across the surface, creating visually striking patterns. The Wiggle Pour technique requires gently shaking and wiggling the canvas to spread the paint in a controlled manner. The Tree Ring Pour involves pouring the paint onto the canvas in concentric circles to create the effect of tree rings. Lastly, the Ring Pour technique requires pouring the paint in circular motions onto the canvas, creating beautiful and intricate patterns.
Creating Cells in a Dutch Pour
One of the defining characteristics of the Dutch Pour technique is the creation of cells within the artwork. Cells are small circular formations that appear within the poured paint, adding visual interest and complexity to the piece. To achieve cells, artists often add silicone oil or other additives to their paint mixture. The silicone oil creates a reaction with the other paint ingredients, causing the formation of cells as the paint dries. Artists can also use heat techniques, such as a blowtorch or heat gun, to further enhance the formation of cells. Alternatively, artists can experiment with alternative methods, such as using a straw to blow air onto the wet paint or using a palette knife to create subtle texture and cell-like formations.

Tips and Tricks for a Successful Dutch Pour
To ensure a successful Dutch Pour, here are some tips and tricks to keep in mind:
- Avoid overmixing your paint, as it can lead to muddy colors. Gentle mixing is key.
- Prepare your surface properly by priming or prepping it to prevent unwanted absorption or warping.
- Find the right consistency for your pouring medium to achieve optimal flow and control.
- Allow sufficient drying time for your artwork. Rushing the drying process can lead to cracking or other imperfections.
- Protect your working area with a drop cloth or plastic sheet to catch any spills or drips.
- Experiment with different color combinations to achieve the desired visual effect.
- Prioritize safety by wearing protective gloves to keep your hands clean and avoid skin irritation or allergies.
- Embrace experimentation and creativity. Don’t be afraid to try new techniques and explore different approaches.
- Seal your completed artwork with a varnish or sealant to protect it and enhance its longevity.
Common Mistakes to Avoid in a Dutch Pour
While the Dutch Pour technique is highly rewarding, there are some common mistakes that artists should be aware of and avoid:
- Overmixing the paints can result in muddy colors and a loss of vibrancy.
- Inadequate surface preparation can lead to unwanted absorption or warping of the paint.
- Inconsistent pouring medium ratios can result in uneven flow and undesirable results.
- Insufficient drying time can cause the paint to crack or develop other imperfections.
- Neglecting to protect the working area can lead to difficult-to-remove paint spills or drips.
- Poor color selection can result in a lack of visual interest or harmony in the artwork.
- Ignoring safety precautions, such as wearing gloves, can lead to skin irritation or allergies.
- Lack of experimentation and creativity can limit the artist’s potential for discovering new techniques and styles.
- Skipping the sealing process can leave the artwork vulnerable to damage and degradation over time.
In conclusion, the Dutch Pour technique in acrylic painting offers artists a dynamic and captivating method for creating abstract artworks. Understanding the technique, preparing the necessary materials, and employing various application techniques can lead to stunning and unique results. By avoiding common mistakes and incorporating tips and tricks, artists can achieve successful Dutch Pours that showcase their creativity and individuality. Whether you are a beginner or an experienced artist, the Dutch Pour technique provides endless opportunities for exploration and expression in the exciting world of acrylic pouring.