When it comes to painting surfaces, it is essential to understand the compatibility between different types of paint. This article explores the consequences of applying oil-based paint over latex paint. By delving into this subject, you will learn about the potential risks and complications that can arise from mixing these two types of paint. Understanding the outcomes of painting oil over latex can save you time, money, and ensure a professional finish for your next painting project.
Understanding the Characteristics of Oil and Latex Paints
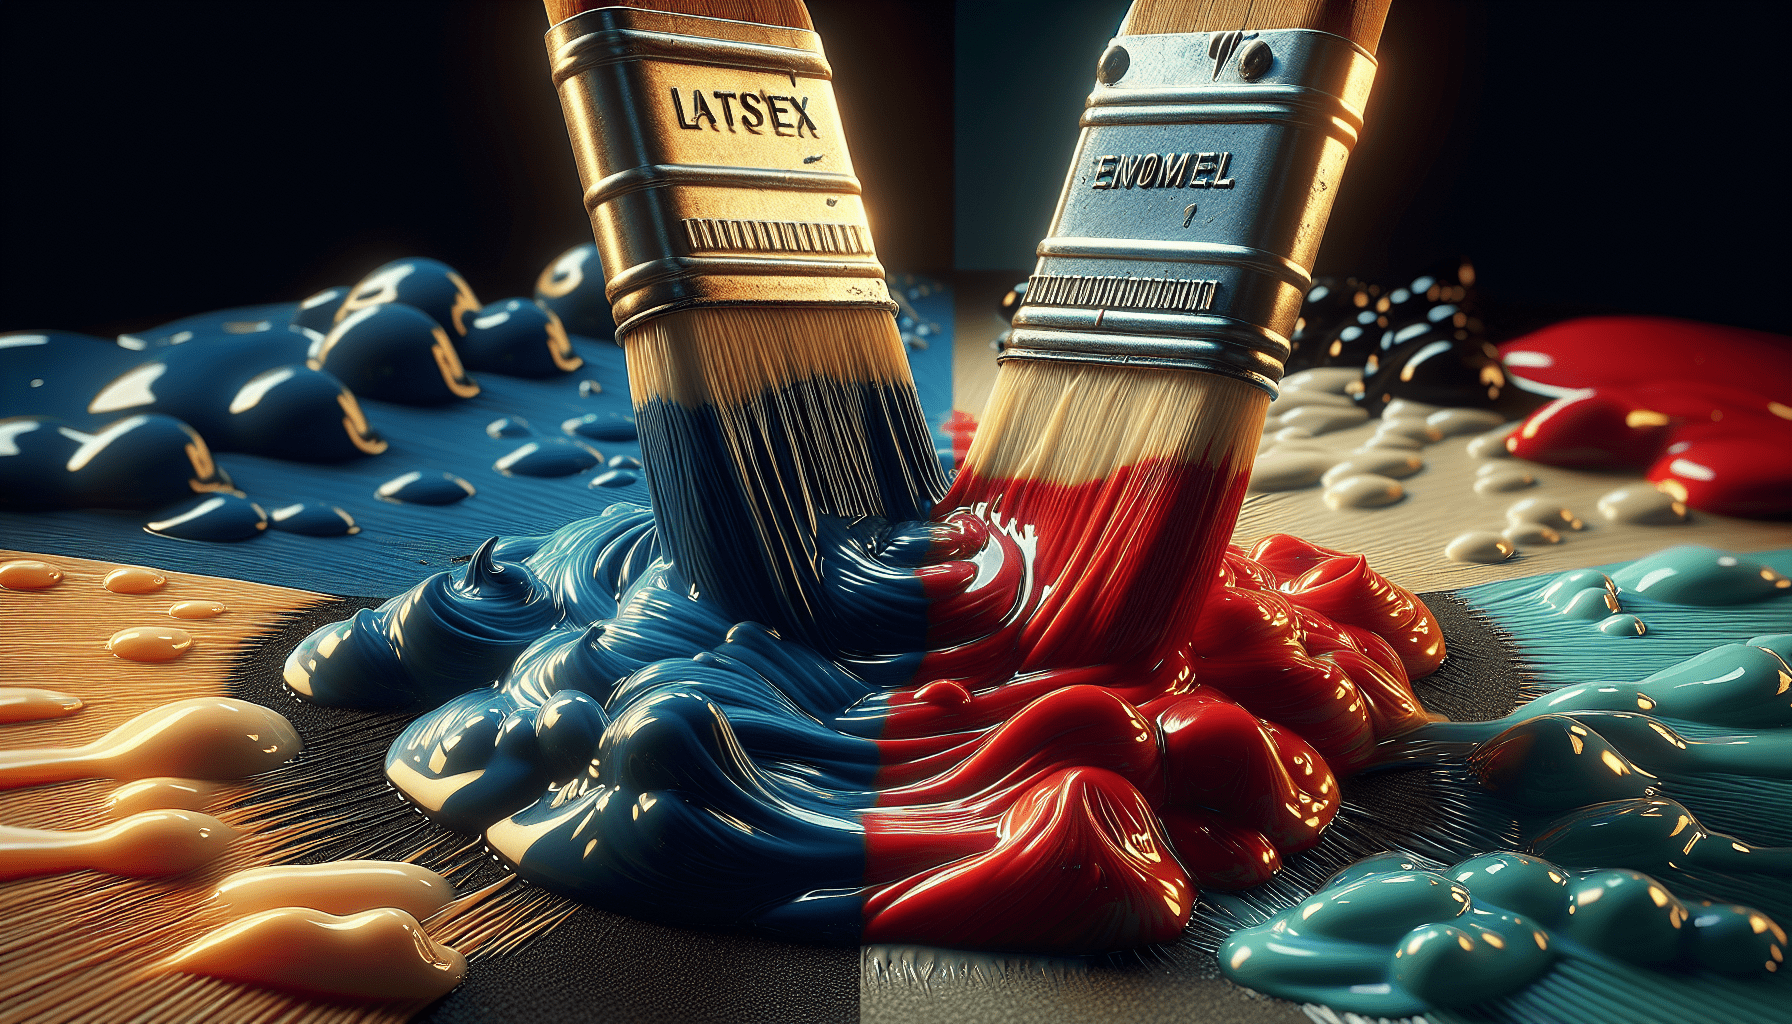
Before diving into the potential issues and solutions when applying oil paint over latex, it is essential to understand the characteristics of these two types of paint. Oil-based paint, also known as alkyd paint, is made up of pigments suspended in a drying oil, typically linseed or soybean oil. It has been a popular choice for many years due to its durability, smooth finish, and resistance to wear and tear. Latex-based paint, on the other hand, is made up of pigments suspended in a synthetic binder called latex, usually a form of acrylic or vinyl. Latex paint has gained popularity in recent years due to its quick drying time, low odor, easy cleanup with water, and flexibility on various surfaces.
Chemical Composition and Properties of Oil-Based Paint
Oil-based paint consists of three main components: pigments, binders, and solvents. Pigments are the colorants that provide the desired hue, while binders act as a glue to hold the pigments together and adhere them to the surface. Solvents are used to dilute the mixture and facilitate the application process. One of the notable properties of oil-based paint is its long drying time, usually ranging from 8 to 24 hours, depending on environmental conditions and the thickness of the paint layer. Additionally, oil-based paint is known for its high level of gloss, making it a popular choice for surfaces that require a shiny and smooth finish.
Chemical Composition and Properties of Latex-Based Paint
Latex-based paint, as mentioned earlier, is composed of pigments and a synthetic binder known as latex. This binder is usually made from a form of acrylic or vinyl, which gives the paint its flexibility and adhesion. Unlike oil-based paint, latex paint does not require solvents for dilution or cleanup, making it more environmentally friendly. Furthermore, latex paint dries relatively quickly, typically within an hour, allowing for faster recoating or completion of a project. This type of paint also offers a range of sheen options, including flat, matte, satin, semi-gloss, and high-gloss finishes, catering to different aesthetic preferences.
Issues When Applying Oil Paint Over Latex
While it may seem tempting to apply oil-based paint over an existing latex surface, it is not recommended due to several potential issues. Understanding these problems will help you make informed decisions and avoid costly mistakes when it comes to painting projects.
Incompatibility and Poor Adhesion
The most significant issue when applying oil paint over latex is the incompatibility between the two paint types. Oil-based paint does not adhere well to the smooth and flexible surface of latex paint, resulting in poor adhesion. Without proper adhesion, the paint is more likely to peel, flake, or chip off over time, leading to an unsightly and unsustainable finish.
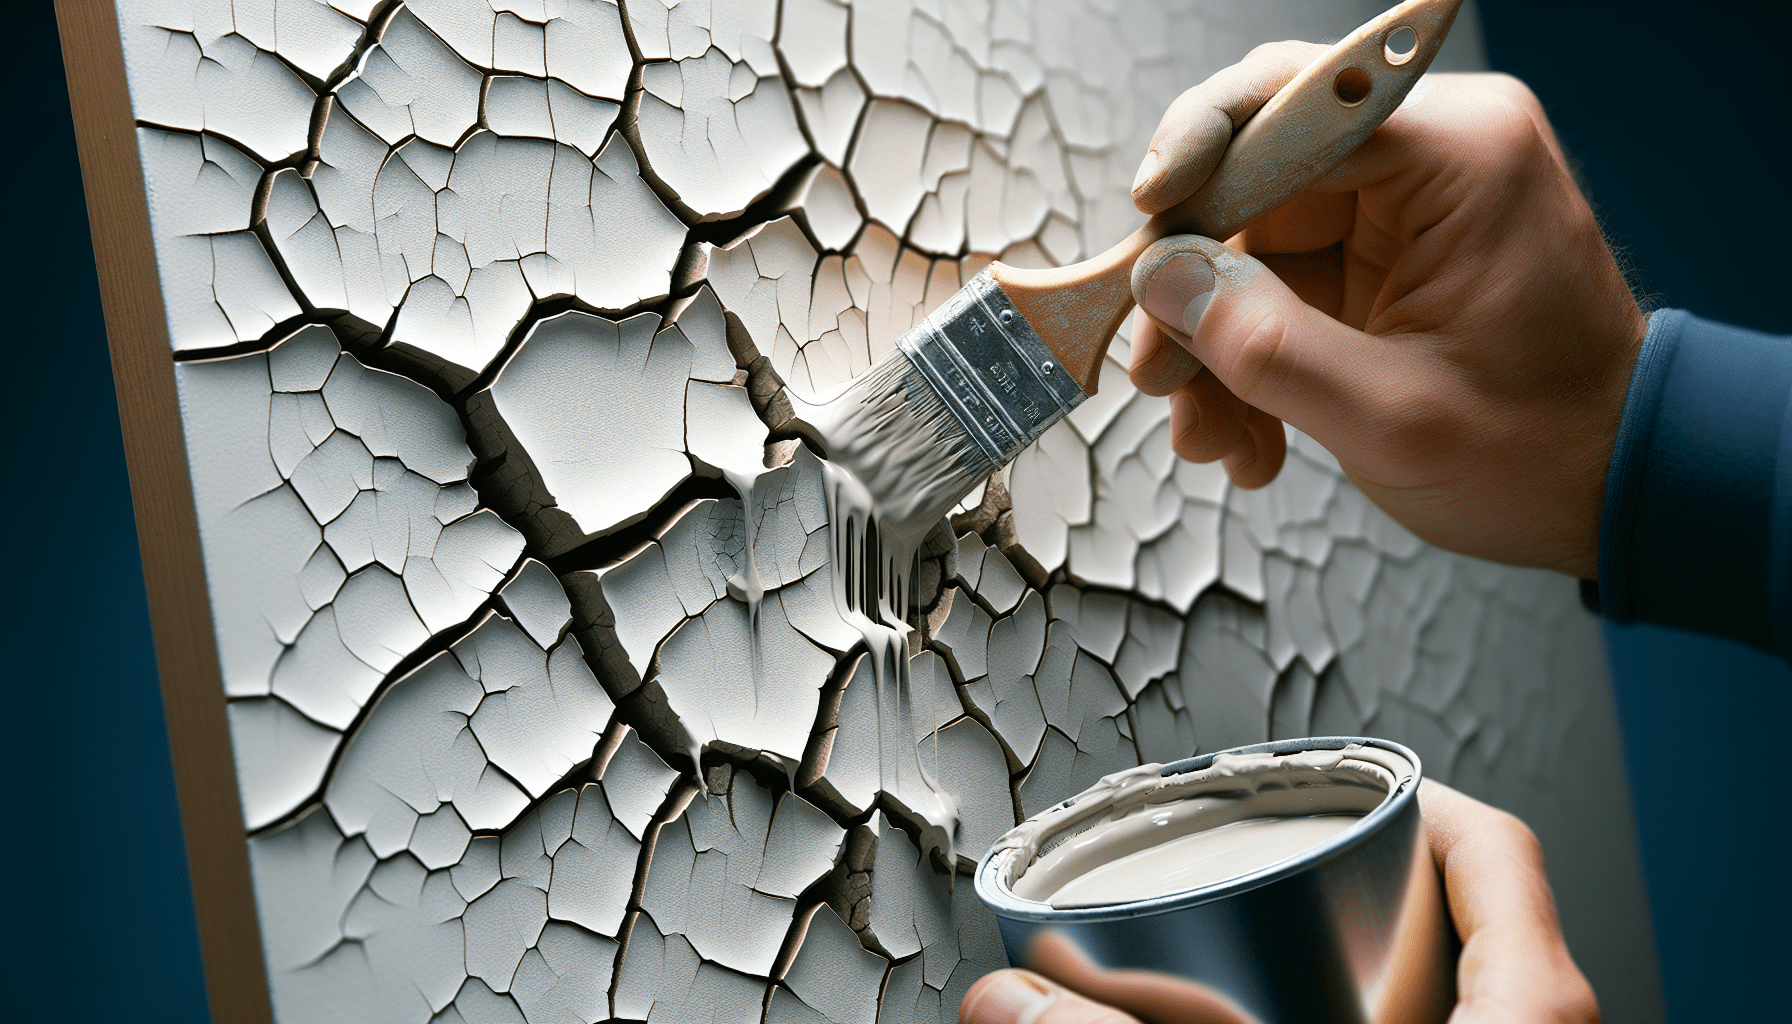
Cracking and Peeling
As mentioned earlier, the lack of adhesion between oil paint and latex can lead to cracking and peeling. When the two paint types are incompatible, the oil-based paint struggles to bond with the latex surface, causing tension and stress. Over time, this tension can result in cracks and splits, compromising the integrity of the paint and exposing the underlying surface.
Discoloration and Yellowing
Another consequence of applying oil paint over latex is the potential for discoloration and yellowing. Oil-based paints tend to discolor over time due to the oxidation process that occurs as the oils in the paint react with oxygen in the air. When applied over latex, this yellowing effect can be more noticeable and unappealing, especially if the latex paint was originally a light or bright color.
Drying and Curing Problems
Oil-based paint requires a longer drying and curing time compared to latex paint. When applied over latex, the oil paint may struggle to dry and cure properly due to the barrier created by the latex surface. This can result in an uneven finish, prolonged drying time, and an increased risk of damage to the freshly painted surface.
Preparation and Priming
To overcome the issues associated with applying oil paint over latex, proper preparation and priming are essential. Following these steps will help create a suitable surface for oil-based paint and improve the chances of achieving a satisfactory and long-lasting result.
Cleaning and Removing Old Paint
Before applying any new paint, it is crucial to thoroughly clean the surface and remove any old paint. Use a mild detergent and water solution to remove dirt, grease, or loose particles. If there are any areas with chipped or flaking latex paint, gently scrape or sand them to create a smooth surface. Once the cleaning process is complete, ensure the surface is completely dry before proceeding.
Sanding and Smoothing Surfaces
To promote better adhesion, it is recommended to lightly sand the latex surface before applying oil-based paint. Sanding helps create a rougher texture, allowing the oil paint to adhere more effectively. Use fine-grit sandpaper and sand in a circular motion, being careful not to sand too aggressively and damage the underlying surface. After sanding, remove any dust or debris with a clean cloth or vacuum.
Applying Appropriate Primer
Priming is a crucial step when transitioning from latex to oil-based paint. It helps create a suitable bonding surface for the oil paint and improves adhesion. Choose a high-quality primer specifically designed for the type of surface you are working on. Apply the primer evenly using a brush or roller, following the manufacturer’s instructions. Allow the primer to dry completely before applying the oil-based paint.

Stripping Oil Paint Over Latex
In some cases where oil paint has already been applied over latex, it may be necessary to remove or strip the oil paint before proceeding with new paint application. Several methods can be used to strip oil paint effectively, depending on the extent of the paint buildup and the desired outcome.
Chemical Paint Strippers
Chemical paint strippers are effective in removing oil paint from surfaces, including latex-painted surfaces. These products typically contain solvents that break down the paint, allowing it to be easily scraped or washed away. Follow the instructions provided by the manufacturer to ensure safe and proper use. It is essential to protect yourself by wearing appropriate safety gear such as gloves and goggles when using chemical paint strippers.
Heat Guns and Infrared Strippers
Heat guns and infrared strippers can also be used to soften and remove oil paint. These tools generate heat, which helps loosen the paint from the underlying surface. However, caution must be exercised when using heat guns, as excessive heat can damage the surface or create a fire hazard. Always follow the manufacturer’s instructions, and be mindful of safety precautions, including proper ventilation.
Sanding or Scraping
For smaller areas or when dealing with stubborn oil paint buildup, sanding or scraping can be effective methods. Use sandpaper or a scraper to gently remove the paint layers, being careful not to damage the underlying latex paint. After sanding or scraping, clean the surface thoroughly to remove any dust or loose paint particles before proceeding with the next steps.
Fixing Issues and Repainting
In the event that the surface has been damaged due to the issues mentioned earlier or during the paint removal process, it is crucial to repair these areas before repainting.
Scraping and Sanding Damaged Areas
Carefully inspect the surface for any damage or imperfections caused by peeling or scraping. Use a putty knife or scraper to remove any loose or damaged paint. Once the damaged areas are smooth and free from loose particles, sand them lightly to ensure a level surface. Be sure to clean the sanded areas to remove any dust before proceeding.
Applying Appropriate Primer and Paint
To ensure a seamless and lasting finish, it is essential to apply an appropriate primer after repairing any damaged areas. Choose a primer specifically designed for the type of surface and the paint type you are using. Apply the primer evenly, following the manufacturer’s instructions, and allow it to dry completely before continuing with the paint application. When selecting the paint, opt for a high-quality latex-based paint that is compatible with the primer and the surface you are working on.
Ensuring Compatibility and Proper Drying
Before applying the paint, ensure that it is compatible with the primer and the surface. Check the manufacturer’s recommendations for paint compatibility and drying time. Apply the paint evenly using a brush or roller, following the proper technique for the best results. Allow the paint to dry and cure completely before subjecting the surface to any wear or excessive moisture.
Sealing Latex Paint Before Applying Oil
In some cases, it may be necessary or desirable to seal the latex paint before applying oil-based paint. Sealing helps create a more receptive surface and improves the bond between the two paint types.
Using Shellac-Based Sealers
Shellac-based sealers are commonly used to seal latex paint before applying oil-based paint. These sealers create a barrier between the latex and oil paint, preventing the issues associated with incompatibility and poor adhesion. Apply the sealer evenly using a brush or roller, following the manufacturer’s instructions. Allow the sealer to dry completely before proceeding with the oil-based paint.
Choosing Compatible Sealers
If shellac-based sealers are not suitable for your project, there are other compatible sealers available on the market. Consult with paint professionals or experts to identify the most suitable sealer for the specific paint types and surface being worked on. Ensure that the sealer is formulated for use between latex and oil-based paints and follow the manufacturer’s instructions for application.
Testing Adhesion and Compatibility
Before sealing the entire surface, it is advisable to perform a small test area to check the adhesion and compatibility of the sealer and the paint types being used. Choose an inconspicuous area and follow the steps outlined in the manufacturer’s instructions. Allow the test area to dry completely and inspect the adhesion and compatibility. If satisfied with the results, proceed with sealing the rest of the surface. If any issues or inconsistencies are observed, consult with professionals for further guidance.
Applying Oil-Based Paint Over Latex
Although applying oil-based paint over latex is generally not recommended, there are some situations where it may be necessary or desirable. If you decide to proceed with this approach, it is crucial to follow proper techniques and take necessary precautions.
Surface Preparation
As with any painting project, proper surface preparation is vital for a successful finish. Clean the surface thoroughly, removing any dirt, grease, or loose particles. Sand the latex paint lightly to create a rougher texture for better adhesion. Clean the sanded surface to remove any dust or debris before applying the oil-based paint.
Choosing the Right Oil-Based Paint
When selecting oil-based paint, choose a high-quality product that is compatible with latex surfaces. Look for paints specifically labeled for use over latex or multi-surface paints that provide good adhesion on various substrates. Consult with paint professionals or experts for recommendations on the best type and brand of oil-based paint for your specific project.
Application Techniques
Apply the oil-based paint using appropriate techniques for a smooth and even finish. Use a high-quality brush or roller designed for oil-based paints. Follow the manufacturer’s instructions regarding application and drying times. Apply thin, even coats, allowing sufficient drying time between each coat. Be cautious not to apply the paint too thick, as it may increase the risk of cracking and peeling.
Benefits of Using Latex and Oil Paints Separately
While it may be tempting to mix latex and oil-based paints to take advantage of their different properties, there are undoubtedly benefits to using them separately. Understanding these advantages will help you make informed decisions when selecting the appropriate paint for your projects.
Advantages of Latex-Based Paints
Latex-based paints offer several advantages that make them a popular choice for many homeowners and professionals. One significant advantage is their quick drying time, allowing for faster completion of projects. Additionally, latex paints are easy to clean up with water, reducing the need for harsh solvents and making them more environmentally friendly. Another benefit is the range of sheen options available, catering to different aesthetic preferences. Latex-based paints also tend to be more flexible, making them less prone to cracking or peeling on surfaces that experience movement or expansion.
Advantages of Oil-Based Paints
Oil-based paints have their own set of advantages that make them well-suited for certain applications. One key advantage is their durability and resistance to wear and tear. Oil-based paints tend to provide a smoother and more polished finish, especially in high-gloss formulations. They are also known for their excellent adhesion and ability to bond with a wide range of surfaces, making them suitable for challenging or unconventional materials. Furthermore, oil-based paints have a longer drying time, allowing for more workable application and leveling for a more professional finish.
Matching Paints to Specific Surfaces
Understanding the benefits of latex and oil-based paints separately allows you to match the appropriate paint to specific surfaces, ensuring the best possible outcome. For surfaces that require flexibility, such as trim, doors, or exterior siding, latex-based paints are generally a better choice. They can withstand movement and environmental exposure without cracking or peeling. On the other hand, surfaces that require durability or a high-gloss finish, such as cabinets or furniture, may benefit from oil-based paints. Assessing the specific needs and characteristics of each surface will guide you in selecting the most suitable paint type.
Considerations Before Mixing Paint Types
While it is generally recommended to avoid mixing latex and oil-based paints, there may be instances where you may consider doing so. Before proceeding, it is crucial to consider several factors to ensure a successful outcome and long-term maintenance.
Consulting with Professionals
If you are unsure about mixing paint types or have specific requirements for your project, it is advisable to consult with paint professionals or experts. They can provide valuable insights and recommendations based on their knowledge and experience. Professionals can help identify potential issues and guide you in selecting the most appropriate paint types and techniques for your specific needs.
Testing on Inconspicuous Areas
Before applying a mixture of latex and oil-based paints to a larger surface, it is prudent to perform a small test area in an inconspicuous spot. Apply a small amount of the mixed paint and allow it to fully dry and cure. Inspect the test area for adhesion, compatibility, and the desired finish. Performing this test allows you to assess the outcome and make any necessary adjustments before proceeding with a larger application.
Considering Long-Term Maintenance
When mixing paint types, it is essential to consider long-term maintenance requirements. Mixed paints may have different characteristics and longevity compared to their individual counterparts. Consider factors such as durability, touch-up ability, and the need for future maintenance or recoating. Balancing these considerations against the desired outcome will help you make an informed decision.
Conclusion
Understanding the risks and consequences of painting oil over latex is crucial for achieving a successful and long-lasting finish. It is essential to recognize the incompatibility and poor adhesion issues that can arise, such as cracking, peeling, discoloration, and drying problems. Proper surface preparation and priming are essential to mitigate these issues. In cases where oil paint needs to be removed from a latex surface, various methods such as chemical paint strippers, heat guns, infrared strippers, sanding, or scraping can be employed. Sealing the latex paint before applying oil can also improve compatibility. However, it is generally recommended to utilize latex and oil-based paints separately, taking advantage of their unique properties. Consider consulting with professionals, performing tests, and evaluating long-term maintenance requirements to make informed decisions. By following these guidelines, you can ensure a successful painting project and enjoy a beautiful, durable finish.