In the world of chalk paint, knowing which grit sandpaper to use can make all the difference in achieving a smooth and flawless finish. Whether you are a seasoned DIY enthusiast or just starting out, understanding the nuances of sandpaper is essential to ensuring your project’s success. The right grit can help you strip away old paint, smooth out imperfections, and create a surface that is ready to be transformed with a fresh coat of chalk paint. In this article, we will explore the various grits of sandpaper available and guide you in choosing the perfect one for your chalk paint endeavors.
Understanding Chalk Paint
Introduction to Chalk Paint
Chalk paint is a unique type of paint that has gained popularity due to its matte, chalky finish. It is commonly used for giving furniture and other surfaces a vintage, distressed look. Unlike traditional paint, chalk paint has a thick consistency and does not require much preparation for application. Understanding how to properly prepare surfaces for chalk paint is essential to achieve the desired results.
Advantages and Uses of Chalk Paint
Chalk paint offers several advantages that make it a preferred choice for many DIY enthusiasts and professionals. It adheres well to various surfaces, including wood, metal, and even glass. Its matte finish and ability to create a distressed look make it ideal for giving furniture and décor pieces a shabby chic or farmhouse-style appearance. Additionally, chalk paint is known for its minimal odor, fast drying time, and easy clean-up, making it a convenient choice for both indoor and outdoor projects.
Preparing Surfaces for Chalk Paint
To ensure a smooth and long-lasting finish, proper surface preparation is crucial when working with chalk paint. Cleaning the surface thoroughly is the first step, as any dirt, grease, or wax may hinder adhesion. Repairing imperfections such as scratches, dents, or loose veneer is also important to achieve a flawless end result. Finally, sanding the surface with the correct grit sandpaper will enhance adhesion and create a better surface for the paint to adhere to. Understanding the different types of sandpaper grit is vital in this process.
Understanding Sandpaper Grit
What is Sandpaper Grit?
Sandpaper grit refers to the coarseness of the abrasive particles embedded in the paper or cloth backing. The grit number indicates the size of the particles, with higher numbers representing finer grits. For chalk paint projects, sandpaper is used to create a smooth and durable surface by roughening or removing the existing finish, preparing the surface for paint application, and achieving desired distressing effects.
Different Types of Sandpaper Grit
There are various types of sandpaper grit available, each serving a specific purpose in the surface preparation process. Coarse grits, such as 60 to 100, are typically used for initial sanding to remove old paint, varnish, or rough patches. Medium grits, ranging from 120 to 150, are suitable for smoothing and preparing the surface for paint application. Fine grits, such as 220 to 320, are used for between coats sanding to create a smooth and even finish. Extra fine grits, ranging from 400 and above, are often used for final sanding to achieve a polished and professional look.
Choosing the Right Grit for Chalk Paint
Selecting the appropriate grit sandpaper depends on the condition of the surface and the desired effect. If the surface is in good condition with only minor imperfections, a medium grit, such as 120 or 150, is often sufficient for initial sanding before applying chalk paint. For surfaces with existing paint or varnish, a coarser grit, such as 60 or 80, may be required to remove the old finish completely. Between coats sanding is typically done with a fine grit sandpaper, such as 220 or 240, to ensure a smooth and even base for subsequent layers. Finally, a fine or extra fine grit sandpaper, such as 320 or 400, is used for finishing sanding to achieve a professional, polished appearance.

Preparing Surfaces for Chalk Paint
Cleaning the Surface
Before applying chalk paint, it is important to clean the surface thoroughly. Use a mild detergent or degreaser to remove any dirt, grease, or wax that may be present. This will ensure proper adhesion of the paint and avoid any potential issues with the finish.
Repairing Imperfections
Inspect the surface for any imperfections, such as scratches, dents, or loose veneer. Use appropriate methods, such as filling, sanding, or repairing, to address these issues and create a smooth and even surface. This step is crucial to achieving a flawless end result with chalk paint.
Sanding the Surface
Sanding the surface is a critical step in preparing it for chalk paint. It helps to roughen up the existing finish, remove any gloss or sheen, and enhance adhesion. Use the appropriate grit sandpaper based on the condition of the surface and the desired effect. Start with a coarser grit for initial sanding and gradually switch to finer grits for between coats and finishing sanding.
Choosing the Right Grit for Initial Sanding
For initial sanding, it is important to choose the right grit sandpaper to effectively remove the existing finish or rough patches. If the surface has thick paint or varnish, start with a coarser grit, such as 60 or 80, to strip it away. If the surface is in relatively good condition with minor imperfections, a medium grit sandpaper, such as 120 or 150, will suffice. Remember to sand the surface evenly and in the direction of the grain, if applicable, for the best results.
Initial Sanding
Why is Initial Sanding Important?
Initial sanding is a crucial step in the surface preparation process before applying chalk paint. It helps remove the existing finish, roughen up the surface, and improve adhesion. By sanding the surface, you create a textured base that allows the chalk paint to bond securely and ensures a long-lasting finish.
Recommended Grit Range for Initial Sanding
The recommended grit range for initial sanding typically falls between 60 and 150, depending on the condition of the surface. Coarser grits, such as 60 or 80, are suitable for surfaces with thick paint or varnish that need to be completely removed. Medium grits, such as 120 or 150, are ideal for surfaces in good condition with minor imperfections. These grits effectively remove the existing finish and create an optimal surface for chalk paint adhesion.
Sanding Techniques for Better Adhesion
To achieve better adhesion when sanding for chalk paint, it is important to follow proper sanding techniques. Start by ensuring the sandpaper is securely attached to a sanding block or sanding tool. Apply even pressure and sand in a back-and-forth motion, following the grain if applicable. Avoid applying excessive pressure or sanding in a circular motion, as this may result in uneven surfaces or damage the underlying material. Regularly check the sandpaper for wear and replace it as needed to maintain optimal sanding efficiency.

Between Coats Sanding
The Importance of Between Coats Sanding
Between coats sanding is an essential step to achieve a smooth and professional finish when working with chalk paint. It helps remove imperfections, such as brushstrokes or unevenness, and creates a smooth surface for subsequent layers of paint. By sanding between coats, you ensure that each layer adheres well to the previous one, resulting in a flawless and even finish.
Recommended Grit Range for Between Coats Sanding
When sanding between coats, it is recommended to use fine grit sandpaper in the range of 220 to 320. These grits are effective in smoothing out the surface, removing any brushstrokes or bumps, and creating a seamless transition between layers of chalk paint. The fine abrasive particles in these grits provide gentle abrasion without damaging the underlying layers, resulting in a professional and polished appearance.
Sanding Techniques for a Smooth Finish
To achieve a smooth finish during between coats sanding, it is important to use proper sanding techniques. Use a sanding block or sanding tool with the fine grit sandpaper attached securely. Apply light pressure and sand in a circular or back-and-forth motion, covering the entire surface evenly. Regularly check the surface with your hand to ensure smoothness and remove any imperfections. Clean the surface thoroughly after sanding to remove any dust or debris before applying the next coat of chalk paint.
Distressing Techniques
What is Distressing?
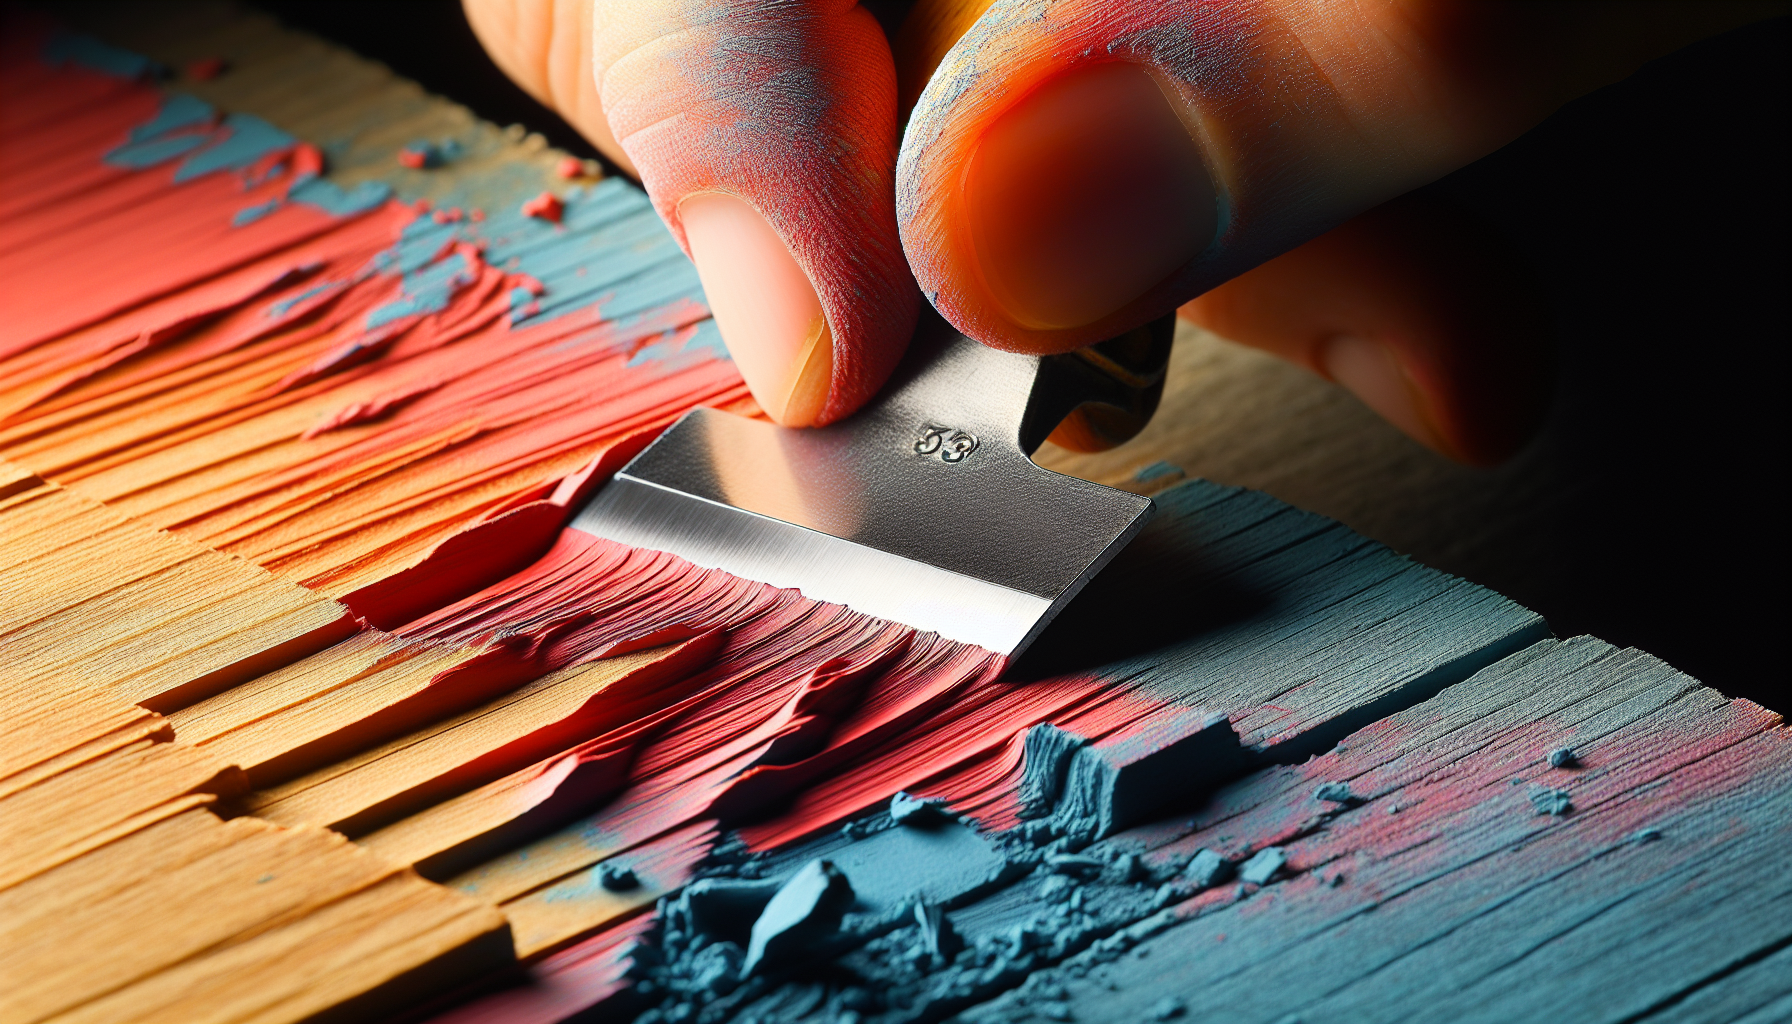
Distressing is a technique commonly used with chalk paint to create an aged or weathered appearance on furniture or other surfaces. It involves intentionally sanding or removing layers of paint to reveal the underlying layers or the wood grain. Distressing adds character and a vintage charm to pieces, making them look well-loved and worn over time.
Choosing the Right Grit for Distressing
When distressing with sandpaper, the choice of grit will depend on the level of distressing desired. For light distressing, a finer grit sandpaper, such as 220 or 320, is typically used to gently remove layers of paint and create subtle effects. For more pronounced distressing, coarser grits, such as 120 or 150, can be employed to expose more of the underlying layers or wood grain. Experiment with different grits and techniques on a test piece to find the desired level of distressing for your project.
Distressing Techniques and Effects
There are various distressing techniques you can use to achieve different effects with chalk paint. One common method involves sanding the edges or corners of furniture to mimic natural wear and tear. Another technique is dry brushing, which involves lightly dragging a dry paintbrush over the surface to create texture and reveal layers underneath. You can also use sandpaper or even a damp cloth to remove paint selectively, creating an aged or worn look. Experiment with different techniques and always remember to sand gently to avoid damaging the underlying layers or the surface.
Finishing Sanding
The Final Sanding Stage
The final sanding stage is the last step before sealing or waxing the chalk paint. It is crucial for achieving a smooth and polished finish. Finishing sanding helps eliminate any imperfections, such as brushstrokes or high spots, and ensures a flawless result that is ready for sealing or waxing.
Recommended Grit Range for Finishing Sanding
For finishing sanding, finer grit sandpaper in the range of 320 to 400 is recommended. These grits provide gentle abrasion to smooth out the surface and remove any minor imperfections. The fine particles in these grits create a polished appearance and prepare the surface for the final steps in the chalk paint project.
Achieving a Professional Finish
To achieve a professional finish during the final sanding stage, use the fine grit sandpaper with a sanding block or sanding tool. Apply light pressure and sand in a circular or back-and-forth motion, covering the entire surface evenly. Regularly check the surface with your hand to ensure smoothness and eliminate any remaining imperfections. Thoroughly clean the surface after sanding to remove any dust or debris before proceeding to the next step of sealing or waxing.
Dust Removal and Surface Preparation
Importance of Dust Removal
Effective dust removal is crucial to ensure a smooth and flawless finish when working with chalk paint. Dust particles can settle on the surface during sanding, painting, or drying, compromising the adhesion and quality of the paint. Proper dust removal techniques help eliminate these particles and create an optimal surface for sealing or waxing.
Effective Dust Removal Techniques
To effectively remove dust from the surface, use a clean, lint-free cloth or a tack cloth specifically designed for this purpose. Gently wipe the surface in a consistent motion, removing any loose particles or debris. Avoid using excessive force or applying too much pressure to prevent damage to the painted surface. Vacuuming the surrounding area and keeping the workspace clean will also help minimize dust contamination during the painting process.
Preparing the Surface for Sealing or Waxing
After dust removal, the surface should be clean and free of any particles. This is essential for the proper adhesion and durability of the sealant or wax that will be applied to protect the chalk paint. Inspect the surface carefully, ensuring there are no remaining imperfections or debris. If necessary, repeat the dust removal process or perform any touch-ups before proceeding with sealing or waxing.
Safety Precautions
Protection for Eyes and Skin
When working with sandpaper and chalk paint, it is important to take necessary safety precautions to protect your eyes and skin. Wear safety goggles or glasses to prevent any particles or debris from coming into contact with your eyes. Additionally, wear gloves to protect your skin from potential irritation or chemical exposure from the paint or cleaning agents. Following these safety measures will help ensure a safe and enjoyable project experience.
Proper Handling and Disposal of Sandpaper
Properly handle and dispose of sandpaper to minimize environmental impact and potential hazards. When not in use, store sandpaper in a clean, dry place to maintain its effectiveness. Dispose of used sandpaper in accordance with local regulations for handling waste materials. Consider using reusable or biodegradable sandpaper options, if available, to reduce waste and ecological footprint.
General Safety Tips
In addition to specific safety precautions related to sandpaper, chalk paint, and surface preparation, there are some general safety tips to keep in mind. Always work in a well-ventilated area to ensure proper air circulation and avoid inhaling any fumes. Avoid working with paint or sandpaper near open flames or heat sources to prevent fire hazards. Keep children and pets away from the work area to reduce the risk of accidents. Lastly, follow the manufacturer’s instructions and guidelines for any paint, sandpaper, or cleaning products used in your project.
Conclusion
Summarizing the Importance of Grit Sandpaper in Chalk Paint
Understanding the different types of sandpaper and its usage in chalk paint projects is essential for achieving the desired results. Choosing the right grit for different stages of surface preparation, including initial sanding, between coats sanding, distressing, and finishing sanding, is crucial to ensure proper adhesion, smoothness, and a professional finish. Sanding techniques, dust removal, and proper surface preparation are equally important in enhancing the durability and aesthetic appeal of chalk paint projects.
Final Tips for Successful Chalk Paint Projects
To maximize the success of your chalk paint projects, keep the following tips in mind:
- Thoroughly clean the surface before applying chalk paint to ensure proper adhesion.
- Repair any imperfections on the surface before painting for a flawless end result.
- Choose the right grit sandpaper based on the condition of the surface and the desired effect.
- Practice proper sanding techniques to achieve optimal results and avoid damage.
- Sand between coats to create a smooth and even finish.
- Experiment with distressing techniques and different grits for unique effects.
- Finish with a final sanding stage to achieve a polished and professional look.
- Always remove dust and prepare the surface properly before sealing or waxing.
- Follow safety precautions to protect yourself and create a safe working environment.
- Enjoy the process and have fun exploring the versatility and beauty of chalk paint.
By understanding the importance of grit sandpaper in chalk paint projects and following proper techniques and safety guidelines, you can achieve stunning results and transform ordinary surfaces into personalized works of art.