?Are you trying to decide whether to use palette knives on canvas or wood and want to understand the practical, technical, and archival differences?
Using Palette Knives on Canvas vs Wood: What You Need to Know
This article will give you a structured, practical guide to working with palette knives on two common supports: canvas and wood. You will learn how surface characteristics, preparation, paint choice, and techniques influence the final result and the long-term stability of your work.
Overview: Why the support matters
The support you choose affects texture, weight, rigidity, paint adhesion, and durability. You will want to match your working method and aesthetic goals to the physical properties of the support to minimize problems like cracking or flaking.
How palette knives change the process
Palette knives enable thick impasto, crisp edges, scraping, and sculptural paint application in ways brushes cannot replicate. You will need to adjust pressure, paint consistency, and layer sequencing depending on whether you are working on canvas or wood.
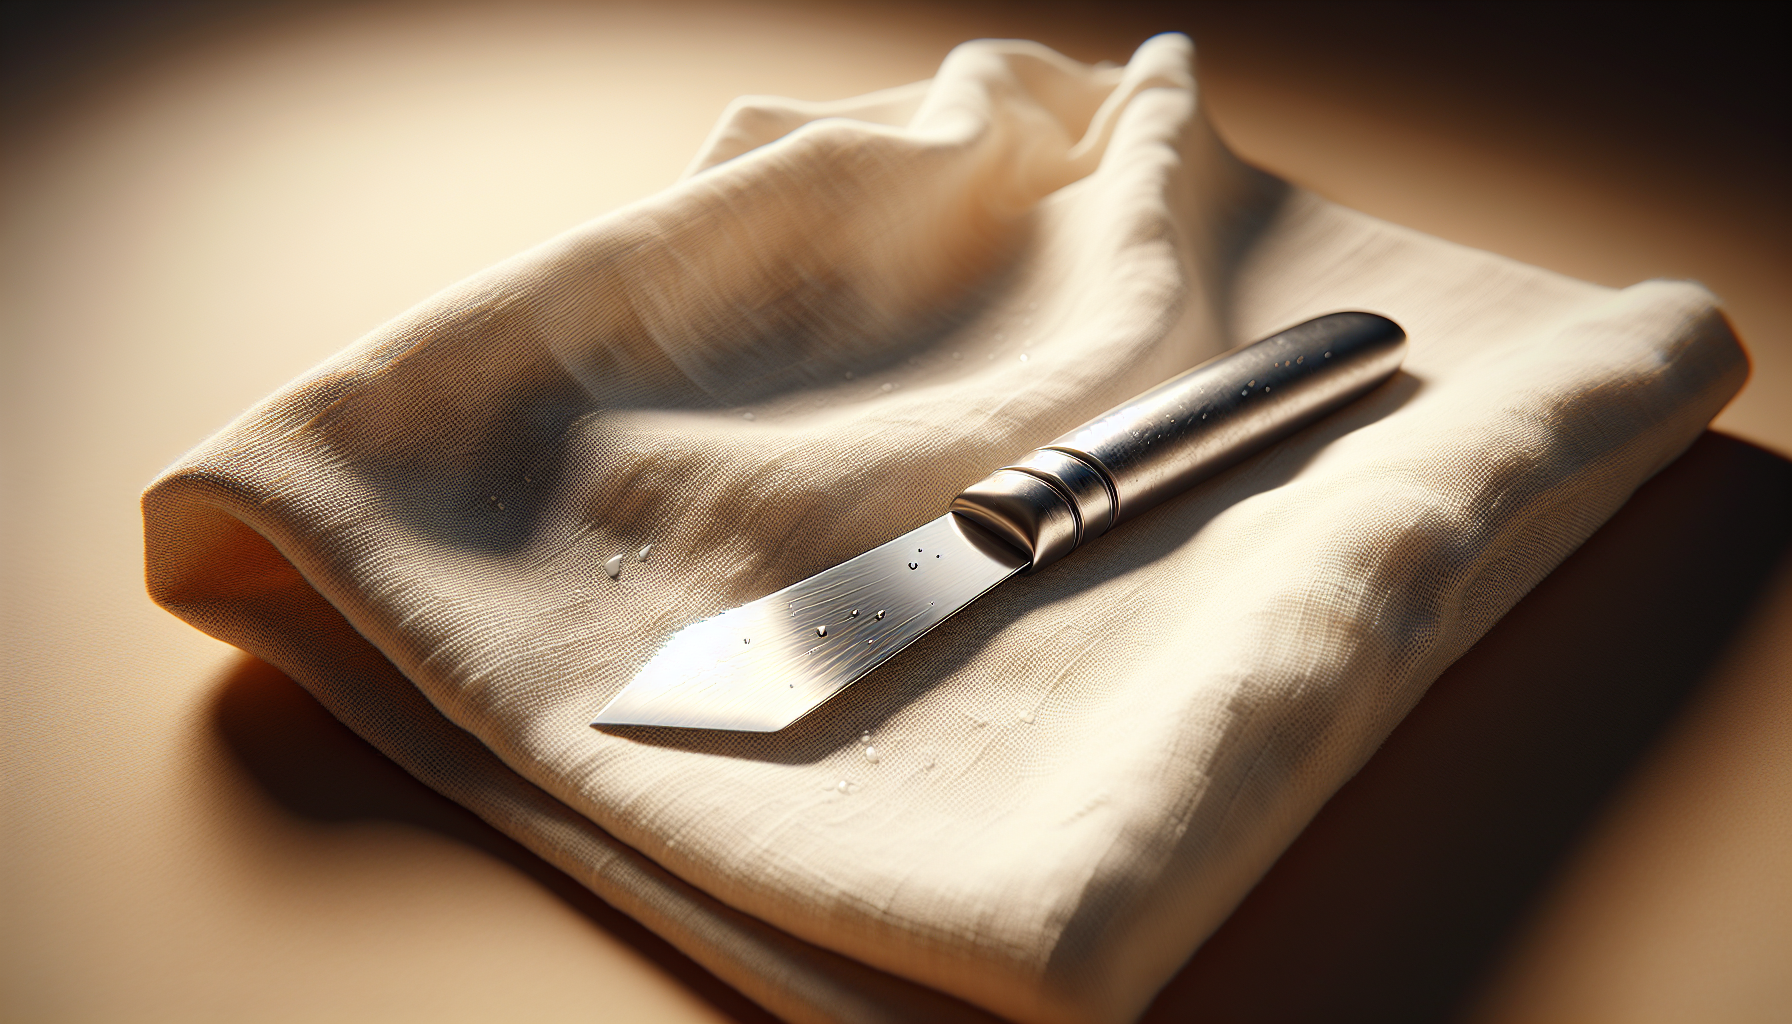
Supports — Canvas: characteristics and behavior
Canvas is flexible, lightweight, and commonly used for painting because it is economical and portable. You will find that canvas has a weave texture that can interact with the knife marks and can flex if not properly stretched or supported.
Supports — Wood: characteristics and behavior
Wood panels are rigid, smooth, and less forgiving of movement, making them ideal for heavy impasto and sculptural paint that needs firm support. You will need to consider wood type, grain, and whether the panel has been sealed and primed correctly to prevent issues.
Comparison table: Canvas vs Wood at a glance
This table summarizes the main differences you should consider when choosing a support for palette-knife work.
| Feature | Canvas | Wood Panel |
|---|---|---|
| Rigidity | Flexible; can sag if unsupported | Rigid; resists flexing |
| Texture | Visible weave; affects tooth | Smooth or fine-grain; consistent |
| Weight | Lighter, portable | Heavier for same size |
| Suitability for heavy impasto | Moderate; needs reinforcement | Excellent; supports thick layers |
| Risk of cracking from movement | Higher if not stretched/cradled | Lower if properly sealed |
| Preparation required | Tight stretching and priming | Sealing and isolating from wood oils |
| Long-term dimensional stability | Can change with humidity | Generally more stable if sealed |
Preparing canvas for palette-knife painting
You must stretch your canvas tightly and use a suitable ground to create a stable painting surface. A well-primed canvas will reduce paint absorption and help the impasto hold shape without sinking into the weave.
Priming options for canvas
Acrylic gesso is the most common primer for palette-knife work because it creates a toothy, absorbent surface that holds paint. You will also consider multiple coats, sanding between coats for a smoother finish, or applying an isolation layer if using oils over acrylic.
Key steps for stretching and reinforcing canvas
You should stretch the canvas over a robust stretcher with corner wedges if you expect environmental fluctuations. You will also consider crossbars for large formats to prevent warping when heavy paint is applied.
Preparing wood panels for palette-knife painting
You must select a stable, properly milled panel and seal it thoroughly before painting. Failure to isolate raw wood from oil- or acrylic-based paints can lead to tannin bleed, discoloration, or adhesion problems.
Sealing and priming wood panels
Apply a suitable sealer (e.g., acrylic gesso, alkyd primer, or rabbit-skin glue followed by size for traditional methods) to create a stable barrier. You will follow with a primer appropriate for your paint system—multiple thin coats, lightly sanded, produce a reliable surface.
Choosing the right wood type and support construction
Birch plywood, MDF, cradled panels, and hardwoods are all used for painting; you will choose based on desired smoothness, archival quality, and cost. Look for stabilized, acid-free, and kiln-dried panels, and consider cradling for large works to allow for seasonal movement.
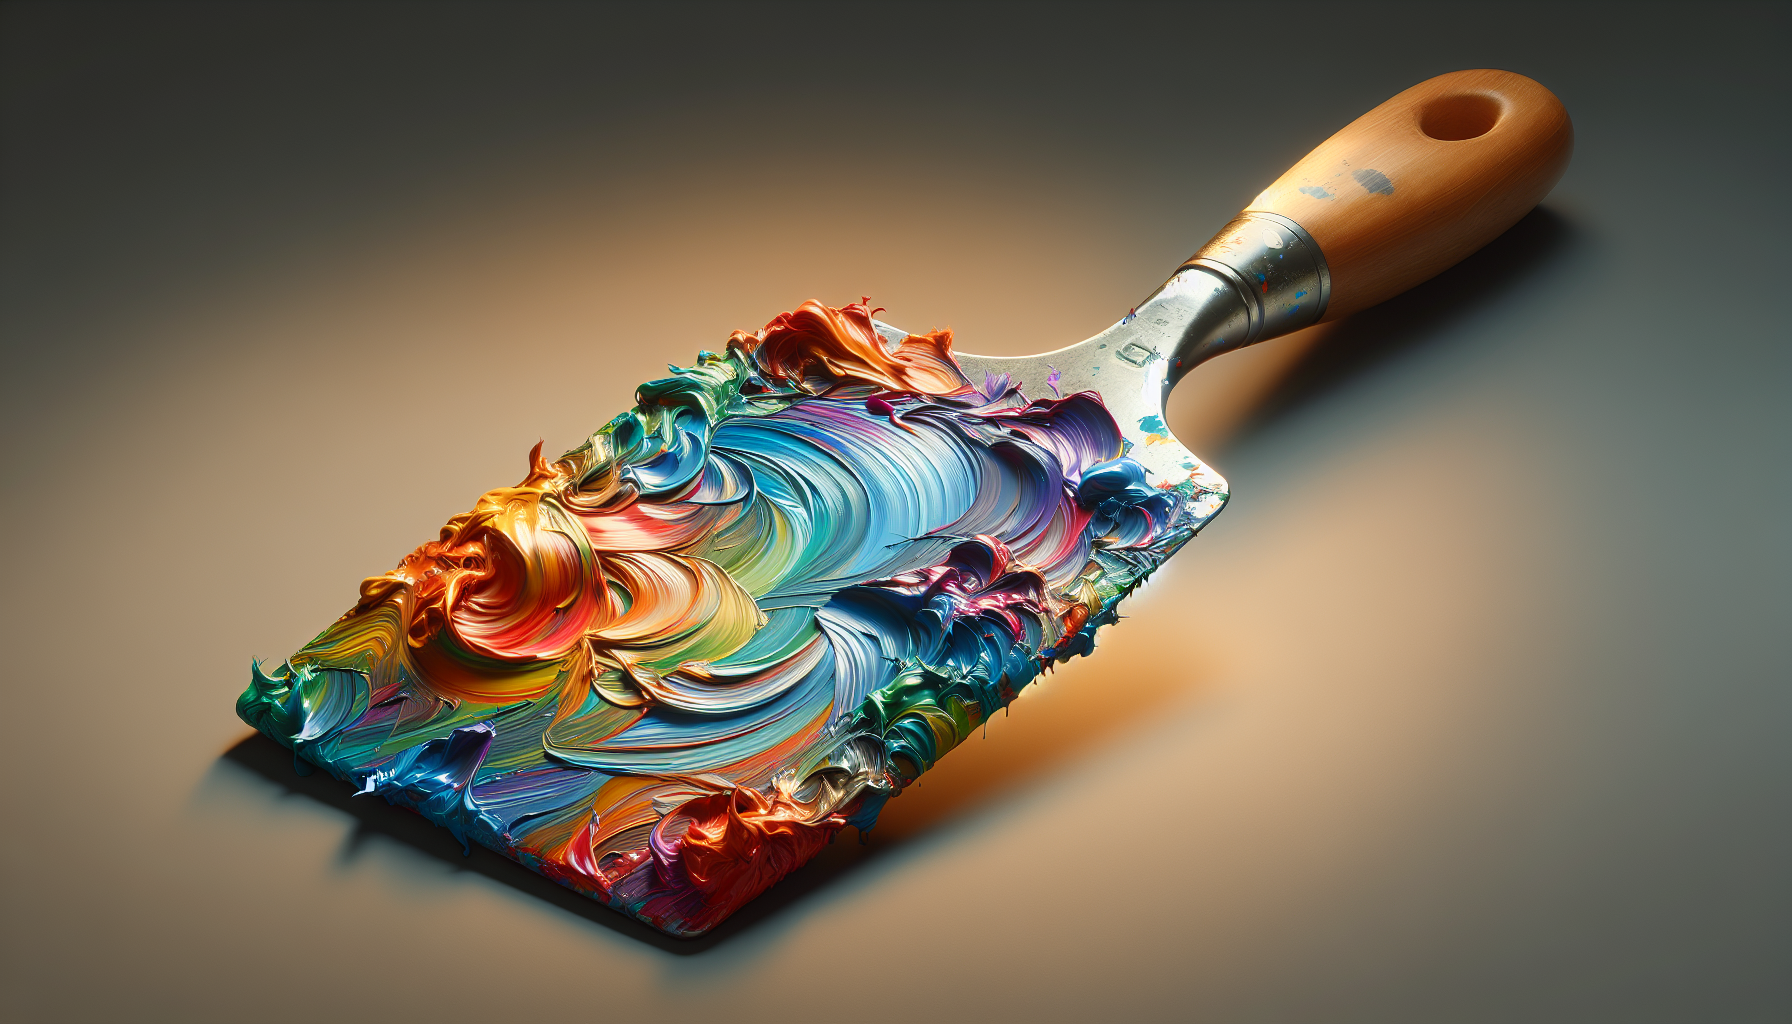
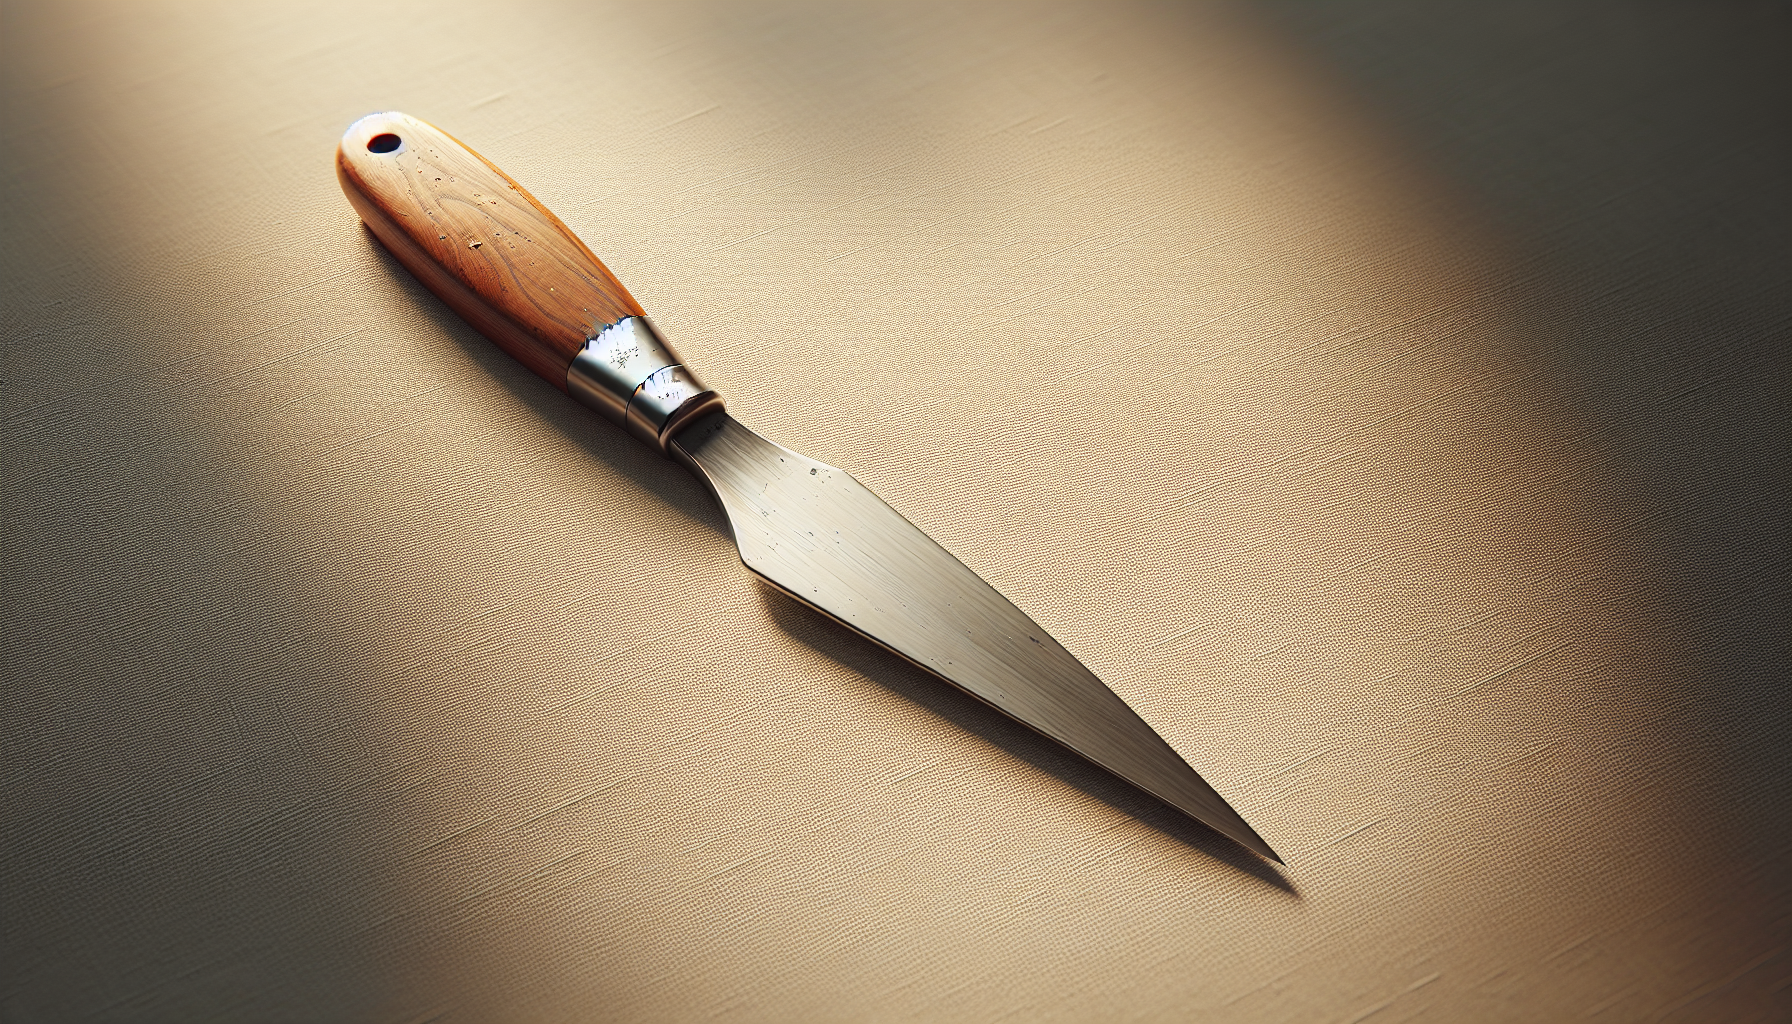
Tools and materials — Palette knives: types, shapes, and blades
Palette knives come in many blade shapes: round-ended, square, diamond, and spatulas with flexible or stiff blades. You will choose flexibility based on the texture you want—stiff blades push thick paint well, whereas flexible blades are better for smoothing and thin layers.
Table of palette knife types and ideal uses
This table will help you match knife shapes to techniques so you can plan your approach.
| Knife Type | Blade Flexibility | Common Uses |
|---|---|---|
| Stiff diamond/square blade | Stiff | Pushing thick impasto, scraping back, creating ridges |
| Flexible spatula blade | Flexible | Smoothing, blending, thin scraping |
| Rounded-end blade | Medium | Softening edges, sculptural marks |
| Offset handle knives | Variable | Prevents knuckles from hitting the surface while applying pressure |
Choosing paints and mediums for palette-knife work
You will select paints and mediums that support thick application and stability; heavy-body acrylics and oil paints modified with appropriate mediums perform differently. Consider consistency: very stiff paint maintains peaks, while medium-bodied paint spreads more smoothly.
Acrylics vs Oils: how they behave with knives
Acrylics dry faster and can be thickened with heavy-body formulations or gels to hold knife marks, while oils support longer working time and richer impasto but require attention to drying and flexibility. You will often need to use alkyds or adding siccatives if you want faster drying oil impasto.
Mediums and additives to control texture and drying
Use heavy gel mediums (acrylic) or impasto mediums (oil/alkyd) to increase body without weakening film strength. You will avoid excessive use of low-quality fillers that could compromise adhesion or longevity.
Technique — Building texture and impasto
Palette knives are ideal for creating thick passages that stand away from the surface and cast shadows. You will plan the composition to accommodate raised paint and consider how lighting will emphasize those textures.
Application methods for high-relief paint
Load the knife with paint and use firm, decisive strokes to build ridges and peaks, working in layers to achieve depth. You will allow underlying layers to firm sufficiently, especially with oil paint, to avoid structural sagging.
Layering strategy and the fat-over-lean principle
In oils, follow fat-over-lean: each successive layer should contain more oil to avoid cracking as the painting cures. You will implement this by using leaner washes or underpaintings followed by fattier impasto layers, or by allowing acrylic underlayers to act as an isolating ground before applying oils.
Scraping, sgraffito, and subtractive techniques
Palette knives are excellent for subtractive work—scraping back paint to reveal lower layers or the ground. You will plan subtractive moves so that removed areas do not expose raw or unsealed wood or a canvas weave you would rather hide.

Edges, transitions, and blending
Use knife edges to create hard delineations or use the flat of the blade for soft transitions and blending. You will practice pressure control and angle to vary the knife mark from thin ribbons to broad swaths.
Adhesion, cracking, and mechanical considerations on canvas
Because canvas is flexible, thick paint layers can be vulnerable to cracking if the support moves. You will avoid excessive flexibility by reinforcing the support, using appropriately formulated grounds, and avoiding overly thick single-layer applications on unsupported canvas.
Adhesion, cracking, and mechanical considerations on wood
Wood’s rigidity reduces the risk of flex-related cracking, but you must prevent mechanical failure by properly sealing the wood and ensuring paint layers adhere to the ground. You will also be cautious with how deep textures interact with edges and potential impacts.
Drying times and curing: your workflow implications
Fast-drying acrylics let you build multiple layers in a single session, while oils require days to weeks to firm and months to fully cure. You will plan sessions and layer sequences around expected drying characteristics to prevent unintended merging or sagging.
Managing drying in oil impasto work
Use controlled deposition of paint and consider fast-drying mediums like alkyds to shorten waiting times between layers. You will also store works horizontally until initial skinning occurs if you’re concerned about sagging heavy impasto.
Conservation and archival considerations
Long-term stability depends on support preparation, paint film integrity, and environmental control. You will use archival-quality materials, correct application methods, and suitable varnishes to protect your work.
Common long-term problems and prevention
Issues such as delamination, flaking, discoloration, and cracking can usually be traced to inadequate sealing, incompatible materials, or uneven layer flexibility. You will prevent these by using compatible materials, respecting fat-over-lean in oil work, and ensuring thorough sealing of wood.
Varnishing and finishing your paintings
Varnish choices depend on medium: removable varnishes for oils and certain acrylic varnishes for acrylics protect the surface and unify gloss. You will wait until oils fully cure before applying final varnish; with acrylics you typically varnish after the film has fully set and dust has been removed.
Table: Recommended primers, grounds, and varnishes
This table lists common, reliable products to consider for both supports.
| Support | Primer/Ground | Varnish/Finish |
|---|---|---|
| Canvas (acrylic paint) | Acrylic gesso (multiple coats) | Acrylic polymer varnish (removable) |
| Canvas (oil paint) | Acrylic gesso + isolation coat (or oil ground) | Natural resin varnish (after full cure) |
| Wood (acrylic) | PVA size + acrylic gesso or alkyd primer | Acrylic varnish |
| Wood (oil) | PVA or rabbit-skin glue size + oil/alkyd ground | Removable natural resin varnish (after cure) |
Framing, mounting, and display considerations
Your framing should accommodate the depth of impasto and protect fragile edges from contact. You will consider floater frames or shadow-mounts that allow the paint surface to sit clear of glazing or other surfaces.
Hanging and environmental control
Control humidity and temperature swings to reduce stress on supports and paint layers, and avoid hanging in direct sunlight to minimize UV degradation. You will aim for stable relative humidity (ideally 40–55%) and avoid extreme temperature fluctuations.
Troubleshooting common issues — Lifting or flaking paint
If paint lifts, the likely causes include poor adhesion, an oily surface, or incompatible layers. You will address lifting by consolidating with appropriate conservation adhesives and correcting your preparation methods for future works.
Troubleshooting common issues — Cracking and crumbling impasto
Localized cracking often results from applying excessively thick layers without building supportive underlayers or violating fat-over-lean. You will mitigate cracking by thinning base layers, using intermediary mediums to increase flexibility, and building thickness gradually.
Troubleshooting common issues — Texture collapse or slump
If your textured passages slump, the paint may have been too wet or the support too flexible during drying. You will allow successive passes to firm up partially or use faster-setting mediums when working on less rigid supports.
Practical step-by-step workflow for palette-knife painting on canvas
- Stretch and reinforce your canvas, install crossbars for large sizes, and check for even tension.
- Apply multiple coats of acrylic gesso for acrylic painting or gesso plus isolation for oil; sand if needed for smoother finish.
- Plan composition and block in major shapes thinly (lean base for oils); let layers firm.
- Mix heavy-body paint or add gels and begin building impasto with stiff knives, working from background to foreground.
- Allow adequate drying between thick layers, especially for oil, and avoid overly large contiguous heavy layers on unsupported canvas.
You will follow each step deliberately to control adhesion, drying, and structural integrity.
Practical step-by-step workflow for palette-knife painting on wood
- Select a stable wood panel; seal both faces and edges with a barrier coat to avoid moisture movement.
- Apply a suitable primer or ground, sanding between coats to achieve the desired tooth or smoothness.
- Block in underpainting, and if using oils, apply lean layers first; use heavier mediums for later impasto.
- Build high-relief passages with stiff knives, using the panel’s rigidity to create sculptural effects.
- Finish with appropriate varnish after full cure and mount with a frame that protects raised areas.
You will benefit from wood’s rigidity but ensure the panel has been prepared to archival standards.
Knife maintenance and cleaning
Keep knives free of dried paint by wiping them regularly and cleaning with appropriate solvents for oil or soap and water for acrylics. You will avoid corrosive cleaners and store knives dry to prevent rust and maintain blade integrity.
Health and safety when using solvents and mediums
Use solvents in a well-ventilated space and consider low-odor or solvent-free alternatives when possible. You will wear gloves and consider a respirator for extended solvent use, and always follow product safety data sheets for handling and disposal.
Case studies and examples of technique application
Studying examples will help you translate technique into practice—for instance, thick impasto sky passages on wood panels by postwar abstract painters, or textured figurative work on canvas that uses built-in reinforcement. You will analyze how each artist solved issues of support, build, and finish to inform your own choices.
When to choose canvas for knife work
Choose canvas when you need portability, a pronounced weave texture in the final piece, or when you prefer the traditional stretcher format. You will accept certain limitations in maximal impasto thickness and plan accordingly with reinforcement and staged layering.
When to choose wood for knife work
Choose wood when you require maximum rigidity for sculptural paint, long uninterrupted raised passages, or a smooth surface with consistent application. You will invest time in proper sealing and priming to ensure archival stability.
Cost, availability, and studio logistics
Canvas systems are often less expensive and easier to prepare in large sizes, while quality wood panels can be more costly but deliver superior performance for heavy impasto. You will weigh budget, storage, and shipping concerns—wood panels are heavier and less flexible for transport.
Final checklist before you begin a major palette-knife painting
- Did you select a support suited to the amount of impasto you plan to apply?
- Is the support properly sealed, primed, and reinforced as required?
- Are your paints and mediums compatible and appropriate for the layered structure you will build?
- Do you have adequate ventilation, drying space, and storage conditions to allow layers to cure?
You will find that addressing these points beforehand significantly reduces technical failures later.
Summary and recommended best practices
Using palette knives on canvas and wood requires you to understand the mechanical and chemical relationships between support, ground, paint, and environment. You will achieve better, longer-lasting results by choosing the right support for the technique, preparing it carefully, selecting compatible materials, and working with an intentional layering strategy.
Additional resources and next steps
Consider consulting conservation texts if you plan to sell or exhibit widely, and test new combinations on small panels before committing to a major work. You will also benefit from workshops or mentorship focused on impasto techniques to refine your knife handling and material choices.
If you would like, you can tell me whether you primarily work with oils or acrylics, and I will provide a tailored materials list and a custom step-by-step plan for your next palette-knife painting on canvas or wood.