?Are you ready to master palette knife techniques that will transform your paintings and expand your visual vocabulary?

Top 5 Palette Knife Techniques Every Artist Should Try
This article lays out five essential palette knife techniques that you can adopt to achieve texture, clarity, and expressive mark-making. You will find practical steps, materials guidance, troubleshooting tips, and application examples to help you integrate each method into your practice.
Why Use a Palette Knife?
You will discover that a palette knife offers a different range of marks and textures than brushes, enabling bold edges, thick impasto, and clean scraping. Using a knife also changes how you think about composition, color application, and layering, encouraging decisive, sculptural approaches.
Materials and Tools You Need
Before you begin, you should assemble a modest set of knives, paints, and supports to suit the techniques described here. The right tools will make execution more consistent and free you to concentrate on mark-making rather than gear frustrations.
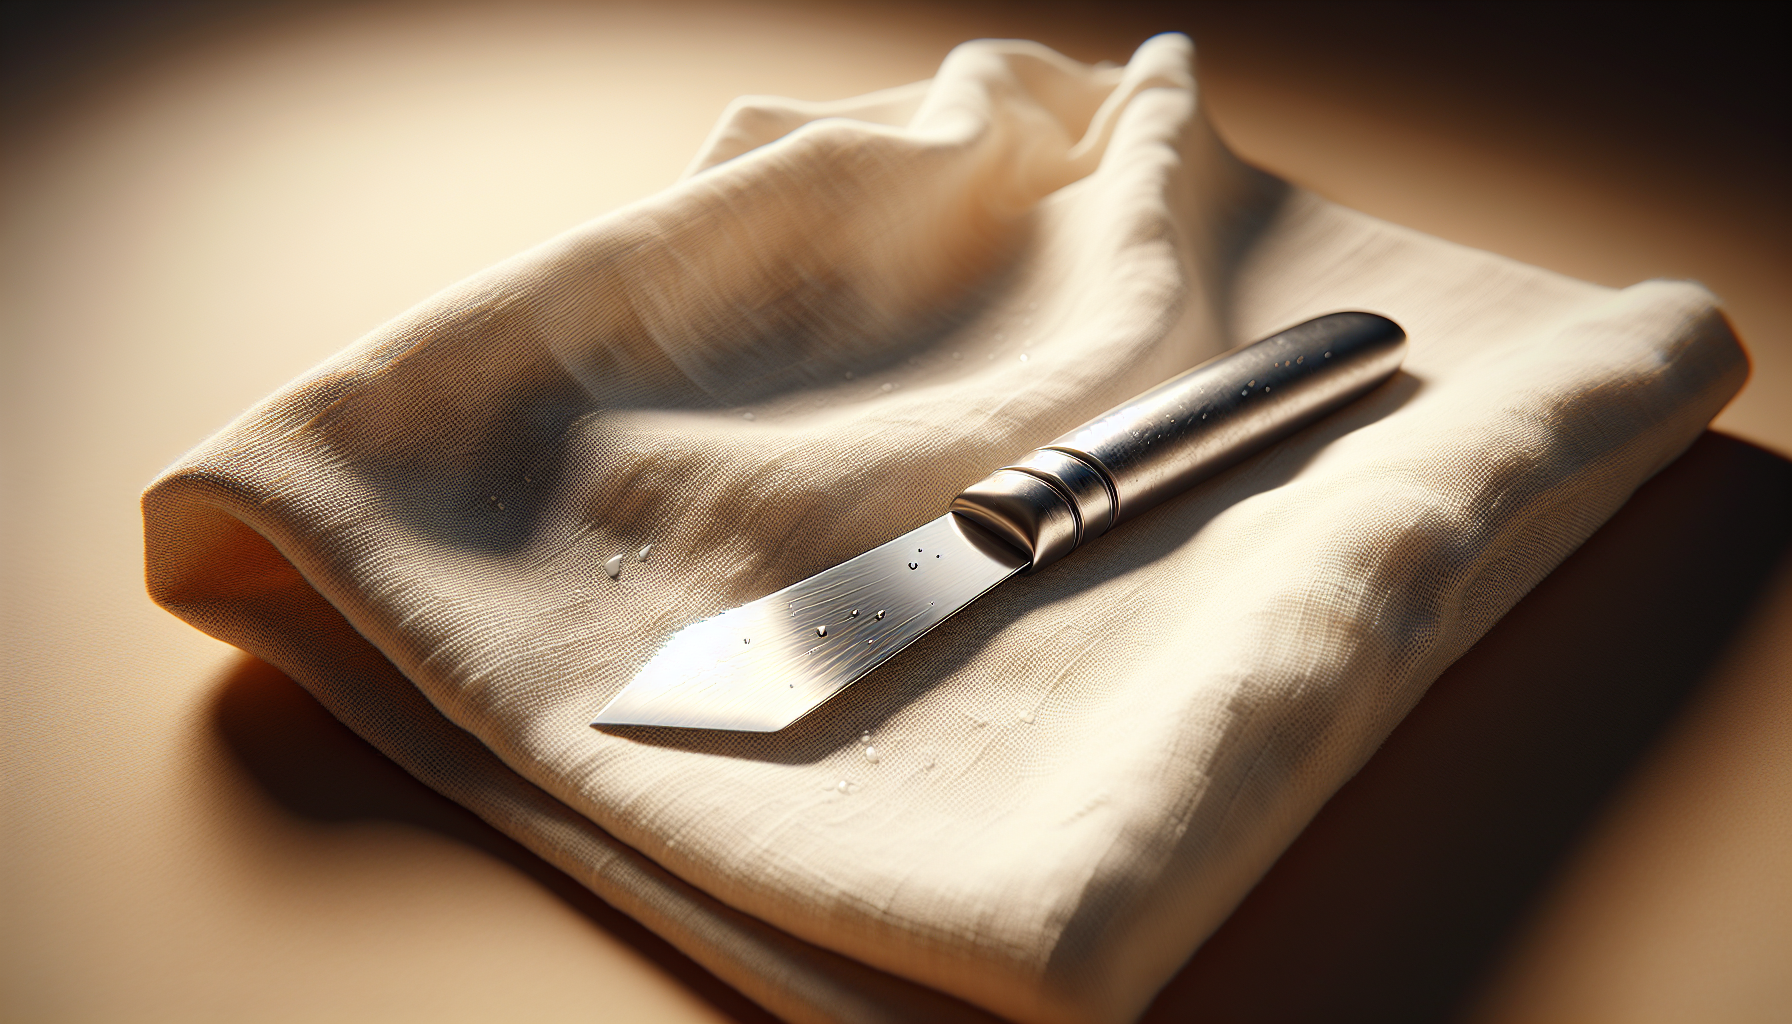
Essential palette knives and their uses
You should choose a variety of knife shapes and sizes to achieve different effects, from broad spreads to sharp incisions. Each shape produces a distinct stroke characteristic that will affect your technique and final surface.
| Knife shape | Typical use | Characteristic mark |
|---|---|---|
| Large rectangular/square | Spreading, broad impasto, backgrounds | Flat, bold planes |
| Pointed trowel | Precise lines, scraping, sgraffito | Sharp incisions |
| Diamond/angled | Feathering, scraping, angled strokes | Crisp edges |
| Small offset knife | Detail work, tight marks | Controlled small strokes |
Paints, mediums, and supports
You should select paints with body appropriate to the technique: heavy body acrylics or oil paints are common for knife work. Mediums such as slow-drying gel (for acrylics) or alkyds (for oils) let you adjust flow and drying time to suit layering approaches.
Working Surfaces and Preparation
You should choose a surface that can support texture without buckling or cracking, such as stretched canvas with a solid cradle, thick panel, or heavy linen. Proper priming and preparation help ensure adhesion and longevity of thick impasto passages.
Priming and tooth
You should prime with a ground that matches your plan for texture — a smooth gesso for crisp edges or a toothy ground to hold heavy paint. Preparing several test panels with different grounds will help you understand how the knife behaves on each.
How to Practice Safely and Effectively
You should maintain clean working habits, manage ventilation when using solvents or mediums, and keep blades covered or stored safely when not in use. Proper ergonomics and mindful handling will keep tool edges in good condition and reduce the chance of injury.
Workspace ergonomics
You should set your easel and palette at comfortable heights and ensure you have a solid palette surface for mixing. Comfortable positioning lets you make confident, fluid knife strokes and sustain longer practice sessions.
Technique 1 — Impasto Layering
Impasto layering is the practice of applying thick paint to build physical volume on the surface, creating a sculptural sense of light and shadow. You will use the knife to lay on and model paint in discernible, dimensional strokes that catch light and convey energy.
What impasto achieves and when to use it
You should use impasto when you want to emphasize tactile presence, suggest sunlight on textured surfaces, or create focal areas that literally stand out from the canvas. This technique is effective for skies, highlights on garments, textured objects, and expressive abstracts.
Tools and materials for impasto
You should use heavy-body oil or acrylic paint and a range of broad blades. A stiff, high-viscosity paint is best, and using a painting medium that retains body (such as an impasto medium) will help maintain ridge structure.
Step-by-step impasto layering
You should begin with a compositional underpainting or blocked-in color to guide placement of thick passages. Apply thick pigment with the flat of a large knife in confident, single-direction strokes; load the knife and press firmly to deposit peaks and ridges. Build subsequent layers only when underlayers are sufficiently tacky to support additional paint without collapsing; for oils, allow skinning or partial drying as needed. Shape edges by dragging the knife lightly across ridges and use the corner for refined peaks.
Color mixing and layering strategy
You should plan major color relationships before applying thick paint because heavy impasto is difficult to modify once set. Mix generous amounts of intermediate tones to maintain consistency across multiple strokes, and use limited palettes to keep chromatic harmony in textured areas.
Common mistakes and how to avoid them
You should avoid overworking thick passages, which flattens texture and muddies color. Also, don’t apply extremely thick layers on an unstable ground; always test separation and adhesion to prevent cracking.
Application examples
You should try impasto for sunlit fields, reflective water highlights, textured clothing, and abstract passages where the surface is part of the image language. Use photographic references to translate light into raised planes.
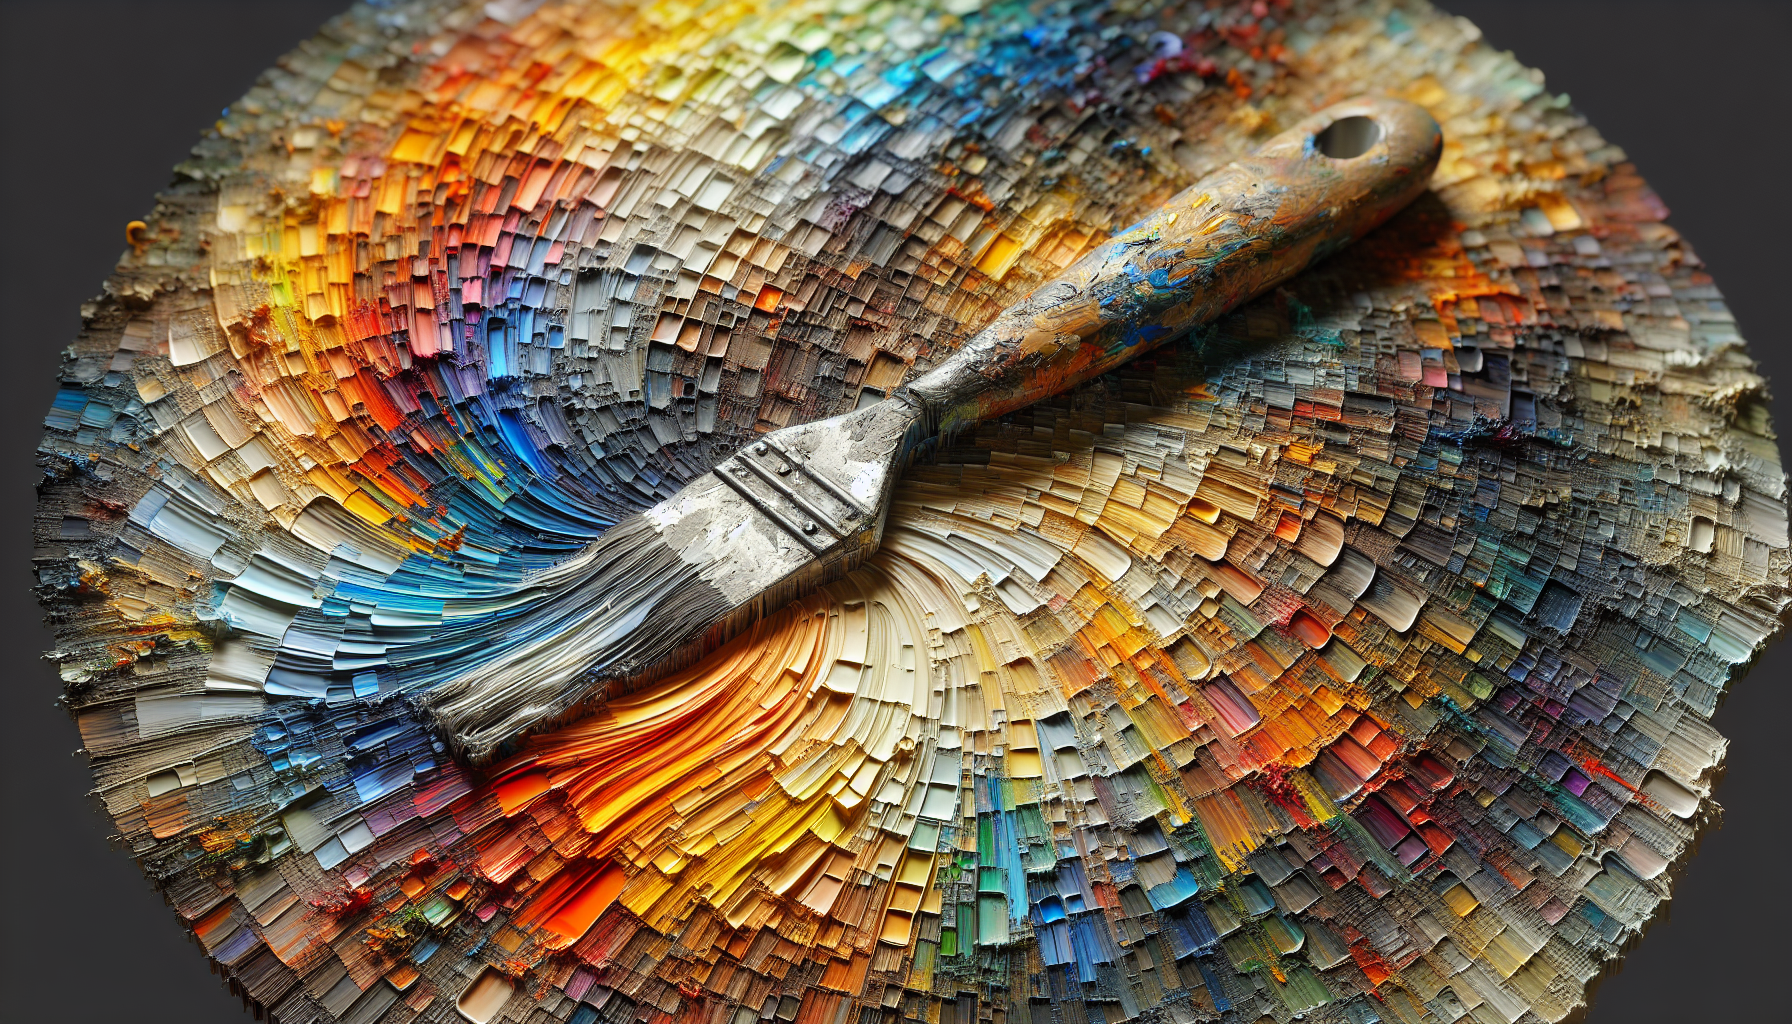
Technique 2 — Broad Spreads and Smooth Backgrounds
Broad spreads created with a palette knife let you produce very even fields of color or controlled gradients without brush strokes. You will achieve large, smooth areas quickly while maintaining a slightly tactile feel if desired.
When to choose broad spreads
You should select this approach when you need consistent flat color fields, underpainting, or building subtle tonal shifts that will remain intact under subsequent texture. Smooth spreads act as a tidy ground for layered knife work.
Tools and materials for smooth spreads
You should use wide rectangular knives or spatulas and paints thinned just enough to spread without running. For acrylics, a slow-drying additive is useful; for oils, consider using medium to adjust flow while retaining body.
Step-by-step for broad spreads
You should start with enough paint loaded on the knife to cover a large area in a few passes. Hold the knife nearly flat and push the paint in a single direction for uniform coverage. To create a gradient, blend two adjacent values directly on the surface by pulling the knife through the meeting point while varying pressure. Avoid back-and-forth scrubbing which creates streaks.
Achieving smooth blends and gradients
You should control the hardness of the knife angle to vary the shear on the paint: a flatter angle produces a thin even film, while a slightly raised angle leaves more surface texture. Work quickly with acrylics when using retarders to keep edges workable.
Troubleshooting smooth spreads
You should address ridging by flattening wet paint with a clean, slightly damp knife edge for acrylics, or by using a soft glaze over slightly tacky oil passages. Maintain consistent paint thickness to prevent uneven drying.
Application examples
You should use broad spreads for minimal backgrounds, skies with gentle transitions, color-field experiments, and underlayers for heavy impasto accents.
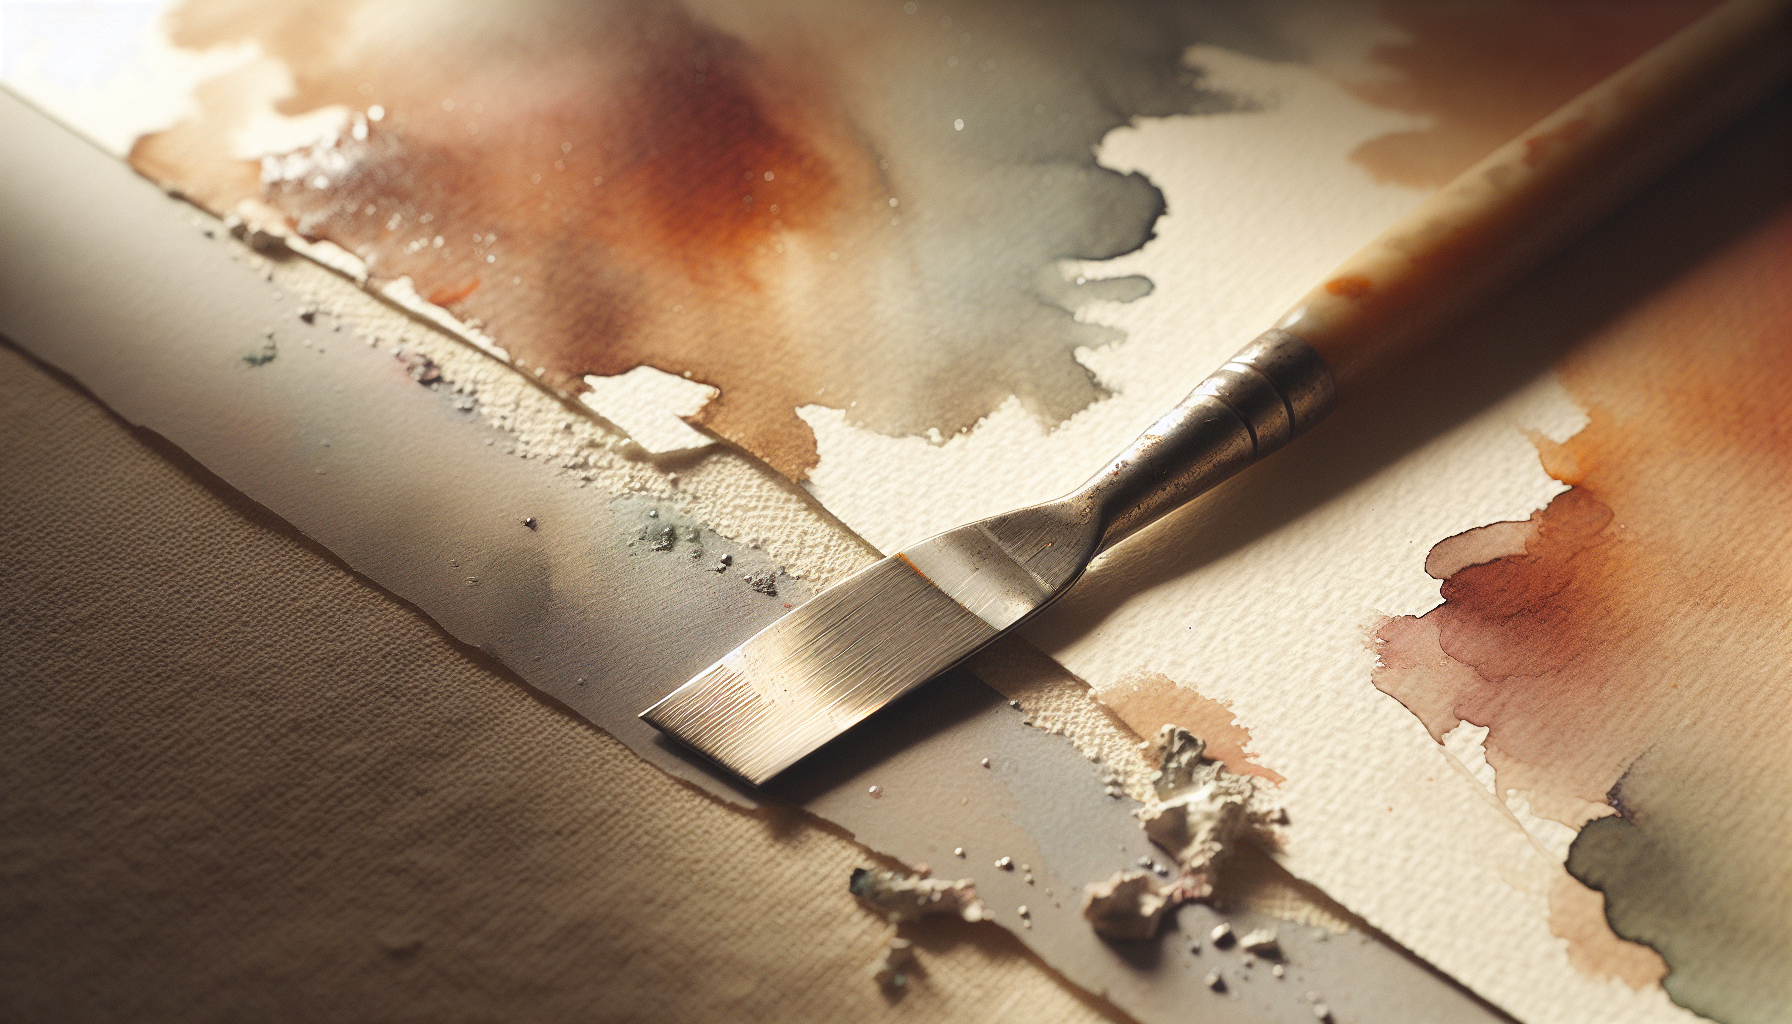
Technique 3 — Scraping and Subtractive Methods
Scraping is the subtractive use of a palette knife to remove paint and reveal earlier layers or ground. You will use this technique to create sharp highlights, controlled edges, and intriguing surface variations by exposing underlayers.
The role of subtractive methods in composition
You should consider subtractive techniques when you want crisp lines, or to carve forms out of existing mass without adding more paint. Scraping can reveal previous color relationships unexpectedly, which may enrich the painting.
Tools and materials for scraping
You should use stiff, razor-edged knives or metal scrapers for clean removal, and keep a rag or palette cleaner on hand. Hard supports with secure adhesion are important because scraping can pull against the ground.
Step-by-step scraping process
You should wait until the layer you intend to remove is still wet enough to be lifted cleanly but not so liquid that it smears. Draw the knife across the area with steady pressure to remove paint; vary the angle and pressure to control how much paint lifts. For delicate reveal, use the knife tip to incise and lift thin lines; for larger reveals, use a broad blade at a shallow angle.
Creative uses of subtraction
You should use scraping to create thin linear highlights, hint at texture beneath, or create weathered surfaces. Controlled scraping can thin paint layers to produce subtle glazes without introducing more medium.
Common pitfalls
You should avoid scraping over underpaint that isn’t fully adhered or you risk pulling up stable layers unintentionally. Test technique on sample panels to develop an intuitive sense for how your chosen paint and ground respond.
Application examples
You should apply scraping to shorelines, architectural details, reflective highlights, and textured abstracts where revealing underlayers contributes to depth and complexity.

Technique 4 — Sgraffito and Incised Line Work
Sgraffito refers to scratching into the paint film to reveal lower layers or the ground, producing fine linear detail and energetic calligraphic marks. You will use the knife edge or tip to draw into the paint rather than to lay it on, offering a direct gesture similar to drawing in wet media.
Why sgraffito matters for detail
You should use sgraffito when you want economy of line and directness, especially for accents such as hair strands, grasses, or architectural seams. It allows you to combine painterly mass with drawn marks.
Tools and materials for sgraffito
You should use a pointed trowel or a knife with a defined edge, and ensure that the layer below is contrasting in tone or color to make incisions read clearly. A hearty ground will provide resistance for clearer lines.
Step-by-step sgraffito technique
You should plan lines by lightly marking composition points before committing, then pull the knife tip with a single, continuous motion for the cleanest marks. Change pressure to vary line thickness and lift the blade carefully to avoid smudging. Practice on spare panels to calibrate the pressure necessary to cut through the top layer without breaking through the ground.
Variations and expressive marks
You should experiment with multiple passes, cross-hatching, and combined incisions with later impasto additions to create complex textures. Using different knife angles produces thin hairlines or wider gouges as needed.
Limitations and cautions
You should be cautious when incising on brittle, fully dry paint since sharp scratching can crack or flake older surfaces. Reserve sgraffito for layers that retain a slight tensile quality to accept carving.
Application examples
You should use sgraffito for grasses in landscapes, fur and hair textures, delicate architectural ornamentation, and any situation where an economy of line enhances readability.
Technique 5 — Knife Blending, Feathering, and Expressive Strokes
Knife blending and feathering are controlled manipulations of paint edges to soften transitions or create feathery textures. You will use angled blades and delicate pressure changes to produce elegant, gestural passages that read as both mark and surface.
When to use feathering and blending
You should use these techniques when you want smooth transitions within a textured treatment or delicate strokes that retain some raised surface. They work well for foliage, clouds, and dynamic motion.
Tools and materials for feathering
You should choose diamond or angled knives for precise bevels and use paint with moderate body to allow smoothing without flattening. Slightly thinned paint can be easier to feather but will produce less relief.
Step-by-step knife blending and feathering
You should begin by placing a narrow band of color and immediately pull the knife through the edge at a slight angle to soften it. Use lighter pressure and shorter strokes for delicate feathering; use overlapping angled strokes to build layered texture. Clean the knife frequently to prevent color contamination and to maintain crispness of each stroke.
Combining expressive strokes with other techniques
You should balance feathered passages with impasto accents and scraped reveals; the contrast will increase the reading of depth and movement. Vary the scale of strokes and the knife angle to modulate the rhythm of your surface.
Avoiding muddy transitions
You should avoid excessive back-and-forth mixing on the canvas, which can create muddiness. Instead, blend in controlled passes and refresh paint mixes on the palette to maintain chromatic clarity.
Application examples
You should apply feathering to foliage edges, soft cloud banks, or the subtle transition between tonal planes in portraiture to keep paintings lively and atmospheric.
Comparative Techniques Table
You should consult this quick reference to match a technique to subject, knife choice, difficulty, and recommended mediums. The table helps you plan which method to use for a given painting problem.
| Technique | Best subjects | Knife type | Difficulty | Recommended medium |
|---|---|---|---|---|
| Impasto layering | Highlights, impasto abstracts | Large rectangular & trowel | Intermediate | Heavy-body oil/acrylic + impasto medium |
| Broad spreads | Backgrounds, color fields | Wide spatula | Beginner | Heavy-body acrylics, oils with medium |
| Scraping/subtractive | Reflections, architectural edges | Stiff metal scraper | Intermediate | Oils or acrylics on stable ground |
| Sgraffito/incising | Hairs, grasses, fine detail | Pointed trowel/knife tip | Advanced | Oils/acrylics with contrasting underlayers |
| Feathering/blending | Foliage, clouds, soft transitions | Diamond/angled knives | Intermediate | Oils/acrylics with controlled medium |
Mixing Color for Knife Work
You should adapt mixing strategies to knife painting: mix larger amounts of intermediate tones, maintain a limited palette to prevent discordant mixes, and account for drying shifts in value. Palette knife marks can appear darker or lighter depending on angle and light, so test swatches before applying to the painting.
Tips for predictable color
You should chart value and chroma on a small spare panel to see how your colors read when applied thickly. Remember that impasto reflects light differently than thin paint; increase highlights and refine mid-tones accordingly.
Drying, Conservation, and Longevity
You should be mindful that heavy impasto dries differently than thin films, which has implications for cracking and adherence. Follow fat-over-lean rules in oils and ensure thorough curing before varnishing or framing.
Best practices for drying and conservation
You should build layers with consideration for drying rates: apply leaner (less oily) layers under fattier layers, and allow thick passages time to cure fully before extensive handling. For acrylics, keep textured works out of direct heat that accelerates skinning and cracking.
Troubleshooting Common Problems
You should anticipate issues like cracking, delamination, muddy colors, and undesired flattening, and address them with material choices and technique adjustments. Systematic testing and incremental changes will save time and rework.
Quick fixes and preventative measures
You should thin subsequent layers if you see cracking tendencies, improve adhesion with suitable grounds, and avoid excessive overworking. Maintain clean tools to prevent contaminating clear passages and keep a consistent environment to control drying.
Developing Your Own Knife Vocabulary
You should think of palette knife work as developing a personal lexicon of marks and combinations rather than reproducing a single style. Regular practice on small studies, deliberate experimentation, and keeping a visual log of marks will accelerate your ability to select the right gesture for each situation.
Exercises to build skill
You should practice a set of drills: repeat a single stroke for control, build impasto cubes to understand volume, and translate brush-based passages to knife equivalents. Record which knife angles and pressures produce desirable outcomes.
Frequently Asked Questions
You should find concise answers here to common concerns about palette knife painting, which will help you avoid beginner missteps and refine your approach.
Is a palette knife only for impasto?
No, you should understand that knives can also produce smooth spreads, delicate lines, and subtractive effects; they are versatile tools beyond thick texture.
What paint dries fastest for knife work?
Acrylics dry fastest; you should use retarders or gel mediums to extend working time. Oils dry slowly and allow extended manipulation of thick passages.
How do I prevent cracking in thick layers?
You should follow fat-over-lean principles for oils, avoid applying extreme thickness on unstable grounds, and use appropriate mediums formulated for impasto stability.
Can beginners use palette knives immediately?
Yes, you should start with simple exercises and broader techniques like spreads and scraping before attempting complex sgraffito and fine incisions.
Final Practice Plan
You should adopt a weekly regimen to consolidate these techniques: allocate sessions for one technique at a time, combine methods in small studies, and critique results against reference photos. Structured practice accelerates mastery and integrates techniques into your visual toolkit.
A suggested two-week plan
You should spend days 1–3 practicing spreads and blending, days 4–6 on impasto building, days 7–9 on scraping and sgraffito, and days 10–14 on combined studies and larger compositions. Reflect on results and document your progress to refine your approach.
Conclusion
You should now have a structured pathway to learning five high-impact palette knife techniques that will broaden your expressive possibilities. With targeted tools, material knowledge, and deliberate practice, you will gain confidence in making bold surfaces, clean reveals, and refined line work using the palette knife.
Next steps
You should select one technique to practice this week and set measurable goals—complete three small studies, photograph outcomes, and note which knife shapes and paint consistencies worked best. Consistent, focused practice is the most reliable way to internalize these methods and make them integral to your painting practice.