Which brush will help you translate the image in your mind onto canvas with the greatest control and least frustration?

The Ultimate Beginner’s Guide To Artist Paint Brushes
This guide will give you a structured, professional overview of artist paint brushes so you can make informed purchases and care for your tools properly. You will learn about brush anatomy, bristle types, shapes, sizes, media-specific recommendations, cleaning routines, troubleshooting, and buying strategies tailored to your needs.
Why the right brush matters
Choosing the right brush affects the quality of your mark-making, the efficiency of your workflow, and the longevity of your tools. With the correct brushes, you will achieve cleaner lines, smoother washes, and controlled textures that match your artistic intention.
Understanding brush anatomy
A brush consists of three basic parts: bristles (hair), ferrule (metal band), and handle. Knowing how each part functions will help you evaluate durability, balance, and suitability for your medium.
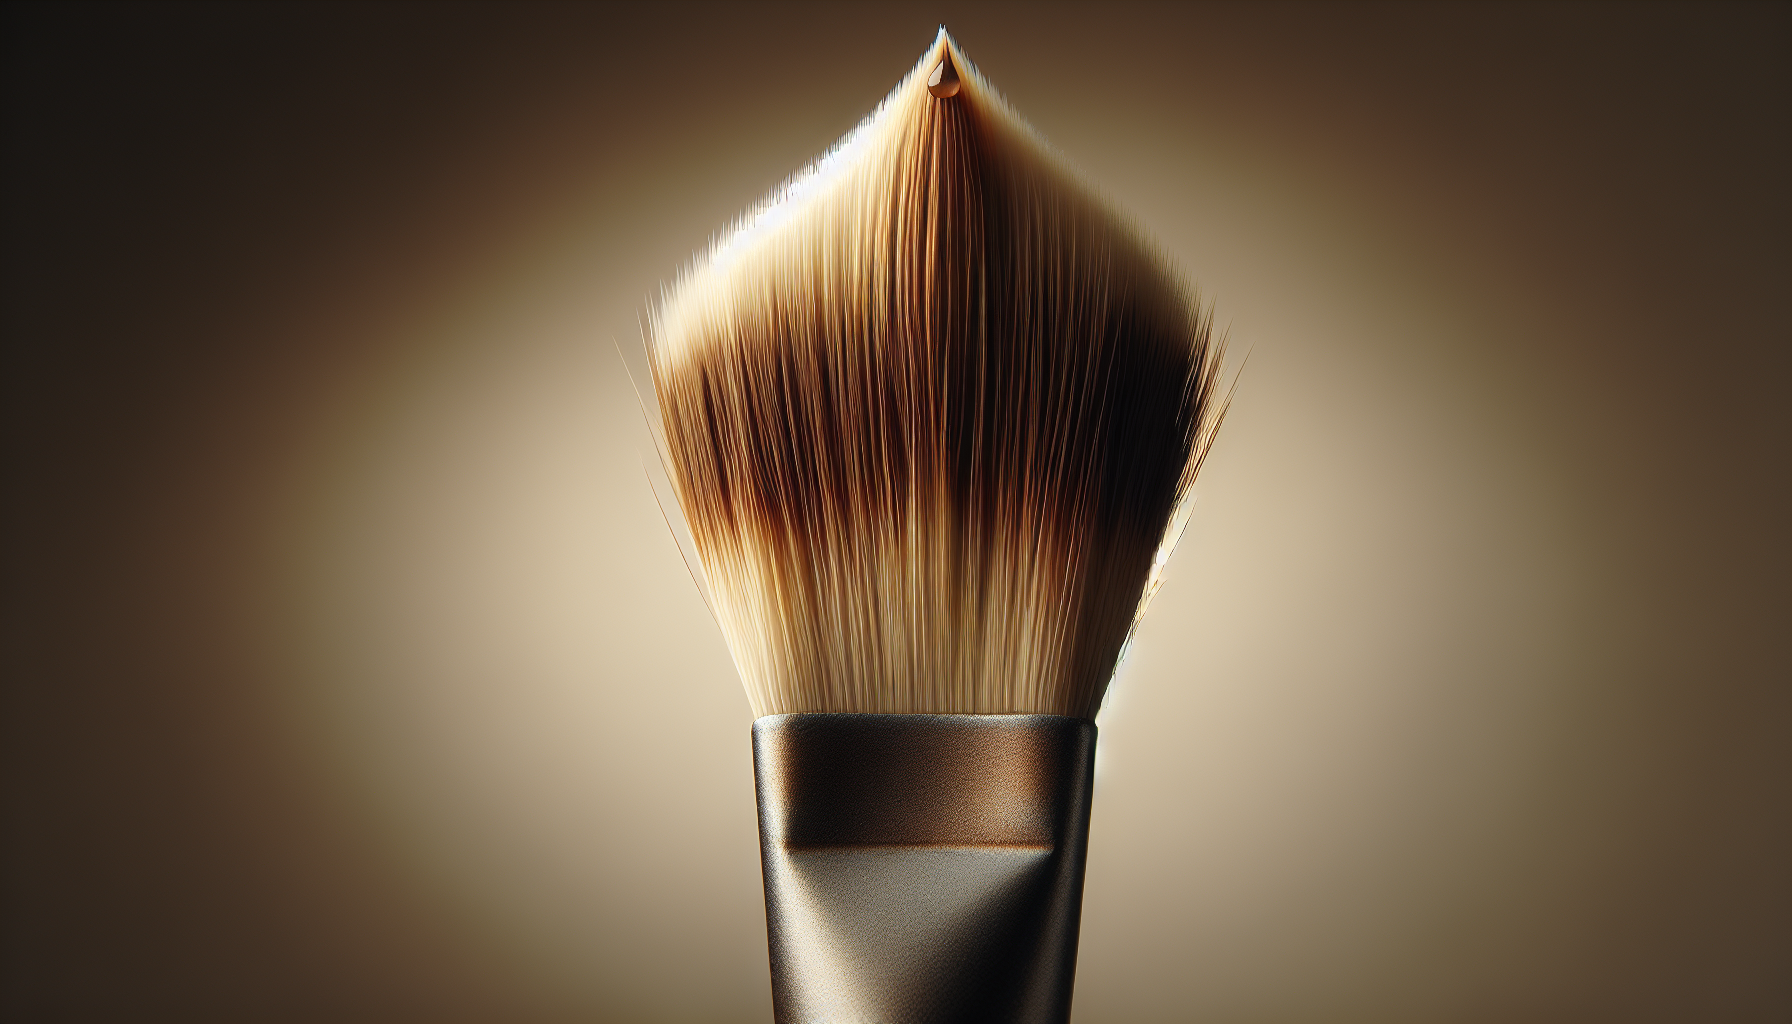
Bristles (hair)
Bristles determine how much paint holds, how the brush springs back, and how it forms a point or edge. Different materials offer distinct characteristics in absorbency, stiffness, and snap, which is why specializations exist for watercolor, acrylic, and oil painting.
Table: Common bristle types and characteristics
| Bristle Type | Origin | Best For | Characteristics | Cost & Care |
|---|---|---|---|---|
| Kolinsky sable | Natural (Siberian weasel) | High-end watercolor, detailed work | Exceptional point, high water-holding capacity, excellent spring | Expensive; requires gentle care, avoid harsh detergents |
| Sable (generic) | Natural (various) | Watercolor, fine detail | Good water retention and point, softer than synthetics | Moderate to high cost; careful cleaning |
| Squirrel | Natural | Watercolor washes | Extremely soft and absorbent, holds a lot of water | Gentle handling, not ideal for heavy-bodied paints |
| Hog bristle | Natural (pig) | Oil and acrylic | Stiff, durable, great for texture and impasto | Inexpensive to moderate; withstands scrubbing |
| Pony/ox | Natural | Student brushes | Softer and cheaper alternatives, varied quality | Budget-friendly; moderate care |
| Taklon/Nylon (synthetic) | Synthetic | All media (varies) | Increasingly versatile; less absorbent but durable; often springy | Cost-effective; easy to clean; cruelty-free |
| Blended (synthetic + natural) | Mixed | All media | Attempts to combine best traits, often good value | Moderate cost; easy to maintain |
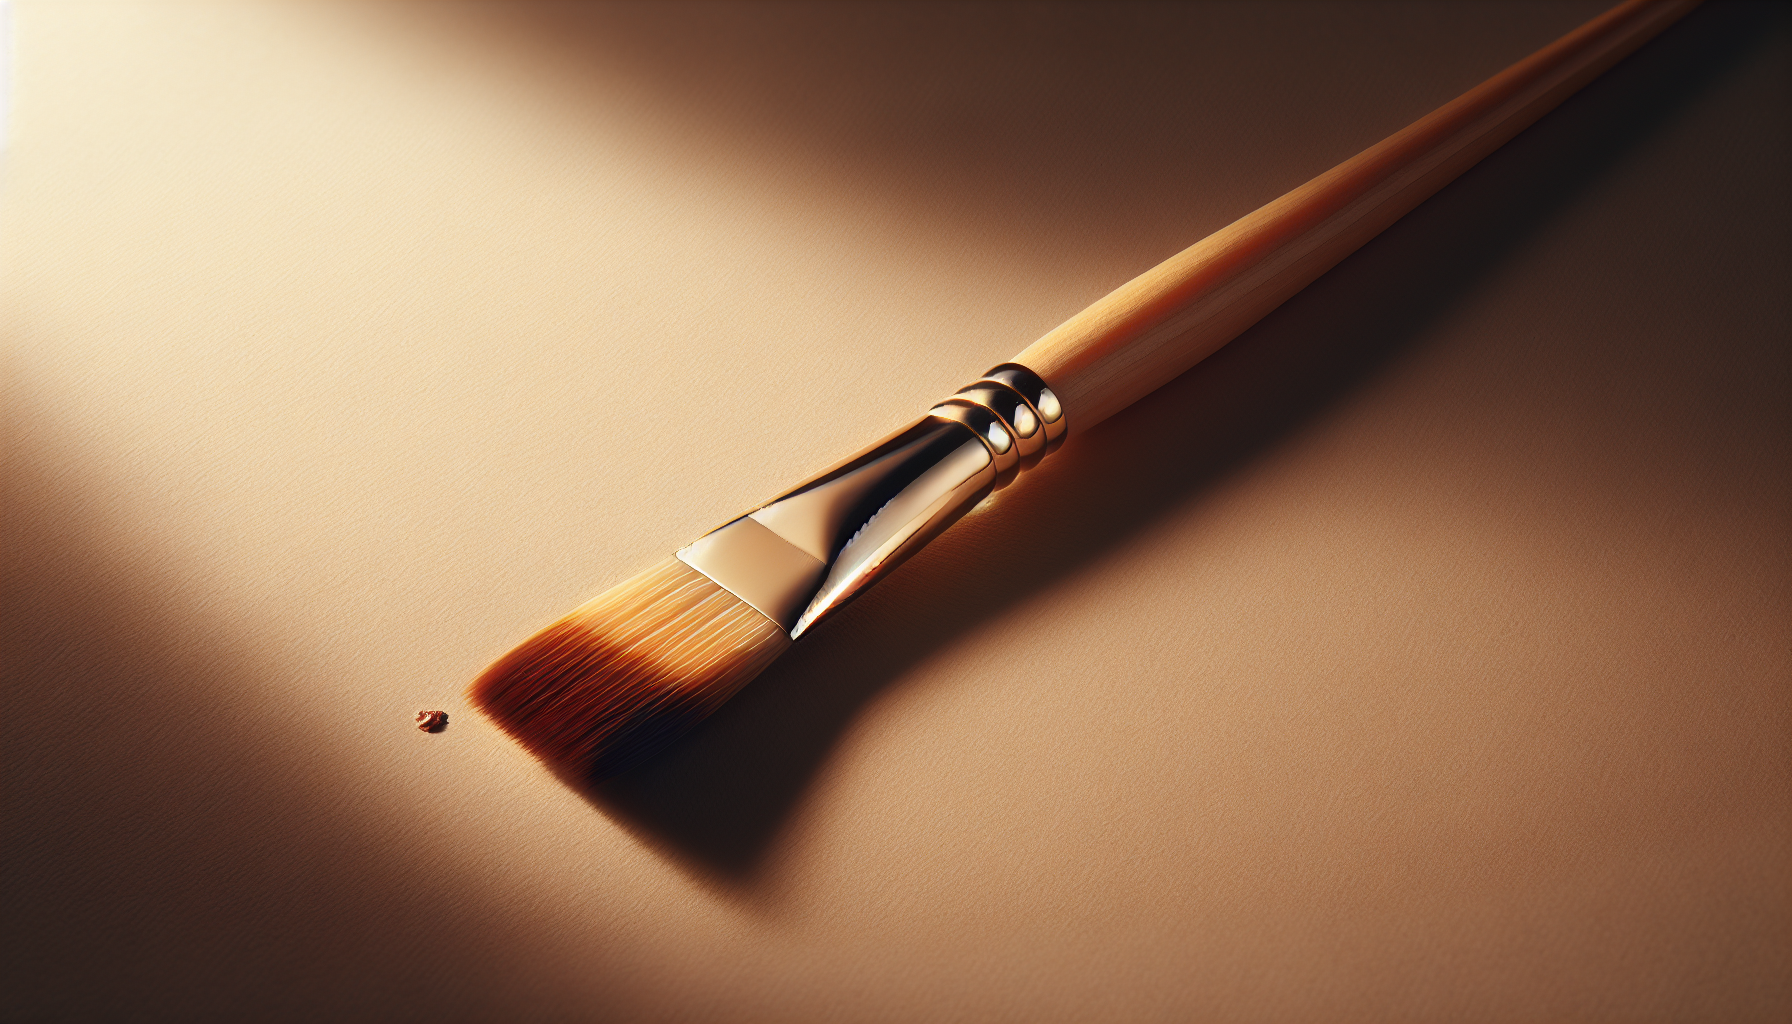
Ferrule and handle
The ferrule secures bristles to the handle and should be corrosion-resistant (nickel-plated, brass, or stainless steel). The handle length affects how you control the brush: long handles suit easels and looser strokes, short handles favor tabletop and detailed work.
Brush shapes and when to use them
Brush shape dictates the marks you can make and how paint is distributed on the surface. Familiarizing yourself with shapes allows you to choose the right tool for washes, details, edges, or texture.
Table: Brush shapes, descriptions, and common uses
| Shape | Description | Common Uses | Typical Media |
|---|---|---|---|
| Round / Pointed Round | Tapered tip with a rounded belly | Line work, details, controlled strokes, variable width | Watercolor, acrylic, oil |
| Filbert | Combines flat and round, rounded edge | Soft edges, blending, portraiture | Acrylic, oil |
| Flat | Rectangular head with straight edges | Bold strokes, fills, edges, glazing | Acrylic, oil |
| Bright | Short flat with stiff bristles | Controlled short strokes, heavy paint | Acrylic, oil |
| Angular / Angle | Flat with angled tip | Corners, curved strokes, precise edges | Acrylic, oil |
| Fan | Splayed bristles in fan shape | Blending, texture, softening edges | Acrylic, oil |
| Mop | Large, round, very absorbent | Large washes, wetting paper, soft blending | Watercolor |
| Liner / Rigger | Long, thin round brush | Fine lines, signatures, script | Watercolor, ink, acrylic |
| Wash | Very large and flat or round | Big ground washes | Watercolor |
| Dagger/Knife | Tapered, curved bristles | Calligraphic strokes, special effects | Mixed media |
Brush sizes and numbering
brush sizes are indicated by numbers (e.g., 0, 2, 4 … 12 … 24), but there is no universal standard. Smaller numbers create finer lines; larger numbers cover more surface. When comparing sizes, examine the actual width rather than relying only on numeric labels because brands vary.
How to choose sizes for practice
For general versatility, consider a small pointed round (sizes 0–4), a medium round or filbert (sizes 6–10), and a large wash or flat (sizes 12–24) depending on your canvas or paper size. That gives you control for detail, mid-size shapes, and broad coverage.
Natural vs synthetic bristles: which to choose?
Natural bristles offer certain performance advantages—especially in water retention and point—but ethical and cost considerations are pushing many artists toward synthetic options. Modern synthetic brushes often mimic natural hair behavior closely, are quicker to clean, and are less sensitive to water swelling, making them excellent all-around choices.
Pros and cons at a glance
- Natural: Superior water-holding and a fine point; generally more expensive and require careful care.
- Synthetic: Durable, less expensive, cruelty-free, good spring, and often preferred for acrylics as they resist water swelling.
Choosing brushes by medium
Brushes should match the physical properties of your paint. Watercolor needs absorbent, responsive brushes; acrylic benefits from durable synthetics or hog bristle depending on technique; oil often requires stiff bristles for impasto and heavy-bodied strokes.
Watercolor brushes
Watercolor brushes prioritize absorbency and a fine point for line work and washes. You will benefit from kolinsky sable or high-quality synthetic sable-like brushes, a round for detail, a mop for washes, and a flat for edges.
Acrylic brushes
Acrylics dry quickly and can be harder on brushes; synthetic or synthetic-blend bristles are ideal. Choose flats and brights for blocking in, filberts for blending, and liners for fine work.
Oil brushes
Oils are typically used with stiffer hog bristles or synthetic brushes designed to mimic that stiffness. Use flats and brights for broad strokes and texture; round/filbert for shapes and details.
Gouache and ink
Gouache behaves like a matte watercolor; use watercolor brushes, but be careful to clean thoroughly because gouache can clog fibers. For ink and fine line work, liners and small pointed rounds are valuable.
Table: Recommended brush types by medium
| Medium | Essential Shapes | Preferred Bristle |
|---|---|---|
| Watercolor | Round (small/medium), Mop, Wash, Liner | Kolinsky/sable or synthetic sable |
| Acrylic | Flat, Filbert, Bright, Round, Liner | Synthetic (nylon/taklon) |
| Oil | Flat, Filbert, Bright, Fan, Round | Hog bristle or heavy synthetic |
| Gouache | Round, Flat, Liner | Sable or synthetic sable |
| Ink | Liner, Small Round | Synthetic or sable for fine point |
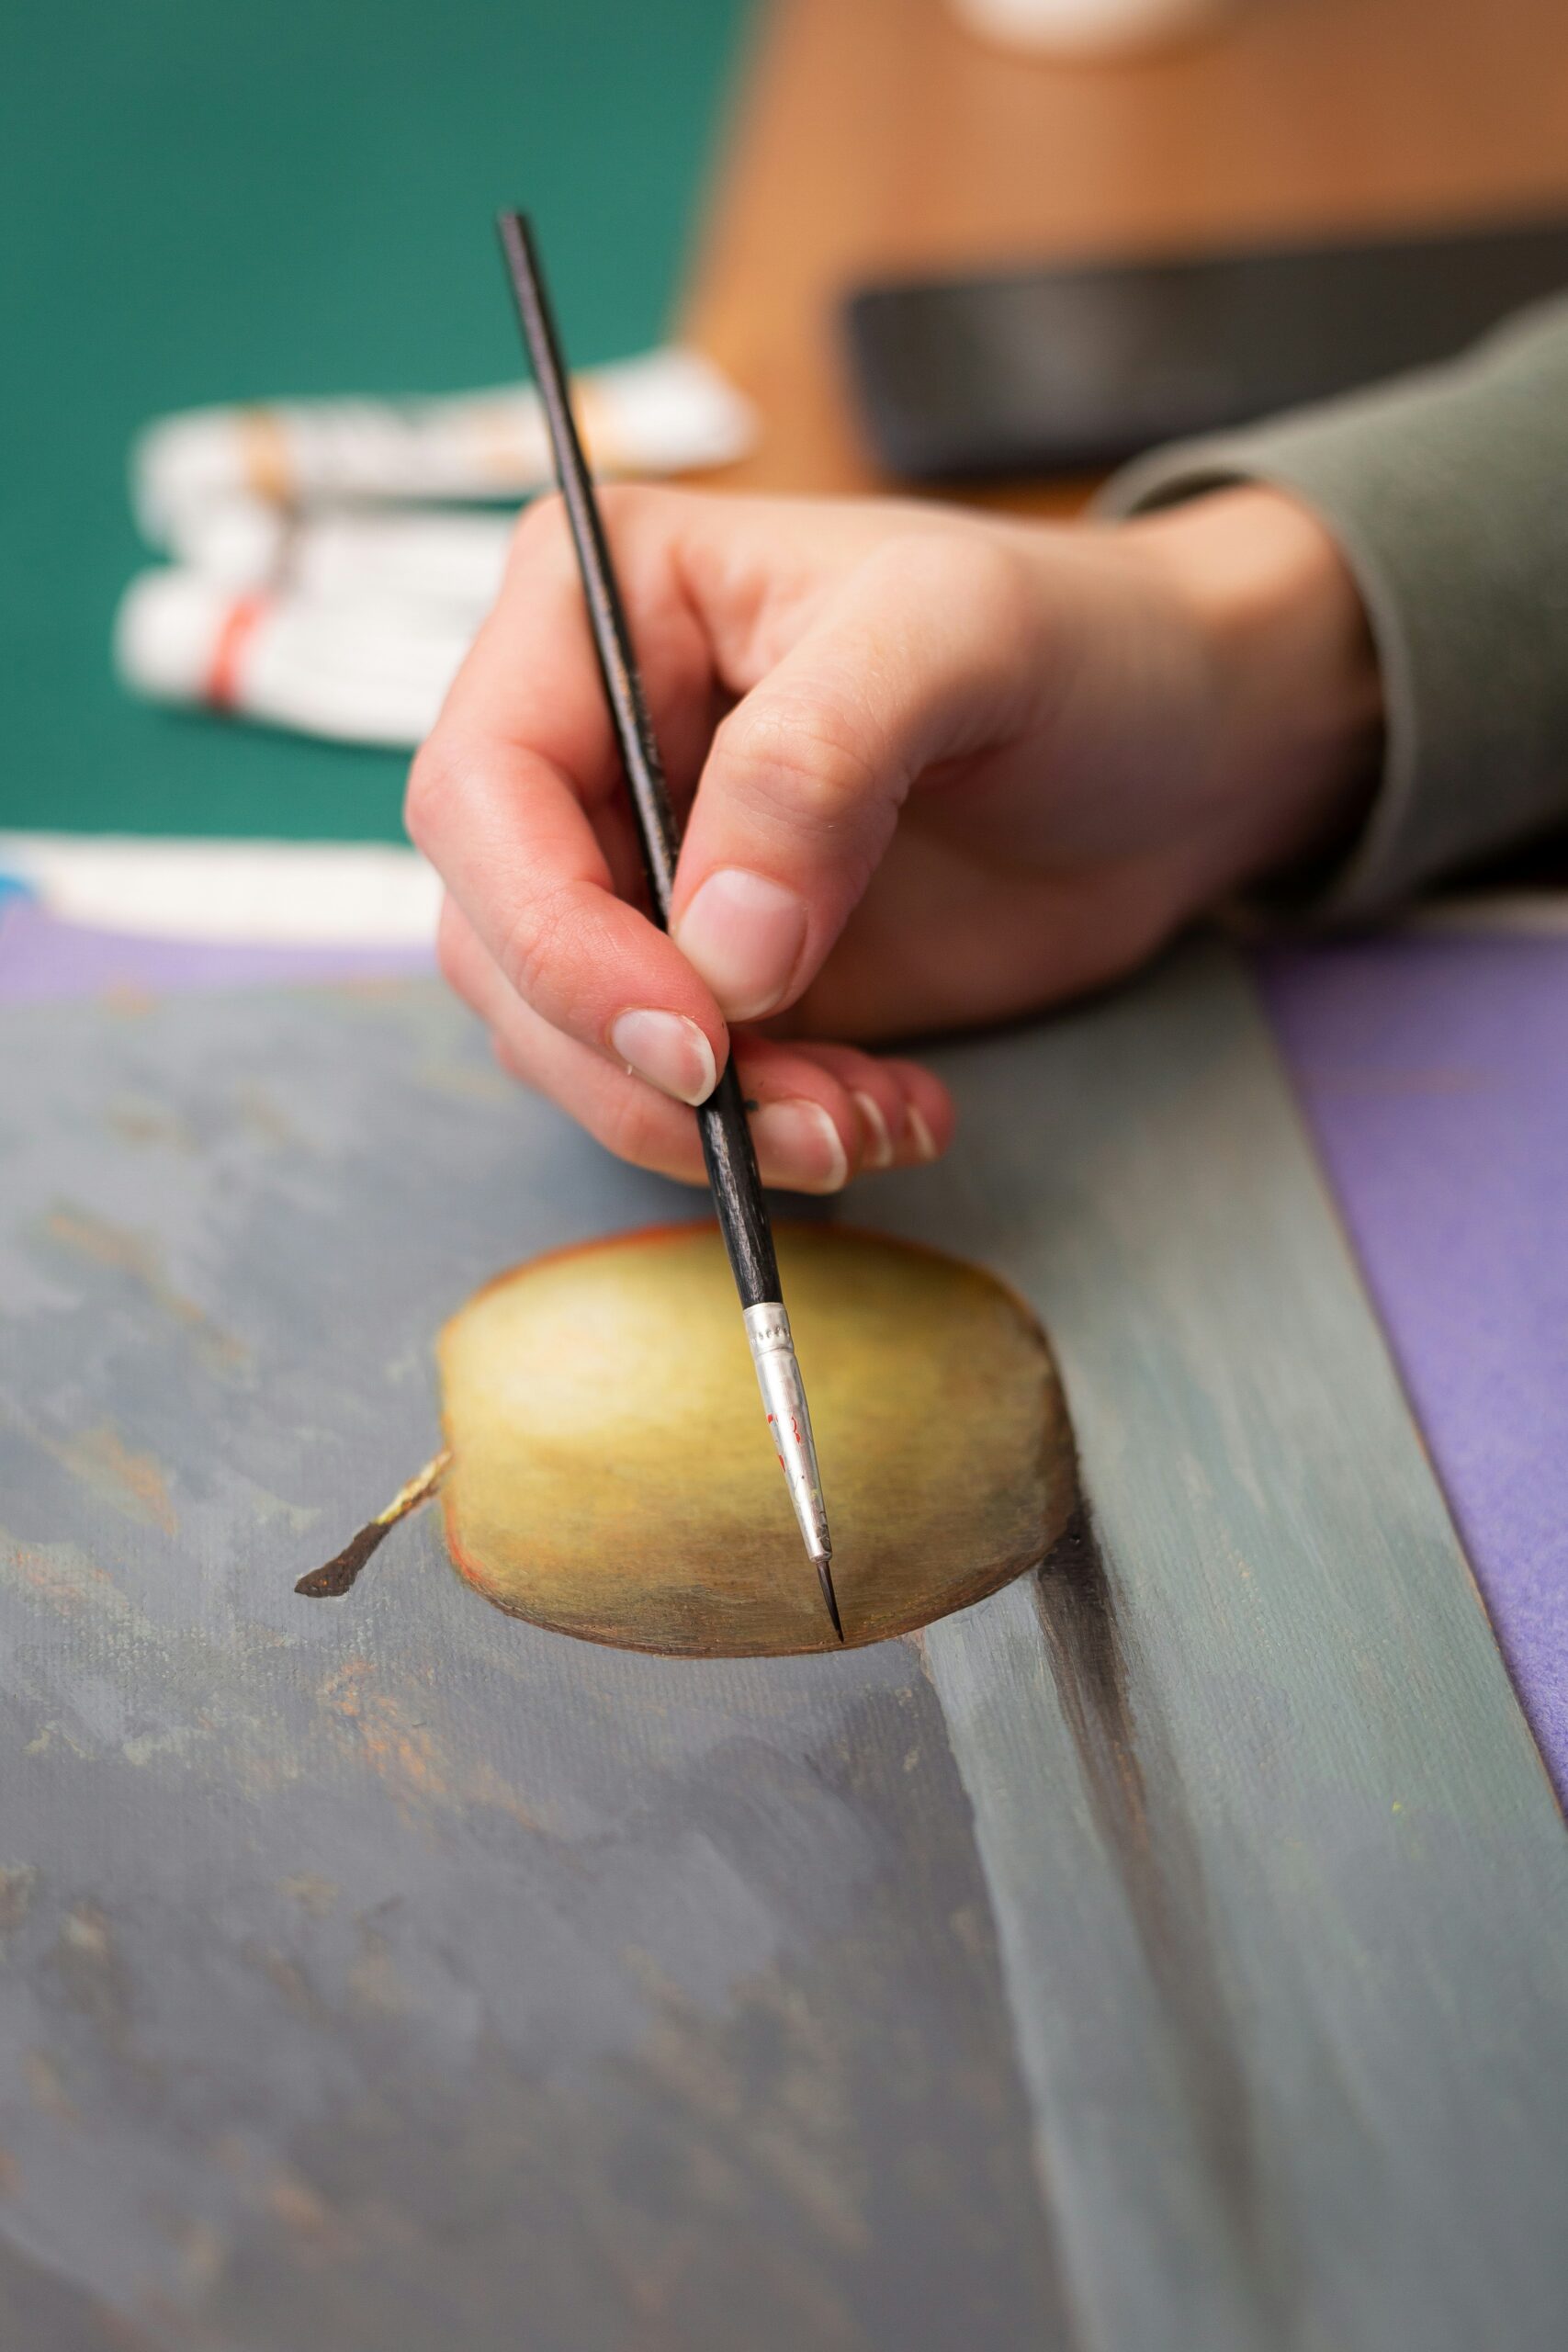
How to hold and use brushes
Your grip and arm movement determine stroke quality. Hold the brush near the ferrule for precision and closer to the end for looser, gestural strokes; practice both grips to gain control.
Loading the brush properly
Dip the brush into the paint or water—depending on the medium—so that the belly holds a reservoir and the tip retains a fine point. Avoid overloading, which can cause drips and loss of control.
Practical warm-up exercises
Practice straight lines, dots, graduated washes, and controlled dry-brush strokes to test paint load and responsiveness. Establish a short warm-up routine before a painting session to calibrate your touch.
Brush techniques and marks
Brush handling produces a range of textures and effects. Mastering common techniques expands your expressive options and helps you solve compositional challenges.
Core techniques to practice
- Washes: For broad, transparent layers in watercolor; practice even, horizontal pulls.
- Dry brush: For texture and scratchy marks; use minimal paint on a dry brush.
- Glazing: Thin transparent layers applied over dry paint, common in oil and acrylic.
- Scumbling: Broken, semi-opaque layers dragged lightly, good for atmosphere and texture.
- Stippling: Repeated small dots for texture and tone.
- Liner strokes: Long, continuous lines for tree branches, script, and fine details.
Cleaning and care: daily routine
Routine cleaning preserves the brush shape and prevents paint from building up at the ferrule. Adopting a consistent habit will maximize the useful life of your brushes and keep them painting predictably.
Water-based paints (watercolor, acrylic, gouache)
Rinse immediately after use under lukewarm running water until the water runs clear. For acrylic, clean right away because it dries fast and becomes insoluble; use gentle soap and a soft brush cleaner or your palm to remove paint from the ferrule and base of bristles.
Step-by-step for water-based paints:
- Wipe excess paint on a rag or paper towel.
- Rinse under lukewarm water while reshaping the brush.
- Apply gentle soap or brush cleaner and work through the bristles.
- Rinse thoroughly and reshape the tip with your fingers.
- Dry horizontally or with bristles pointing down to avoid water in the ferrule.
Oil paints
Oil requires solvent to remove paint, followed by soap and water. Use odorless mineral spirits, citrus-based solvents, or traditional turpentine as preferred, but always work in a ventilated area and dispose solvent responsibly.
Step-by-step for oil paint:
- Wipe excess oil paint on a rag to remove bulk.
- Swirl the brush in a jar of solvent until most paint is gone.
- Wash with mild soap and lukewarm water, working from ferrule to tip.
- Rinse, reshape, and dry horizontally or bristles down.
- Occasionally condition hog bristles with a small amount of linseed oil after cleaning.
Table: Quick cleaning reference
| Medium | Immediate Clean | Deep Clean | Drying Position |
|---|---|---|---|
| Watercolor | Rinse with water | Gentle soap monthly | Horizontal or bristles down |
| Acrylic | Rinse immediately, soap | Brush cleaner for stubborn paint | Horizontal or bristles down |
| Oil | Solvent then soap | Deep clean with specialized cleaner | Horizontal or bristles down |

Deep cleaning and restoration
Even with good maintenance, brushes occasionally need deep cleaning to restore flexibility and point. Use a dedicated brush cleaner, mild dish soap, or specialized brush conditioner to break down residual paint.
Removing hardened paint and reshaping
Soak in a brush cleaner or a solution of lukewarm water with a small amount of ammonia-free cleaner, avoiding prolonged soaking that can loosen the ferrule. Use your fingers to gently work dried paint out, then reshape the tip and allow to dry.
When to replace vs repair
If bristles are permanently splayed, the ferrule is loose, or hair loss is excessive, replacement is the best option. For minor issues like a temporarily lost point or minor paint buildup, deep cleaning and careful reshaping usually suffice.
Storage and drying
Proper storage protects bristles, preserves shape, and prevents contamination. Store brushes horizontally or with bristles up in a cup only when completely dry; use brush guards or roll cases for transport.
Best practices
- Don’t store wet brushes bristle-up in containers because moisture will collect in the ferrule and cause rust or glue failure.
- Use protective brush sleeves to maintain points during storage.
- Rotate brushes in a case so heavier bristles don’t crush softer ones.
Extending brush life: tips and checklist
A few simple habits will extend the life of your brushes dramatically. Rinse often, avoid leaving paint to dry on the ferrule, reshape after cleaning, and invest in proper storage.
Checklist:
- Clean immediately after use.
- Use an appropriate cleaner for the paint type.
- Reshape the tip and let dry flat or bristle-down.
- Avoid boiling or aggressive chemicals that damage glue.
- Use a mild soap specifically designed for brushes occasionally.
Common problems and solutions
You will encounter splayed bristles, shedding, and loss of point; these problems usually have simple fixes if caught early. Regular inspection and quick interventions will save many brushes from premature disposal.
Troubleshooting examples:
- Splayed bristles: Deep-clean and reshape; prune only if necessary and carefully.
- Bristle shedding: New brushes may shed lightly; heavy shedding often signals low quality or a broken ferrule.
- Stiff or tacky bristles: Use brush cleaner or mild soap; for acrylic, remove dried paint with a specialized cleaner.
Buying tips and budgeting
Decide whether to start with singles or a set based on your learning goals. Sets offer economical breadth, while single high-quality brushes permit targeted investments in frequently used shapes.
What to look for in-store or online
- Ferrule should be firmly attached without a visible gap.
- Bristles should come to a clean point and feel secure when you pull gently.
- Handles should be comfortable in length and weight for your working posture.
- Read return policies and try brushes in person if possible; online reviews can help but inspect closely upon arrival.
Recommended starter brush kits
If you want a concise starter kit for each medium, use these recommendations to build a functional set that will cover most techniques while staying budget-conscious.
Table: Starter brush recommendations by medium
| Medium | Essential Brushes (shape – size) |
|---|---|
| Watercolor | Round #2, #6, #10; Mop or large round #12–16; Liner #0–2 |
| Acrylic | Flat #8 or #10, Filbert #6, Bright #4, Round #2–6 |
| Oil | Hog Bristle Flat #10–12, Filbert #6–8, Round #2–4, Fan #6 |
| Gouache | Round #4, #8; Flat #6; Liner #0–2 |
| Ink | Liner #0 or #1, Small Round #2 |
Ethical and environmental considerations
Sourcing and sustainability matter when selecting natural-hair brushes. You can prioritize cruelty-free synthetic options, responsibly sourced natural hair, and brands with transparent ethical practices.
Solvent disposal and studio impact
Dispose of solvents responsibly by using dedicated waste containers and following local hazardous waste regulations. Consider less-toxic alternatives like citrus-based or odorless mineral spirits and use ventilation to protect your health.
Frequently asked questions
Q: How can you test a brush for quality before buying? A: Look for a secure ferrule, uniform point, minimal shedding, and good “snap” when you flex the bristles; a quality brush will return to shape quickly.
Q: Can synthetic brushes replace natural hair completely? A: For many applications and especially for acrylics, high-quality synthetics can match or exceed natural hair performance; for extremely fine watercolor work, some artists still prefer natural sable or squirrel blends.
Q: Is it worth buying expensive brushes as a beginner? A: Invest in one or two quality brushes for your primary techniques and supplement with economical brushes for experimenting; good habits in care are often more impactful than cost alone.
Q: How do you prevent paint from drying in the ferrule? A: Clean thoroughly after each session and avoid leaving brushes bristle-up in water or containers; wipe excess paint frequently during use.
Q: What should you avoid doing with brushes? A: Don’t leave them soaking overnight, avoid boiling them, and don’t use solvents as if they are safe to pour down the sink; these habits shorten brush life and harm the environment.
Conclusion
If you choose brushes thoughtfully, care for them consistently, and practice fundamental techniques regularly, your tools will reliably convey your artistic intent. With the practical knowledge in this guide, you will be able to select appropriate brushes for your medium, maintain them to extend their life, and develop marks and textures with confidence.
By building a modest, well-chosen collection and maintaining good habits, your brushes will become dependable instruments that support your growth as an artist.