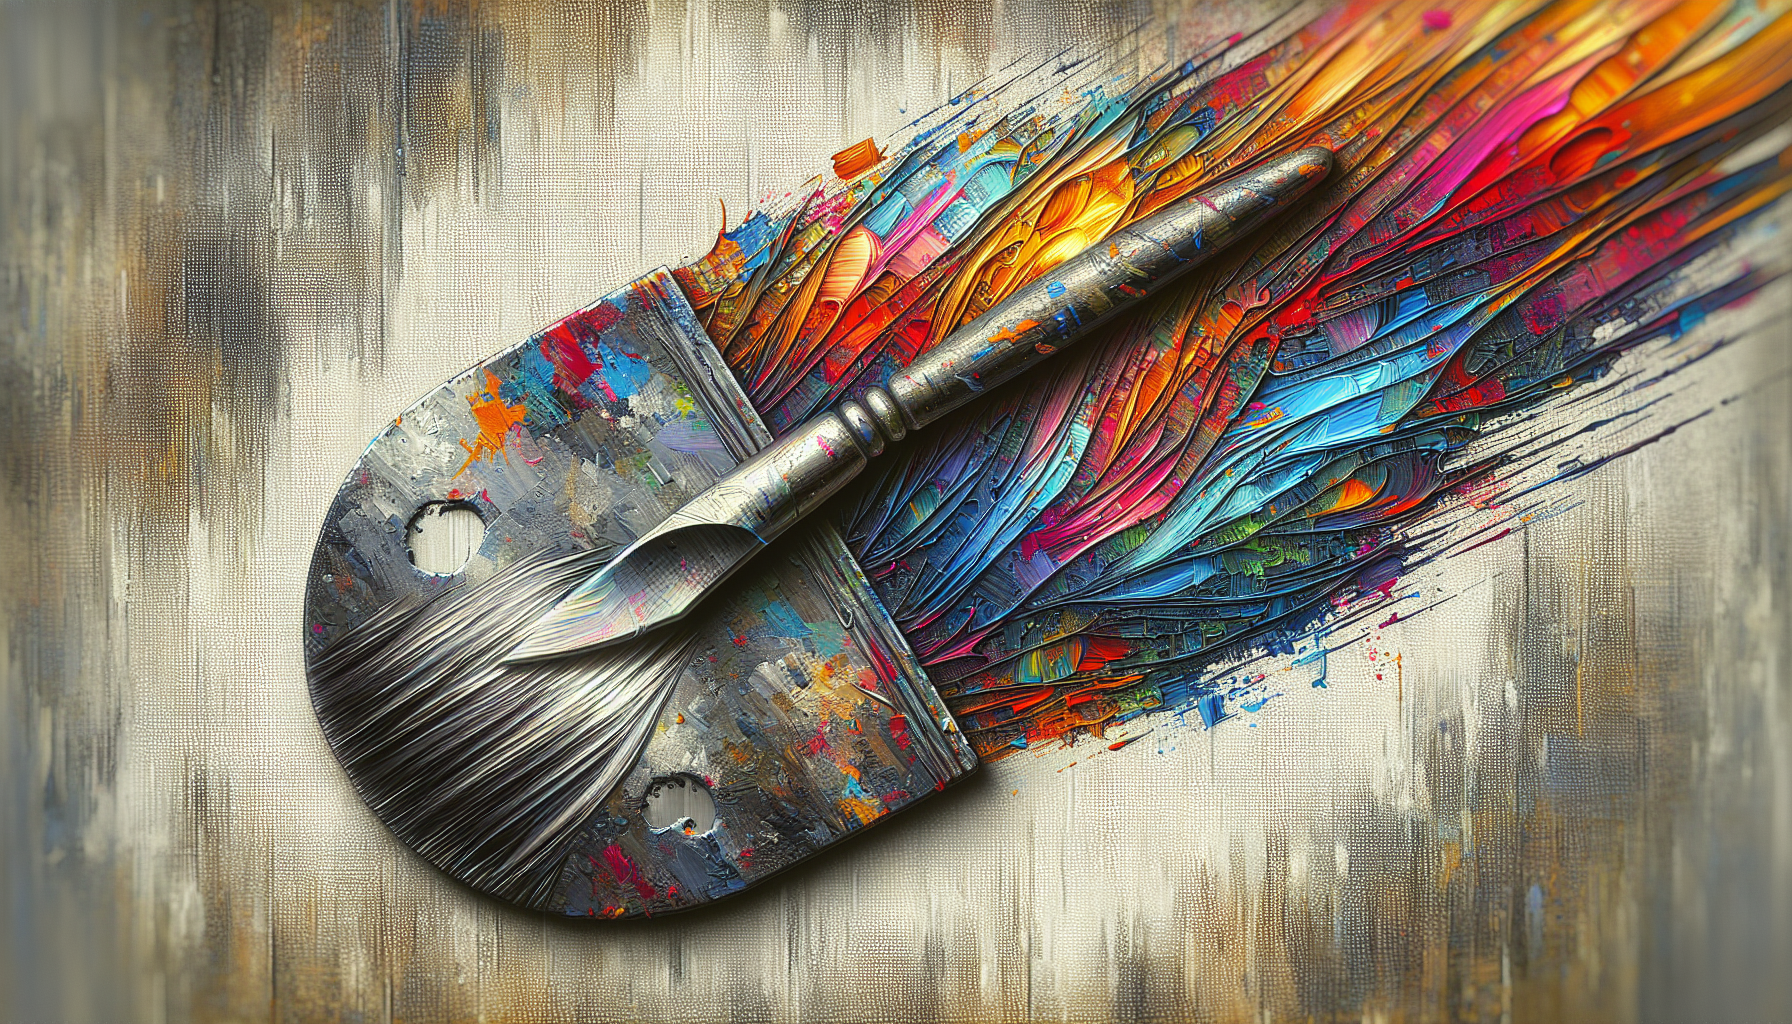
?Which tool will best express the vision you want on your canvas: a palette knife or a brush?

Palette Knives Vs Brushes: What’s The Difference And When To Use Each
This article compares palette knives and brushes so you can make informed choices for your painting practice. You will learn the differences in tool structure, handling, effects, and the contexts in which one is preferable to the other.
Why this comparison matters
Understanding the differences between palette knives and brushes helps you control texture, color mixing, and final surface appearance. You will be able to select tools that align with your subject, medium, and expressive goals.
What you will gain from this article
You will receive practical guidance on tool selection, technique demonstrations, maintenance procedures, troubleshooting tips, and practice exercises. The goal is to make your decision process faster and your studio sessions more productive.
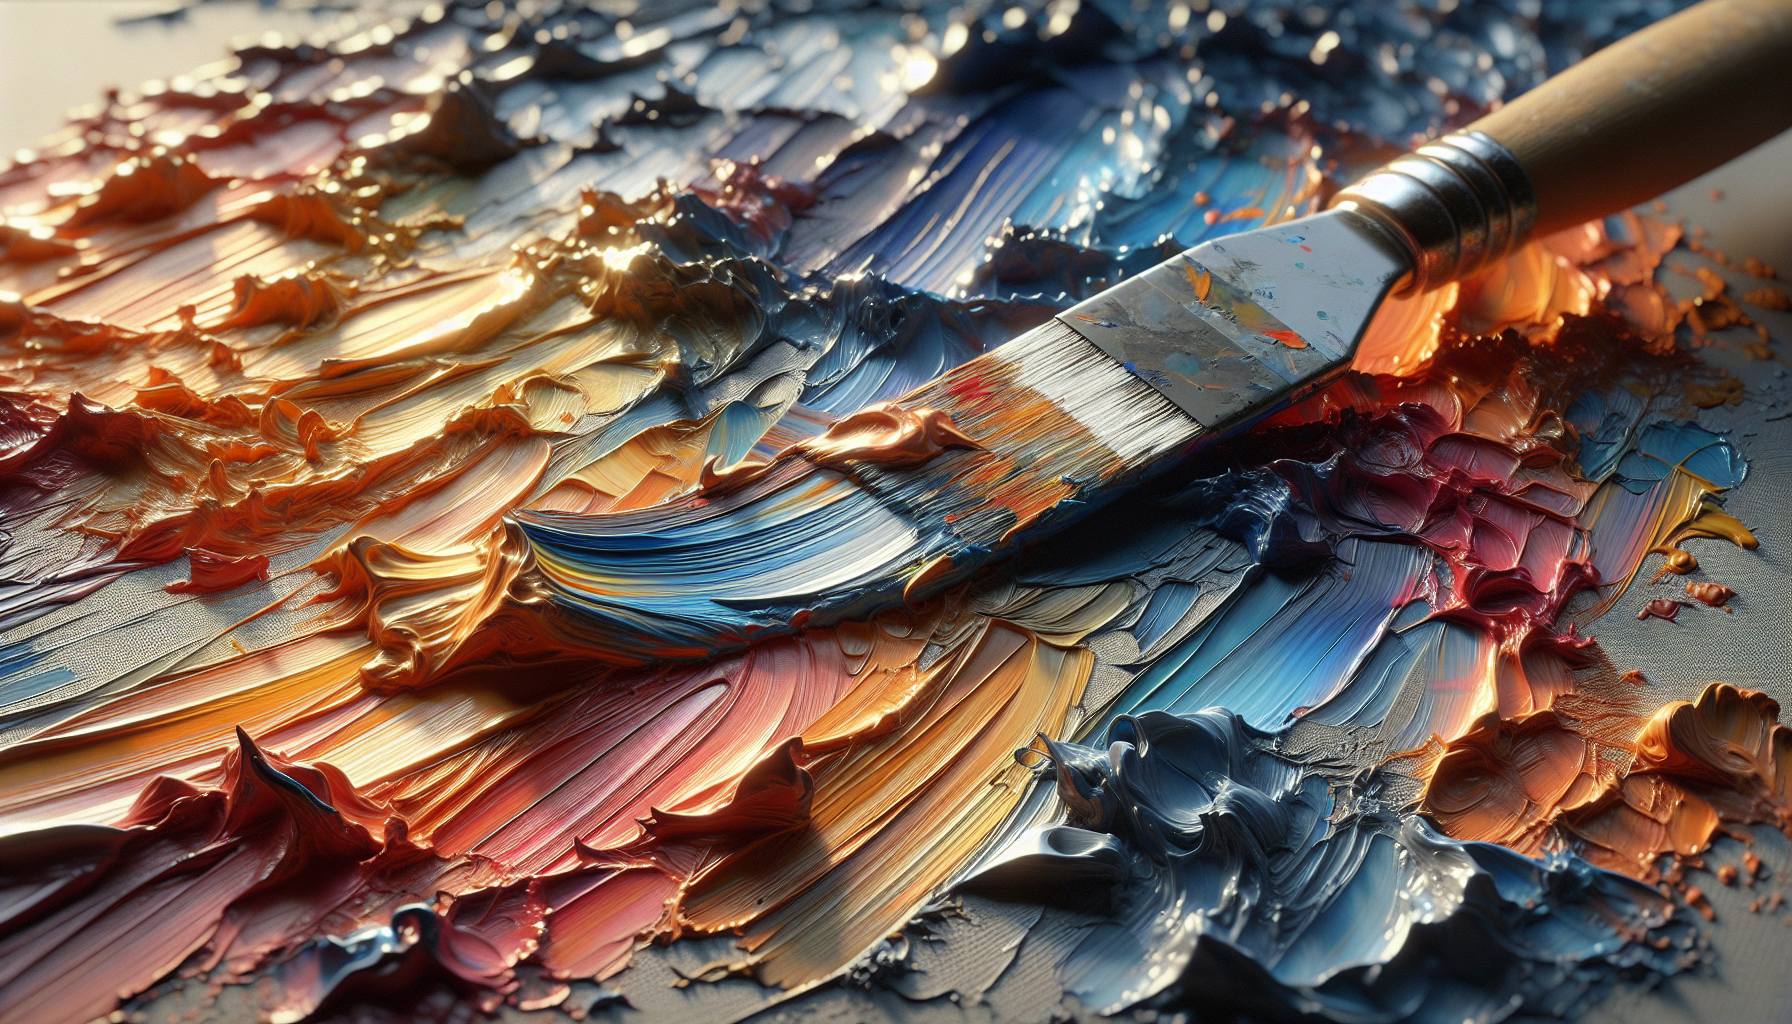
Fundamental differences between palette knives and brushes
Palette knives and brushes differ in material, shape, flexibility, and intended functions. These differences lead to distinct visual outcomes and handling techniques on the painting surface.
Material and construction
Brushes are made from natural or synthetic hairs attached to a ferrule and handle, giving them flexibility and capacity to hold liquid paint. Palette knives are metal or plastic blades mounted on handles, designed primarily to move and shape thicker paint rather than hold it.
Flexibility and control
Brushes offer graded flexibility in the hair and a variety of tip shapes that permit fine-to-broad mark-making. Palette knives are rigid or semi-flexible and produce bold, deliberate strokes with limited subtle blending control.
Quick comparison table
This table summarizes the primary differences to help you choose the correct tool quickly.
| Feature | Brush | Palette Knife |
|---|---|---|
| Material | Hair (natural/synthetic) + handle | Metal or plastic blade + handle |
| Flexibility | High (varies by hair type) | Low to medium |
| Best for | Detailed strokes, soft blends, glazing | Impasto, scraping, bold textures |
| Paint holding | Holds liquid paint and medium | Does not hold paint; spreads and scrapes |
| Control level | High precision | Bold, gestural control |
| Typical mediums | Oils, acrylics, water-mixable media | Oils, heavy body acrylics, cold wax |
| Common problems | Overworking, stray hairs | Gouging canvas, muddy mixing if overworked |
Types of palette knives and when to use each
Palette knives come in several shapes and sizes; each shape produces different marks and handling characteristics. Choosing the right knife will affect your ability to lay paint, scrape, and sculpt surfaces.
Diamond, trowel, and spatula shapes
Trowel-shaped knives provide a broad, flat surface ideal for spreading and layering paint, while diamond or pointed shapes create finer ridges and accents. Spatula knives with rounded tips are useful for softer swipes and smoothing edges.
Flexible vs rigid blades
Flexible blades bend more and give smoother, sweeping gestures, whereas rigid blades make firm, textured strokes and can be used to apply thicker impasto. You will prefer flexible blades when you want controlled curves and rigid blades when building heavy texture.
Size and handle considerations
Short, narrow knives are better for detailed texture and control; longer blades are more effective for bold sweeps and larger areas. Consider the handle ergonomics because extended sessions require comfortable grips to avoid fatigue.
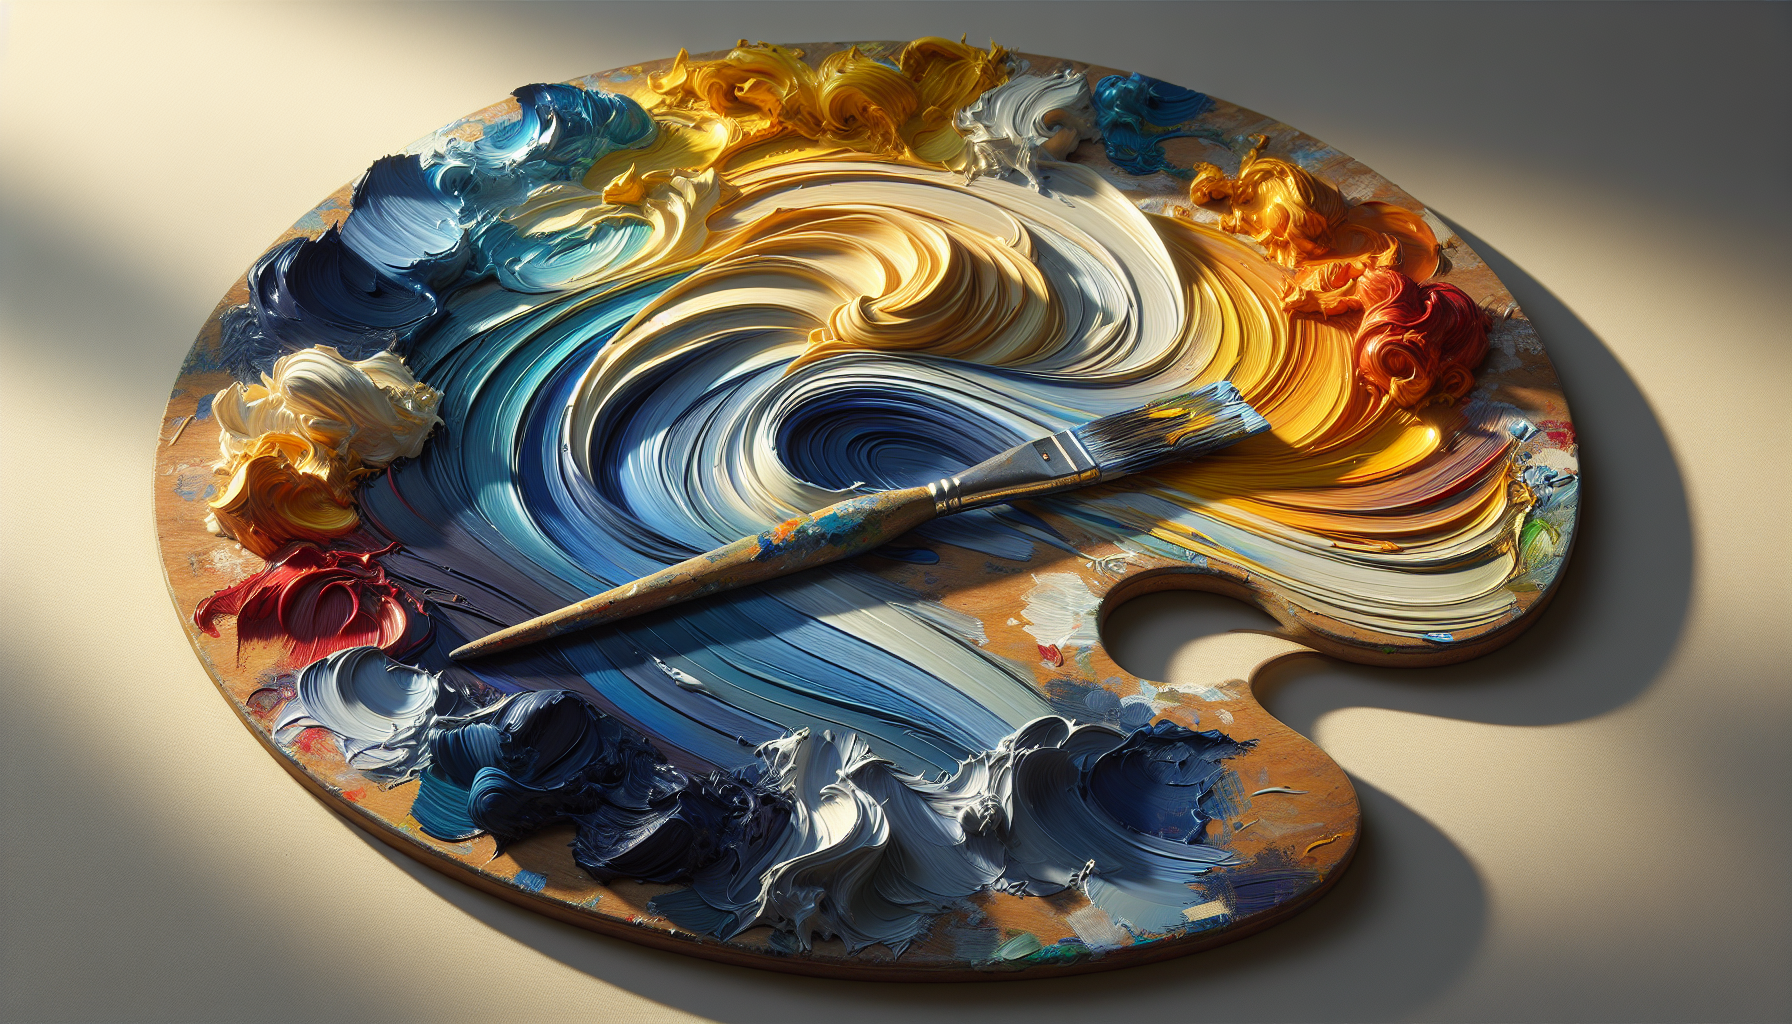
Types of brushes and when to use each
Brush variety is vast, and each shape and hair type yields particular marks and behaviors. Selecting the right brush helps you control paint load, line quality, and blending capability.
Round, filbert, flat, and fan brushes
Round brushes point to fine detail and lines; filbert brushes have a controlled, slightly rounded edge for organic strokes; flats create strong edges and blocks; fans are excellent for softening and creating feathery textures. You will choose shapes based on whether you need precision, blending, coverage, or subtle texture.
Hair types: natural vs synthetic
Natural hairs (sable, hog) often hold more paint and create smooth, responsive strokes; synthetics are resilient, easier to clean, and work well with acrylics and mediums. Your selection should consider paint medium, desired spring, and budget.
Size and load capacity
Larger brushes move more paint and cover ground quickly; smaller brushes provide precision. Match brush size to canvas scale and detail level to avoid inefficient strokes or brush marks that contradict your intent.
How each tool interacts with different paint mediums
Both brushes and palette knives behave differently with oils, acrylics, watercolors, and mixed media. Your medium choice will strongly influence which tool you reach for.
Oils
Oils suit both brushes and knives; brushes excel in glazing and subtle blends, while knives are ideal for impasto and thick textural effects. You will often combine both: use brushes for underpainting and knives for highlights and texture.
Acrylics
Acrylics dry faster than oils. Heavy body acrylics take knife work well for texture; brushes work for both washes and controlled blending, but rapid drying may require retarders or wet palettes. You will need to plan timing when switching between tools.
Watercolor and inks
Watercolor relies heavily on brush water control, and palette knives are rarely used to apply wet washes but can lift or scrape wet paper for creating hard edges. If you experiment with gouache or heavy-bodied water-soluble media, knives can create interesting resist textures.
Cold wax and mixed media
Cold wax and heavy mediums are knife-friendly, allowing sculptural surfaces and expressive scraping. You will find knives indispensable when building thick, tactile layers in mixed-media works.
Techniques best achieved with brushes
Brushes provide a wide range of subtleties and are essential for many painting techniques. You will use brushes for fine modeling, soft transitions, glazing, and detailed work.
Blending and soft transitions
Brushes excel at creating soft gradations and atmospheric effects by gently moving paint. Controlled brush strokes let you build smooth value transitions and refined color shifts.
Glazing and transparent layers
Thin, translucent layers applied with soft brushes allow you to adjust color and depth without disturbing underlying textures. You will use glazing to enrich color and create luminosity in oils and slow-drying acrylics.
Scumbling and dry brush
Scumbling with a dry brush lets you add broken color and delicate texture over an underlayer. This technique preserves some of the underlying paint while introducing subtle highlights or grittiness.
Fine detail and line work
Small round brushes provide precise strokes for edges, highlights, and intricate details. You will rely on these brushes for facial features, fine patterns, or thin linear elements.
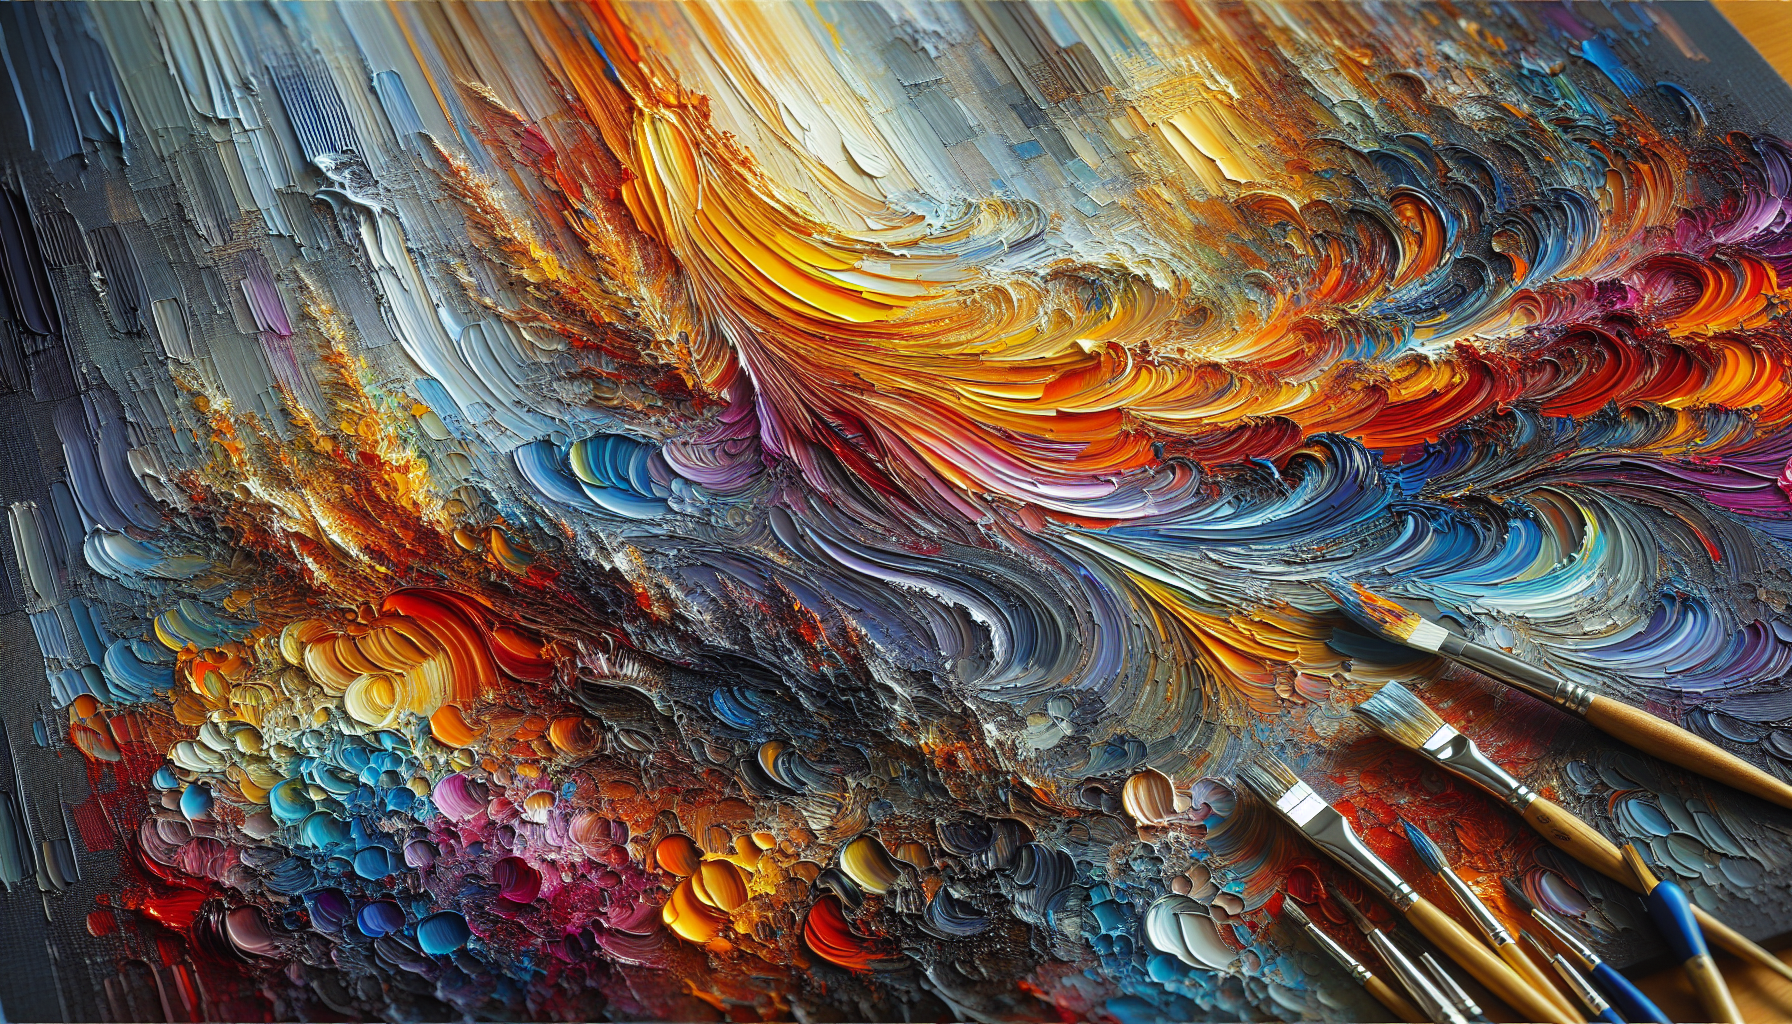
Techniques best achieved with palette knives
Palette knives unlock a range of textural and expressive possibilities that brushes cannot replicate. You will use knives to build impasto, scrape back, and create sharp-edged, sculptural marks.
Impasto and bold texture
Knives excel at laying down thick paint that retains its ridge and edge, producing an immediate, tactile surface. This technique is effective for emphasizing light, form, and physicality.
Scraping and subtractive methods
You can remove paint to reveal underlying layers or to create fine lines by running the blunt edge across wet or semi-dry paint. Scraping is useful for corrections, hard edges, and controlled distressing.
Palette mixing directly on canvas
Knives let you mix colors on the support by dragging and blending thick pigments, producing raw, energetic color transitions. You will achieve more visible, intentional mixes than smooth brush blending.
Creating geometric and sharp-edged forms
The knife’s straight edges make it easier to form crisp, planar shapes and architectural elements. You will prefer knives when rendering planes of light or stylized structures.
Combining brushes and knives effectively
Most artists benefit from using both tools in the same work because each addresses different visual needs. You will gain versatility by integrating the strengths of brushes and knives in planned stages.
Suggested workflow
Start with brush-based underpainting to establish color and value relationships, then use knives to build texture and highlights. Finish with brushwork for final harmonization, or vice versa, depending on desired surface tension.
Balancing texture and detail
Use knives for dramatic texture and brushes to refine edges and subtleties so the composition maintains clarity. You will avoid competing textures by planning which areas should be textural and which should remain smooth.
Color management when combining
Avoid muddy colors by isolating thick knife-mixed areas from transparent brush glazes until dry, and use clean palette practices. You will keep brushes clean between textured mixes and glazes to maintain color purity.

Choosing the right tool by subject matter
Different subjects often imply specific textural and tonal requirements. You will choose tools based on how you want to represent light, surface detail, and scale.
Landscapes and seascapes
Landscapes often benefit from knives for rocks, foliage, and impasto skies, and brushes for distant atmosphere and subtle gradients. Coastal scenes frequently use broad knife strokes for surf and textured cliffs.
Portraits and figures
Portraits require controlled modeling of planes and subtle skin transitions where brushes are primary; however, knives can supply expressive highlights or stylized hair textures. You will use knives sparingly in portraiture unless aiming for a deliberately painterly aesthetic.
Still life and everyday objects
Still life allows experimentation: brushes for form modeling and knives for reflective surfaces and accent marks. You will use knives when you want to suggest materiality like the thick paint of a ceramic glaze or reflected light on glass.
Abstract and expressionist work
Abstract painters often prefer knives for raw texture and gestural strokes, while brushes can refine areas and smooth transitions. You will choose knives for aggressive mark-making and brushes for controlled nuance.
Advantages and disadvantages summarized
This section lists practical pros and cons to help you weigh which tool aligns with your objectives and workflow.
Advantages of brushes
Brushes offer precision, a range of mark-making, and excellent capacity for glazing and blending. They are versatile across all major painting mediums and essential for detailed work.
Disadvantages of brushes
Brushes can leave unwanted hairs, overwork paint if misused, and produce visible brush marks when not intended. They also require careful cleaning and can lose shape with poor maintenance.
Advantages of palette knives
Knives produce bold textures, expedite thick paint application, and simplify rapid expressive marks. They are easier to clean in many cases and allow dramatic, sculptural surface creation.
Disadvantages of palette knives
Knives provide less precision, can gouge or damage delicate supports, and are not useful for glazing or fine blending. They also require practice to control the thickness and direction of the applied paint.
Practical steps for using a palette knife
When you begin using a palette knife, proper technique prevents accidents and ensures desirable marks. You will benefit from a few methodical steps when applying paint.
Loading and applying paint
Scoop paint on the blade edge and press it onto the surface with a controlled angle to create thin or thick strokes. Vary the angle and pressure to change edge sharpness, ridge height, and paint thickness.
Scraping back and revision
Work from broad to specific: apply large impasto masses, allow them to settle slightly, then scrape back to add definition. You will practice restraint so scraping reveals color relationships without ruining the composition.
Creating edges and texture
Use the knife’s flat side for broad swaths and the tip for points and fine ridges; twist slightly to vary the line quality. You will test marks on scrap canvas to find the right combination of blade angle and pressure.
Practical steps for using brushes
Brushwork requires attention to load, stroke direction, and paint consistency. You will benefit from consistent practice to refine brush control.
Loading the brush
Dip only one-third of the brush into paint to retain a springy feel and control the load. You will wipe excess on the palette to prevent overloading and unwanted drips.
Stroke direction and pressure
Follow form with strokes that reinforce the object’s planes; adjust pressure to transition from thin to thicker marks. You will practice layering from thin to thicker paint, honoring the “fat over lean” rule in oils.
Maintaining edges
For crisp edges, use a flat or filbert brush and lift gently at the stroke’s end; for soft edges, employ feathering or a dry brush. You will combine edge techniques to emphasize form and atmosphere.
Cleaning and maintenance for longevity
Proper care will extend the life of your tools and keep your work consistent. You will adopt routines that minimize damage and maintain hygiene in the studio.
Brush care
Rinse brushes promptly after use, using appropriate solvents or soap depending on medium, and reshape tips before drying. Store brushes upright or horizontally to protect ferrules and hairs from bending.
Palette knife care
Wipe knives clean between colors, use solvent for oil-based residues, and avoid letting paint harden on the blade. Keep blades dry and store in a rust-free environment to preserve metal surfaces.
Handling solvents safely
Use good ventilation, gloves, and approved solvent alternatives when possible to protect your health. You will prefer water-based cleaners for acrylics and mild brush soaps for routine maintenance to reduce chemical exposure.
Troubleshooting common problems
Knowing how to address common issues saves time and prevents ruined paintings. You will diagnose and correct problems quickly with a few standard approaches.
Muddy colors
Muddy results occur when colors are overworked or when dirty tools mix complementary pigments. You will prevent this by cleaning tools, limiting on-canvas mixing, and planning color interactions.
Overworked paint
If paint looks lifeless from too much manipulation, allow it to dry and reapply fresh paint for crispness, or scrape back to expose energetic underlayers. You will set limits on reworking stages to keep vibrancy.
Unwanted knife gouges
If you accidentally gouge the support, fill and repair with an appropriate ground or gesso and let it dry before continuing. You will avoid thin paper supports for heavy knife work to reduce the risk of damage.
Exercises to build skill with each tool
Targeted exercises accelerate your mastery of brushes and knives. You will incorporate short, focused practices into your schedule to build confidence.
Brush exercises
- Gradation strips: paint smooth value and color transitions in five-minute sessions.
- Edge control: paint sharp, soft, and broken edges across a form to practice stopping and lifting.
You will perform these exercises daily for short periods to maintain steady improvement.
Knife exercises
- Impasto swatches: create ridges, dots, and broken strokes with varying blade angles.
- Layer scraping: apply thick layers and practice controlled scraping to reveal undercolors.
You will keep a scrapboard to experiment without risking finished work.
Choosing tools for speed vs refinement
Your studio schedule, commission deadlines, and aesthetic goals influence whether you prioritize speed or refinement. You will plan tool choices to match time constraints and desired finish quality.
Speed-focused approach
Use larger brushes and broad knives to cover large areas quickly and define forms with confident strokes. You will sacrifice some detail for energy and immediacy in rapid sessions.
Refinement-focused approach
Prioritize smaller brushes, controlled glazing, and careful color modulation to achieve subtler surfaces. You will invest more time per layer and accept longer drying and revision periods.
Storage and organization tips
A well-organized studio saves time and preserves your tools. You will adopt simple storage strategies that keep brushes and knives in good condition and easy to find.
Brush storage solutions
Store upright in jars or flat in protected cases to maintain shape and prevent lint contamination. Label or group brushes by use (glazing, detail, background) to avoid cross-contamination.
Knife storage solutions
Keep knives in a dedicated tray or roll with blade protectors to avoid accidental cuts and preserve blade integrity. Separate metal and plastic knives to prevent accidental damage.
Final recommendations and decision flowchart
When choosing between palette knives and brushes, consider medium, texture goals, subject, and working speed. You will decide faster if you follow a simple flow: determine medium → define desired surface (smooth vs textured) → choose primary tool → supplement with the other as needed.
Practical decision checklist
- What medium are you using? If oil or heavy body acrylic, both are viable.
- Do you want smooth blends or tactile texture? Smooth = brush; texture = knife.
- Is precision required? If yes, prioritize brushes.
- Are you working fast or detailed? Fast = large brushes and knives; detailed = small brushes.
You will use this checklist to streamline tool selection in both studies and finished work.
Closing guidance
Mastering both palette knives and brushes expands your expressive range and gives you more control over the painting surface. You will increase your versatility and produce stronger, more intentional paintings by practicing with both tools and choosing them according to your artistic intentions.