Have you thought about how palette knife painting could give your child a tactile, expressive way to make bold art safely?
Palette Knife Painting For Kids: Safe Techniques And Project Ideas
This article gives you a thorough, practical guide to introducing palette knife painting to children in a safe and enjoyable way. You will find materials lists, age-appropriate recommendations, step-by-step projects, safety practices, and lesson-plan examples to help you run sessions confidently.
What is palette knife painting?
Palette knife painting uses a flat metal or plastic blade instead of a brush to mix and apply paint. You will use the knife to scrape, spread, and layer paint to create texture, shapes, and color blends that a brush cannot easily produce.
Benefits for children
Palette knife painting supports sensory development, hand-eye coordination, and creative problem-solving. You will notice children often become more engaged due to the tactile feedback and the immediate visual impact of thick paint and textured marks.
Age recommendations and readiness
Different ages require different levels of supervision, materials, and expectations, and you will match tasks to a child’s fine-motor skills and attention span. You should always consider individual maturity and previous art experience when planning activities.
Age groups and recommended materials
Below is a practical breakdown to help you choose appropriate tools and materials based on age and skill level. You will find guidance on knife types, paint safety, substrate choices, and recommended supervision levels.
| Age Range | Recommended Knife Type | Paint Type | Substrate | Supervision Level |
|---|---|---|---|---|
| 3–5 years | Plastic rounded-edge knives | Washable tempera or child-safe acrylic | Heavy paper or cardboard | Close adult supervision |
| 6–8 years | Small metal or plastic palette knives (rounded tips) | Student acrylic | Canvas panels or thick mixed-media paper | Supervision with periodic checks |
| 9–12 years | Variety of small to medium metal palette knives | Student acrylic; optional heavier body acrylic | Stretched canvas or wood panels | Supervision; encourage independence |
| 12+ years | Full range of metal knives with different shapes | Artist acrylics; avoid oils for kids | Canvas, wood, or quality mixed-media surfaces | Minimal supervision; focus on technique |
Safety considerations
Safety is essential when working with palette knives because the tools have edges and paints contain chemicals. You will ensure a safe environment by selecting non-toxic materials, supervising knife handling, and organizing first-aid supplies.
Personal protective equipment (PPE)
Children should wear protective clothing, such as smocks or old shirts, and you should provide gloves if a child prefers them. You will also use table covers and eye protection when working with splattering or vigorous scraping.
Workspace setup
Organize a clutter-free workspace with ample ventilation and easy-to-clean surfaces, and you will set up stations for materials, wet-waste, and tools. You should place knives in a tray when not in use to prevent accidental contact.
Materials safety: non-toxic paints and solvents
Always choose paints labeled ASTM D-4236 or AP non-toxic for children, and you will avoid using solvent-based mediums such as turpentine or mineral spirits. If you need slower-drying or glazing media, select water-based, non-toxic alternatives specifically formulated for children.
Knife safety and handling
Even plastic knives can be used improperly, so you will teach children how to hold a palette knife safely and how to pass it with the handle first. You must demonstrate scraping and spreading motions slowly, and insist on safe storage when sessions end.

Choosing materials (paints, knives, substrates)
Selecting the right materials helps you control cost, ease of use, and safety while allowing children to achieve satisfying results. You will balance quality and accessibility depending on session goals and age groups.
Paint types
Acrylics are the most versatile and kid-friendly choice because they dry quickly, are water-based, and are available in non-toxic formulations. You will avoid oil paints for children due to toxic solvents and long drying times unless you use oil alternatives with proper ventilation and advanced supervision.
| Paint Type | Advantages | Disadvantages | Suitability for Kids |
|---|---|---|---|
| Tempera (washable) | Affordable, easy clean-up, safe | Less vibrant and less texture retention | Best for preschool and early elementary |
| Student Acrylic | Good color, quick-drying, durable | Can dry fast on palette; thicker consistency needed for impasto | Best overall choice for 6+ years |
| Heavy Body Acrylic | Excellent texture and impasto | More expensive | Suitable for older children interested in heavy texture |
| Oil Paint | Rich color and long blending time | Requires solvents and ventilation; toxic risk | Not recommended for children |
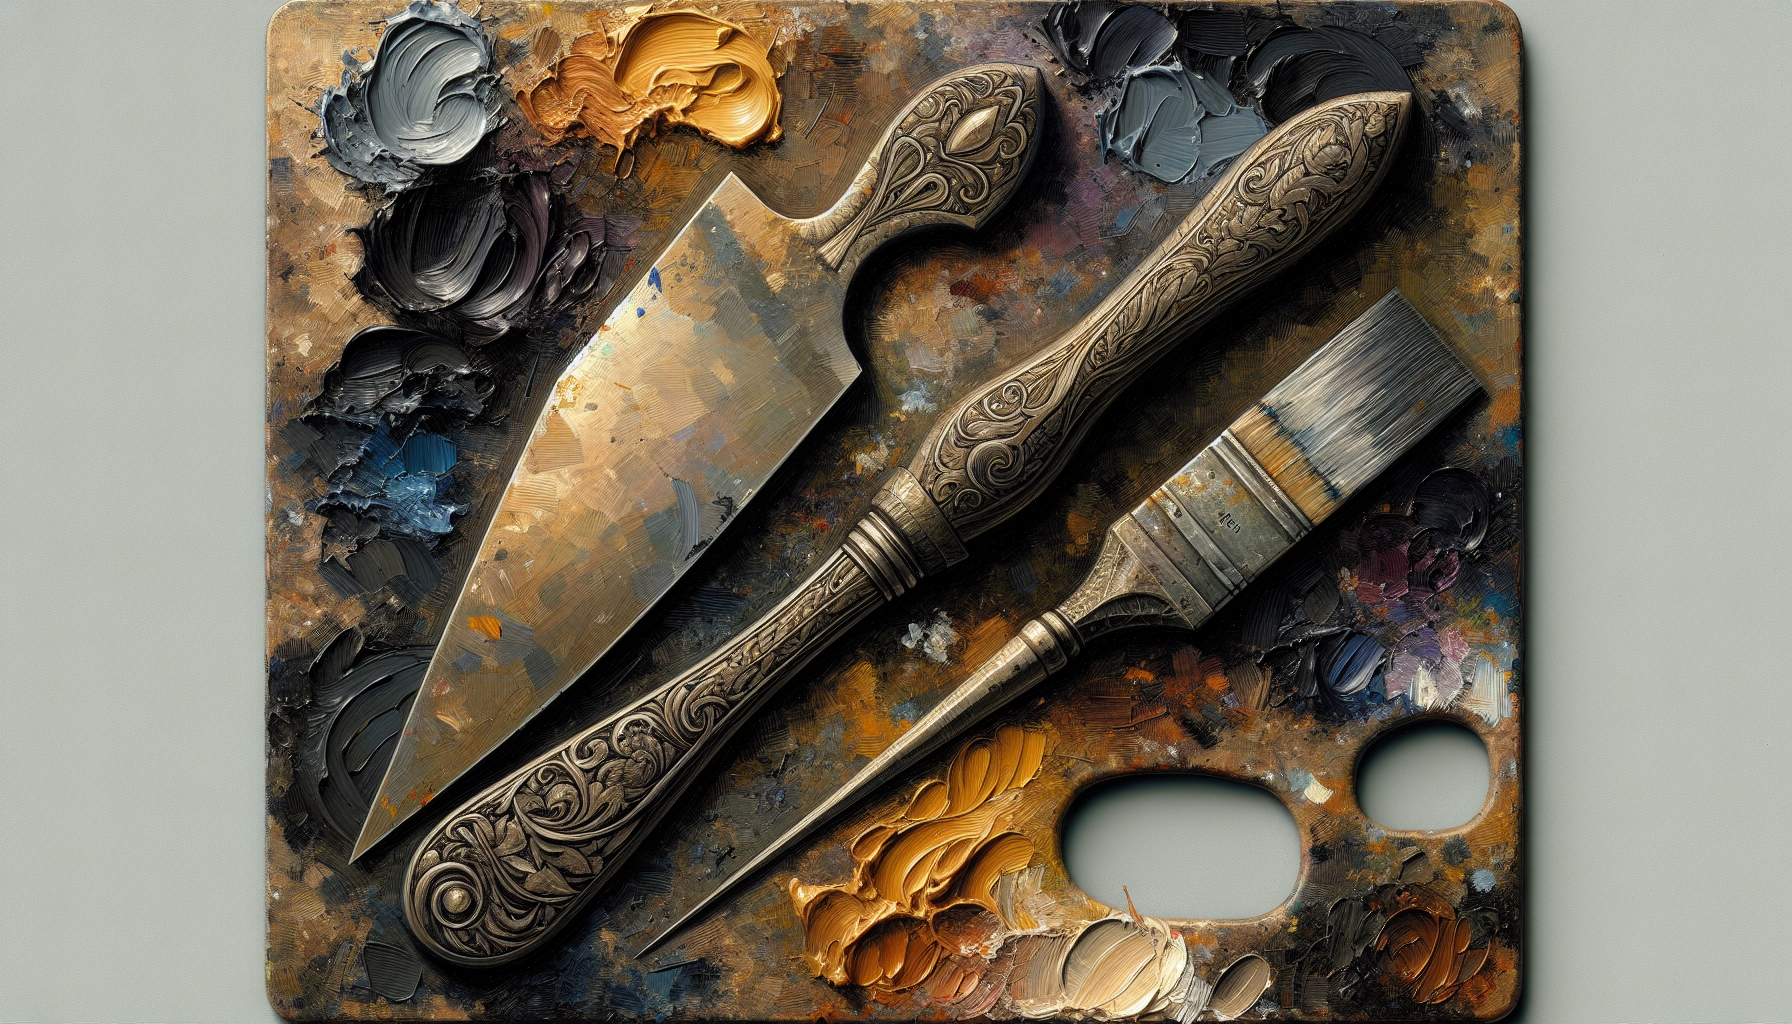
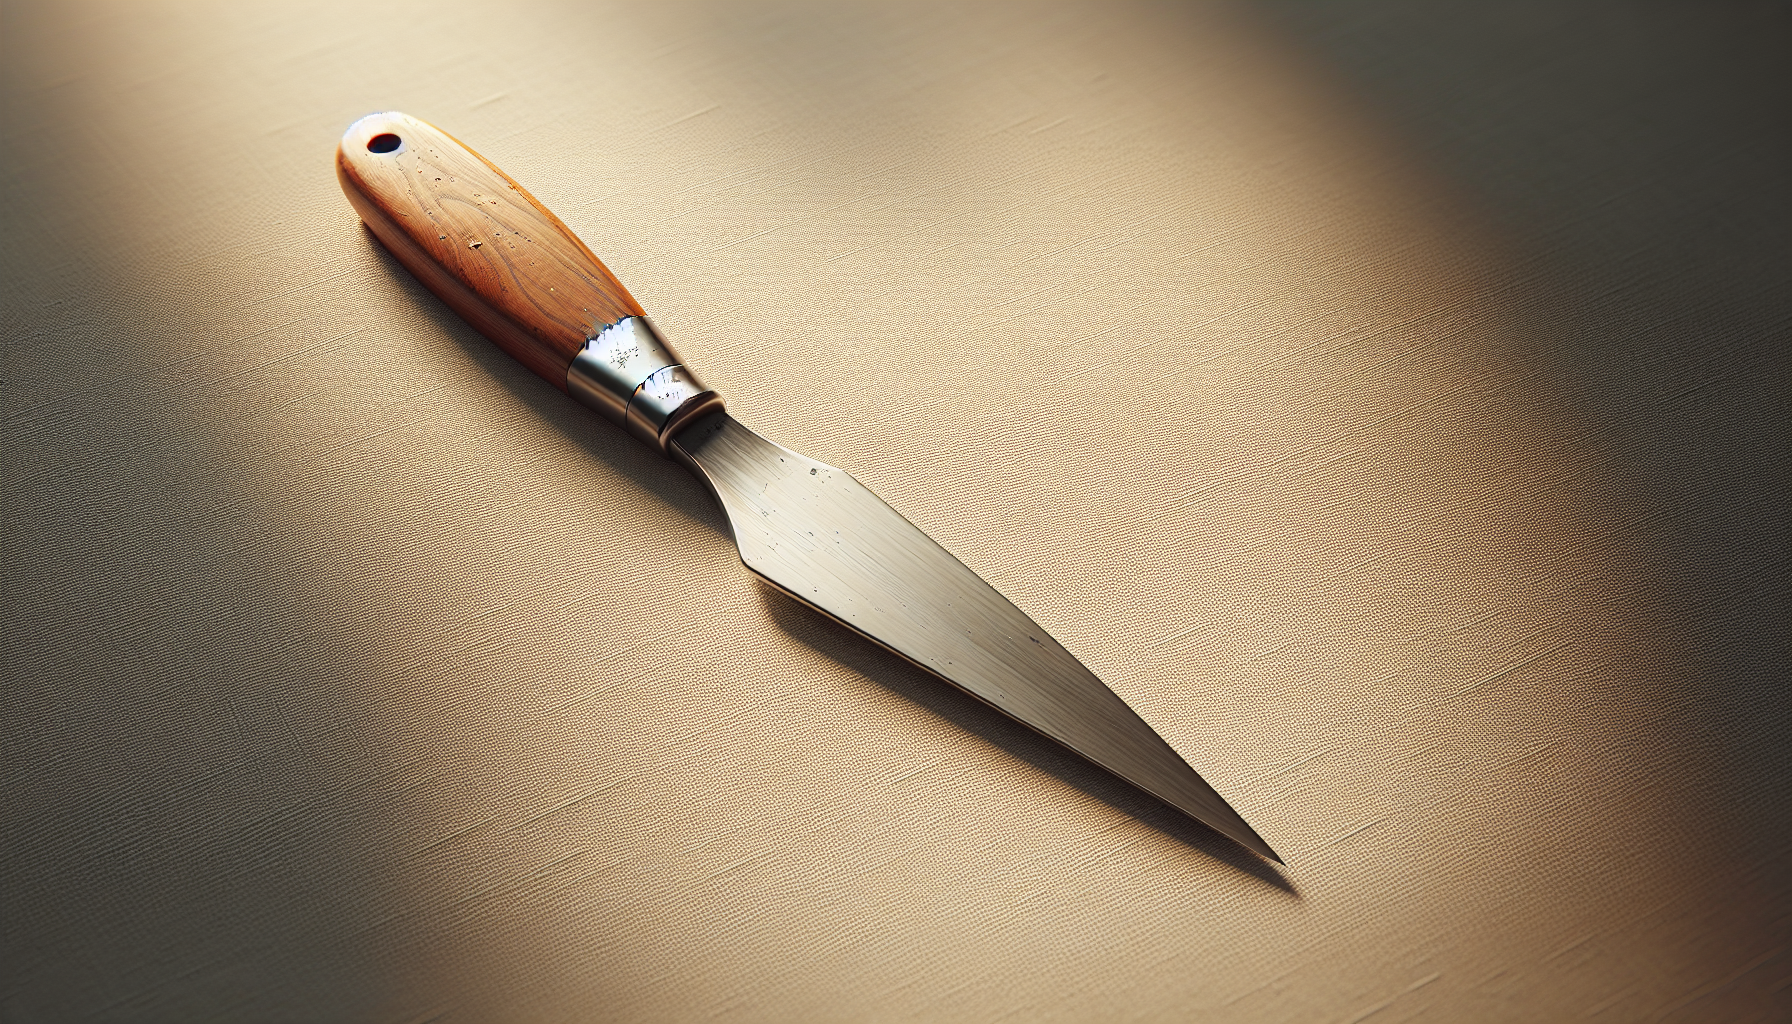
Palette knives: shapes and sizes
Palette knives come in many shapes: trowel, diamond, rectangular, and spatula-like blades that each create different textures. You will start children with blunt, small knives and progress to a varied set as skills develop.
Surfaces: paper, canvas, wood, cardboard
Heavier supports hold up to scraping and thick paint layers better than lightweight paper, and you will prefer canvas panels or thick mixed-media paper for durability. You can use primed wood panels for more permanent pieces, but you will ensure surfaces are finished so paint adheres well.
Mediums and additives
Water-based mediums such as heavy body gels or texture pastes can increase thickness and hold peaks for impasto effects without adding toxic solvents. You will use additives sparingly and always choose products labeled non-toxic for classroom or home use.
Preparing for a session
Preparation reduces accidents, increases artistic outcomes, and helps you manage time efficiently. You will arrange materials, set clear rules, and prepare demonstration pieces to keep children focused and productive.
Setting expectations and instructions
Before beginning, explain safety rules and desired learning outcomes in simple, age-appropriate language, and you will model the actions you expect children to take. You should set time limits for mixing and drying, and provide clear guidance for cleanup responsibilities.
Preparing materials and samples
Prepare paint palettes, protective coverings, and sample swatches that illustrate the basic techniques you plan to teach. You will also set up wet and dry stations and limit the number of colors to reduce overwhelm and waste.
Demonstrations and modeling
A short, focused demonstration helps children visualize the process and reduces unsafe experimentation. You will show how to hold the knife, apply paint, and clean tools, and you should allow children to copy a simple example before attempting their own composition.
Basic palette knife techniques
Learning a few core techniques helps you teach children how to achieve predictable effects and feel successful. You will emphasize safety and control while giving them room to experiment.
Scraping
Scraping uses the flat side of the knife to remove or spread paint, producing thin, translucent layers or revealing underpaint. You will show children how to apply gentle pressure and move the knife slowly to achieve a controlled scrape.
Dragging and pulling
Dragging involves pulling the knife through wet paint to create streaks and blended transitions, while pulling can lift paint into long, textured marks. You will encourage varying pressure and speed to create different effects.
Dabbing and stippling
Dabbing or stippling creates clustered texture and can simulate foliage, clouds, or stone; you will teach children to touch the blade tip or edge lightly to deposit small amounts of paint. You should demonstrate repeated small motions and layering for depth.
Impasto layering
Impasto is the technique of applying thick paint to create peaks and ridges, which can be very satisfying for children who enjoy tactile experiences. You will demonstrate building layers gradually, allowing partial drying between applications to avoid smudging.
Sgraffito (scratch technique)
Sgraffito involves scratching through a top layer of paint to reveal a lower layer or the ground beneath, creating line work and texture. You will show how to press a blunt edge into wet paint and encourage controlled, purposeful lines.
Palette mixing
Using the knife to mix colors on the palette or substrate prevents muddying and helps children learn color relationships. You will encourage mixing small amounts at a time and cleaning the knife between colors to maintain clarity.
| Technique | Visual Effect | Child Skill Focus |
|---|---|---|
| Scraping | Smooth areas with thin layers | Control and pressure |
| Dragging | Blended streaks and gradients | Direction and speed |
| Dabbing | Textured clusters | Repetition and placement |
| Impasto | Raised peaks and 3D texture | Layering and patience |
| Sgraffito | Fine lines and revealed layers | Precision and planning |
Step-by-step project ideas
Projects give structure so you can guide children through focused activities that build skills and confidence. Each project below includes materials, steps, safety notes, and learning goals you will use to plan sessions.
Project 1: Textured Sky (Preschool to Early Elementary)
This simple project lets young children practice dabbing and dragging to create cloud and sky textures. You will keep the palette limited to two or three colors to reduce complexity and facilitate success.
Materials:
- Washable tempera or child-safe acrylic paint (white, blue)
- Thick watercolor paper or cardboard
- Small plastic palette knives with rounded tips
- Smocks, table cover, water cups, paper towels
Steps:
- Prepare a blue gradient background by applying diluted blue paint and allowing it to dry slightly. You will do this step yourself for very young children or guide older children through it.
- Show children how to dab white paint with the rounded knife to create cloud shapes, then drag the knife lightly for soft edges. Encourage them to layer small amounts and watch the texture form.
- Add highlights by pressing a small amount of white at the cloud edges, then scrape lightly for a soft fade. You will monitor for safe knife handling and assist with any stubborn paint.
Safety notes:
- Use rounded plastic knives and avoid sharp metal edges. You will keep the session short to maintain attention and prevent unsafe play.
Learning goals:
- Practice gentle knife pressure, layering, and color mixing basics.
Project 2: Flower Garden (Grades 1–4)
A floral scene offers practice with dabbing, impasto, and color placement. You will demonstrate how different knife angles create petal shapes and textures.
Materials:
- Student acrylics in several colors
- Canvas panels or thick mixed-media paper
- Assorted small palette knives (rounded and small spatula)
- Palettes, smocks, water, cloths
Steps:
- Paint a simple green wash for the background and allow it to set slightly. You will encourage children to use their knives to pull long strokes for grass.
- Demonstrate making petals by placing a blob of paint on the canvas and pulling it outward with the knife edge to form a petal. Allow children to practice on a scrap surface first so they can see how much pressure to use.
- Layer additional petals and add textured centers by dabbing thicker paint. You will show them how overlapping colors produce depth.
Safety notes:
- Keep knives blunt and supervise as kids experiment with sharper metal blades. You will emphasize that knives are tools for paint only.
Learning goals:
- Develop control for petal shaping, layering, and basic composition.
Project 3: Bold Abstract Color Blocks (Grades 3–7)
Abstract projects emphasize color relationships and intent without representational pressure, making them excellent for older children. You will use large palette knives to build blocks and textured transitions.
Materials:
- Student to heavy-body acrylics
- Stretched canvas or canvas panels
- Medium and large palette knives
- Masking tape for clean edges (optional)
Steps:
- Tape off sections if you want clean geometric edges, or freehand zones for organic blocks. You will help children plan color placement before applying paint.
- Apply thick color blocks with broad knife strokes and scrape between colors to create blended boundaries. Encourage experimentation with tool angle and pressure.
- Add sgraffito lines or small textured accents once the primary layers are in place. You will discuss color balance and rhythm during critique.
Safety notes:
- Avoid highly textured additives for beginners; monitor for frustration when cleaning thickly loaded knives. You will provide cleanup aids like palette scrapers.
Learning goals:
- Practice compositional planning, color blocking, and texture layering.
Project 4: Animal Silhouettes with Textured Backgrounds (Grades 4–8)
Combining silhouette shapes with palette knife texture allows children to focus on negative space and foreground-background relationships. You will prepare templates for younger groups.
Materials:
- Acrylic paints
- Canvas board or thick paper
- Small palette knives and spatulas
- Animal silhouette templates (optional)
Steps:
- Paint a textured background using varied knife marks—dabs, drags, and scrapes—to build atmosphere. You will demonstrate how to reserve a clean silhouette area or use a masked template.
- Once the background dries, place the silhouette template and paint the shape with a flat color or leave it unpainted as a negative shape. You will show how to remove tape gently to avoid tearing.
- Add fine lines or small texture details within the silhouette using the knife tip if desired. You will guide children on when to stop layering to prevent oversaturation.
Safety notes:
- Use low-toxicity acrylics and supervise the use of metal blades for fine detail. You will ensure that knives are used only for painting, not cutting materials.
Learning goals:
- Strengthen composition and planning skills, and practice layering and masking techniques.
Project 5: Landscape with Impasto Highlights (Grades 6–12)
This project teaches controlled impasto techniques to portray natural elements like cliffs or waves. You will focus on building structure and letting layers dry as needed.
Materials:
- Heavy body acrylics or acrylic modeling paste mixed with paint
- Canvas or primed wood panel
- Medium and large metal palette knives
- Reference photo or sketch
Steps:
- Block in the major planes of the landscape with thin paint to establish color relationships. You will encourage working from general shapes to specific details.
- Use heavy body paint or a paste to build impasto in areas like rock faces or waves, applying thick strokes and peaks with the knife. Teach children to add textures while the layer is wet and to allow drying before refining.
- Refine highlights and shadows with smaller knives, and step back to assess overall balance. You will instruct children to sign and date their work once they are satisfied.
Safety notes:
- Remind older children about the weight and rigidity of metal knives and safe passing techniques. You will ensure adequate ventilation if using any thickening additives (choose non-toxic types).
Learning goals:
- Practice multi-stage layering, textural contrast, and advanced knife control.
Project 6: Autumn Leaves Collage with Knife Texture (All Ages)
Combining collage with palette knife texture creates a mixed-media sensory project that you will find fun and forgiving. Children can press textured leaves or add paint textures over glued elements.
Materials:
- Fall leaves or cut paper shapes, glue, acrylic paint
- Mixed-media paper or canvas board
- Small palette knives
Steps:
- Glue the leaves or paper shapes to the surface to create a base composition and let them dry fully. You will encourage children to consider overlapping shapes and color balance.
- Use palette knives to apply paint around and over leaves for textured accents and to create contrast. Teach children to lift edges gently if they want more definition around elements.
- Add final highlights and small scraped marks to bring depth to the composition. You will remind them to clean knives between colors.
Safety notes:
- If using natural leaves, ensure they are dry and free of mold; supervise glue usage for younger children. You will recommend sealed surfaces if the work is to be kept long-term.
Learning goals:
- Combine collage and painting techniques, learn layering and textural contrast.
Project 7: Collaborative Mural (Group Sessions)
A collaborative mural lets multiple children contribute segments using palette knife techniques, building teamwork and shared decision-making. You will plan the theme and sections, then facilitate contributions.
Materials:
- Large canvas or roll paper mounted on a wall
- Assortment of knives and paints
- Design plan and assigned sections
Steps:
- Create a simple composition grid and assign sections to participants, explaining how the individual parts will relate to the whole. You will encourage group discussion about color choices and transitions.
- Facilitate painting in stages: background, midground textures, foreground details. You will coordinate drying time and tool sharing.
- Finish with unifying elements—color washes or final textural accents—that tie the mural together. You will organize a group critique and display.
Safety notes:
- Supervise tool sharing and ensure children pass knives handle-first. You will manage heights and ladder use if the mural reaches high areas.
Learning goals:
- Foster collaboration, planning, and large-scale composition skills.
Lesson plan examples
Providing structured, timed sessions helps you run efficient classes whether for a single 45-minute activity or multi-session workshops. You can adapt the sample plans to group size and skill level.
| Lesson Length | Objective | Activities | Materials |
|---|---|---|---|
| 45 minutes | Introduce basic knife handling and simple texture | 10 min safety/demo, 25 min practice + small painting, 10 min cleanup/review | Plastic knives, tempera, paper |
| 90 minutes | Create a small textured landscape | 15 min demo/planning, 60 min painting, 15 min critique | Student acrylics, canvas panels, small knives |
| 3 sessions (1.5 hr each) | Develop an impasto study | Session 1: sketch & background; Session 2: impasto layers; Session 3: refine + varnish | Heavy body acrylics, knives, canvases |

Adapting for different abilities and special needs
You will adapt techniques and expectations to meet diverse motor, sensory, and cognitive needs so that every child can participate meaningfully. Simple modifications—larger tools, heavier handles, or tactile supports—can increase independence and enjoyment.
Motor support and tool modifications
Attach foam grips or tape around knife handles to help children with limited hand strength or dexterity hold tools comfortably. You will also offer larger palette knives and pre-loaded paint dabs to reduce the need for fine motor mixing.
Sensory considerations
Some children may be sensitive to textures or smells; you will provide gloves, alternative tools (such as combs or spatulas), and low-odor, non-toxic paints. Offer quiet spaces and clear step-by-step visual cues to reduce overstimulation.
Communication and instructions
Use simple, consistent language, demonstrations, and picture-based prompts to help children who need more concrete instructions. You will allow extra time and celebrate small successes to build confidence.
Cleaning and storage
Proper cleanup preserves your tools, improves safety, and models responsibility for children. You will teach cleaning routines that are age-appropriate and use non-toxic cleaners.
Tool cleaning
Clean knives promptly with warm, soapy water for acrylics; use a palette scraper to remove excess paint before washing. You will dry and store knives flat or hung to prevent damage.
Paint storage
Store paints sealed, upright, and away from direct sunlight to extend shelf life, and you will label student materials for individual use if needed. For classroom settings, keep spares and a small inventory log.
Disposal and recycling
Wipe excess paint onto paper towels and dispose of according to local regulations; you will avoid pouring large amounts of paint down drains. Consider using reusable palettes and refillable paint containers to reduce waste.
Troubleshooting common problems
Anticipating and troubleshooting problems helps you maintain flow and child confidence during sessions. You will prepare simple fixes and practice responses to common issues.
Paint too thin or watery
If paint is too thin, it will not hold texture; you will encourage adding thicker body acrylic or using a paint medium to increase body. Teach children to load the knife with thicker paint blobs rather than spreading watered-down paint.
Knife sticks or gouges the surface
If the knife catches on the surface, the substrate may be too fragile or the paint layer too dry or too sticky. You will switch to a sturdier support, check paint consistency, or wet the blade slightly (for acrylics) to reduce friction.
Paper tears or warps
Lightweight paper can tear under heavy pressure; you will use heavier mixed-media paper or taped-down edges and avoid excessive scraping. Teach children to use less pressure or try a softer knife for delicate areas.
Colors become muddy
Overmixing on the canvas can produce muddy tones; you will teach children to mix colors on the palette and to clean the knife between contrasting colors. Encourage limited color palettes for clearer results.
Children become frustrated
When a child becomes frustrated with results, you will model corrective techniques and suggest turning the piece into a background for a new composition. Offer choices and small tasks to re-establish a sense of control and success.
Assessment and encouragement strategies
Provide constructive feedback that focuses on process, effort, and specific techniques rather than unattainable perfection. You will use guided questions to help children reflect on choices like “Which texture do you like best?” and “What would you try differently next time?”
Criteria-based feedback
When assessing work, focus on technique mastery, risk-taking, and use of materials while acknowledging individuality in outcomes. You will create simple rubrics that highlight safe tool use, layering, and composition for older children.
Positive reinforcement
Celebrate small technical achievements—clean knife handling, successful layers, or thoughtful color choices—to build motivation. You will use public displays and peer-sharing as positive reinforcement while emphasizing learning growth.
Long-term skill development and progression
Palette knife skills can progress from basic texture exercises to sophisticated impasto landscapes and mixed-media experimentation. You will scaffold learning with increasingly complex projects that challenge planning, patience, and fine control.
Sequencing skills
Start with guided exercises that build knife handling, then introduce composition, masking, and mixed media before tackling multi-layered works. You will include drawing and color theory lessons to deepen understanding and intentionality.
Cross-disciplinary opportunities
Palette knife painting connects to subjects like science (texture and materials), history (artists who used knives), and storytelling (illustrating narratives). You will design interdisciplinary projects to deepen engagement and learning relevance.
Eco-friendly and budget tips
You can reduce environmental impact and costs by choosing refillable paints, recycled paper, and low-waste setups. You will also teach children to use paint sparingly and to repurpose paintings or scraps for collages.
| Tip | Practical Application |
|---|---|
| Use washable, non-toxic paints | Lower cleanup costs and reduce chemical use |
| Reuse palettes and jars | Saves money and reduces plastic waste |
| Buy student-grade bulk colors | Economical for classroom and group settings |
| Recycle leftover canvases or use cardboard | Budget-friendly substrate option |
Displaying and preserving finished works
How you present a child’s work influences their sense of accomplishment and care for art. You will discuss practical steps to protect, frame, and photograph works for portfolios.
Drying and varnishing
Allow heavy impasto pieces to dry completely—it may take longer for thick layers—before applying a non-yellowing, water-based varnish. You will only varnish with appropriate products labeled safe for children’s art and ensure adequate ventilation.
Framing and mounting
Mounting on foam board or framing under glass for flat pieces protects the surface and creates a ready-to-display presentation. You will choose archival materials for long-term preservation and avoid contact between wet paint and glazing.
Photographing and digital records
Photograph works under natural, even light to create a digital archive for portfolios and sharing with families. You will store images with labels that include date, title, age group, and techniques used.
Frequently asked questions (FAQ)
You will find answers to common concerns about materials, safety, and skill progression so you can proceed confidently.
Q: At what age can a child use metal palette knives? A: With supervision, children aged around 6–8 can begin using small metal knives with rounded tips. You will assess maturity and provide clear handling instructions before permitting metal tools.
Q: Can I use oil paints with palette knives for kids? A: Oil paints are not recommended for children due to toxic solvents and long drying times. You will choose water-based alternatives that mimic oil impasto without the hazards.
Q: How do I prevent paint drying too quickly on the knife? A: Work in small batches, use stay-wet palettes or mist a spray bottle with water for acrylic, and teach kids to scrape excess paint onto a paper towel. You will also plan sessions to account for drying times.
Q: What’s the best surface for practice? A: Thick mixed-media paper, canvas panels, or primed wood panels are ideal for practicing knife techniques. You will avoid thin paper that tears under pressure.
Q: How often should knives be cleaned during a session? A: Encourage children to clean their knives between major color changes and at least halfway through longer sessions. You will demonstrate quick wipes and safe washing practices.
Conclusion
Palette knife painting gives children a rich, textured way to express themselves while building motor and cognitive skills. You will prioritize safety, choose age-appropriate materials, and provide structured projects to ensure enjoyable, productive sessions.
If you follow these guidelines, plan clear demonstrations, and maintain a safe, supportive environment, you will enable children to create striking textured artworks while learning responsible tool use and artistic techniques.