? Which tool will give you the finest lines and the most consistent control when you work on intricate detail: paint markers or traditional acrylic paint?

Paint Markers Vs Acrylic Paint: Which Is Better For Detail Work?
This article compares paint markers and acrylic paint specifically for fine detail work. You will find technical distinctions, practical recommendations, technique tips, and scenario-based guidance so you can select the medium that best suits your project objectives, surface, and workflow.
Why this comparison matters
You will often need tools that match the scale, precision, and durability required by a project. Choosing between paint markers and acrylic paint affects line quality, blending options, surface adhesion, portability, cleanup, and longevity. This comparison focuses on those attributes so you can make an informed choice rather than relying on habits or convenience.
What paint markers are
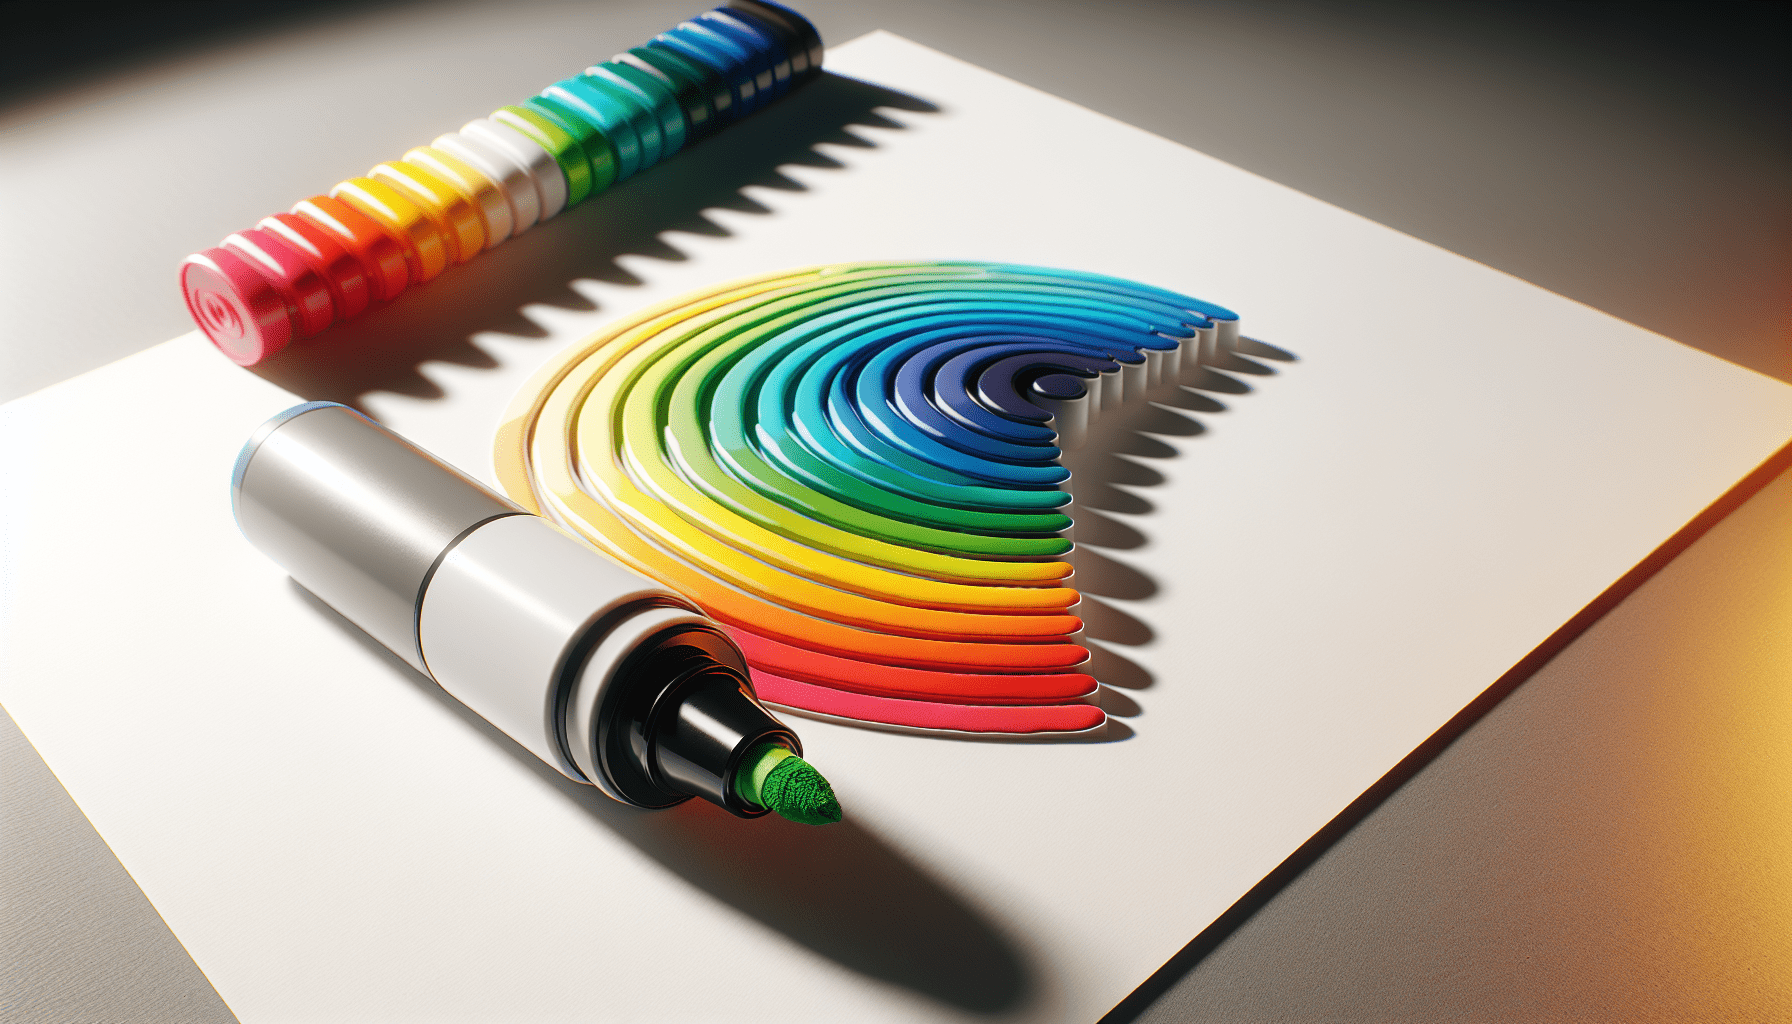
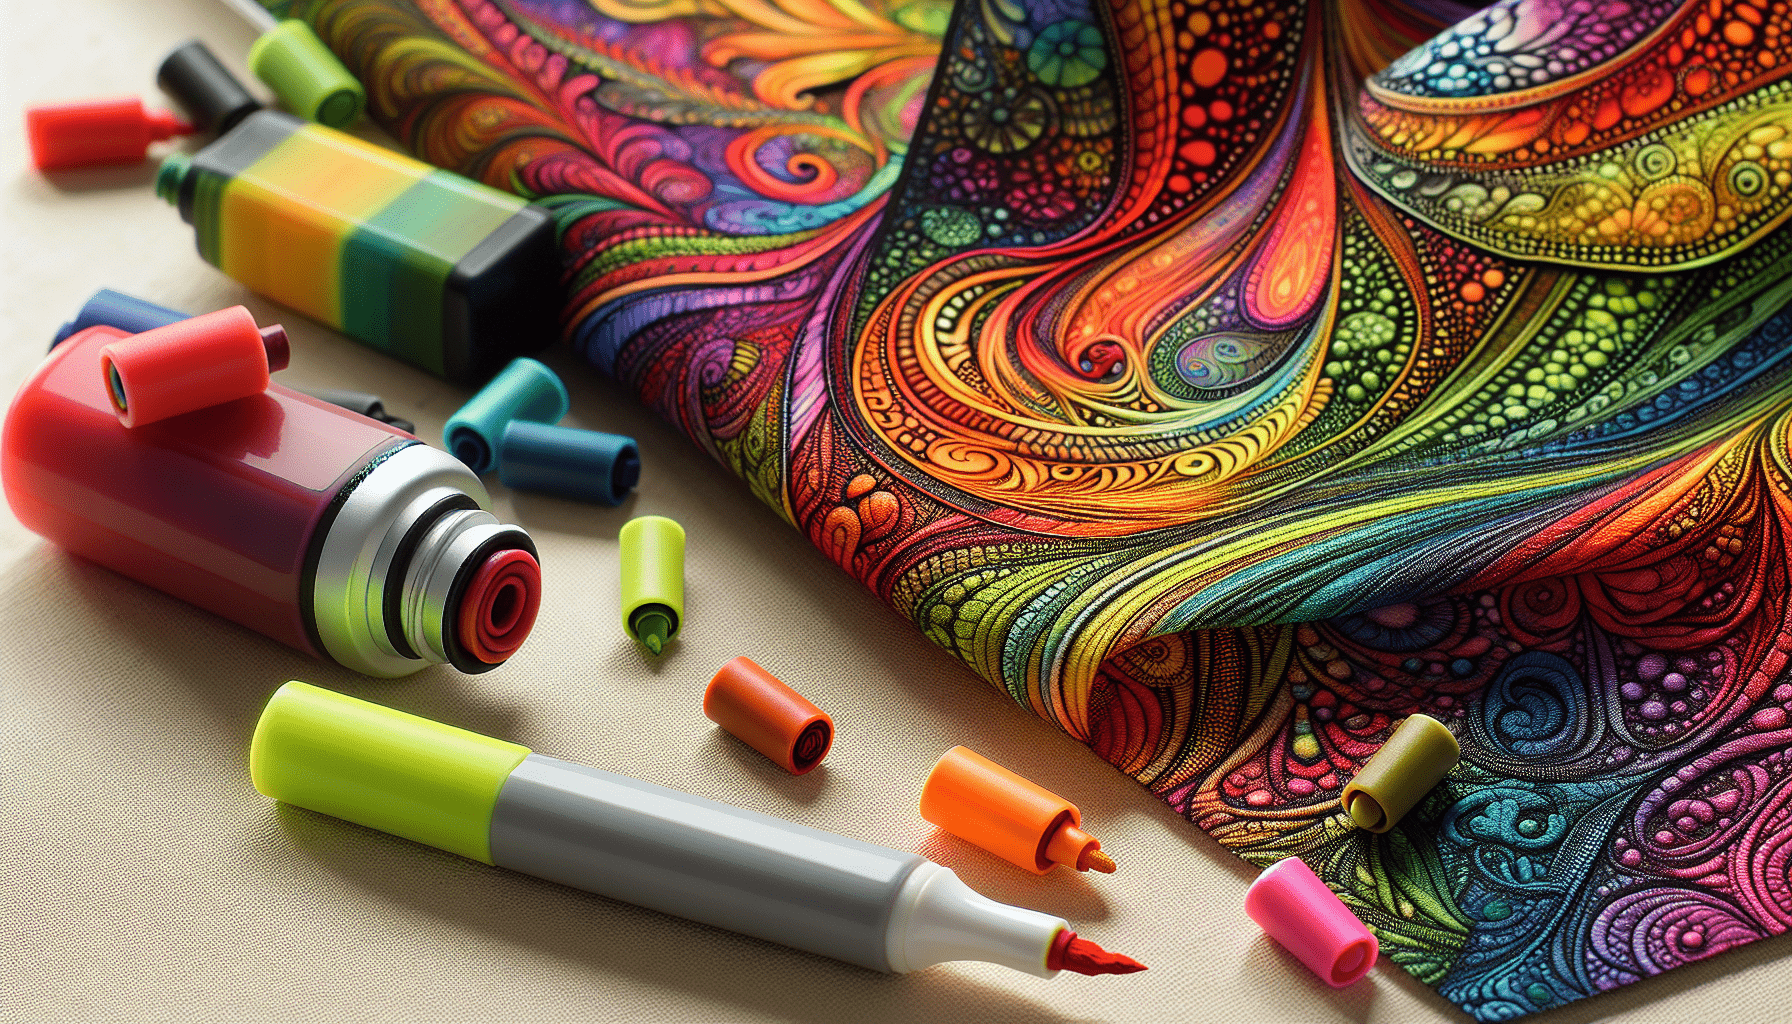
Paint markers are pen-like applicators that deliver a paint-based pigment through a nib. You will find markers formulated with different binders (acrylic, oil, enamel) and tips (fine, bullet, chisel, brush) to suit a wide range of surfaces and detail levels. Markers are designed for control and speed; they allow you to apply an even bead of paint without traditional brush handling.
How paint markers work
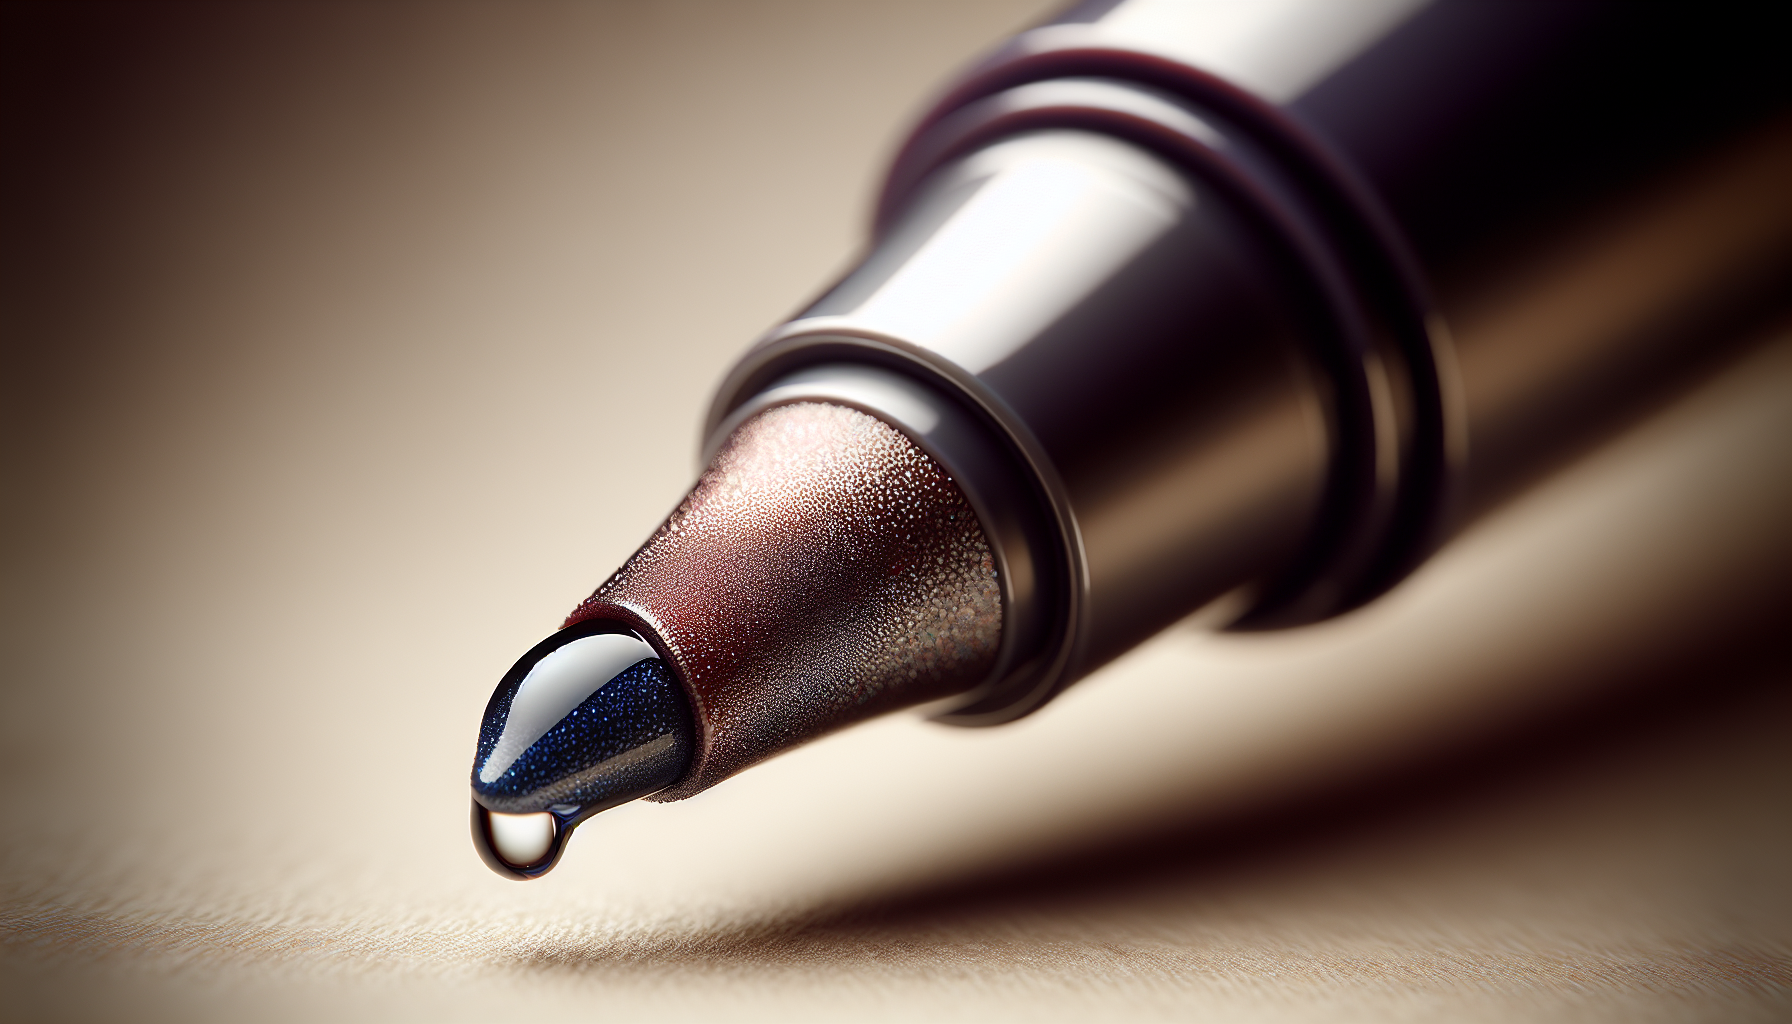
Paint marker barrels contain a reservoir of paint or ink. Pressure or a squeeze mechanism feeds the paint to the nib, producing a continuous line until the reservoir empties. You will control line width primarily through nib type and angle, and you will influence opacity and flow by how many passes you make and whether you apply multiple layers.
Types of paint markers
You will encounter several marker chemistries:
- Water-based acrylic markers: Low odor, easy cleanup, reworkable when wet, good for porous surfaces.
- Oil- or solvent-based markers: High permanence, good adhesion to nonporous surfaces (metal, glass), more fumes, harder cleanup.
- Alcohol-based pigment/ink markers: Fast-drying, translucent on some surfaces, often used for illustration rather than coverage.
Each chemistry affects drying time, permanence, and surface compatibility, so you will select the one that matches your substrate and environmental constraints.
Nib types and their impact on detail
Nibs determine the maximum and minimum line widths you can achieve. Common nib types include:
- Extra-fine and fine: Best for small details, lettering, and precise edges.
- Bullet/medium: Good for general lines and filling small areas.
- Chisel: Provides both broad strokes and precise edges at a single angle.
- Brush: Offers variable line width and a more painterly feel but requires more skill.
You will find that extra-fine marker nibs give immediate control and predictable edges, which is why many illustrators and sign painters reach for them for detail work.
Advantages and limitations of paint markers
You will appreciate paint markers for predictability, portability, and minimal setup. They are excellent when you need crisp outlines, repeatable line width, or to work on vertical and nonporous surfaces. Limitations include smaller reservoir capacity, potential clogging, and less capacity for subtle blending or textural effects compared with brush-applied acrylics.
What acrylic paint is
Acrylic paint is a water-based medium composed of pigment suspended in an acrylic polymer emulsion. When the water evaporates, the polymer forms a durable acrylic film. Acrylic paints are available in formulations ranging from heavy body to fluid acrylics and inks, giving you a broad toolkit for texture, blending, glazing, and fine detail.
How acrylic paint behaves
Acrylics dry as the water carrier evaporates, leaving the acrylic binder and pigment. You will find drying time varies by formulation and environmental conditions; you can modify working time with retarders or slow-drying mediums. Acrylics are versatile: they can imitate oils when used thickly or generate ink-like lines when heavily thinned.
Acrylic paint formulations
Typical categories you will encounter:
- Heavy body acrylics: High viscosity, retain brushstrokes and texture, favored for impasto work.
- Soft body and fluid acrylics: Lower viscosity, flow better for glazing and fine brushwork.
- Acrylic inks: Very fluid, intensely pigmented, excellent for line work with nibs or dip pens.
- Student vs artist grade: Artist-grade usually has higher pigment concentration, better lightfastness, and smoother handling.
Choose a formulation suited to the detail level you need: fluid acrylics and inks are often more conducive to fine line work than heavy body paints.
Brushes and tools for fine detail
Fine detail in acrylics depends heavily on brush selection and handling. Key tools include:
- Rigger or liner brushes: Long, thin hairs hold a fine point for hairlines and script.
- Spotter brushes: Shorter bristles for controlled tiny strokes.
- Kolinsky sable or synthetic equivalents: Provide a fine point and spring.
- Fine-pointed water brushes, micro brushes, and toothpicks: Useful for the smallest corrections.
You will achieve micro details with small-diameter brushes and steady hand technique, often augmented by magnification or supports.
Advantages and limitations of acrylic paint
Acrylic paint gives you exceptional control over opacity, blending, and texture when you vary viscosity and use mediums. It excels in color mixing and producing subtle gradations. The limitations include potential brushstroke artifacts at very fine scales, longer setup and cleanup compared to markers, and the need for more skill to consistently produce razor-sharp lines without bleeding or feathering.
Key factors that determine which is better for detail work
You will evaluate several factors when deciding between paint markers and acrylic paint. Each factor affects your ability to execute precise, consistent details.
Precision and line control
Precision favors the tool that gives you the most predictable, repeatable output at the scale required. Markers, especially extra-fine nibs, deliver immediate, consistent lines with minimal practice. Acrylics can achieve precise lines but require brush skill, dilution control, and often more time.
- When you need repeatable, crisp strokes (lettering, schematic diagrams), markers are generally superior.
- When you need variable line width, subtle tapering, or hairlines that integrate with painted transitions, acrylics with fine brushes can provide more expressiveness.
Edge definition and crispness
Edge quality depends on how the paint sits on the surface and your applicator control. Markers typically lay down a continuous bead that resists feathering on many surfaces, producing crisp edges. Acrylics can achieve equally sharp edges but require careful brush selection, flow control, and sometimes masking.
- If you require mechanical-looking, perfectly uniform edges, markers reduce variability.
- If you require painterly crispness with soft transitions right next to a hard edge, acrylics combined with mask or glazing techniques are preferable.
Opacity and coverage
Opacity is crucial when you must cover a background color or a textured substrate.
- Many paint markers, particularly opaque acrylic or oil-based markers, offer excellent one-pass coverage on many surfaces.
- Acrylic paints vary by pigment and formulation; heavy body and artist-grade pigments often provide better single-pass opacity than alcohol-based marker inks, but fluid acrylics may be more translucent.
You will choose markers for fast opaque marks on colored or dark substrates; choose acrylic paint when you need controlled layering or specialized pigments.
Blending and gradation
Blending is a domain where acrylic paints usually excel. You will control soft transitions using wet-on-wet techniques, glazing, and retarders to extend working time.
- Paint markers are limited for smooth gradient transitions because they dry quickly and deposit discrete passes. Techniques like stippling, hatching, or cross-hatching can simulate gradients but require control and time.
- Acrylic paints, thinned to fluid consistency or used with glazing mediums, allow you to create smooth blended transitions ideal for realistic detail work.
Drying time and working time
Drying time affects how you manage blending, layering, and corrections.
- Many markers dry quickly to a hard film and cannot be reworked once set, which helps maintain crisp lines but limits blending.
- Acrylic paint dries quickly as well, but you can modify drying time with retarders or by working in a humid environment. Retarders let you execute longer, finer blending sessions.
Substrate and adhesion
Surface matters: metal, glass, ceramics, canvas, wood, and plastics accept paint differently.
- Solvent-based markers adhere well to nonporous surfaces. Water-based markers and acrylic paint may need surface preparation (sanding, priming) to achieve durable adhesion on slick materials.
- Acrylic paint, applied with proper primers, becomes a durable film on many supports and is easier to layer for archival work.
Durability and permanence
For work that must last outdoors or be handled frequently, permanence is important.
- Solvent-based markers and high-quality acrylic paints provide good lightfastness and abrasion resistance when properly cured and sealed.
- Cheap markers, especially those with dye-based inks, may have poor lightfastness compared with artist-grade acrylic pigments.
Clean-up and maintenance
You will factor cleanup into your workflow and workspace choices.
- Markers are low-mess: you will replace the marker head or barrel rather than deal with pots of liquid paint. Fresh tips may require occasional cleaning.
- Acrylics require brush cleaning and container management. Cleanup is straightforward with water when paints are wet but becomes difficult when dried.
Portability and convenience
Markers are inherently portable, require no additional tools, and maintain a consistent output until exhausted. You will value them for fieldwork, outdoor signage, and quick corrections.
Acrylics require brushes, palettes, water containers, and often more setup and drying space; they are less convenient in constrained environments.
Cost considerations
You will balance initial cost and ongoing consumables.
- Markers are typically more expensive per milliliter than bulk acrylic paints but save time and reduce waste for small jobs.
- Acrylic paints provide more pigment per dollar for larger-scale work and allow you to mix custom colors economically.
Comparison table: at-a-glance decision factors
| Factor | Paint Markers | Acrylic Paint |
|---|---|---|
| Precision / Line control | Excellent with fine nibs; immediate | Very good with proper brushes; needs skill |
| Edge crispness | Very crisp on most surfaces | Crisp with masking or skilled brushwork |
| Opacity | High for opaque marker formulations | High for heavy body; variable for fluids |
| Blending / Gradation | Limited; stippling/hatching possible | Excellent with retarders and mediums |
| Drying time | Fast; little reworkability | Fast; adjustable with mediums |
| Surface compatibility | Excellent (solvent markers) to moderate | Wide with proper priming |
| Durability / Lightfastness | High for solvent/quality markers | High for artist-grade acrylics |
| Portability | Excellent | Moderate to low |
| Cleanup | Minimal | Requires brush cleaning |
| Cost efficiency | Higher per volume | Lower per pigment volume |
| Best use cases | Fine lines, lettering, fieldwork, nonporous surfaces | Detailed painting, blending, archival works |
Surface-specific recommendations
You will tailor your choice to your substrate.
- Paper, illustration board, and canvas: Both are suitable. For archival fine art, artist-grade acrylic plus proper isolation layers is preferable. For quick mixed-media illustration, markers provide precision and speed.
- Wood and MDF: Both work if you prime and seal. Markers are convenient for lettering; acrylics are better for textured detail and color transitions.
- Glass, metal, plastic: Solvent-based markers usually adhere better; acrylics need adhesion promoters or primers. For lasting outdoor signage on metal, consider solvent or enamel markers or properly primed acrylic with a clear topcoat.
- Fabric: Specialized fabric markers are formulated to remain flexible. Acrylics can stiffen textiles unless used with fabric medium.
Use cases and recommendations
You will benefit from practical advice tied to real-world scenarios.
Illustration, comics, and line art
For consistent ink-like lines, markers are often faster and more reliable. Choose markers with archival pigment and a very fine nib. Use acrylic inks or thinned acrylic with a dip pen if you require brush-like modulation between pen-like strokes.
Recommendation: Use extra-fine acrylic markers for quick, repeatable linework; use acrylic inks with nibs for expressive line variation.
Miniature and model painting
Model painting demands very small, precise strokes and layering. Acrylic paints with fine brushes are standard because they allow mixing, thinning, and glazing. However, fine-tipped markers can be used for highlights, panel lines, and micro-lettering.
Recommendation: Use artist or hobby acrylics for base coats and shading; reserve fine-tipped paint markers for accents and crisp edge details.
Murals and street art
Scale and speed matter. On large public surfaces, markers (especially chunky acrylic marker systems) can deliver crisp lettering and outlines quickly, but full-color fills and blended effects typically use rollers or brush-applied acrylics or spray paint.
Recommendation: Combine broad acrylic applications with markers for detailing and signature lines.
Fine art and realism
If your project requires subtle color transitions, glazing, and nuanced brushwork, acrylic paint gives you the control you need. You can achieve micro details with rigger brushes and acrylic inks.
Recommendation: Use a combination: acrylic paints for main forms and blending; finisher-grade markers or acrylic inks for final crisp highlights.
Signage and lettering
You will need perfect edges and repeatability. Paint markers designed for sign painting deliver constant coverage and are highly effective on many substrates. For large-scale signage, brush or roller-applied acrylics combined with masking offer superior uniformity.
Recommendation: Use paint markers for small to medium signage and touch-ups; use acrylic paint with masking for large lettering.

Technique tips for achieving the best detail
You will get better results by combining proper preparation, tools, and workflow.
Preparation and surface priming
Clean, sand, and prime surfaces as necessary. Markers perform best on clean, non-greasy surfaces; acrylic paint benefits from an appropriate gesso or primer for canvas and wood. Proper preparation ensures adhesion and prevents feathering.
Controlling viscosity and flow
For acrylic paints, thin with water only to a point—excessive dilution weakens the binder. Use flow improvers and acrylic mediums to maintain film integrity while achieving smoother flow for fine brushes.
Markers: Some water-based markers can be gently shaken and pumped to restore flow. Avoid using solvents not recommended by the manufacturer as they can damage the reservoir.
Layering strategy
When you need crisp details over blended areas, apply your blended underpainting, let it cure sufficiently, then use markers or a fine brush for final outlines. Acrylic paint glazes applied over marker lines can soften them if desired, but some markers may lift or be affected by acrylic solvents—test compatibility first.
Masking and frisket
Masking tape and frisket film let you create razor-sharp edges with acrylic paint. With markers, masking helps when you need perfectly parallel lines or shapes, though nibs often provide adequate precision without tape.
Tool handling and hand supports
For micro-detail work, stabilize your hand with a mahl stick, finger rest, or small support. Use magnification or a steady surface if you are working at very small scales.
Hybrid approaches
Combining both media often yields superior results. Use acrylics for broad tonal work and markers for crisp highlights and line work. Test compatibility—apply a small piece of marker over acrylic and vice versa to observe adhesion and visual interaction.
Recommended tools and brands
You will find consistent quality matters for detail work. Here are common recommendations:
- Paint markers: Posca (water-based acrylic markers), Molotow One4All (acrylic), Sharpie Oil-Based (practical for metal/glass), Uni-Posca (fine nibs available).
- Acrylic paints: Golden Artist Colors (heavy body and fluid lines), Liquitex (heavy body, soft body, and inks), Winsor & Newton (system 3), Amsterdam (good mid-range).
- Brushes and nibs: Raphael Kolinsky-style brushes, Isabey spotter brushes, rigger brushes by Princeton or Winsor & Newton.
- Mediums: Golden Acrylic Retarder, Liquitex Pouring Medium, Golden Flow Release, various glazing mediums for extended blending.
Select artist-grade materials for archival work, and test marker-to-paint interactions before final application.
Troubleshooting common problems
You will encounter typical issues; here are solutions.
Bleeding and feathering
- Cause: Low surface tension or porous substrate.
- Marker fix: Use a less porous surface or a primer; choose solvent-based markers for nonporous surfaces.
- Acrylic fix: Use a sizing or primer, or increase paint viscosity with a medium.
Clogging and dry nibs
- Prevent by capping markers when not in use. If clogged, follow manufacturer guidelines—some markers can be dipped in solvent or water to reactivate. Avoid cutting nibs back too aggressively, which can alter flow.
Uneven coverage or patchiness
- Markers: Multiple passes or larger nibs may be necessary; allow layers to cure between passes.
- Acrylic: Apply an undercoat or gesso, use opaque pigments, and employ multiple thin layers rather than a single thick pass to avoid cracks.
Chipping and flaking
- Cause: Poor adhesion to substrate or incompatibility between layers.
- Fix: Prime the surface properly, allow full curing between layers, and use a suitable varnish or topcoat.
Safety, environmental, and archival considerations
You will consider fumes, VOCs, and longevity.
- Solvent-based markers may emit VOCs; use them in a ventilated area and wear an appropriate respirator if concentrations are high.
- Choose lightfast pigments and archival-grade acrylics when longevity is required. Low-quality markers with dye-based inks can fade quickly.
- Seal final work with a compatible varnish to protect against abrasion, UV, and pollutants. Test that your varnish does not interact negatively with marker inks; some solvent varnishes can cause migration or bleeding.
When to choose one over the other: decision guide
You will decide based on project priorities. Use this guideline:
-
Choose paint markers if you need:
- Instant, repeatable fine lines and consistent edge definition.
- A portable, low-setup tool for fieldwork, signage, or small-detail corrections.
- Work on nonporous surfaces without extensive priming.
-
Choose acrylic paint if you need:
- Extensive color blending, glazing, and tonal variation.
- Archival quality with artist-grade pigments for fine art and gallery work.
- Textural control, impasto, or subtle transitions integrated with painterly effects.
-
Consider a hybrid approach if you need both crisp lines and painterly blending. For many professional workflows, combining both gives you the best of both worlds.
Practical project workflow examples
You will benefit from concrete workflows.
Example 1: Highly detailed illustrative panel
- Underpainting: Use fluid acrylics to block shapes and values.
- Mid-tones: Build form with softbrush and retarders for smooth transitions.
- Final lines: Use extra-fine acrylic markers for contour, lettering, and highlights.
Example 2: Miniature figure painting
- Basecoat: Apply thin, even acrylic layers with a fine brush.
- Shading and glazing: Use thinned acrylics and glazing medium.
- Edge highlights and panel lines: Apply paint markers carefully for extreme micro-detail.
Example 3: Outdoor signage
- Base: Use acrylic primers and exterior-grade acrylic paints for large fills.
- Lettering and fine outlines: Use solvent-based paint markers formulated for outdoor adhesion.
- Finish: Apply polyurethane or polymer varnish for UV and abrasion protection.
Preservation and finishing
You will protect your work by using appropriate varnishes and storage methods.
- Spray varnishes vs brush-on: Spray varnish often yields a more even finish without disturbing underlying marker lines. Test compatibility first.
- UV-protective varnishes: Important for exterior or well-lit displays.
- Handling: Allow full cure (often several days to weeks for acrylic films) before heavy handling or framing.
Final recommendation
You will choose the right medium for your priorities:
- For repeatable, razor-sharp linework, quick application, and field convenience, paint markers are generally superior. They give you control, speed, and portability.
- For nuanced blending, complex glazing, and archival fine art where texture and pigment control matter, acrylic paint is the better choice.
- For most professional-detail tasks, a hybrid workflow—use acrylic paint as your foundation, followed by paint markers or acrylic inks for the final precision work—will provide the greatest control and the most durable, visually rich results.
Make a habit of testing compatibility between marker chemistries and acrylic mediums on the actual substrate before committing to a final application. Keep records of brands and formulations that work well together in your studio so you can reproduce successful results consistently.
If you want, you can provide the specific project details (surface, scale, desired finish, environmental exposure) and your budget, and you will receive a tailored recommendation including exact product suggestions and a step-by-step workflow.