Have you ever wondered how you can create striking geometric art right on the canvas or walls of your home with just a few simple materials? Masking tape and paint can come together to form a technique that opens up a world of artistic possibilities. Known as tape resist painting, this approach allows you to transform ordinary surfaces into extraordinary works of art, combining precision and creativity. It is a technique that both seasoned and novice artists can appreciate, unlocking countless opportunities for artistic expression and innovation.

Understanding Tape Resist Painting
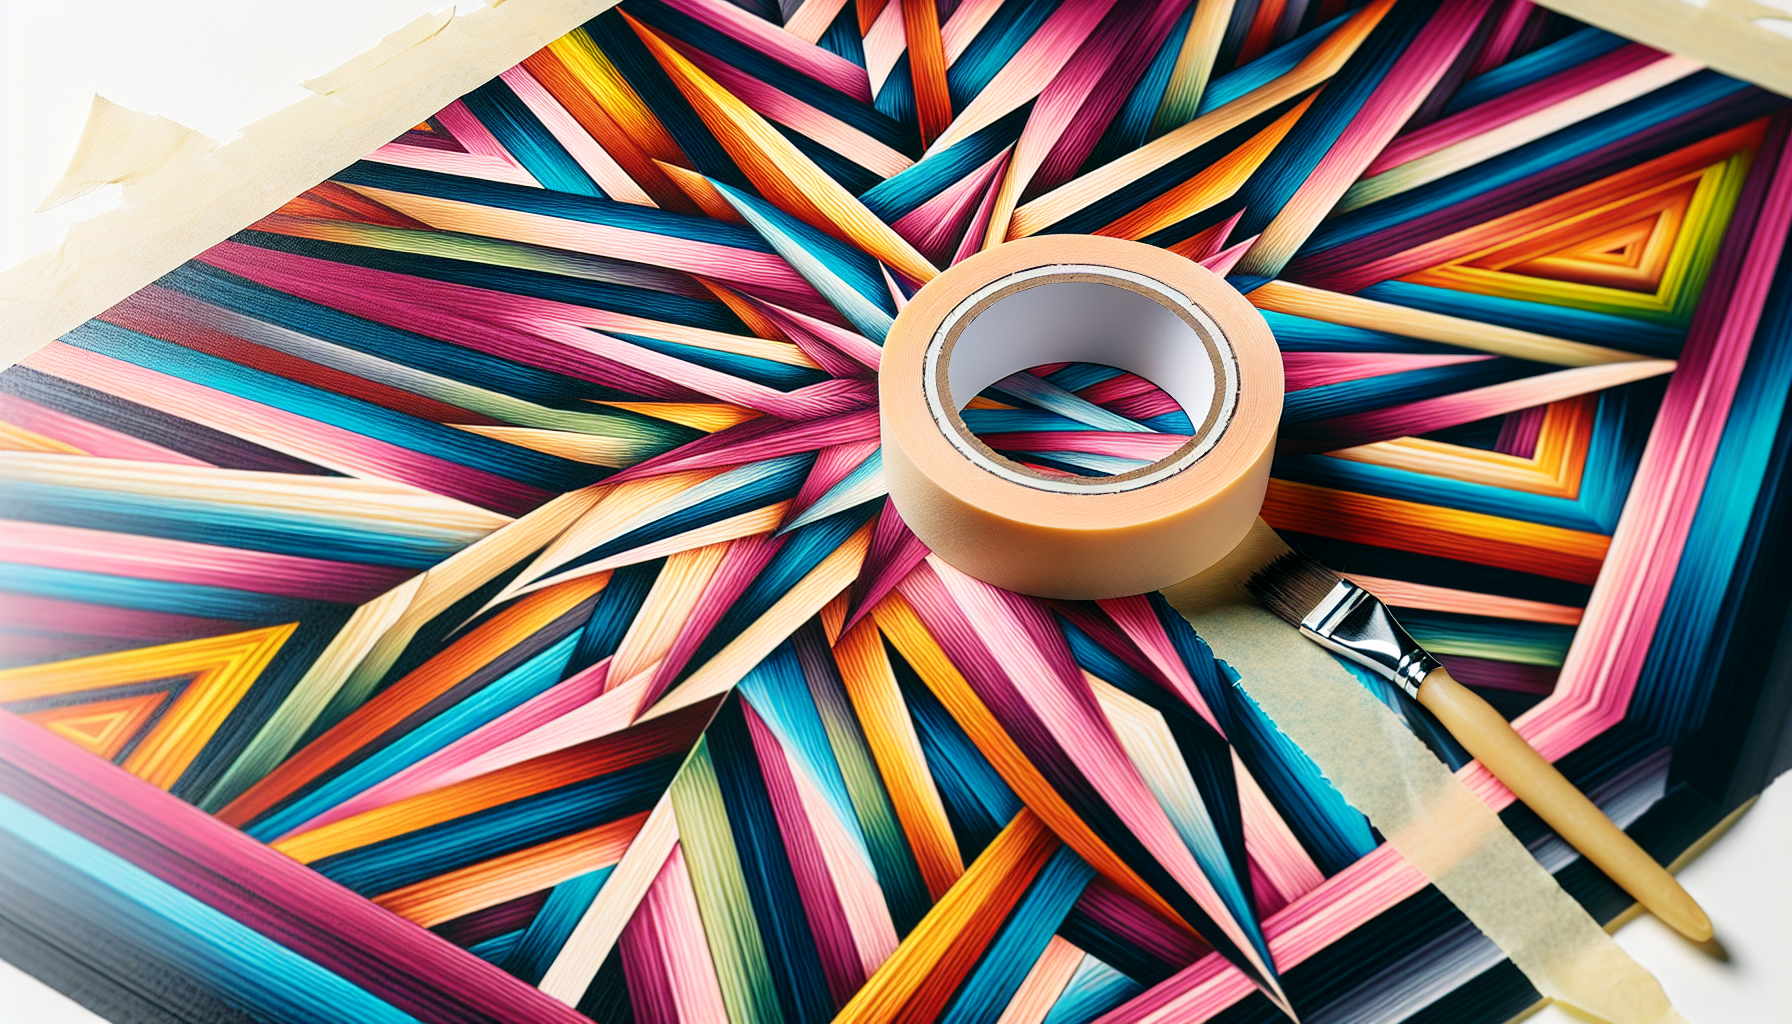
Tape resist painting is an artistic technique that involves creating designs with the use of masking tape, which acts as a barrier against paint. By applying tape in various configurations and then painting over it, you achieve crisp, clean lines once the tape is removed, revealing a design in contrasting or complementary colors. This method enables artists to incorporate geometric patterns, abstract layouts, or even more defined shapes and silhouettes into their artwork.
The use of tape provides control over the design process, ensuring that even people without a natural flair for painting can achieve consistency and precision in their artwork. The technique is versatile, applicable to different surfaces such as canvas, paper, wood, or even walls.
The Magic of Masking Tape
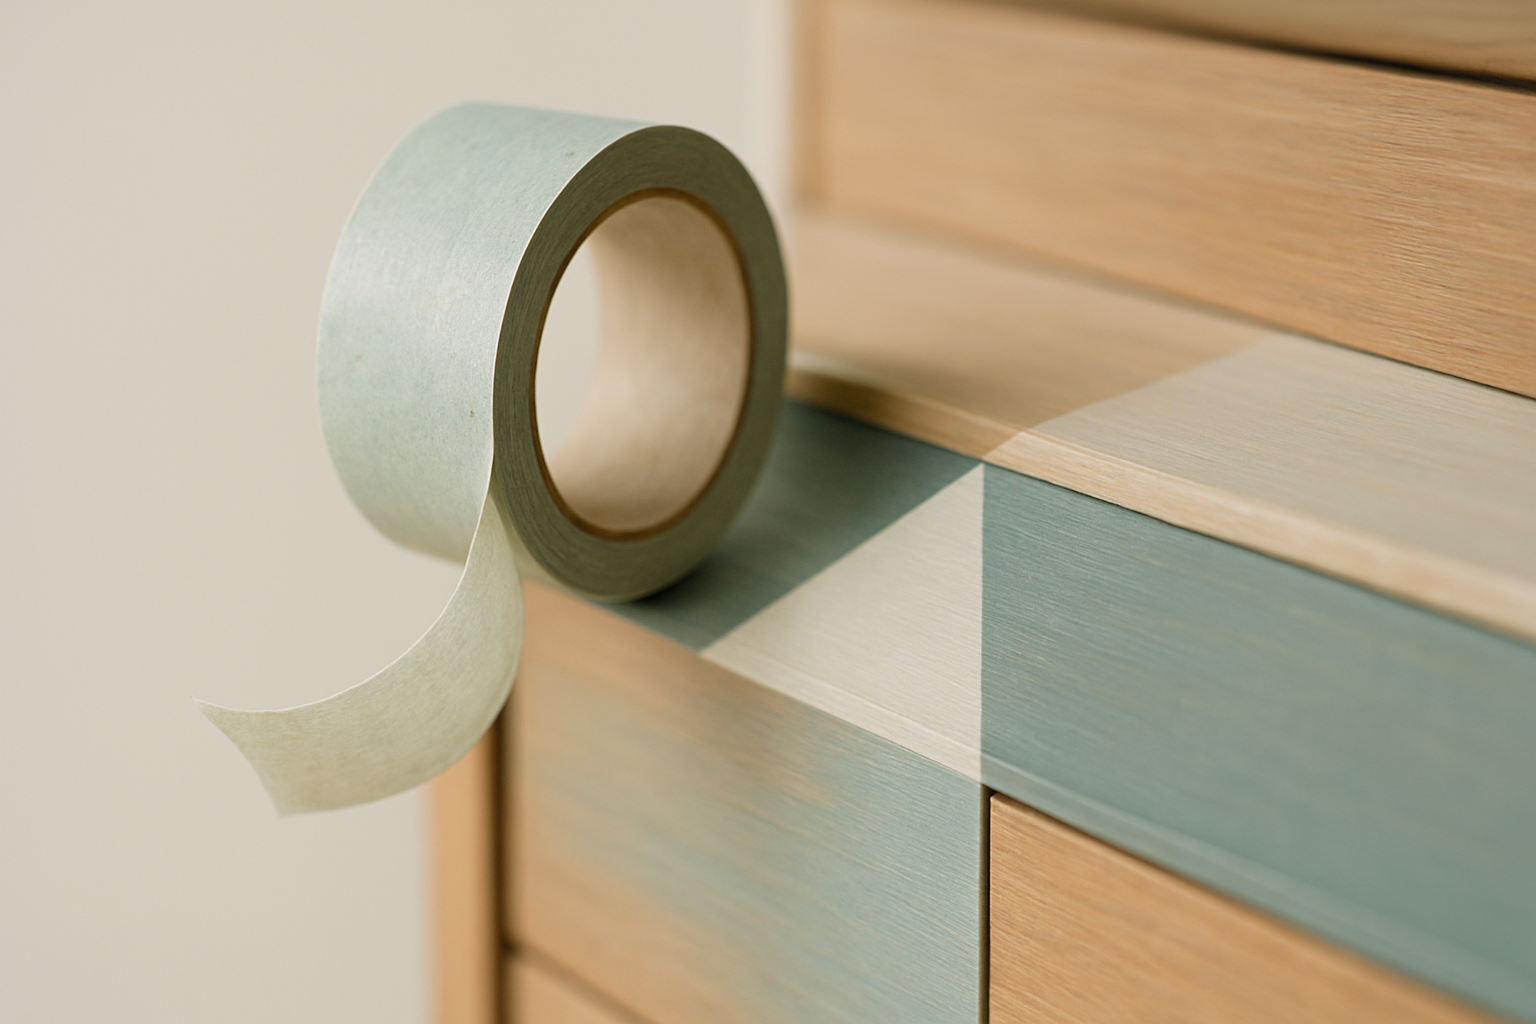
Masking tape is a vital tool in tape resist painting. Available in various widths, it provides artists the flexibility to experiment with different lines and shapes. Its adhesive quality is strong enough to guard against paint but gentle enough to remove without damaging the surface or leaving a sticky residue. Understanding the different types of tape and their functions within your work can enhance the quality of your art.
Key Benefits of Tape Resist Painting
Tape resist painting offers numerous advantages:
- Accessibility: Whether you’re a beginner or an experienced artist, this technique is easy to learn and apply.
- Precision: Creates sharp, clean lines in your artwork.
- Flexibility: Works on a wide range of surfaces, including canvas, paper, wood, and walls.
- Experimentation: Encourages creativity and innovation in design.
- Cost-Effectiveness: Requires minimal materials, making it an affordable art form.
Getting Started: Essential Materials
Before you embark on your tape resist painting journey, it’s essential to gather the right materials. While the technique is forgiving, having the appropriate tools ensures your final piece meets your expectations.
List of Materials
Here’s a comprehensive list of what you’ll need:
- Masking Tape: Available in various widths for different design elements.
- Surface: Choose between canvas, paper, wood, or walls based on preference.
- Acrylic or Latex Paint: Offers a wide color range and easy application.
- Paintbrushes or Rollers: Depending on the size and detail required, a variety of sizes may be needed.
- Craft Knife or Scissors: To trim tape as needed.
- Ruler and Pencil: For precision in laying out your design.
- Burnishing Tool: Ensures tape adheres well, preventing paint bleed.
- Drop Cloths/Newspaper: Protects work surfaces from paint.
Choosing the Right Tape
Not all tapes are made equal in the realm of art. When selecting masking tape, opt for artist-quality tape which typically offers higher precision and less risk of leaving residue. Wider tape is ideal for bolder lines, while narrower tape can be used for intricate detailing. Remember, your success with the technique is partly determined by your tape choice.
Designing Your Artwork
Once you’ve gathered your materials, the next step is to conceptualize your artwork. This stage involves significant creativity, allowing you to explore various patterns and representations that align with your artistic vision.
Conceptualizing the Design
Start by analyzing your surface and determining the nature of your design. Consider what geometric patterns or abstract concepts appeal to you. Sketch initial ideas on paper to visualize the overall composition before translating it to your canvas or wall.
Planning the Layout
With your concept in mind, plan your layout by marking the design faintly with a pencil. Consider symmetry and balance in your final design, as these are vital in creating aesthetic appeal in geometric art.
Tips for Effective Designs
- Test with Smaller Canvas: Begin with a smaller project to hone your technique before taking on larger surfaces.
- Use a Grid System: Especially useful for maintaining proportions in complicated designs.
- Play with Overlapping Shapes: Adds depth and interest.
- Color Considerations: Choose colors that will deliver sharp contrasts between background and design for maximum impact.
Applying the Tape: Crafting the Resist
Applying the tape is a critical step. To achieve sharp, clean lines, attention to detail is necessary when laying down your tape.
Techniques for Tape Application
- Use a Ruler: To ensure straight lines and even spacing.
- Create Tension: Pull the tape taut as you apply it to minimize bubbles and gaps.
- Press Firmly: Use a burnishing tool or fingers to ensure the tape is firmly adhered, which prevents paint bleed.
Handling Intricate Designs
If your design features curves or intricate angles, cut the tape into smaller pieces or strips. This method allows for manipulation around complex patterns, ensuring each segment of the design is crisp.

Painting Your Masterpiece
With your tape in place, the painting process begins. This stage is where colors breathe life into your design, creating a striking contrast between the taped sections and painted areas.
Applying the Paint
- Choose Your Tool: Use paintbrushes for detailed work, or rollers for covering large sections quickly.
- Work in Layers: Apply paint in thin layers, allowing each to dry to prevent smudging or blending of colors.
- Watch the Edges: Ensure clean edges by painting away from the tape edge to minimize lifting or leakage.
Creating Textures
Introduce varied textures by using different brushes or employing tools like stippling brushes or sponges. This approach adds dimension to the flat surface, enriching the visual quality of your artwork.
Drying Time
Allow ample drying time for your paint before removing the tape. Check paint labels for recommended drying times, but generally, waiting at least 24 hours is advisable.
Unveiling: Removing the Tape
After drying, carefully remove the tape to reveal your finished design. This step is as crucial as any other to ensure your lines are clean and intact.
Tips for Tape Removal
- Peel Slowly: Remove tape gently at a 45-degree angle, watching for any paint lifting.
- Correct Minor Errors: If paint bleeding occurs, correct it with a fine brush and matching paint.
Final Touches
Consider adding a protective finish, such as a varnish, to preserve your work. This step not only enhances the aesthetic but provides a safeguard against wear.
Conclusion: The Impact of Tape Resist Painting
Tape resist painting stands as a testament to the power of simple materials in crafting breathtaking art. By mastering this technique, you unlock the potential to bring detailed, precise designs to life in ways that captivate the eye. Whether you decorate a canvas, bring personality to walls, or inspire others through workshops and demonstrations, the possibilities are endless.
This technique not only broadens your artistic repertoire but also offers a therapeutic avenue for self-expression and exploration. Embrace the art of masking tape magic and let your creativity shine through the lines you create.