?Would you like to create professional-looking, one-of-a-kind Christmas ornaments using marbling paint techniques?

Marbling Paint For Christmas Ornaments
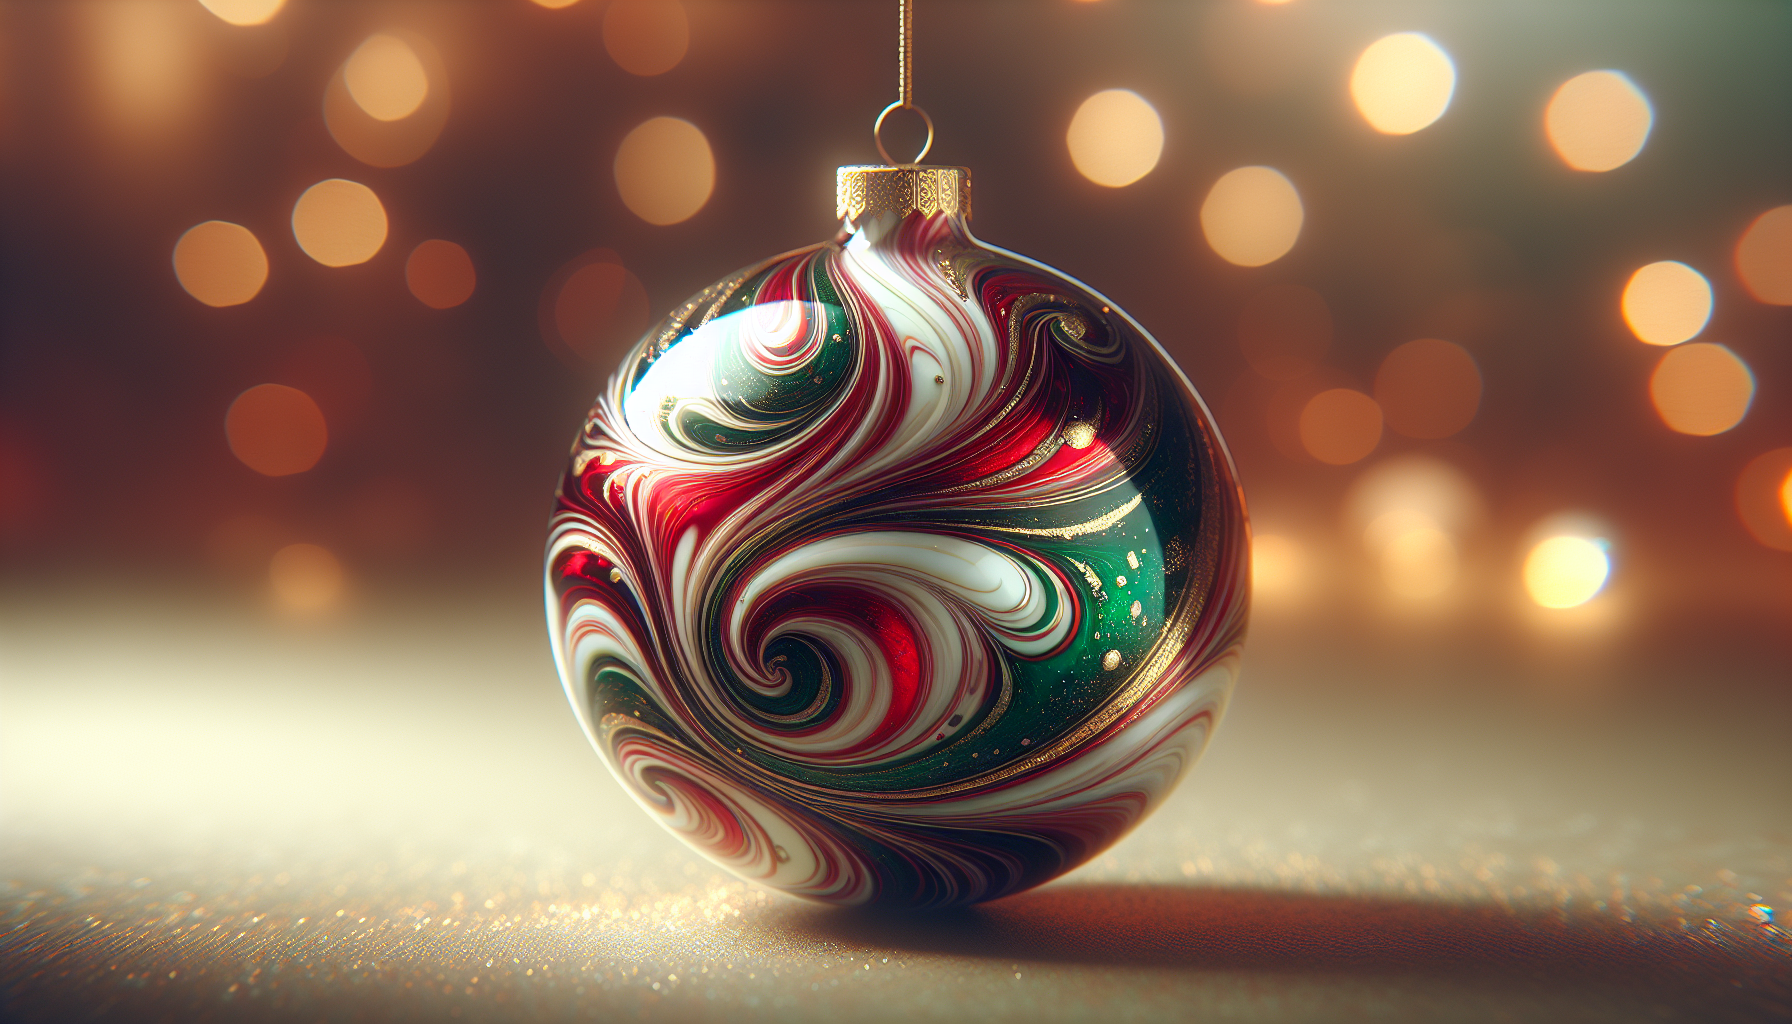
Marbling paint transforms plain ornaments into elegant, custom pieces with fluid swirls, veining, and pearlescent shimmer. This guide gives you detailed, practical instructions and troubleshooting advice so you can achieve consistent, attractive results on glass, plastic, and wooden ornaments.
What is Marbling and Why Use It On Ornaments?
Marbling is a decorative technique that produces swirling, unpredictable patterns by manipulating paint on a liquid surface or by layering paints directly on a substrate. You can use it to create faux marble, agate, and abstract fluid art effects that make holiday ornaments look handcrafted and refined.
You should choose marbling because it provides visual depth and uniqueness; no two marbled ornaments are identical, which appeals to recipients and collectors. Marbling can be scaled from simple DIY projects to high-quality craft or small business production.
Common Marbling Techniques for Ornaments
There are several methods you can use, each with its advantages and limitations. The main techniques are:
- Water or tray marbling (hydro-dipping)
- Acrylic pouring directly on the ornament
- Nail polish marbling
- Shaving cream or whipped paint marbling
- Alcohol ink marbling
- Surface combing or feathering for veins
Each method requires slightly different materials and preparation; you should select a technique based on the ornament material, the finish you want, and the time and equipment available.
Quick Comparison of Marbling Techniques
| Technique | Best For | Pros | Cons |
|---|---|---|---|
| Hydro-dipping (tray) | Glass, plastic | Smooth coverage, dramatic patterns | Requires larger setup, messier |
| Acrylic pouring | Wood, glass, plastic (flattened) | Control over pigments, thick textures | Gravity-dependent, risk of drips |
| Nail polish | Glass, plastic | Readily available, quick | Solvent fumes, less control |
| Shaving cream | Glass, ceramic, wood | Inexpensive, easy | Less durable pattern if not sealed well |
| Alcohol inks | Smooth, non-porous surfaces | Vivid translucent colors, fast drying | Can stain porous materials, requires blending skill |
Materials and Tools You Will Need
You will need a selection of general supplies regardless of technique, plus some technique-specific items. Always plan to have extra materials for practice.
Basic Supplies (useful for most methods)
- Ornaments: glass, plastic, wooden, or ceramic
- Disposable gloves and apron
- Protective work surface (plastic sheeting or drop cloth)
- Mixing cups and stirring sticks
- Toothpicks, skewers, or small brushes for detail work
- Paper towels and clean rags
- Masking tape and small clamps or clothespins for drying
Paints, Additives, and Sealers
- Acrylic pouring medium (for acrylic pouring)
- Fluid acrylic paints or artist acrylics
- Alcohol inks (for non-porous surfaces)
- Nail polish (various colors) or marbling-specific polish
- Metallic, pearlescent, and interference pigments
- Silicone oil (small amount for cells in pouring)
- Float medium (for hydro-dipping tray marbling)
- Gloss or satin spray varnish (acrylic sealer) and polyurethane or epoxy resin for a high-gloss durable finish
- Primer for porous surfaces (gesso or spray primer)
Technique-Specific Items
- Large shallow tray or basin (for hydro-dipping)
- Hot water source (some techniques use warmed water)
- Shaving cream and a spatula (shaving cream technique)
- Fine mist spray bottle (for some alcohol ink effects)
- Respirator or adequate ventilation (when using strong solvents or resin)
- Heat gun or torch (to remove bubbles in resin or level pour)
Supply Checklist Table
| Category | Items |
|---|---|
| Safety | Gloves, respirator, goggles, ventilation |
| Tools | Trays, mixing cups, stirrers, clamps, skewers |
| Paints | Fluid acrylics, alcohol inks, nail polish |
| Additives | Pouring medium, silicone oil, float medium |
| Finish | Spray sealers, epoxy resin, polycrylic |
| Cleaning | Isopropyl alcohol, mineral spirits (if using nail polish), soap, water |
Preparing Ornaments for Marbling
Preparation is critical to achieve a long-lasting, smooth finish. Each ornament type has specific needs.
Cleaning
Clean the surface to remove dust, oils, and fingerprints. You should use isopropyl alcohol or warm soapy water depending on the material. For glass and plastic, wipe with 70–90% isopropyl alcohol to ensure adhesion. For wooden ornaments, sand lightly and remove dust before priming.
Sanding and Priming
If the ornament has a glossy or slick surface, lightly sand with fine-grit sandpaper (220–320) to create tooth. For porous or raw wood, apply a primer (gesso or spray primer) to seal the surface and create a uniform base. For plastic ornaments labeled “paintable,” you may skip primer if lightly sanded.
Attaching Hooks for Handling
You should insert or attach a temporary hook or hanger to handle the ornament while painting and drying. For glass bulbs, use the original metal cap or a removable wire to suspend. Avoid touching the painted surface until thoroughly cured.
Choosing Colors and Effects
Color selection and additives determine the overall aesthetic. You should plan color palettes and decide whether you want opaque, translucent, metallic, or pearlescent effects.
Color Theory and Combinations
- Complementary colors create high contrast and vibrancy.
- Analogous colors give a more subtle, harmonious look.
- Metallics and pearlescent pigments add light reflection and a luxurious appearance.
- Use white or a neutral base to lighten colors and create softer marbling.
Pigment Additives
- Silicone oil creates cells in acrylic pours. Use it sparingly.
- Pouring medium increases flow and helps paint adhere to the ornament.
- Interference pigments shift color depending on angle, useful for premium finishes.
- Glitter or mica powders add sparkle but require a strong sealer.
Step-by-Step: Hydro-Dipping (Tray Marbling)
Hydro-dipping provides large, continuous swirls and is especially effective on smooth ornaments.
Setup
Line a wide, shallow tray with water deep enough to submerge most ornaments. Use temperate water (room temperature); water that is too cold or hot can affect paint behavior.
Applying Paint to the Surface
Drip diluted paints or marbling-specific paints onto the water surface. Paint should float; if paint sinks, add a float medium or dilute with a small amount of water and a surfactant. Use a toothpick or stylus to create patterns on the water surface.
Dipping the Ornament
Hold the ornament using the temporary hook and lower it slowly into the water through the painted surface. Rotate gently to pick up pattern evenly. Lift out at an angle to reduce dripping and allow excess water to run off.
Rinsing and Drying
Rinse lightly with water if necessary to remove residual float medium, then air dry on a hook or drying rack. Apply sealant when fully dry.
Step-by-Step: Acrylic Pouring on Ornaments
Acrylic pouring lets you create veining and cells with texture and depth. This works well on wood and glass.
Mixing Paints
Combine acrylic paint with pouring medium until you reach a fluid consistency similar to warm honey or heavy cream. Add a few drops of silicone oil to create cells. Mix each color in separate cups.
Applying Paint
Use a cup flip, paint puddles, or dirty pour technique. For a cup flip, layer colors in a cup then invert onto the ornament surface or pour across the ornament while turning it slowly. Work over a catch basin to collect drips.
Leveling and Bubble Removal
Tilt the ornament to let paint flow and create patterns. Remove bubbles with a heat gun or by passing a torch quickly across the surface. Keep movement steady to avoid disturbing formed patterns.
Drying and Curing
Allow to dry horizontally on a padded surface to prevent paint from pooling. Dry times vary—surface dry in 24 hours, fully cure in 72 hours to one week depending on thickness. Seal with a compatible varnish or resin once fully cured.
Step-by-Step: Nail Polish Marbling
Nail polish marbling is accessible and yields vibrant, glossy results for small ornaments.
Setup and Safety
Work in a well-ventilated area. Use a shallow container with room-temperature water. Wear gloves to prevent nail polish from contacting skin.
Creating Patterns
Drop nail polish onto the water surface; different colors will spread into rings. Use a toothpick to make swirls and patterns. Avoid using polishes with too much thick pigment as they may not spread well.
Dipping
Slowly dip the ornament through the polish film, rotating to cover evenly. You can also use a cuticle stick to lift away unwanted sections before dipping another ornament.
Cleaning and Drying
Allow the ornament to dry fully. Nail polish can remain somewhat flexible; apply a clear topcoat or gloss sealer to protect against chipping.
Step-by-Step: Shaving Cream or Whipped Paint Marbling
This method is economical and produces soft, cloud-like marbling.
Preparing the Shaving Cream Bed
Spray shaving cream into a shallow tray and spread to an even layer using a spatula. Drop acrylic paint on top of the shaving cream and swirl lightly with a stick.
Transferring the Pattern
Press the ornament into the shaving cream surface and twist gently. Lift and immediately scrape off the shaving cream with a squeegee or ruler to reveal the transferred pattern.
Cleaning and Sealing
Wipe residual shaving cream off the ornament with damp cloth and allow to dry. Seal with spray varnish or a thin coat of clear acrylic.

Sealing and Finishing Techniques
Sealing protects your marbled finish and enhances appearance. Choose your sealer based on the intended use and ornament material.
Spray Varnish
Acrylic spray varnish is fast and easy. Use multiple thin coats with light sanding between coats for a smooth finish. Gloss varnishes increase color saturation; satin or matte will tone down shine.
Brush-On Polyurethane
Use water-based polyurethane for durability on wooden ornaments. Apply thin coats and sand lightly between coats to maintain clarity.
Epoxy Resin
For a glass-like, ultra-durable finish, use clear epoxy resin. Resin requires careful mixing, bubble removal (heat gun or torch), and 24–72 hours curing in dust-free conditions. Resin offers a premium, gift-quality look but requires respirator and precise technique.
Choosing the Right Finish
- Indoor ornaments: spray varnish or water-based polyurethane is sufficient.
- Heirloom or high-gloss gifts: epoxy resin gives the best presentation and protection.
- Avoid solvent-based finishes on painted plastic without testing, as they can cause surface reaction or melting.
Troubleshooting Common Problems
You will likely encounter issues when learning these techniques. The following table lists common problems and solutions.
| Problem | Possible Cause | Solution |
|---|---|---|
| Paint beads or does not adhere | Surface oils or no tooth | Clean with alcohol, sand lightly, prime |
| Colors muddy after mixing | Over-mixing, incompatible pigments | Use less mixing, test pigment compatibility |
| No cells in acrylic pour | No silicone or incorrect ratio | Add small drops of silicone oil, adjust pouring medium |
| Paint sinks in hydro-dip | Paint is too heavy or water temperature wrong | Use float medium or dilute paint; maintain room temp water |
| Uneven coverage | Incorrect dipping angle or speed | Practice controlled dipping, adjust angle and rotation |
| Bubbles in resin finish | Poor mixing or trapped air | Mix slowly, use heat gun to remove bubbles |
| Cracking/peeling | Thick coats, improper curing | Thin coats, allow adequate curing time between coats |
Safety and Cleanup
You should prioritize your health and workspace cleanliness when working with paints, solvents, and resins.
Ventilation and Personal Protective Equipment (PPE)
Always work in a well-ventilated area or use a respirator rated for organic vapors when using solvents or epoxy resins. Wear nitrile gloves to protect skin and safety glasses to protect eyes from splashes.
Disposal
Dispose of paint-saturated rags and solvent waste according to local regulations; many communities require hazardous waste disposal for solvent-heavy materials. Allow leftover paints to dry and dispose as solids when permitted by local guidelines.
Cleanup Tips
- Clean brushes and tools immediately after use with water for acrylics or acetone/mineral spirits for solvent-based paints.
- Use disposable cups and stirrers for messy pours and discard after use to reduce cleanup.
Care, Storage, and Gifting
Proper finishing, storage, and handling will keep ornaments looking their best.
Care Instructions for Recipients
- Handle ornaments by the top hook and avoid dropping.
- Wipe with a soft, lint-free cloth; avoid abrasive cleaners.
- Avoid prolonged exposure to direct sunlight to prevent fading.
Storage
Store ornaments in acid-free tissue and cushioned compartments to prevent scratching. Keep them in a cool, dry environment to avoid humidity-related damage.
Packaging for Gifts
Wrap individually in tissue or bubble wrap and place in a sturdy box. Include a label or card with care instructions and materials used (especially if epoxy or VOC-containing products were used).
Advanced Ideas and Customization
Once you master basic techniques, you can expand to advanced effects and mixed mediums.
Inlays and Decals
You can add small decals, metallic leaf, or hand-painted details over the marbled surface before sealing. Allow the base to cure fully before applying additions.
Layered Marbling
Create layered effects by doing multiple marbling passes and sealing between layers. This technique builds depth but increases drying and curing time.
Personalization
Use vinyl lettering, small stencils, or hand-lettering over the final sealed surface to create personalized ornaments for names, dates, or messages.
Combining Techniques
Mix techniques for unique results — for example, use hydro-dipping for a base pattern and then accent with alcohol inks or metallic leaf after sealing.
Time, Cost, and Practical Considerations
You should estimate time and cost before beginning a batch project.
Time Estimates
- Single ornament (nail polish or shaving cream): 15–60 minutes including drying time.
- Hydro-dip per ornament (setup and multiple dips): 30–90 minutes.
- Acrylic pouring or resin finish: several hours to several days including cure.
Cost Estimates
Costs vary widely depending on paint quality and finish choices. A basic set-up using inexpensive acrylics and shaving cream can be under $20. Professional-grade paints, pouring mediums, and resin can make the per-ornament cost $5–20 or more.
Environmental and Health Considerations
You should be mindful of product toxicity and environmental impact.
- Prefer water-based acrylics and low-VOC sealers when possible.
- Use resin and solvents in well-ventilated areas, and consider professional-grade respirators.
- Dispose of chemical waste properly and minimize single-use plastics by choosing reusable mixing tools if washable.
Templates, Practice Exercises, and Checklist
Practice on spare or inexpensive ornaments before working on special pieces. Try these exercises:
- Create three ornaments with a monochrome palette to master flow and consistency.
- Make a metallic-accent ornament using minimal silicone for cell formation.
- Execute one epoxy-finished ornament as a final test to understand curing and bubble control.
Final preparation checklist before you start:
- Work surface protected and ventilated
- Ornaments cleaned and prepped
- Paints and mediums mixed and tested
- Hooks or holders attached for drying
- PPE on hand and used
Final Tips and Best Practices
- Test on scrap pieces to refine ratios of paint to medium and silicone.
- Work methodically: plan color order, drying timeline, and sealing steps.
- Keep a small notebook recording formulas (paint:medium ratios, silicone drops) that produced the best results.
- Use consistent environmental conditions — temperature and humidity affect flow and curing.
- If selling ornaments, label materials and care instructions clearly for customers.
Conclusion
Marbling paint for Christmas ornaments gives you creative control over color, texture, and finish, allowing you to produce memorable, handcrafted decorations. You can apply a range of techniques from simple shaving cream transfers to professional-grade epoxy finishes. By preparing surfaces properly, selecting compatible materials, and following the step-by-step methods and troubleshooting tips in this guide, you can consistently produce high-quality marbled ornaments ready for gifting, decorating, or selling.
If you want, you can request a printable supply checklist, a short practice curriculum, or a step-by-step template for a specific technique (for example, hydro-dipping or epoxy finishing) and you will receive a tailored plan you can follow in successive sessions.