In this article, you will learn the step-by-step process of whitewashing wood using chalk paint. This technique is a great way to add a rustic and weathered look to any wooden surface. By following these simple instructions, you will be able to achieve a beautiful whitewashed finish that will enhance the natural beauty of the wood while still allowing its grain to show through. Whether you are a DIY enthusiast or a professional looking to add a unique touch to your projects, whitewashing with chalk paint is a versatile and easy-to-learn technique that can be applied to a variety of wood surfaces. How often have you found yourself dreaming of giving your furniture a fresh new look, but the thought of sanding and staining seems like too much of a hassle? If you’re looking for a simple yet effective way to transform your wooden pieces, look no further than whitewashing with chalk paint. In this guide, we will walk you through the step-by-step process of whitewashing wood with chalk paint.
What You’ll Need
Before you begin the whitewashing process, it’s essential to gather all the necessary supplies to ensure a smooth and successful project. Here’s a list of items you’ll need:
- Chalk paint (in your desired color)
- Paintbrush
- Clean, lint-free cloth
- Sandpaper (optional)
- Protective topcoat (optional)
Why Use Chalk Paint?
Chalk paint is a versatile and user-friendly option for whitewashing wood due to its unique characteristics. Unlike regular paint, chalk paint requires little to no prep work and can adhere to almost any surface without primer. Additionally, chalk paint dries quickly, allowing you to complete your project in a shorter amount of time compared to traditional paint.
Choosing the Right Color
When selecting a chalk paint color for whitewashing wood, consider the overall aesthetic you wish to achieve. White chalk paint is a popular choice for a classic whitewashed look, but you can also opt for other shades such as grey or beige for a more modern twist. Take into account the existing color of your furniture and the style of your space to ensure a cohesive result.
Preparing the Surface
Before you start applying chalk paint to your wooden piece, it’s crucial to prepare the surface to ensure the paint adheres properly and the finish is smooth and durable.
Cleaning the Wood
Begin by cleaning the wood thoroughly to remove any dust, dirt, or grease that may prevent the paint from adhering. You can use a mild soap and water solution or a dedicated wood cleaner, followed by a rinse with clean water. Allow the wood to dry completely before proceeding to the next step.
Sanding (Optional)
If the wood surface is rough or has imperfections, you may choose to sand it lightly to create a smooth canvas for the chalk paint. Use fine-grit sandpaper to gently sand the wood in the direction of the grain. Remember to wipe away any dust residue with a clean cloth before painting.

Applying the Chalk Paint
Now that you’ve prepped the wood, it’s time to start the whitewashing process with chalk paint. Follow these steps for a flawless finish:
Stirring the Paint
Before you begin painting, make sure to stir the chalk paint thoroughly to ensure a consistent texture and color. Chalk paint can settle over time, so mixing it well will help achieve a uniform finish on your wooden piece.
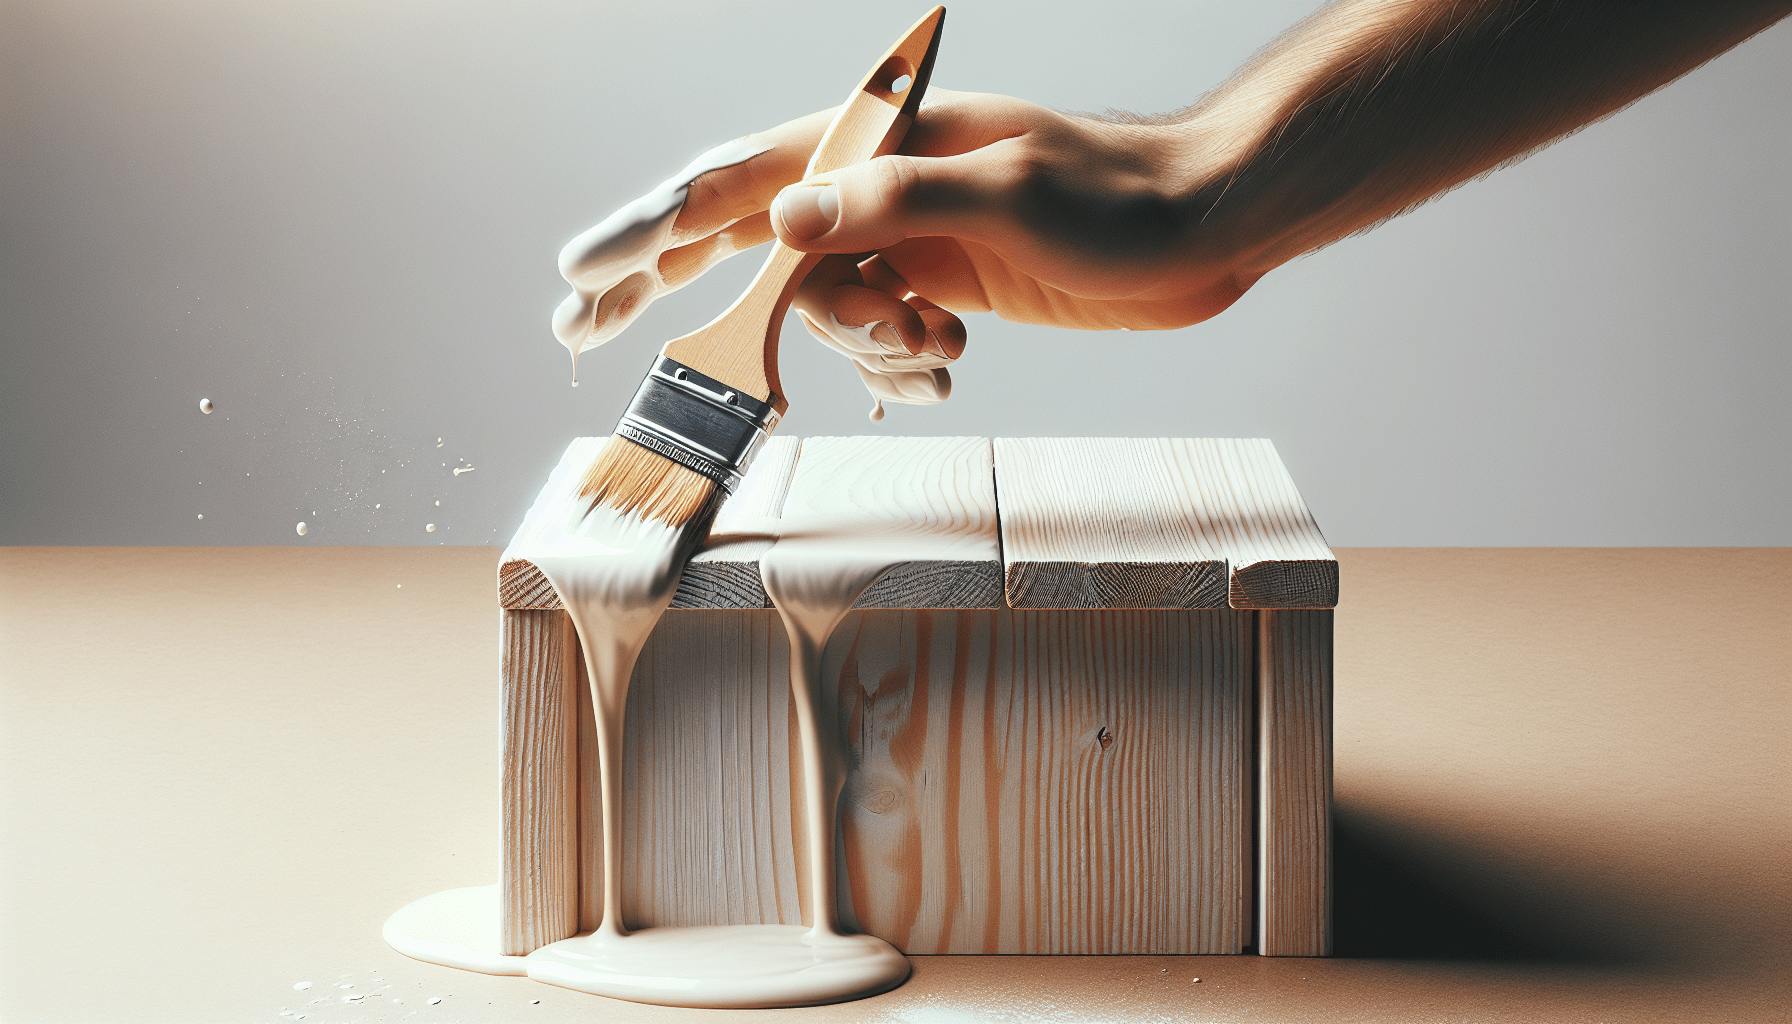
Painting the Wood
Using a paintbrush, apply a thin layer of chalk paint to the wood surface in smooth, even strokes. Work in small sections, starting from one end and moving towards the other to avoid leaving visible brush marks. Allow the first coat to dry completely before applying additional coats for more coverage.
Creating a Whitewashed Effect
To achieve a whitewashed look, consider diluting the chalk paint with water to create a translucent wash. Mix equal parts water and chalk paint in a separate container, then apply the mixture to the wood using a brush or cloth. Wipe off any excess paint with a clean, lint-free cloth to reveal the wood grain underneath.
Enhancing and Protecting the Finish
Once you’ve finished whitewashing the wood with chalk paint, you may choose to enhance and protect the finish with a few additional steps.
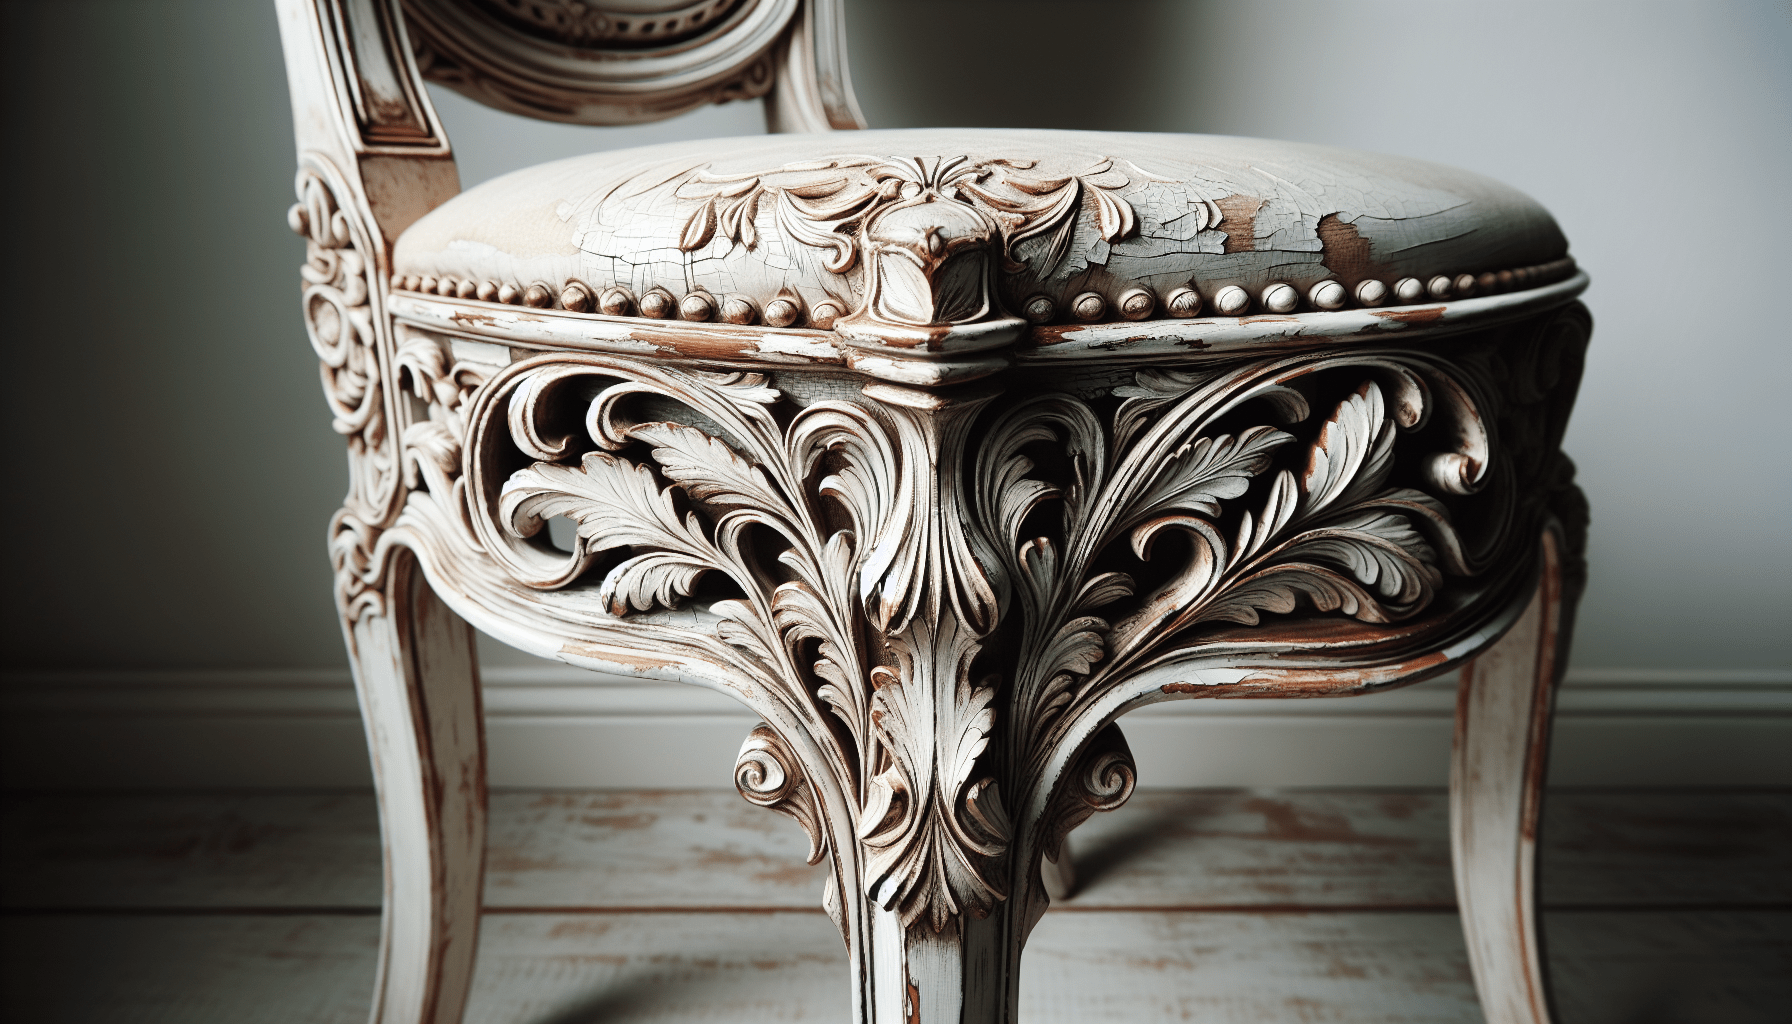
Distressing (Optional)
For a shabby chic or rustic look, you can distress the chalk paint finish by lightly sanding the edges and corners of the wood piece. Focus on areas that would naturally wear over time, such as corners, edges, and raised details. This technique adds character and depth to your whitewashed furniture.
Applying a Protective Topcoat
To seal and protect the chalk paint finish, consider applying a protective topcoat such as clear wax or polyurethane. These products will help prevent chipping, scratching, and fading, extending the lifespan of your whitewashed wood piece. Follow the manufacturer’s instructions for proper application and drying times.
Maintenance and Care Tips
To ensure your whitewashed wood furniture stays looking its best for years to come, follow these maintenance and care tips:
- Clean the surface regularly with a soft, damp cloth to remove dust and dirt.
- Avoid placing hot or sharp objects directly on the painted surface to prevent damage.
- Consider applying a fresh coat of protective topcoat every few years to maintain the integrity of the finish.
- Keep your whitewashed wood furniture away from direct sunlight to prevent fading and discoloration.
Final Thoughts
Whitewashing wood with chalk paint is a simple yet effective way to refresh and transform your furniture with minimal effort. Whether you prefer a classic whitewashed look or a more modern aesthetic, chalk paint offers endless possibilities for customization. By following the steps outlined in this guide and incorporating your personal style, you can achieve a beautiful and unique finish that will breathe new life into your wooden pieces.