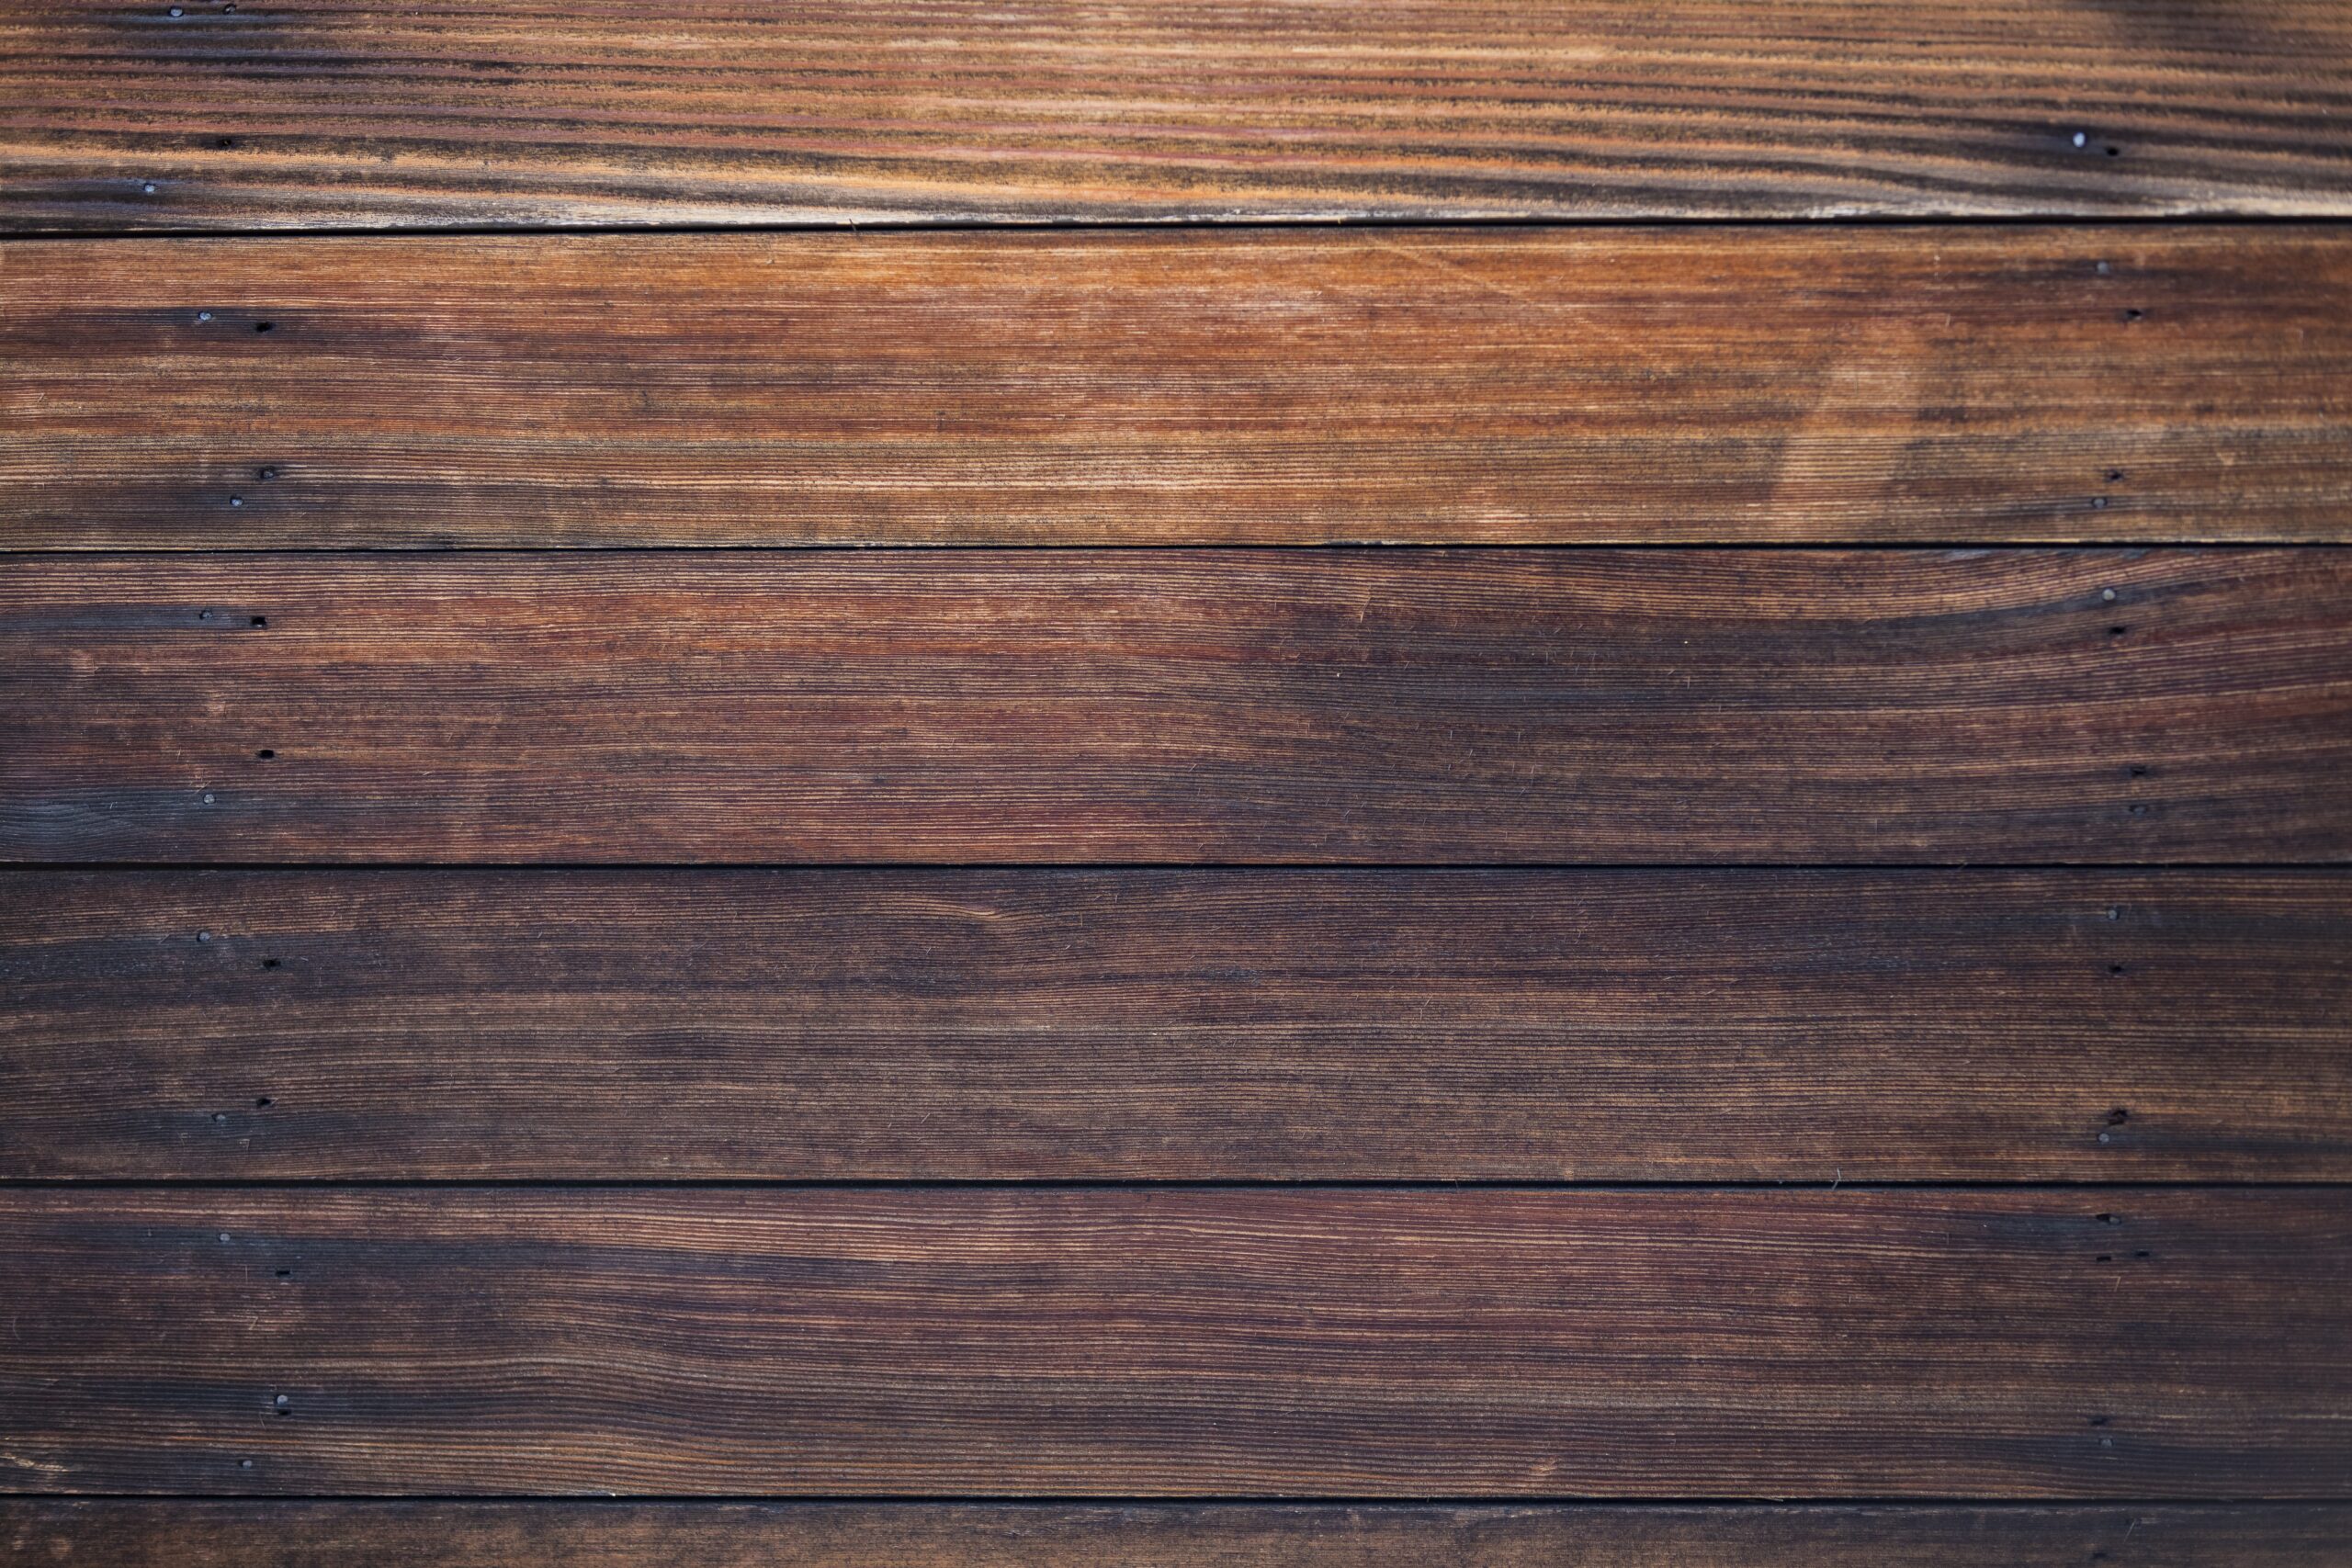
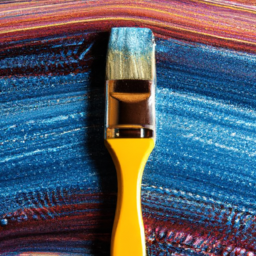
In this article, you will learn the step-by-step process of whitewashing wood using acrylic paint. Whitewashing is a technique that adds a rustic, weathered look to wooden surfaces, and acrylic paint provides a versatile and affordable option for achieving this effect. By following these instructions, you will be able to transform your wooden furniture, floors, or walls into beautiful, vintage-inspired pieces that will enhance the aesthetics of any space. So, grab your brushes and let’s get started on mastering the art of whitewashing wood with acrylic paint.
Preparing the Wood
Before starting the whitewashing process, it is important to properly prepare the wood to ensure a smooth and successful application. This involves gathering the necessary materials, cleaning the wood surface, sanding the wood, and optionally applying a wood conditioner for better paint absorption.
Gather the necessary materials
To begin, gather all the materials needed for the whitewashing project. This includes acrylic paint, water, a paintbrush or foam brush, a small container for mixing paint, sandpaper or a sanding block, a clean cloth or rag, and optionally a wood conditioner.
Clean the wood surface
Next, clean the wood surface thoroughly to remove any dirt, dust, or grease. This can be done by wiping the wood with a damp cloth or using a mild cleaning solution. Ensure that the wood is completely dry before proceeding to the next step.
Sand the wood
To achieve a smooth and even finish, it is important to sand the wood surface before applying the whitewash. Use a fine-grit sandpaper or a sanding block to remove any rough patches or imperfections on the wood. Sand in the direction of the grain until the surface feels smooth to the touch.
Apply a wood conditioner (optional)
If desired, apply a wood conditioner to the surface before whitewashing. This step is particularly useful for softwoods, as it helps to seal the wood, prevent blotching, and ensure even paint absorption. Follow the instructions on the wood conditioner product and allow it to fully dry before proceeding to the next step.
Choosing and Mixing the Paint
Selecting the right acrylic paint and choosing the appropriate color are crucial steps in achieving the desired whitewashing effect. Additionally, properly mixing the paint with water will determine the transparency and consistency of the final result.
Selecting the right acrylic paint
When selecting acrylic paint for whitewashing, it is important to choose a high-quality paint that is suitable for wood surfaces. Opt for a water-based acrylic paint, as it is easy to work with and dries quickly. Look for a brand that offers a range of colors and finishes to find the perfect shade for your project.
Choosing the appropriate color
The color of the whitewash will largely depend on personal preference and the desired outcome. Traditional whitewashing involves using white or off-white paint, but you can experiment with different colors to achieve unique effects. Keep in mind that lighter colors will provide a more subtle and natural look, while darker colors will create a more pronounced and dramatic effect.
Mixing the paint with water
To achieve the desired transparency for your whitewash, mix the acrylic paint with water. Start by adding a small amount of water to the paint, and gradually increase the amount until you reach the desired consistency. The ratio of paint to water will vary depending on the level of opacity you desire. Be sure to mix the paint thoroughly to ensure an even color throughout.

This image is property of images.unsplash.com.
Applying the Base Coat
The base coat serves as the foundation for the whitewash and helps to enhance the overall appearance of the wood. This section covers the steps for preparing the acrylic paint mixture, testing it on a small area, applying the base coat, and wiping away any excess paint.
Preparing the acrylic paint mixture
Before applying the base coat, ensure that the paint mixture is well-mixed and at the desired consistency. Stir the paint thoroughly to avoid any streaks or clumps. If necessary, add additional water or paint to achieve the desired opacity and texture.
Testing the mixture on a small area
Before applying the base coat to the entire surface, it is recommended to test the paint mixture on a small, inconspicuous area of the wood. This allows you to assess the color and transparency of the whitewash and make any adjustments if needed. Apply a small amount of the mixture and allow it to dry before evaluating the result.
Applying the base coat
Once you are satisfied with the paint mixture, begin applying the base coat to the wood surface. Use a paintbrush or foam brush to evenly distribute the paint in long, smooth strokes, following the direction of the wood grain. Apply a thin layer of paint, ensuring that the wood is still visible beneath the whitewash. Allow the base coat to dry completely before proceeding.
Wiping excess paint
After the base coat has dried, gently wipe away any excess paint using a clean cloth or rag. This step helps to achieve a more natural and subtle whitewash effect, revealing the texture and grain of the wood. Be careful not to remove too much paint, as it may result in an uneven finish. Adjust the pressure and technique as necessary.
Whitewashing Techniques
Various whitewashing techniques can be utilized to achieve different textures and effects on the wood surface. This section explores different techniques such as dry brushing, crosshatch, rag rolling, and sponge techniques.
Dry brushing technique
The dry brushing technique involves using a dry paintbrush with very little paint on it to create a worn or weathered appearance. Lightly dip the brush into the paint, then remove most of the paint by brushing it on a paper towel or scrap paper. Apply the brush to the wood surface in quick, light strokes, allowing the brush bristles to skim the surface. This technique adds subtle streaks and highlights to the wood.
Crosshatch technique
The crosshatch technique involves using crisscrossing brush strokes to create an interesting pattern on the wood. Apply the paint to the wood using a brush, and then use a second brush or a comb to create crosshatch lines in the wet paint. This technique adds texture and depth to the whitewash, giving it a more rustic and artistic feel.
Rag rolling technique
The rag rolling technique involves using a clean rag or cloth to roll or pat the paint onto the wood surface. Begin by dipping the rag into the paint, then lightly roll or pat it onto the wood, creating a mottled and textured effect. This technique works well for achieving a vintage or aged look.
Sponge technique
The sponge technique utilizes a natural or synthetic sponge to apply the paint onto the wood surface. Dip the sponge into the paint, then gently dab it onto the wood, creating a speckled or stippled effect. This technique adds depth and character to the whitewash, mimicking the look of aged or weathered wood.

This image is property of images.unsplash.com.
Creating a Distressed Look
To give the whitewashed wood a distressed or aged appearance, additional steps can be taken. This section covers applying a second coat, sanding for a distressed effect, and using a whitewash pickling stain.
Applying a second coat
For a more pronounced whitewash effect, considering applying a second coat of paint. Allow the first coat to dry completely, then repeat the process of applying the base coat, wiping away excess paint, and allowing it to dry. This second coat will deepen the color and enhance the texture, creating a more distressed and vintage appearance.
Sanding for a distressed effect
To achieve a distressed look, gently sand the dried whitewash using a fine-grit sandpaper or a sanding block. Focus on areas that would naturally experience wear and tear, such as edges and corners, to create a weathered appearance. Experiment with different sanding techniques and pressure levels to achieve the desired level of distressing.
Using a whitewash pickling stain
Another method for creating a distressed look is by using a whitewash pickling stain. This product is specifically designed to achieve a white or light-colored washed effect on wood. Apply the pickling stain according to the manufacturer’s instructions, and then wipe away any excess to achieve the desired level of distressing.
Sealing the Whitewashed Wood
After achieving the desired whitewashed effect, it is crucial to seal the wood to protect the finish and provide durability. This section covers choosing an appropriate sealer, applying the sealer, and allowing it to dry.
Choosing an appropriate sealer
When selecting a sealer for whitewashed wood, choose a product that is compatible with acrylic paint and suitable for your specific project. Consider factors such as the level of sheen desired, the level of protection needed, and the compatibility with the paint and wood type. Options include polyurethane, wax, varnish, or lacquer. Follow the manufacturer’s instructions for the specific sealer chosen.
Applying the sealer
Before applying the sealer, ensure that the whitewashed wood is completely dry. Use a clean brush or applicator to evenly apply the sealer to the wood surface. Apply in thin, even coats, following the manufacturer’s recommended application method. Take care to cover all areas of the wood to ensure uniform protection. Allow each coat to dry fully before proceeding to the next.
Allowing the sealer to dry
Once the sealer has been applied, allow sufficient drying time according to the manufacturer’s instructions. This step is crucial to ensure that the sealer fully cures and provides the desired level of protection. Avoid exposing the freshly sealed wood to excessive moisture or heavy use during the drying process to prevent any damage to the finish.

This image is property of images.unsplash.com.
Additional Tips and Considerations
While whitewashing wood with acrylic paint can be a straightforward process, there are some additional tips and considerations to keep in mind for a successful project.
Working in a well-ventilated area
When working with acrylic paint and sealers, it is important to ensure proper ventilation in the workspace. Open windows or doors, or use fans or exhaust systems to circulate fresh air. This helps to minimize exposure to fumes and allows for faster drying times.
Using protective gear
To protect yourself from any potentially harmful substances, such as paint fumes or chemicals from the sealer, it is advisable to wear appropriate protective gear. This includes gloves, goggles, and a mask or respirator. Refer to the safety instructions provided by the paint and sealer manufacturers for specific recommendations.
Testing the process on a small area first
Before embarking on a large-scale whitewashing project, it is always wise to test the process on a small, inconspicuous area of the wood. This allows you to assess the results and make any necessary adjustments or refinements before proceeding with the entire project.
Experimenting with different paint ratios
To achieve different levels of transparency and opacity in the whitewash, consider experimenting with different paint to water ratios. By adding more or less water to the paint mixture, you can create variations in color and intensity. Keep track of the ratios used for future reference if desired.
Cleaning up after the project
Properly clean all tools, brushes, and containers after completing the whitewashing project. Rinse brushes and other tools with water immediately after use to prevent the paint from drying and causing damage. Dispose of any leftover paint, water, and other waste materials according to local regulations.
Alternative Whitewashing Methods
In addition to using acrylic paint, there are alternative methods for achieving a whitewashed effect on wood surfaces. This section highlights three alternative methods: using lime wash, white pickling stain, and whitewash wax.
Using lime wash
Lime wash is a traditional method for whitewashing wood that involves using a mixture of lime, water, and pigments. It creates a translucent white or light-colored wash that allows the wood grain to show through. Apply the lime wash using a brush or sprayer, and follow the manufacturer’s instructions for proper application and drying times.
Using white pickling stain
White pickling stain is a specialized stain that creates a white or light-colored washed effect on wood surfaces. It is typically applied to bare wood, allowing the stain to penetrate and enhance the natural grain. Apply the pickling stain according to the manufacturer’s instructions, and wipe away any excess to achieve the desired effect.
Using whitewash wax
Whitewash wax is a product specially formulated to create a whitewashed or bleached effect on wood furniture and surfaces. It combines the protective qualities of wax with the ability to lighten or change the color of the wood. Apply the whitewash wax using a clean cloth or brush, following the manufacturer’s instructions for proper application and the desired level of coverage.
Whitewashing Different Types of Wood
Different types of wood may require slightly different approaches when whitewashing. This section provides guidance on whitewashing pine wood, oak wood, cedar wood, and plywood.
Whitewashing pine wood
Pine wood is a softwood that readily absorbs paint, making it ideal for whitewashing. Follow the general whitewashing process outlined above, ensuring that the wood is properly prepared, the paint is well-mixed, and the desired techniques are employed. Pine wood tends to take on a warm undertone when whitewashed, creating a charming and rustic appearance.
Whitewashing oak wood
Oak wood has a distinct grain pattern and a denser structure, which may require slightly different techniques when whitewashing. Sand the oak wood thoroughly to smooth out any imperfections or raised grain. Apply the whitewash using a dry brushing or rag rolling technique, allowing the whitewash to settle into the grain for a more pronounced effect. Experiment with different techniques and applications to achieve the desired look.
Whitewashing cedar wood
Cedar wood is known for its natural resistance to decay and insect infestation, making it a popular choice for outdoor applications. When whitewashing cedar, it is important to ensure that the wood is clean and free of any oils or finishes. Apply the whitewash using a brush or rag, allowing the wood to absorb the paint and create a weathered appearance. Consider using a wood conditioner or sealant specifically designed for cedar wood to enhance its durability.
Whitewashing plywood
Plywood consists of multiple layers of thin wood glued together, creating a smooth and uniform surface. The key to achieving a successful whitewashing effect on plywood is to ensure that the layers are evenly coated and the paint is evenly distributed. Follow the general whitewashing process, paying attention to wiping away excess paint to maintain the natural texture and appearance of the wood grain.
Whitewashing Furniture and Home Decor
Whitewashing is a versatile technique that can be applied to various furniture and home decor items to create a charming and vintage-inspired look. This section provides guidance on whitewashing wooden furniture, cabinets, picture frames, and even wooden floors.
Whitewashing wooden furniture
To whitewash wooden furniture, start by preparing the surface by cleaning and sanding it. Apply the desired technique and paint mixture to achieve the desired whitewashed effect. Consider incorporating distressing techniques such as sanding or using a pickling stain for an aged appearance. After whitewashing, protect the furniture by applying a suitable sealer to ensure durability and longevity.
Whitewashing cabinets
Whitewashing cabinets can breathe new life into a tired kitchen or bathroom. Begin by removing the cabinet doors and hardware, then clean and sand the cabinet surfaces. Apply the desired whitewashing technique and paint mixture to enhance the wood grain and create a fresh, lightened appearance. After the whitewash has dried, apply a protective sealer to ensure the longevity of the finish.
Whitewashing picture frames
Whitewashing picture frames can add a touch of vintage elegance to any space. Start by cleaning and sanding the picture frames to create a smooth surface. Apply the desired whitewash technique, such as dry brushing or rag rolling, to achieve the desired effect. Allow the paint to dry, then lightly distress the frames by sanding or using a pickling stain. Finish by applying a sealer to protect the paint and enhance the overall appearance.
Whitewashing wooden floors
Whitewashing wooden floors can create a light and airy atmosphere, perfect for beach-inspired or Scandinavian-style interiors. Begin by thoroughly cleaning and sanding the floors to remove any existing finish or imperfections. Apply the whitewash using a brush, roller, or sprayer, following the direction of the wood grain. Allow the whitewash to dry fully, then seal the floors with a durable clear sealer suitable for wooden floors. Regular maintenance and resealing may be necessary to maintain the whitewashed look.
In conclusion, whitewashing wood with acrylic paint is a versatile and creative way to lighten and enhance the appearance of wooden surfaces. By following the step-by-step process outlined in this article, you can achieve a beautiful whitewashed effect on various types of wood, furniture, and home decor items. Whether you choose a traditional whitewash or experiment with different techniques and colors, the end result will be a stunning and unique finish that adds character and charm to any space. Remember to take the necessary precautions, test the process on a small area first, and enjoy the satisfaction of transforming plain wood into a work of art.


