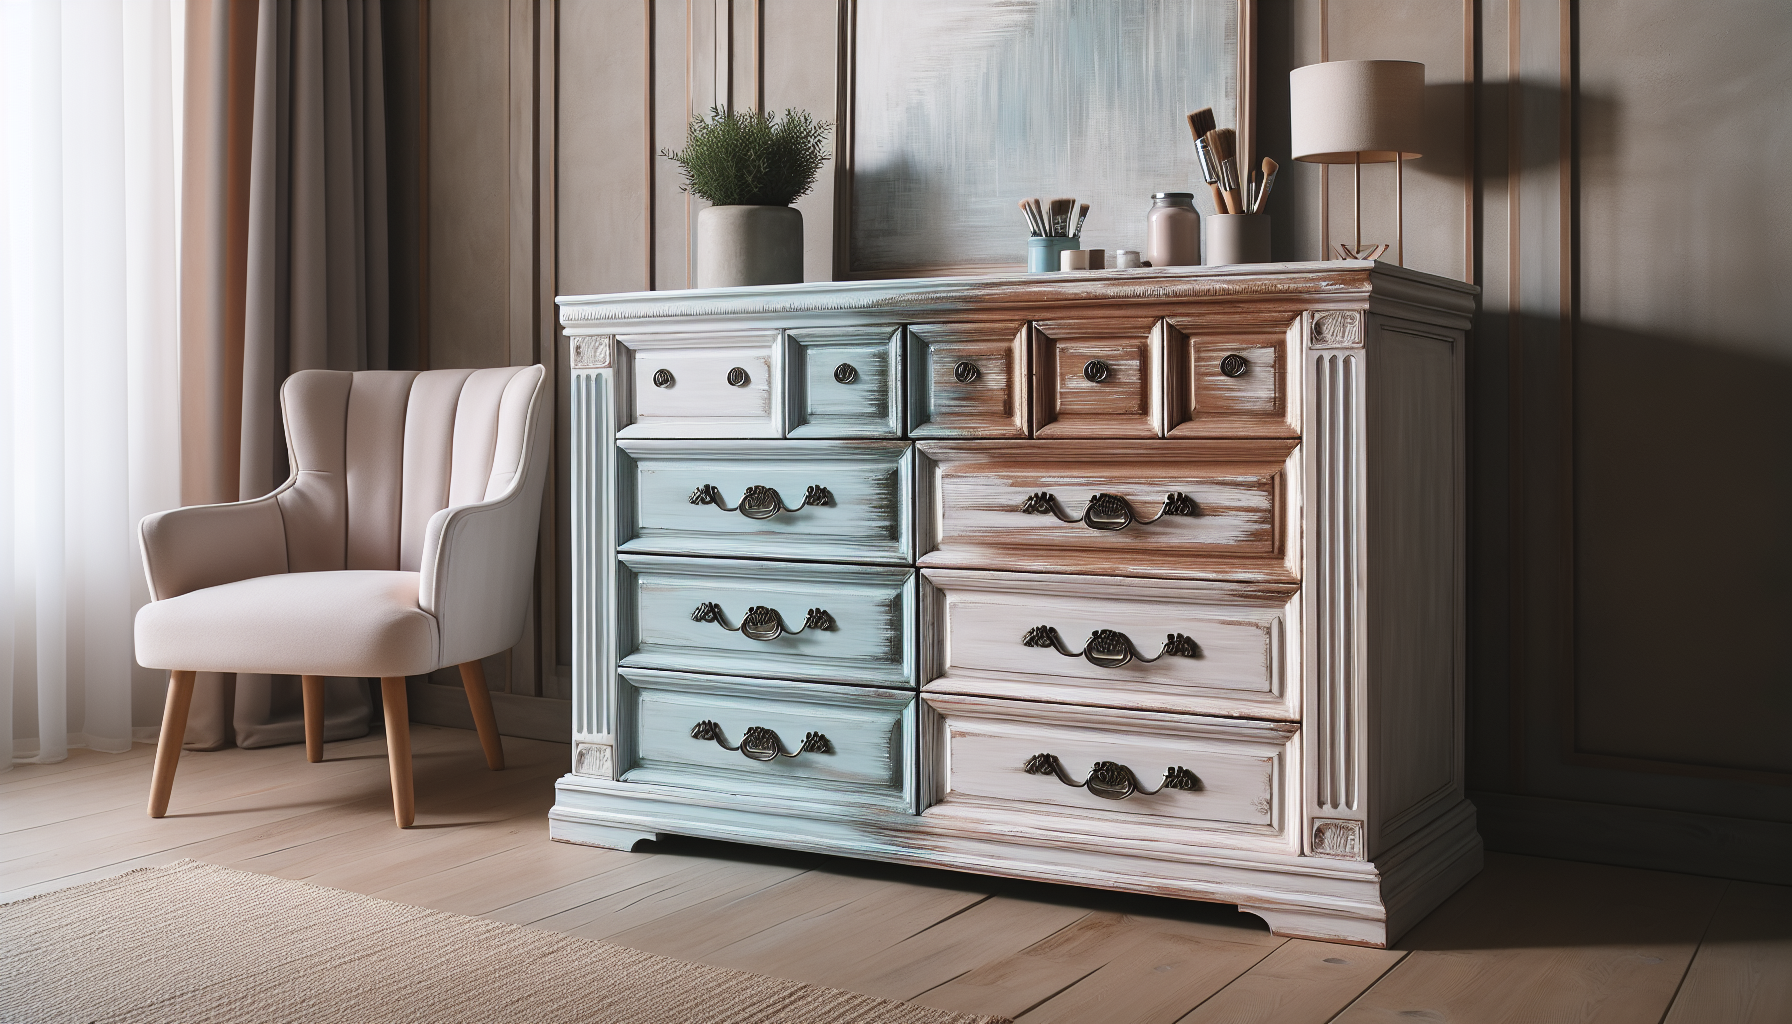
In this article, you will learn the step-by-step process of whitewashing with chalk paint. Whitewashing with chalk paint is an effective technique that can transform the appearance of furniture or walls, creating a charming and rustic look. By following these simple instructions, you will gain the knowledge and confidence to achieve a beautiful whitewashed finish using chalk paint. Whether you are a beginner or an experienced DIY enthusiast, this article will provide you with the essential guidance to successfully achieve the desired whitewash effect. So, let’s begin our journey into the world of whitewashing with chalk paint.
Preparing the Surface
Gather the necessary supplies
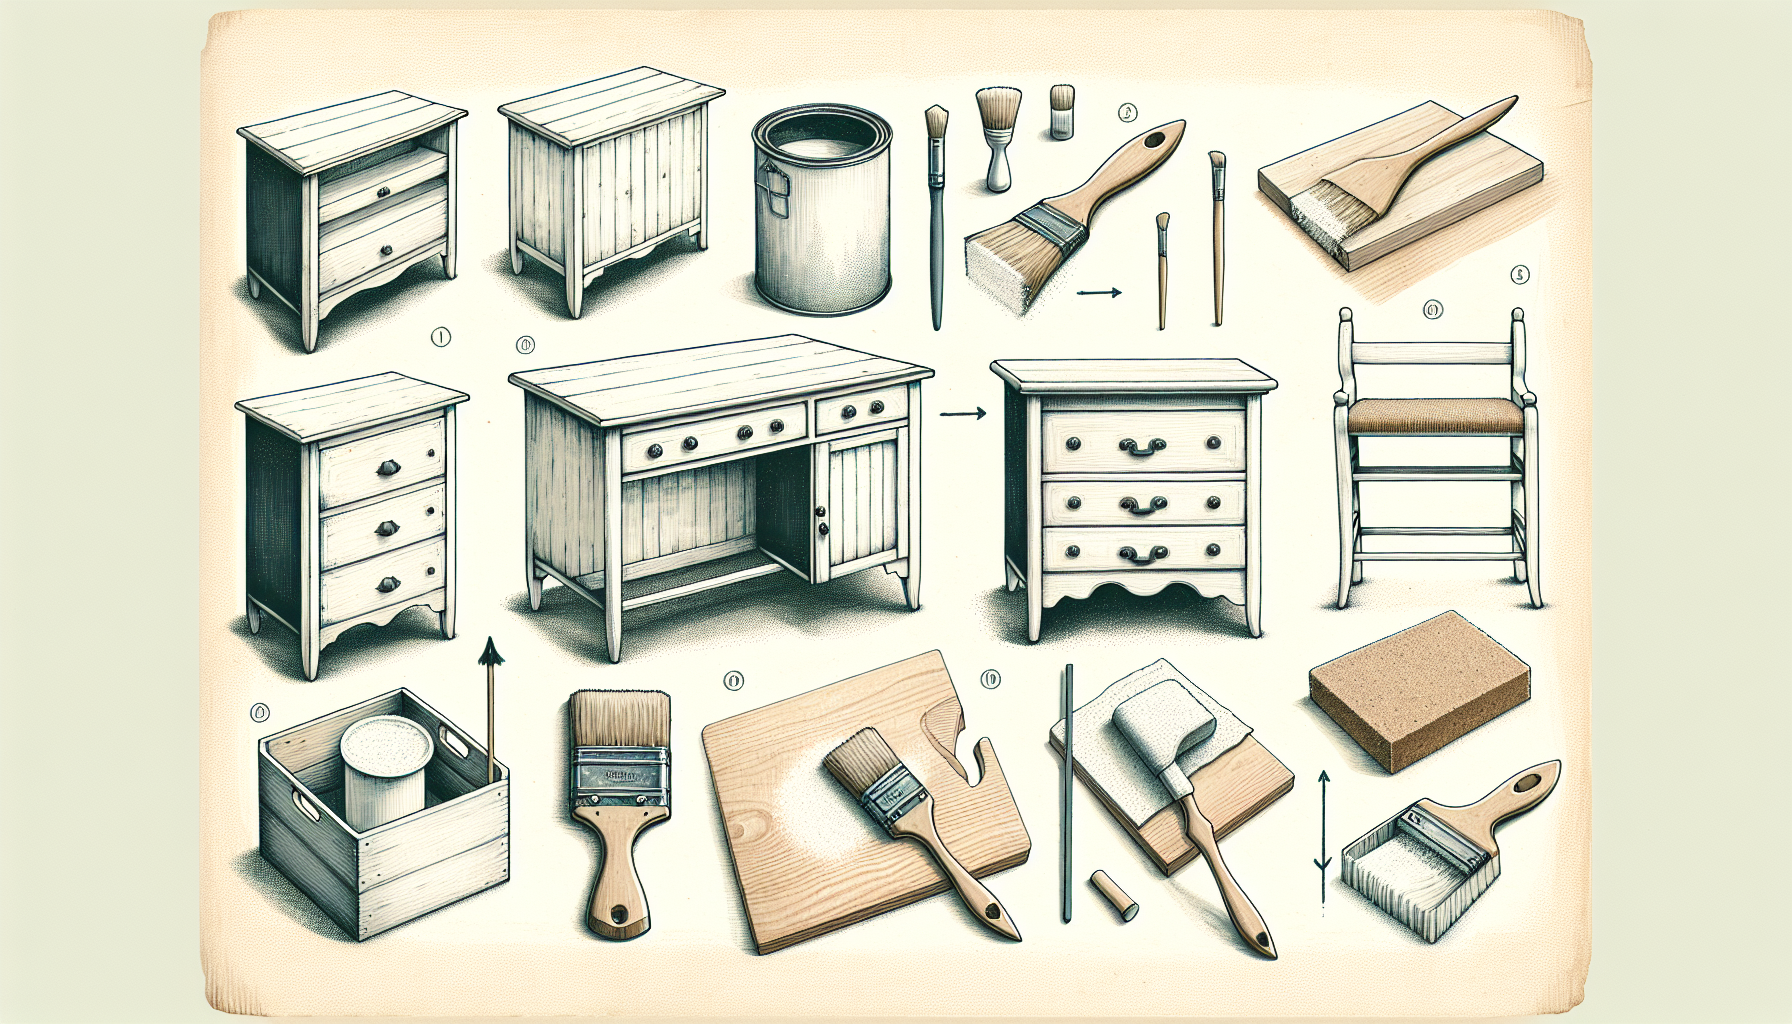
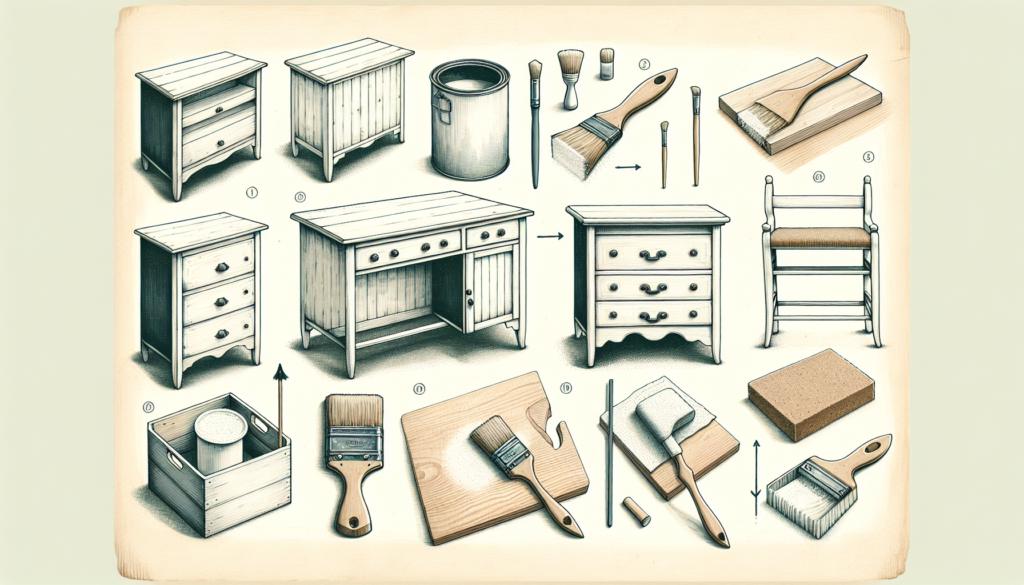
Before you begin the whitewashing process, it is essential to gather all the necessary supplies. You will need chalk paint, which is specifically formulated for this technique, along with a container for mixing the paint and water. Additionally, have a stirring stick or whisk on hand to ensure thorough mixing. Other supplies include sandpaper, a cloth or sponge for cleaning the surface, and any protective measures you may want to use, such as gloves or drop cloths.
Clean the surface
Before applying the whitewash, it is crucial to clean the surface thoroughly. Use a mild soap and water solution to remove any dust, dirt, or grime that may be present. Gently scrub the surface with a cloth or sponge, paying close attention to any nooks or crevices. Once cleaned, rinse the surface with plain water and allow it to dry completely before proceeding. This step ensures a smooth application and enhances the longevity of the whitewash.
Sand the surface
To create a smooth and even surface for the whitewash, consider sanding the surface before beginning the application process. Use a lightweight sandpaper with a fine grit to gently sand any rough areas or imperfections. This step helps to remove any existing finish or rough texture, providing a better foundation for the whitewash. Once you have finished sanding, use a damp cloth or sponge to remove any dust before proceeding to the next step.
Mixing the Whitewash
Choose the right chalk paint
When it comes to whitewashing, the choice of chalk paint is crucial. Select a high-quality chalk paint that is specifically designed for this technique. This type of paint has a unique composition that allows it to adhere to various surfaces while creating the desired whitewashed effect. Consider the color and finish you want to achieve and choose a chalk paint that aligns with your vision. Keep in mind that some chalk paints may require priming the surface before applying the whitewash, so be sure to follow the manufacturer’s instructions.
Add water to the paint
To achieve the desired consistency for the whitewash, it is essential to add water to the chalk paint. Begin by pouring a small amount of paint into a container, then gradually add water while stirring continuously. The amount of water needed will vary depending on the brand and type of paint used, as well as personal preference. Start with a 1:1 ratio of paint to water and adjust as necessary. The consistency should be smooth and creamy, similar to that of liquid milk.
Mix until desired consistency
As you add water to the paint, continue stirring or whisking until you reach the desired consistency. Take care not to add too much water too quickly, as this can cause the paint to become too thin and runny. Conversely, if the paint appears too thick, gradually add more water until it reaches the desired consistency. The goal is to achieve a fluid mixture that can easily be applied to the surface while still maintaining some opacity. Once you have achieved the desired consistency, your whitewash is ready for testing and application.
Testing on a Sample
Select a sample surface
Before applying the whitewash to the entire surface, it is recommended to test it on a small sample area. This allows you to see how the paint interacts with the surface and determine if any adjustments need to be made before committing to the full application. Choose an inconspicuous area or a spare piece of the same material to use as your sample surface. This will help you gauge the color, coverage, and desired effect of the whitewash.
Apply the whitewash
Using a brush or applicator of your choice, apply a thin and even layer of the whitewash to the sample surface. Take note of the application technique, the coverage achieved, and the overall appearance of the whitewash. Keep in mind that the color may intensify as the paint dries, so don’t be alarmed if the initial application appears lighter than expected. allow the whitewash to dry completely before evaluating the results.
Evaluate the results
Once the whitewash is dry, take a close look at the results on the sample surface. Assess the color, coverage, and overall effect of the whitewash. Pay attention to any areas that may require additional coats or adjustments. This evaluation will guide your approach for the full application and help you determine if any changes need to be made to the paint consistency or application technique. It’s always better to make adjustments on a small test area before moving on to the larger surface.
Applying the Whitewash
Prepare your workspace
Before applying the whitewash to the full surface, it is important to prepare your workspace properly. Clear the area of any debris, furniture, or objects that may interfere with the application process. Lay down drop cloths or protective covers to safeguard the surrounding area. If needed, wear gloves to protect your hands and consider using a mask to avoid inhaling any particles. By creating a clean and organized workspace, you can focus on achieving the best results with the whitewashing technique.
Apply a base coat
To enhance the richness and durability of the whitewash, it is recommended to apply a base coat before the actual whitewashing process begins. This base coat can be the same color as the final whitewash or a complementary shade. Apply the base coat evenly using a brush or roller, allowing it to dry completely before proceeding to the next step. The base coat creates a strong foundation for the whitewash and ensures consistent coverage across the entire surface.
Apply the first whitewash layer
With the base coat dry, it is time to apply the first layer of whitewash. Dip your brush or applicator into the paint mixture and begin applying it to the surface in long, smooth strokes. Work in small sections, maintaining a wet edge to avoid visible brush marks or uneven coverage. Continue the application process until the entire surface is covered. Remember to apply the whitewash evenly and avoid excessive buildup or drips. Once the first layer is complete, allow it to dry thoroughly before evaluating and deciding if additional coats are needed.
Creating a Second Layer
Evaluate the first layer
After the first whitewash layer has dried, take the time to evaluate the results before moving on to the second layer. Assess the coverage, color, and overall appearance of the first layer. If you are satisfied with the level of whitewashing achieved, you may proceed to the next steps. However, if the coverage appears uneven or you desire a more pronounced whitewashed effect, applying a second layer may be necessary.
Apply a second coat
To intensify the whitewash or address any areas that may require additional coverage, apply a second coat of the paint mixture. Follow the same application techniques as before, ensuring even coverage across the entire surface. Pay close attention to any areas that may have been missed or require extra attention. Take note of how the whitewash looks after the second coat and allow it to dry fully before evaluating the final results.
Choose a different technique
If you desire a more textured or layered look, consider experimenting with a different technique for the second layer. For example, you could use a dry brush technique to create more depth and dimension. Lightly dip a dry brush into the whitewash and then lightly apply it to the surface, removing most of the paint from the brush. This technique adds subtle accents and highlights, enhancing the overall appearance of the whitewash. Explore different techniques and find the one that best suits your vision for the finished surface.
Adding Depth and Detail
Consider distressing techniques
To add character and visual interest to the whitewashed surface, consider distressing techniques. Distressing involves intentionally creating a worn or aged look by sanding or scraping away some of the paint. This technique can be used to reveal underlying layers or to simulate natural wear and tear. Experiment with sandpaper or other tools to distress specific areas, such as edges or corners, and achieve a more rustic or vintage look.
Use a dry brush technique
Another way to add depth and detail to the whitewash is by using a dry brush technique. This technique involves using a nearly dry brush with only a small amount of paint to create subtle strokes and texture. Lightly brush the surface with the dry brush, focusing on areas where you want to enhance the whitewashed effect. This technique can be particularly effective on textured surfaces or when creating a weathered appearance.
Experiment with a wax finish
If you want to further enhance the durability and protective properties of the whitewashed surface, consider applying a wax finish. Wax finishes are available in various options, such as clear or tinted, and can provide a satin or matte sheen to the surface. Applying a thin layer of wax helps to seal the whitewash, providing added protection against moisture and wear. Follow the manufacturer’s instructions for applying the wax finish and allow it to cure before subjecting the surface to regular use.
Sealing and Protecting
Allow the paint to dry
Before taking any steps to seal or protect the whitewash, it is essential to allow the paint to dry fully. Drying times can vary depending on factors such as humidity and temperature. Follow the manufacturer’s instructions for the specific paint you are using, but generally, allow the whitewash to dry for at least 24 hours before proceeding.
Apply a sealant
To prolong the lifespan of the whitewash and protect it from damage, consider applying a sealant. There are various sealant options available, including clear polyurethane or water-based sealants. These products create a protective barrier that prevents stains, scratches, and moisture from affecting the whitewash. Apply the sealant using a brush or roller, following the manufacturer’s instructions for drying time and additional coats if necessary. A sealant helps to preserve the appearance of the whitewash and makes it easier to clean and maintain.
Consider additional protective measures
In addition to applying a sealant, there are other protective measures you can take to further safeguard the whitewashed surface. For example, you can place felt pads on the bottom of furniture and objects to prevent scratches. If the whitewash is applied to a high-traffic surface or an outdoor area, consider adding a topcoat of weatherproofing varnish or outdoor sealant to enhance its durability. Taking these additional steps ensures that your whitewashed surface remains beautiful and protected for years to come.
Cleaning and Maintenance
Clean using mild soap and water
To maintain the appearance of the whitewashed surface, regular cleaning is essential. Use a mild soap and water solution to gently clean the surface, avoiding harsh chemicals that may damage the paint or sealant. Dampen a soft cloth or sponge with the soapy water and gently wipe the surface, removing any dirt or grime. Rinse the cloth or sponge with clean water and wipe away any soap residue. Regular cleaning removes surface contaminants and keeps the whitewash looking fresh and vibrant.
Avoid abrasive cleaning tools
When cleaning the whitewashed surface, it is important to avoid using abrasive cleaning tools that may scratch or damage the paint. Stay away from rough sponges or scrub brushes that could compromise the integrity of the whitewash. Opt for soft cloths, gentle sponges, or microfiber cleaning tools instead. By using gentle cleaning methods, you can maintain the beauty of the whitewash without causing any harm.
Touch up as needed
Over time, the whitewashed surface may experience some wear or minor damage. To keep it looking its best, be prepared to touch up any areas as needed. Keep some of the original chalk paint on hand for quick and easy touch-ups. Before applying the paint, clean the area to be touched up and allow it to dry fully. Apply a small amount of paint with a brush or applicator, blending it seamlessly with the existing whitewash. By addressing any imperfections promptly, you can maintain a flawless whitewashed surface.
Troubleshooting
Uneven color or coverage
If you notice uneven color or coverage during the whitewashing process, there are a few troubleshooting steps you can take. First, make sure you are applying the whitewash in thin and even layers, allowing each layer to dry fully before applying the next. If uneven color persists, consider adding an additional coat or adjusting the paint consistency. If desired, you can also lightly sand the surface between coats to create a smoother finish.
Blotchy appearance
A blotchy appearance on the whitewashed surface may be a result of inconsistent paint absorption or application techniques. To mitigate this issue, ensure that the surface is thoroughly cleaned and that the paint mixture is well-mixed. Applying a base coat before whitewashing can also help to minimize blotchiness. If necessary, you can apply additional coats to even out the appearance and achieve a more consistent whitewash.
Fixing paint drips or pooling
If you encounter paint drips or pooling during the application process, it is important to address them promptly to maintain a smooth and even finish. If the drips or pools are still wet, use a clean cloth or sponge to gently blot or wipe away the excess paint. If the paint has dried, sand the affected area lightly to smooth out the surface. Once sanded, clean the area, allow it to dry, and apply a thin layer of whitewash to blend it with the surrounding surface.
Experimenting with Techniques
Creating a washed effect
While the traditional whitewash technique creates a semi-transparent, smooth finish, you may want to experiment with different effects, such as a washed effect. To create a washed effect, dilute the chalk paint with more water, creating a more translucent mixture. Apply the diluted paint in the same manner as the whitewash, allowing the underlying surface to show through slightly. This technique adds a subtle, washed-out appearance, which can be particularly effective on textured surfaces.
Applying a herringbone pattern
For a more intricate and visually appealing whitewashed surface, consider applying a herringbone pattern. Start by taping off the desired areas with painter’s tape, creating a herringbone design. Apply the whitewash in thin layers, following the taped pattern. Once dry, remove the tape to reveal the elegant herringbone design. This technique adds a unique touch to the whitewashed surface and can be customized to suit your personal style.
Using a whitewash glaze
To add depth and dimension while maintaining the natural texture of the surface, consider using a whitewash glaze. Mix chalk paint with a glazing medium to create a translucent glaze. Apply the glaze using a brush or sponge, focusing on areas where you want to enhance shadows or create an aged appearance. The glaze settles into the textured areas, emphasizing depth and giving a more weathered look to the surface. Experiment with different ratios of paint to glaze to achieve the desired effect.
By following these steps and exploring various techniques, you can create a beautifully whitewashed surface using chalk paint. Remember to gather the necessary supplies, prepare the surface adequately, and test the whitewash on a sample area before proceeding with the full application. Take your time, evaluate the results, and make any adjustments as needed to achieve the desired effect. With proper care and maintenance, your whitewashed surface will bring a touch of timeless elegance to any space.
