In this concise and instructive article, you will discover the step-by-step process of achieving the classic and elegant whitewash effect on furniture using chalk paint. Whether you are a DIY enthusiast looking to revamp an old piece or a professional designer seeking to incorporate a timeless aesthetic into your projects, this guide will provide you with the necessary knowledge and techniques to effortlessly transform any piece of furniture into a statement of refined charm and style. By the end of this article, you will possess the expertise to confidently whitewash furniture with chalk paint, adding a touch of undeniable sophistication to any space.
Preparation
Before you begin whitewashing furniture with chalk paint, it’s important to gather all the necessary materials. You will need:
- Chalk paint in your desired color
- Sandpaper
- Primer (if needed)
- Brushes or rags for applying paint and whitewash
- Water for diluting paint
- Sealer for finishing
- Furniture wax or polish for added protection
- Clean cloth for removing excess whitewash
- Screwdriver or tools for removing hardware
In addition to gathering materials, you should also prepare your workspace. Find a well-ventilated area with ample lighting to work in. Lay down a drop cloth or old newspapers to protect your floor or work surface from any spills or drips. Make sure you have enough space to comfortably maneuver the furniture and have all your materials easily accessible.
Choosing the Right Piece of Furniture
When it comes to whitewashing furniture, not all pieces are created equal. Consider the current condition of the furniture you wish to whitewash. Make sure it is structurally sound and doesn’t have any major repairs that need to be addressed before starting the whitewashing process. It’s much easier to work with furniture that is already in good condition.
In addition to the condition, think about the style of the furniture. Whitewashing tends to lend itself well to pieces with a distressed or vintage look. Traditional and farmhouse-style furniture also pairs nicely with a whitewashed finish. Consider the overall style and aesthetic you are trying to achieve in your space and select a piece of furniture that fits that vision.
Lastly, ensure that the piece you have chosen is suitable for whitewashing. Some materials, such as laminate or plastic, may not take the paint or whitewash well. Stick to solid wood or pieces with a wood veneer for the best results.
Cleaning the Furniture
Before applying any paint or whitewash, it is crucial to thoroughly clean the piece of furniture. Start by removing any existing finish or paint. This can be done using a paint stripper or by sanding the surface. Be sure to wear protective gear, such as gloves and a mask, when using chemical strippers.
Once the existing finish has been removed, clean the piece using a mild detergent and warm water. This will help remove any dirt, grease, or grime that may be present. Rinse the furniture thoroughly with clean water and allow it to dry completely before moving on to the next step.
Sanding and Priming
To ensure a smooth finish and proper adhesion of the paint, you’ll want to lightly sand the surface of the furniture. This will help to remove any rough patches or imperfections, as well as provide better grip for the paint.
After sanding, determine if your piece of furniture requires a primer. Priming is especially important if you are working with a piece that has a dark or heavily stained wood. The primer will create a uniform base and help prevent any bleed-through of the original color. Apply the primer according to the manufacturer’s instructions and allow it to dry completely before moving on to the next step.
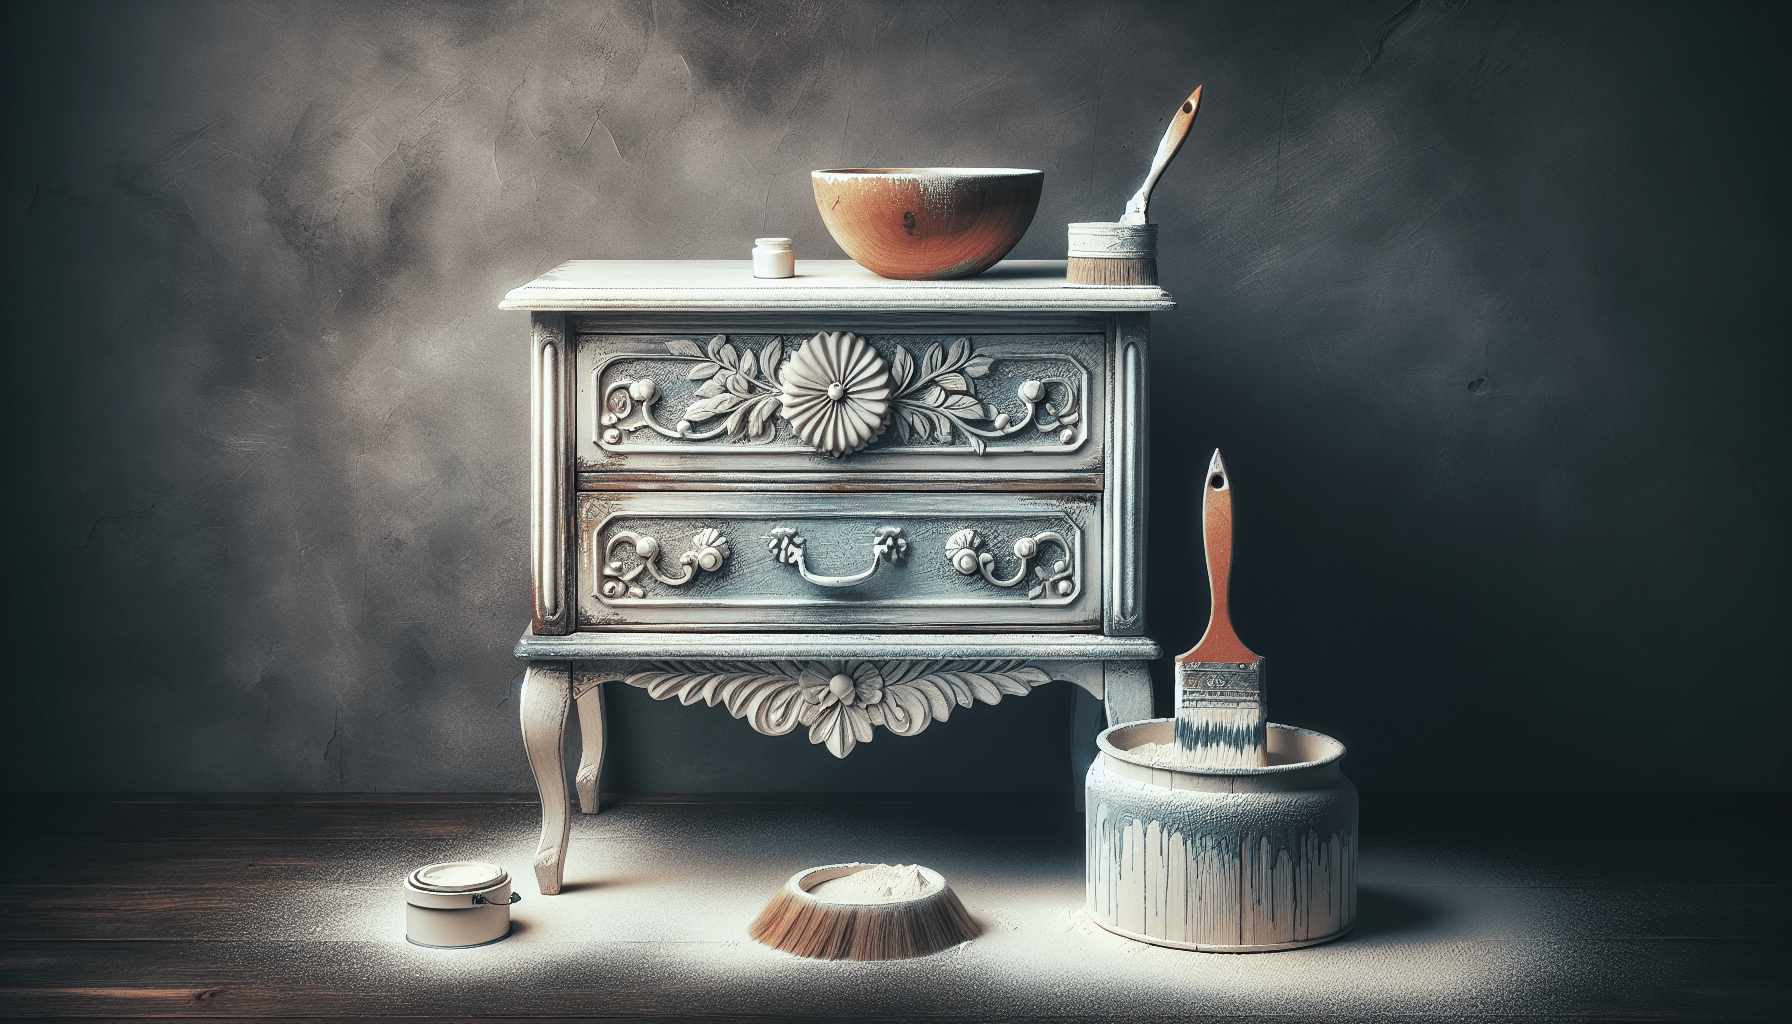
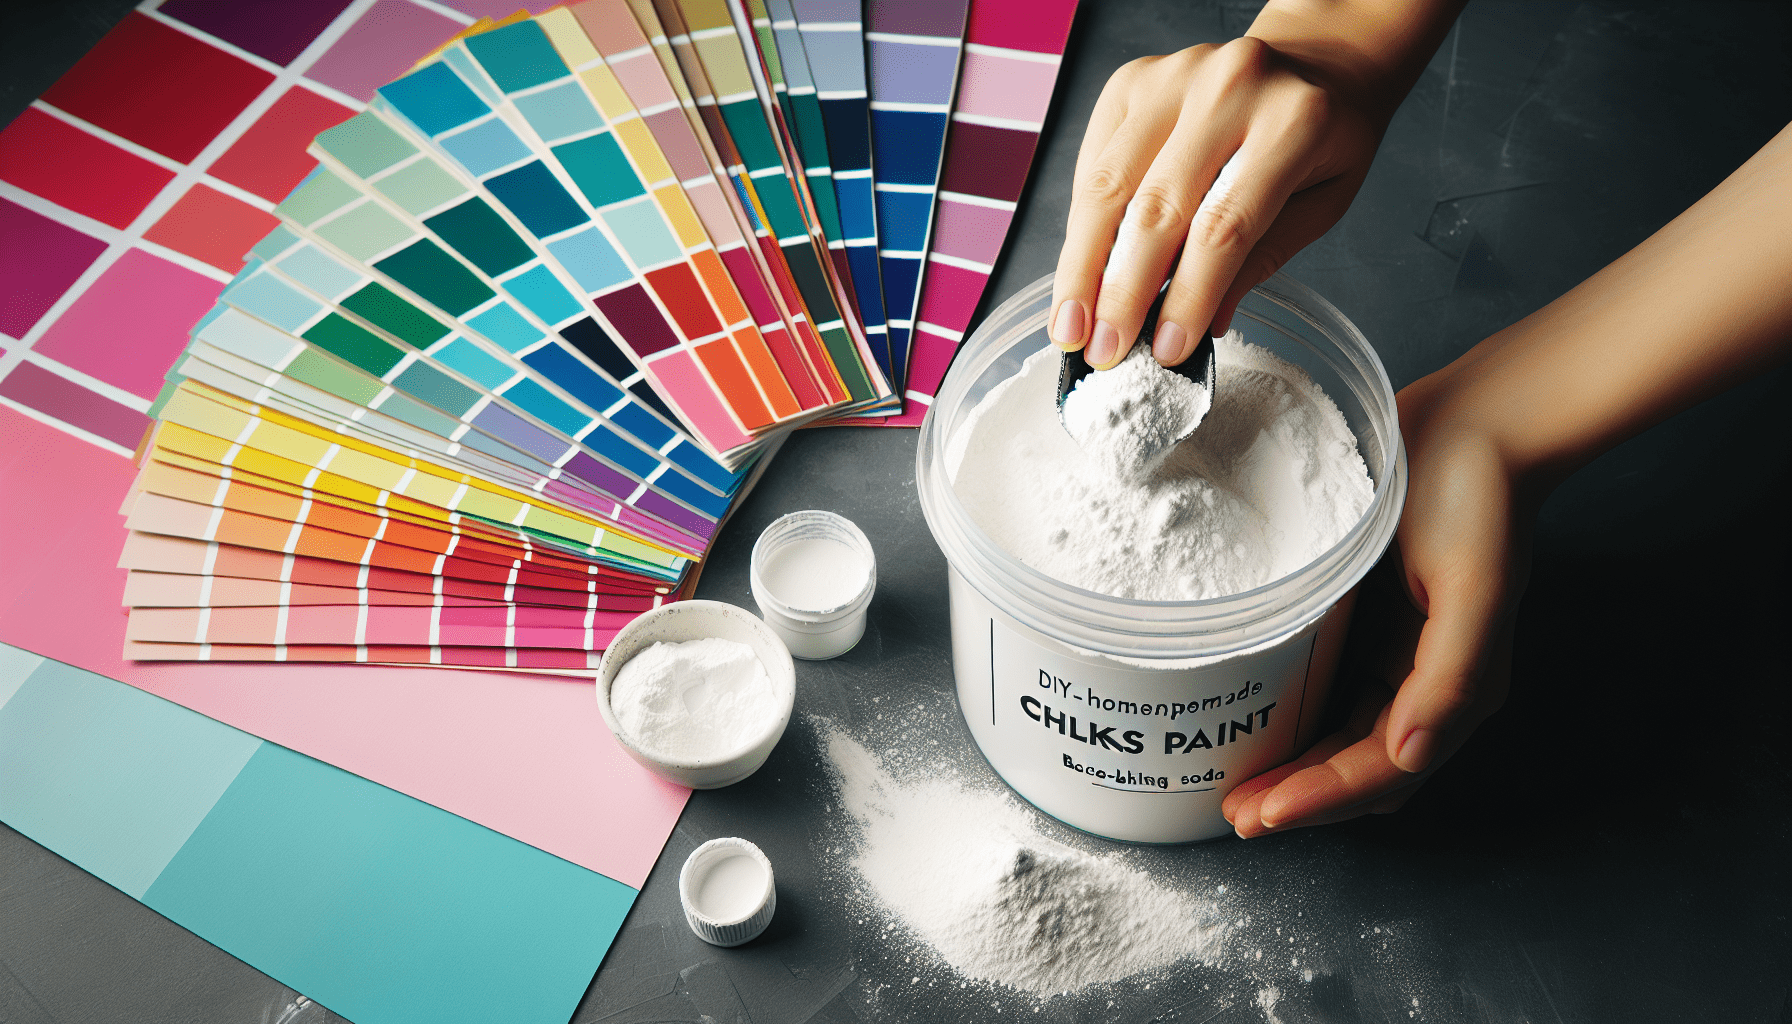
Preparing the Chalk Paint
Now that your furniture is clean and prepped, it’s time to prepare the chalk paint. Start by choosing the desired color of chalk paint. There are countless options available, so take the time to select a color that complements your overall design scheme.
Once you have chosen your color, mix the chalk paint according to the manufacturer’s instructions. This may involve diluting the paint with water or simply stirring it well. Make sure to follow the instructions carefully to achieve the desired consistency and coverage.
Applying the Chalk Paint
With your prepared chalk paint, begin by applying the first coat to the furniture. Use a brush or roller to evenly distribute the paint, working in the direction of the wood grain. This will help create a more natural, textured appearance.
After applying the first coat, allow it to dry completely. This may take several hours, depending on the paint and environmental conditions. Once dry, assess if additional coats are necessary. Chalk paint tends to have good coverage, but if you desire a more opaque or saturated look, apply additional coats as needed. Allow each coat to dry completely before applying the next.
Creating a Whitewashed Effect
Now comes the fun part – creating the whitewashed effect. Start by lightly sanding the painted surface. This will help smooth out any brushstrokes or imperfections and create a more distressed look.
Next, prepare the whitewash mixture. This can be done by diluting chalk paint with water. The amount of water you add will depend on how opaque you want the whitewash to be. Start with a small amount of water and gradually add more until you achieve the desired consistency.
Once the whitewash mixture is ready, apply it to the furniture using a brush or rag. Work in small sections and be sure to follow the direction of the wood grain for a more natural look. As you apply the whitewash, you may notice that it tends to settle into the recessed areas or grain of the wood, creating beautiful highlights and shadows.
After applying the whitewash, quickly remove any excess with a clean, damp cloth. This will help prevent the whitewash from becoming too heavy or streaky. For a more subtle effect, lightly wipe the surface. For a more pronounced look, press harder and remove more whitewash.
Sealing the Whitewashed Finish
To protect the beautiful whitewashed finish and ensure its longevity, it’s important to seal the furniture. Choose an appropriate sealer based on the type of paint you used and the level of durability required. Polyurethane or wax-based sealers are common options.
Apply the sealer evenly, following the manufacturer’s instructions. This may involve brushing or spraying the sealer onto the furniture. Be sure to cover all surfaces, including any hard-to-reach areas. Allow the sealer to cure fully before using or moving the furniture.
Adding Finishing Touches
To complete the whitewashed look and add some extra character to your furniture, consider distressing the piece. This can be done by lightly sanding the edges and corners to expose some of the original wood or paint layers. Distressing gives the furniture a vintage, worn-in appearance and adds to the overall charm of the piece.
Additionally, take this opportunity to replace any hardware that may be worn or outdated. New knobs, handles, or pulls can instantly transform the look of a piece and tie it in with your existing decor.
Finally, consider applying a furniture wax or polish to further protect and enhance the finish. These products can help add a soft sheen to the furniture and make it easier to clean and maintain in the future.
Cleaning Up
After you have finished whitewashing your furniture, it’s important to properly clean up. Dispose of any used materials, such as sandpaper, paint cans, or rags, according to local regulations. Rinse brushes and other tools with water and allow them to dry before storing or reusing.
Take the time to clean your workspace as well. Remove any drop cloths or newspapers and sweep or vacuum any dust or debris that may have accumulated.
By following these steps and taking the time to properly prepare and execute the whitewashing process, you can transform your furniture into a beautiful, whitewashed masterpiece. Enjoy the process and the satisfaction of creating a unique piece that adds personality and charm to your home.