In this article, you will gain valuable insights into the proper technique and process of using wax on chalk paint. Whether you are a seasoned DIY enthusiast or a beginner looking to explore the wonders of chalk paint, understanding how to effectively use wax is crucial to achieving a professional, polished finish on your painted furniture or home decor projects. With step-by-step instructions and expert tips, you will learn how to apply and buff wax onto chalk paint, ensuring longevity and enhancing the visual appeal of your creations. So, let us delve into the art of waxing chalk paint and unlock the secrets to a flawless, durable finish.
Choosing the Right Wax
When it comes to using wax on chalk paint, it is important to choose the right type of wax for your project. There are different types of wax available, each with its own characteristics and benefits. Understanding these differences will help you achieve the desired finish on your chalk paint surface.
Understanding Different Types of Wax
There are primarily two types of wax commonly used with chalk paint: clear wax and colored wax. Clear wax is transparent and does not alter the color of the paint, while colored wax is tinted and can enhance or change the color of the chalk paint.
Clear wax is a popular choice as it provides a protective layer over the chalk paint without altering the color. It adds a subtle sheen and enhances the overall appearance of the piece. Colored wax, on the other hand, allows you to add depth and character to your chalk paint surface. It can be used to create an antique or distressed effect, or to enhance specific areas of the piece.
Considering the Finish You Desire
Before applying wax to your chalk paint, it is important to consider the finish you desire. Clear wax generally provides a smoother and more polished finish, while colored wax can add texture and dimension to the piece.
If you prefer a more matte or satin finish, clear wax is a suitable choice. It will protect the chalk paint and provide a subtle sheen without altering the color. If you want to add an aged or distressed look to your piece, colored wax can help achieve that desired effect. Consider the overall style and aesthetic you want to achieve and choose the wax that aligns with your vision.
Determining the Amount of Wax Needed
Another factor to consider when using wax on chalk paint is the amount of wax needed for your project. Generally, a little goes a long way when it comes to waxing chalk paint. It is always better to start with a thin layer and add more if needed.
The amount of wax required will depend on the size of the piece you are working on. For smaller projects, a small container of wax may be sufficient. However, for larger pieces or multiple projects, you may need a larger quantity of wax. It is recommended to read the manufacturer’s instructions for guidance on the amount of wax needed for the size of your project.
Preparing Your Chalk Paint Surface
Before applying wax to your chalk paint, proper preparation of the surface is essential. This ensures that the wax adheres well and provides the desired results. Here are the steps you should follow to prepare your chalk paint surface.
Cleaning the Surface
Start by thoroughly cleaning the surface of your chalk paint. Use a mild soap and warm water solution to remove any dust, dirt, or debris. Avoid using harsh chemicals or abrasive cleaners, as they may damage the chalk paint finish.
Gently scrub the surface with a soft cloth or sponge, paying attention to any crevices or intricate details. Rinse the surface with clean water and allow it to dry completely before proceeding to the next step.
Removing Any Existing Wax or Polish
If you have previously waxed or polished the chalk paint surface, it is important to remove any existing wax or polish before applying a new layer. This can be done using a wax remover specifically designed for chalk paint.
Apply the wax remover according to the manufacturer’s instructions and allow it to sit for the recommended time. Use a soft cloth or sponge to gently wipe away the old wax or polish, taking care not to damage the underlying chalk paint. Once all traces of the old wax or polish are removed, clean the surface again with mild soap and warm water to ensure it is free from residue.
Sanding if Necessary
In some cases, you may need to sand the chalk paint surface before applying wax. This is usually necessary if the surface is rough or if there are any imperfections that need to be smoothed out.
Use a fine-grit sandpaper or sanding block to gently sand the surface. Be careful not to apply too much pressure, as this can remove the chalk paint. Once you have achieved a smooth and even surface, wipe away any dust with a clean cloth or tack cloth.
By following these steps to prepare your chalk paint surface, you will ensure that the wax adheres properly and provides the desired finish.
Applying the Wax
Once the surface is prepared, it’s time to apply the wax to your chalk paint. Proper application techniques will help you achieve a beautiful and durable finish. Here are the steps involved in applying wax to chalk paint.
Gathering the Necessary Tools
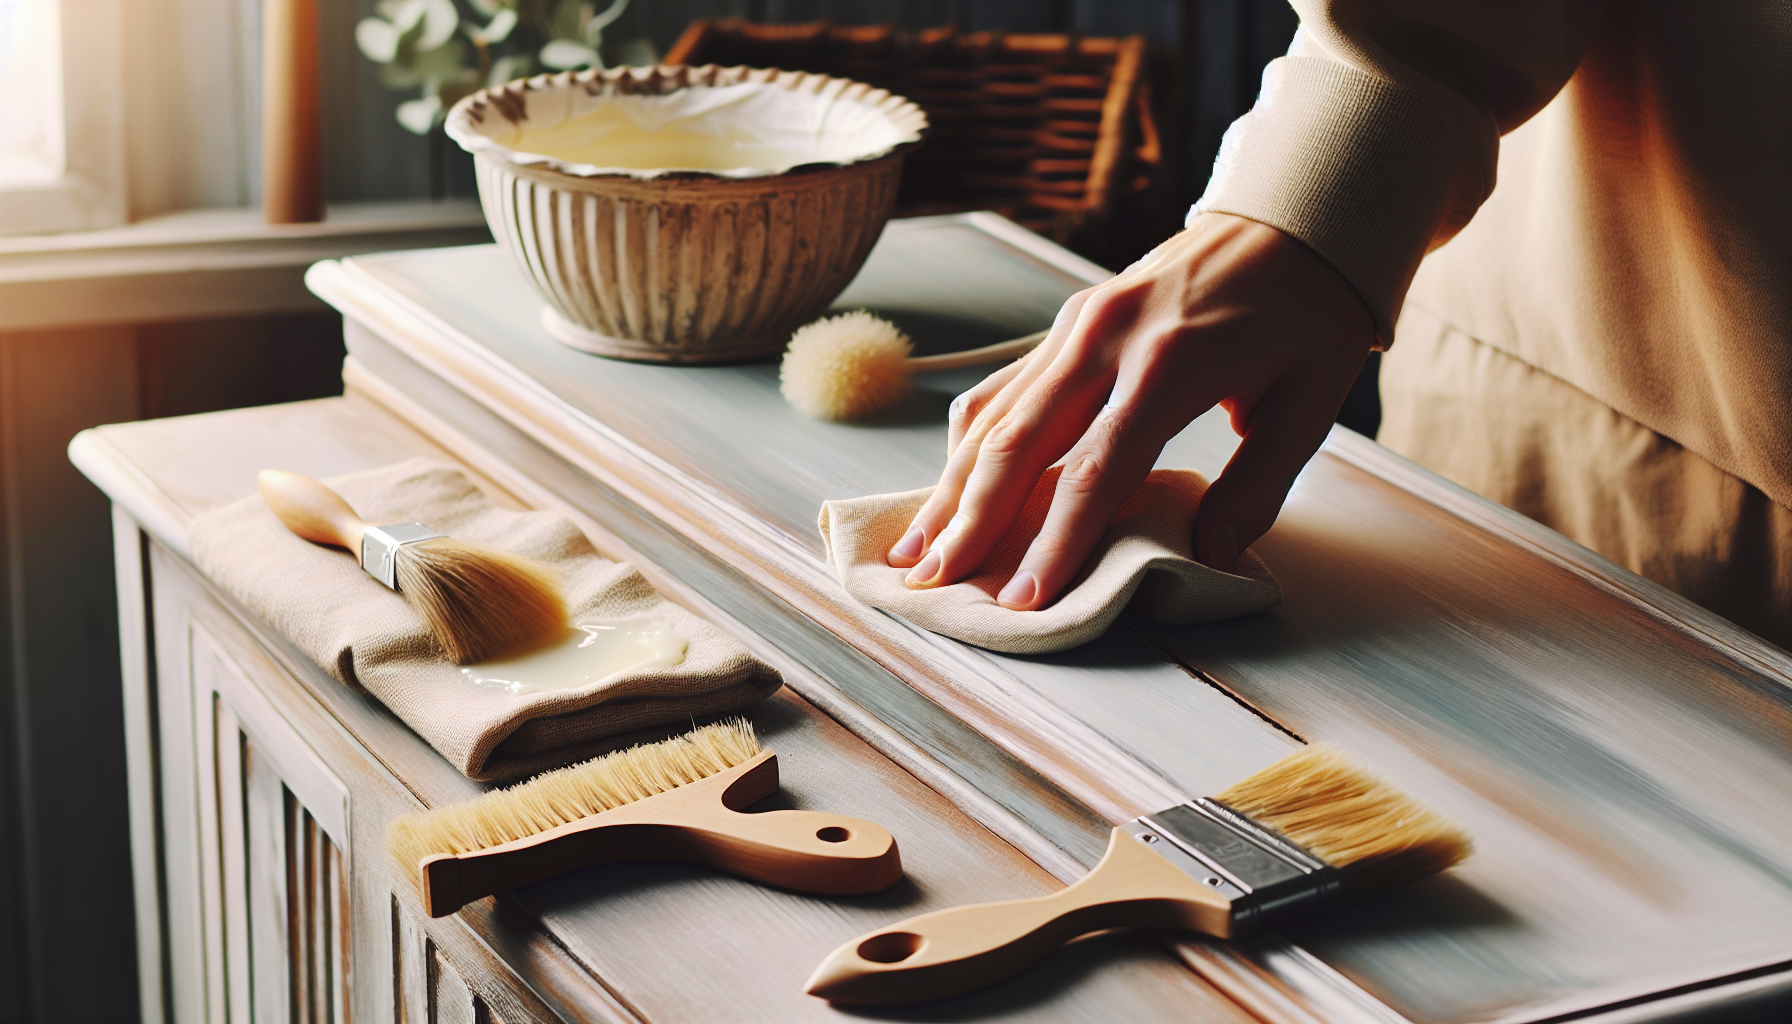
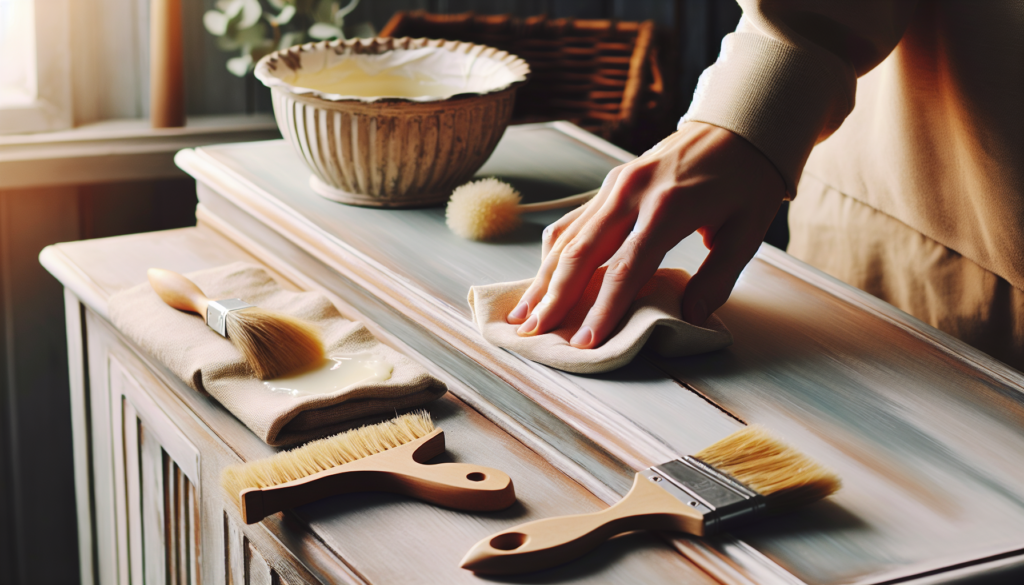
Before you begin, gather all the necessary tools for applying wax to your chalk paint. These may include a wax brush or cloth, lint-free cloths or rags for buffing, and a clean container for the wax.
A wax brush is often the preferred tool for applying wax as it allows for precise control and even distribution. However, a lint-free cloth can also be used if you prefer a different application method.
Choosing Between Clear and Colored Wax
As discussed earlier, you have the option to choose between clear wax and colored wax. Consider the desired finish and effect you want to achieve before making your choice.
If you are using clear wax, ensure that it is properly mixed and free from any separation. Colored waxes should also be mixed thoroughly to evenly distribute the pigments. This can be done by gently stirring the wax with a clean stick or spatula.
Using a Wax Brush or Cloth
To apply the wax, dip the wax brush or cloth into the container of wax. Start with a small amount of wax to avoid applying too much at once. Begin by applying the wax in thin, even coats, working in small sections at a time.
If using a wax brush, lightly brush the wax onto the chalk paint surface using long, even strokes. Make sure to cover the entire area with the wax, including any intricate details or crevices. If using a cloth, rub the wax onto the surface using circular motions, applying gentle pressure.
Applying Thin and Even Coats
When applying wax to chalk paint, it is crucial to apply thin and even coats. This ensures that the wax is distributed evenly and allows for better control over the finish.
Avoid applying thick layers of wax, as this can result in an uneven and heavy finish. The wax should be applied in a thin and smooth layer, allowing it to penetrate the chalk paint and create a protective barrier.
Working in Sections
To achieve the best results, work in small sections at a time when applying wax. This allows you to focus on each area and ensure that the wax is applied evenly.
Start at one corner or edge of the chalk paint surface and gradually move across in a methodical manner. Take your time and pay attention to detail, making sure to cover all areas with an even layer of wax. By working in sections, you can maintain control over the application process and achieve a professional finish.
Techniques for Wax Application
Applying wax to chalk paint offers a range of possibilities for creating different finishes and effects. By employing different techniques, you can achieve unique and personalized results. Here are some popular techniques for wax application on chalk paint.
Working with the Grain
When applying wax to chalk paint, it is generally recommended to work with the grain of the wood or the direction of the brushstrokes. This helps to evenly distribute the wax and enhances the natural beauty of the piece.
By following the grain, the wax is more likely to be absorbed into the chalk paint, resulting in a smoother and more consistent finish. Whether you are using a wax brush or cloth, always align your strokes with the direction of the grain to achieve the best results.
Creating Texture with a Rag
If you want to add texture and depth to your chalk paint surface, consider using a rag or cloth as your application tool. Instead of applying the wax with a brush, dip a rag into the wax and then dab or wipe it onto the surface.
This technique allows for more control over the amount of wax applied and can create a textured look. Experiment with different motions and pressures to achieve the desired texture and finish. Using a rag can be especially effective when working on pieces with detailed carvings or intricate designs.
Using a Stiff Bristle Brush for a Distressed Look
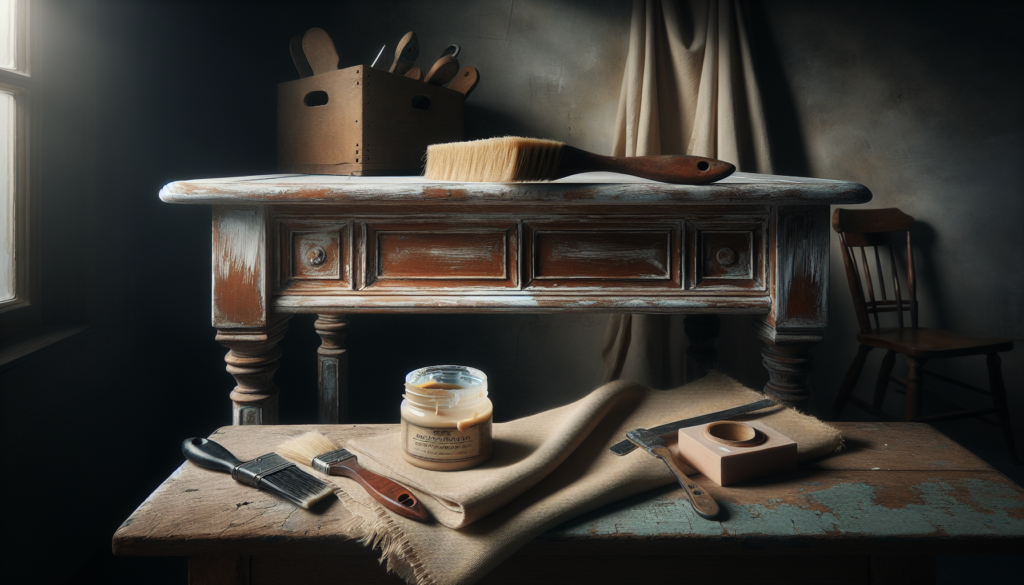
To achieve a distressed or weathered look, a stiff bristle brush can be used in combination with wax. This technique involves adding wax to specific areas and then distressing those areas with a brush, revealing the underlying chalk paint.
Apply the wax to the selected areas using a brush or cloth, focusing on areas that would naturally experience wear and tear over time, such as edges or corners. Once the wax is applied, use a stiff bristle brush to gently scrub or rub the waxed areas. This will remove some of the wax and create a distressed effect, giving the piece a timeworn appearance.
Blending Different Colors of Wax
If you want to create a custom look or add depth to your chalk paint surface, consider blending different colors of wax. This can be done by layering or mixing different shades of colored wax.
Start by applying a base layer of clear wax to the chalk paint surface. Once the clear wax is dry, apply a layer of colored wax in the desired shade. Before the colored wax dries completely, gently blend it with a clean cloth or brush, ensuring a smooth transition between colors. This technique allows you to create unique and customized finishes that suit your personal style and design preferences.
Drying and Curing Time
After applying wax to your chalk paint surface, it is important to allow sufficient drying and curing time. This ensures that the wax forms a strong bond with the chalk paint, providing durability and protection. Here’s what you need to know about drying and curing time for wax on chalk paint.
Allowing the Wax to Dry
Once you have applied the wax to your chalk paint, it is necessary to allow it to dry before moving on to the next steps. The drying time will vary depending on factors such as temperature, humidity, and the type of wax used.
As a general guideline, wax typically takes around 24 hours to dry completely. However, it is recommended to consult the manufacturer’s instructions for specific drying times. During the drying process, it is important to avoid touching or disturbing the wax to ensure a smooth and even finish.
Achieving Full Curing
While drying refers to the surface becoming touch-dry, full curing refers to the complete hardening and bonding of the wax with the chalk paint surface. Curing time for wax can range from a few days to several weeks, depending on the type of wax used.
To achieve full curing, it is important to allow sufficient time for the wax to harden and develop its protective properties. Avoid placing any objects or heavy items on the waxed surface during the curing process, as this may cause marks or indentations.
Understanding Curing Times for Different Waxes
Different types of wax have different curing times, so it is important to be aware of these variations. Some waxes may require a shorter curing time, while others may take longer to fully cure.
Consult the manufacturer’s instructions or product labels for specific curing times for the wax you are using. It is important to follow these recommendations to ensure that the wax fully cures and provides the desired level of protection and durability.
Buffing and Polishing the Wax Finish
After the wax has dried and fully cured on your chalk paint, it is time to buff and polish the surface. This final step helps to enhance the sheen and smoothness of the wax finish, giving your piece a professional and polished appearance.
Buffing After Curing
Before you begin buffing, ensure that the wax has fully cured. This will prevent any smudging or damage to the finish during the buffing process.
Use a lint-free cloth or soft buffing pad and gently rub the surface in circular motions. The buffing action helps to distribute the wax evenly and create a smooth and lustrous finish. Take care not to apply excessive pressure, as this may remove or disturb the wax.
Choosing the Right Buffing Tools
When it comes to buffing the wax finish on chalk paint, the choice of tools is crucial. A lint-free cloth or a soft buffing pad is recommended, as they will not scratch or damage the surface.
Avoid using rough or abrasive materials that can strip the wax or damage the chalk paint. A high-quality cloth or buffing pad will ensure a professional and refined finish.
Using a Soft Cloth or a Polishing Wheel
Depending on the size and shape of your project, you can use a soft cloth or a polishing wheel for buffing. For smaller pieces or intricate details, a soft cloth is ideal as it allows for better control and precision.
If you are working on larger surfaces, such as furniture or cabinets, a polishing wheel attached to a drill or a power buffing tool can be used. This speeds up the buffing process and ensures thorough coverage.
Applying Light Pressure
When buffing the wax finish, it is important to apply light and even pressure. Avoid exerting too much force, as this can remove the wax or damage the chalk paint.
The goal is to achieve a smooth and shiny surface by gently polishing the wax. Take your time and work in small sections, ensuring that all areas of the chalk paint surface are buffed evenly. By applying light pressure, you can achieve a beautiful and professional finish.
Maintaining and Cleaning a Waxed Surface
Once your chalk paint surface is waxed and buffed, it is important to properly maintain and clean it to preserve its beauty and durability. Here are some tips for maintaining and cleaning a waxed surface.
Avoiding Harsh Chemicals
When cleaning a waxed surface, it is important to avoid harsh chemicals or abrasive cleaners. These can strip the wax and damage the chalk paint finish.
Instead, opt for mild soap and warm water solutions. This gentle cleaning method effectively removes dirt and grime without compromising the wax finish. Use a soft cloth or sponge to apply the cleaning solution and wipe the surface clean. Rinse with clean water and dry thoroughly.
Using Mild Soap and Warm Water
Mild soap and warm water are effective for cleaning a waxed surface. Mix a small amount of mild soap with warm water until it forms a gentle cleaning solution.
Apply the solution to the surface using a soft cloth or sponge, and gently scrub in a circular motion. Pay attention to any areas with stains or spills. Rinse the surface with clean water and dry it thoroughly to avoid water spots.
Applying a Fresh Layer of Wax as Needed
Over time, the wax finish on your chalk paint surface may begin to wear off or lose its luster. When this happens, it is important to apply a fresh layer of wax to maintain the protection and beauty of the piece.
Start by cleaning the surface with mild soap and warm water, as described earlier. Once the surface is dry, apply a thin and even layer of wax using the techniques mentioned earlier in this article. Allow the wax to dry and cure fully before buffing to achieve the desired finish.
Removing Stubborn Stains
In some cases, stubborn stains or marks may appear on a waxed chalk paint surface. When this happens, it is important to address them promptly to prevent them from setting in.
For minor stains, applying a small amount of mild soap and warm water to the affected area and gently scrubbing with a soft cloth or sponge may be sufficient. For more stubborn stains, you can use a specialized wax stain remover formulated for use on chalk paint surfaces. Always follow the manufacturer’s instructions and test the remover on a small, inconspicuous area before applying it to the stain.
Troubleshooting Common Issues
When using wax on chalk paint, it is possible to encounter some common issues that may affect the final result. Being aware of these issues and knowing how to address them will help you achieve a professional finish.
Dealing with Uneven or Streaky Finish
An uneven or streaky finish can occur if the wax is not applied properly or if too much wax has been used. To remedy this issue, you can try lightly buffing the surface with a soft cloth or buffing pad to redistribute the wax and create a more even finish.
If the streaks persist, you may need to remove the wax completely using a wax remover specifically designed for chalk paint. Follow the manufacturer’s instructions to ensure proper removal of the wax. Once the surface is clean, reapply the wax using thin and even coats, working in small sections at a time.
Addressing Tacky or Sticky Wax
Sometimes, the wax may feel tacky or sticky even after it has dried and cured. This can happen if too much wax has been applied or if the wax has not fully dried.
To address tacky or sticky wax, try buffing the surface with a soft cloth or buffing pad. This can help remove excess wax and create a smoother finish. If the problem persists, lightly apply a small amount of clear wax over the tacky areas and buff again. The additional layer of wax can help to neutralize the stickiness and create a more desirable finish.
Repairing Scratches or Nicks
Accidental scratches or nicks can occur on a waxed chalk paint surface, but they can be repaired with some simple steps. Start by cleaning the affected area with mild soap and warm water to remove any dirt or debris.
Once the area is dry, gently sand the scratch or nick using a fine-grit sandpaper or sanding block. Be careful not to remove too much of the chalk paint. Once the surface is smooth, apply a small amount of wax to the area using a wax brush or cloth. Blend the wax into the surrounding area, and allow it to dry and cure fully. Finally, buff the repaired area to ensure a seamless finish.
Fixing Over-Waxed Areas
If you have applied too much wax to certain areas, resulting in an overly shiny or uneven appearance, it is possible to correct the issue.
Start by cleaning the surface with mild soap and warm water to remove any dirt or debris. Once the surface is dry, use fine-grit sandpaper or a sanding block to gently remove excess wax from the over-waxed areas. Be careful not to remove too much of the chalk paint. Once the excess wax is removed, reapply a thin and even layer of wax to the entire surface, ensuring that it is spread evenly. Allow the wax to dry and cure fully before buffing to achieve the desired finish.
Experimenting with Different Techniques
One of the exciting aspects of using wax on chalk paint is the opportunity to experiment with different techniques and finishes. By trying out new methods, you can create unique and personalized pieces that showcase your creativity and style. Here are some techniques to consider:
Layering Wax with Other Paints or Stains
To create depth and dimension on your chalk paint surface, consider layering wax with other paints or stains. Start by applying a base layer of chalk paint, allowing it to dry completely. Once the base layer is dry, apply a layer of wax, either clear or colored, to seal the paint.
After the wax has dried and cured fully, you can add additional layers of paint or stain. This can be done by applying a different color of chalk paint and gently distressing or sanding it to reveal the underlying layers. Finish with another coat of wax to unify the layers and create a beautiful and textured finish.
Creating an Aged or Vintage Look with Dark Wax
If you want to achieve an aged or vintage look, dark wax can be used to create depth and highlight the details of your chalk paint piece. Start by applying a base layer of chalk paint and allowing it to dry completely.
Once the base layer is dry, apply a thin layer of clear wax to the entire surface, working in small sections at a time. Once the clear wax has dried, apply a small amount of dark wax to a clean cloth or brush and work it into the details and crevices of the piece. Wipe away any excess dark wax, ensuring that it is evenly distributed. Allow the wax to dry and cure fully before buffing to achieve the desired aged or vintage look.
Using Wax as a Resist for Distressing
Wax can also be used as a resist when distressing chalk paint. Start by applying a base layer of chalk paint in the desired color and allowing it to dry completely.
Once the base layer is dry, apply a thin layer of clear wax to the areas where you want to distress. This acts as a barrier and prevents the subsequent layer of paint from adhering fully. Apply a second layer of chalk paint in a different color, working in small sections at a time. Once the second layer is dry, gently sand or distress the surface, focusing on the waxed areas. The distressing will reveal the base layer of paint, creating a beautiful contrast and a unique distressed look.
Adding Depth and Dimension with Wax
Wax can also be used to add depth and dimension to your chalk paint surface. Once you have applied a base layer of chalk paint and allowed it to dry completely, apply a thin layer of clear wax to the entire surface.
Once the clear wax has dried, choose a darker shade of colored wax and apply it to the areas where you want to add depth and dimension. This can be done by dabbing or wiping the colored wax onto the surface in a methodical manner. Use a clean cloth or brush to blend the colored wax with the clear wax, creating a seamless transition and enhancing the details of the piece.
By experimenting with different techniques and finishes, you can unleash your creativity and achieve unique and personalized results with wax on chalk paint.
Safety Precautions
Using wax on chalk paint requires proper safety precautions to protect yourself and ensure a safe working environment. Here are some safety measures to consider:
Working in a Well-Ventilated Area
When working with wax, it is important to have adequate ventilation in your workspace. Wax can emit fumes that may be harmful if inhaled in large quantities or over an extended period.
Ensure that your workspace is well-ventilated by opening windows or using fans to circulate fresh air. If possible, work outdoors or in a space with good air circulation. This will minimize the inhalation of fumes and promote a safe working environment.
Wearing Protective Gloves and Eyewear
To protect your hands and eyes from any potential contact with wax or other chemicals, it is important to wear protective gloves and eyewear.
Choose gloves made of a material that is resistant to chemicals, such as nitrile or latex gloves. These will provide a barrier between your skin and any potentially harmful substances.
Additionally, wear safety goggles or glasses to protect your eyes from accidental splashes or contact with wax. This small precaution can help prevent injuries and ensure your safety while working with wax.
Avoiding Contact with Skin or Eyes
In addition to wearing protective gloves and eyewear, it is important to avoid direct contact between the wax and your skin or eyes.
If wax comes into contact with your skin, rinse the area with soap and warm water immediately. If you experience any skin irritation or allergic reactions, seek medical attention.
Similarly, if wax accidentally splashes into your eyes, rinse your eyes with plenty of clean water for at least 15 minutes. Seek immediate medical attention to prevent any potential damage to your eyes.
Properly Disposing of Wax Residue
After completing your project, it is important to dispose of any wax residue properly. Do not pour wax or wax-contaminated water down the drain, as it can cause blockages and other environmental issues.
Allow any leftover wax to harden by leaving it in a well-ventilated area. Once the wax has hardened, it can be placed in sealed containers or disposed of according to local regulations and guidelines.
By following these safety precautions, you can minimize the risks associated with working with wax on chalk paint and ensure a safe and enjoyable experience.
In conclusion, using wax on chalk paint offers a wide range of possibilities for creating beautiful and durable finishes. By understanding the different types of wax, properly preparing the chalk paint surface, applying the wax correctly, and employing various techniques, you can achieve professional-looking results. Additionally, knowing how to dry and cure the wax, buff and polish the finish, and properly maintain and clean a waxed surface is essential for preserving the beauty and longevity of your piece. By experimenting with different techniques and finishes, while keeping safety precautions in mind, you can unleash your creativity and transform your chalk paint projects into works of art.
