Have you ever wondered how a simple palette knife can change the way you apply acrylic paint and create striking textures?

How To Use Palette Knives In Acrylic Painting: A Beginner’s Guide
This guide will take you through the essentials of using palette knives with acrylics so you can begin producing confident, textured work. You will learn about tools, materials, techniques, common pitfalls, practical exercises, and finishing methods so that your transition from brushwork to knife work is efficient and informed.
What is palette knife painting and why it matters
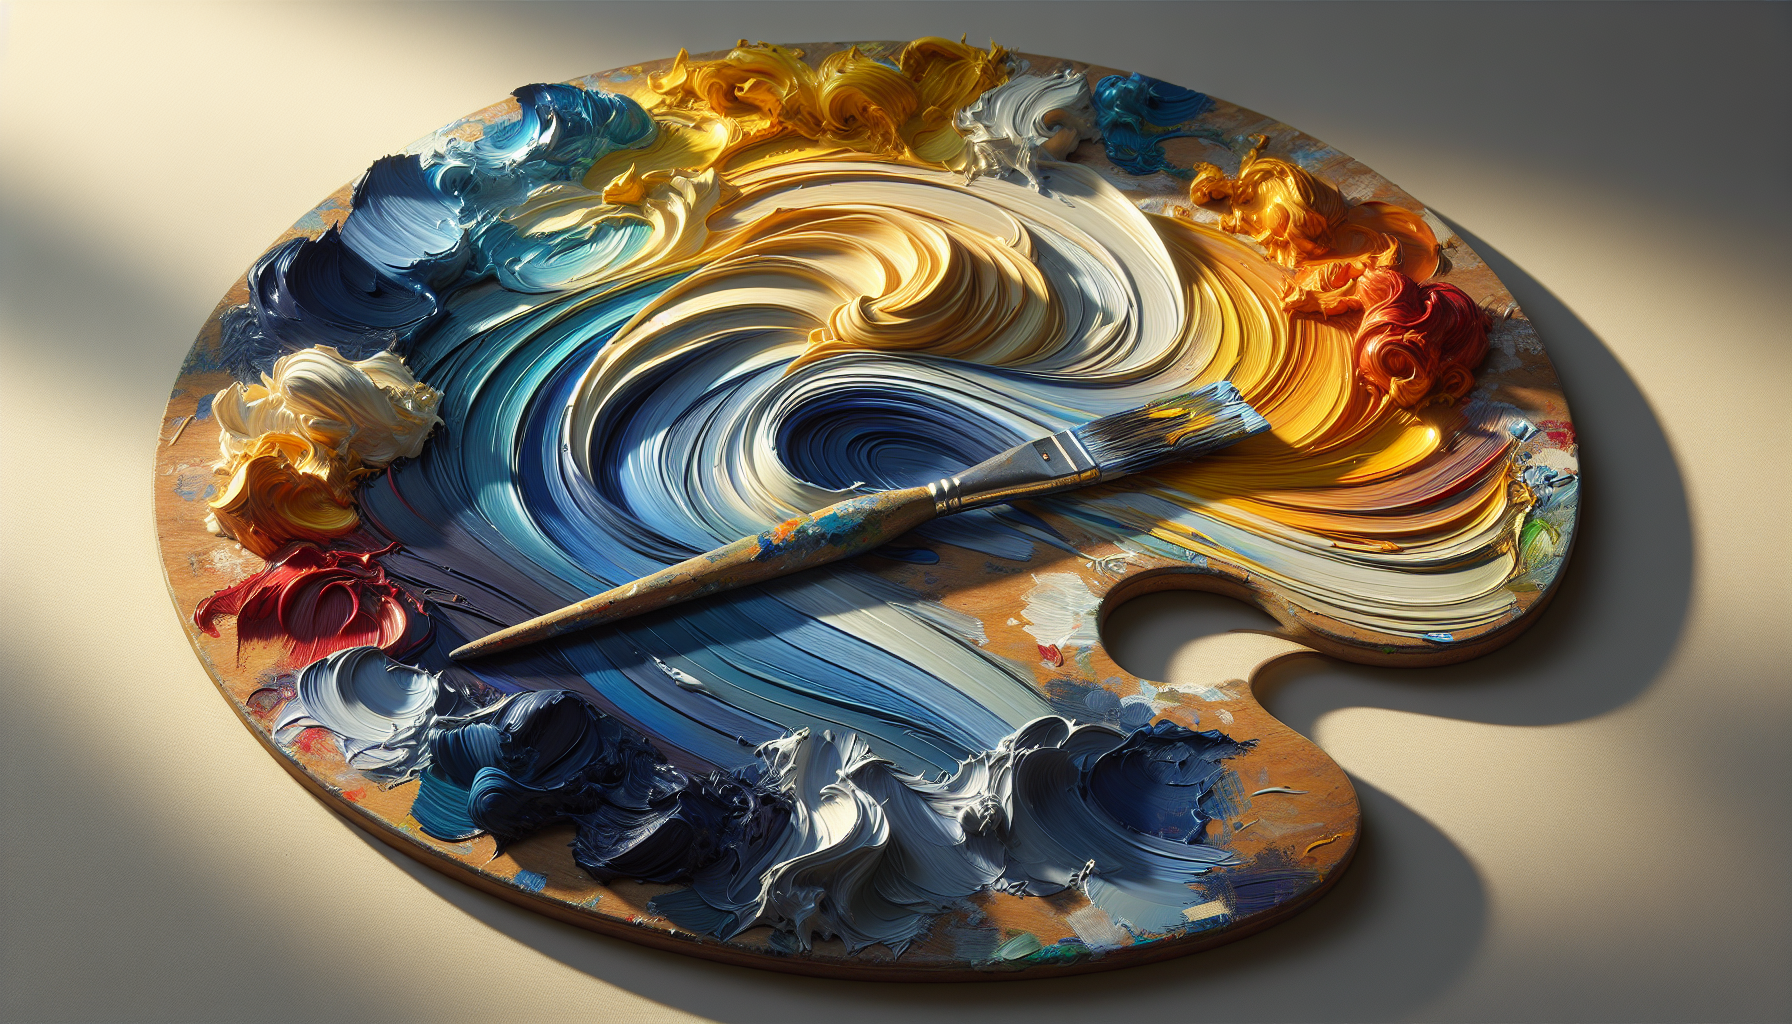
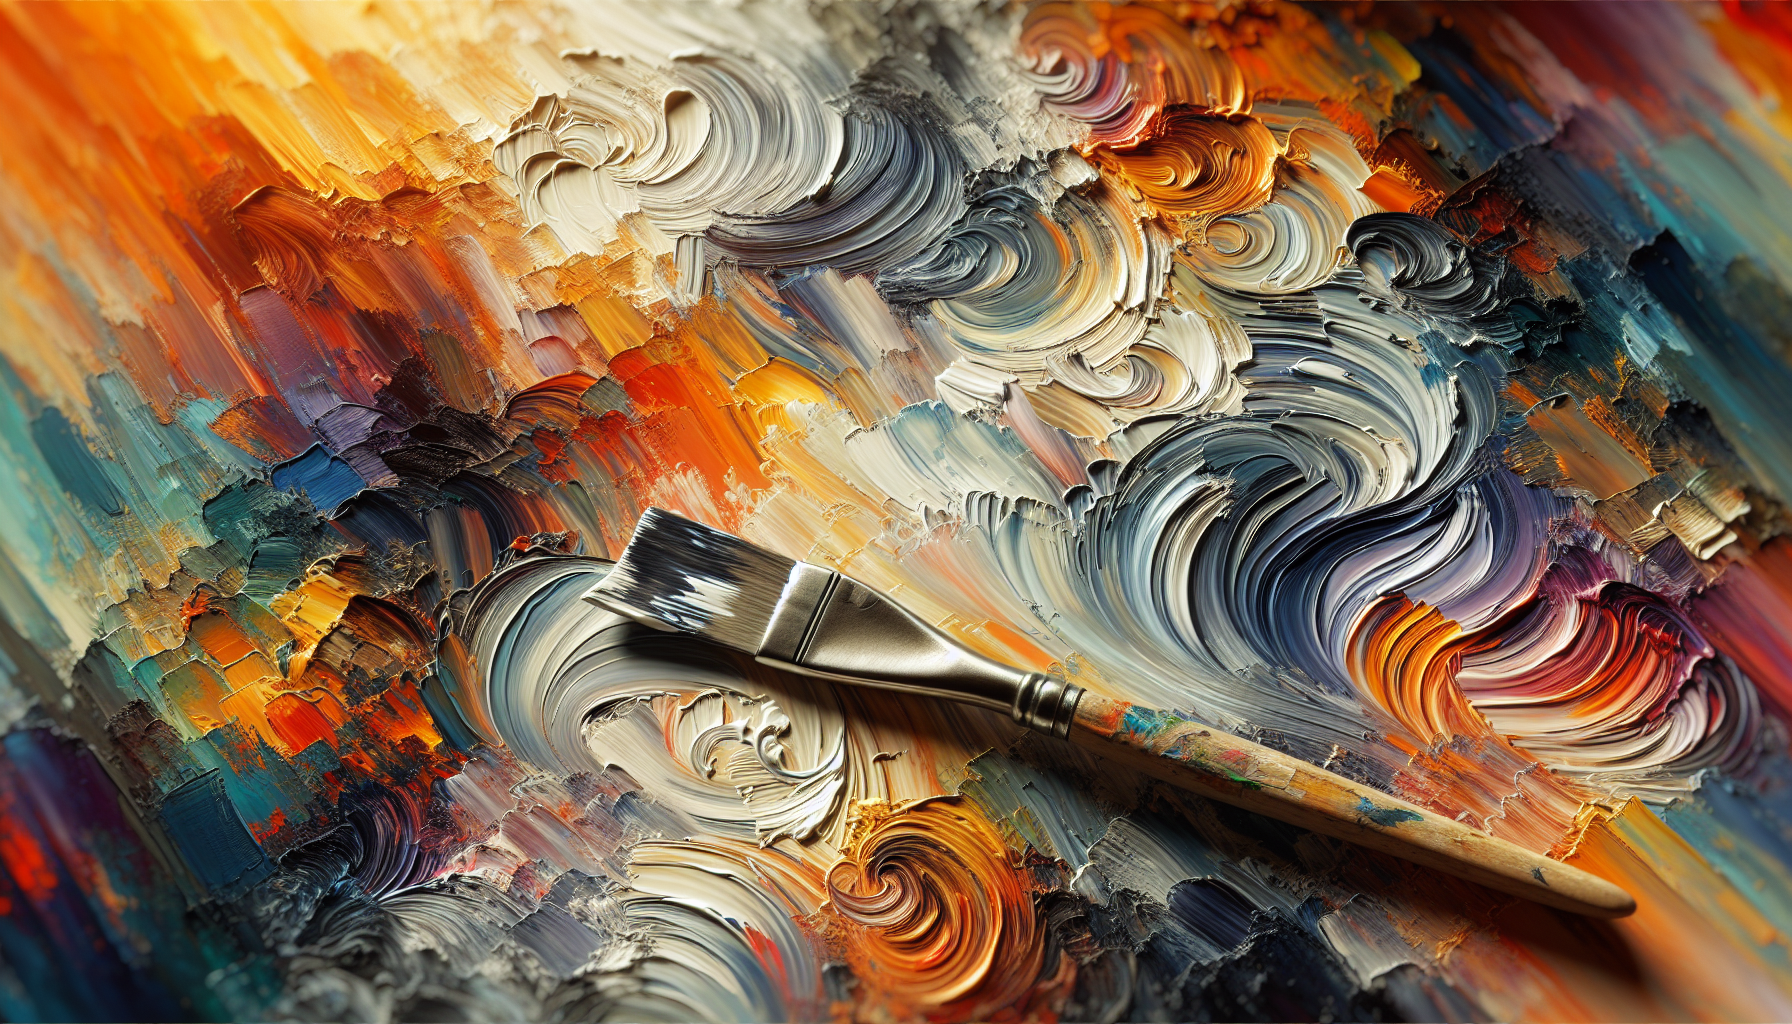
Palette knife painting uses flat metal or plastic blades instead of brushes to apply paint. You will achieve bold strokes, sculptural surfaces, and crisp edges that are difficult to produce with brushes alone. For acrylics, knives can amplify the medium’s quick drying and layering potential, giving you freedom to build thick impasto or to create sharp, clean gestures.
Benefits of using palette knives with acrylics
Using palette knives will let you:
- Create thick textures and impasto that hold shape.
- Make clean, geometric marks and hard edges.
- Work quickly on larger areas without cleaning multiple brushes.
- Avoid brush marks where a smooth or sculptural surface is desired.
- Mix color directly on the canvas for dynamic blends.
These advantages make palette knives especially suited to expressive, abstract, and textured realism painting.
How palette knife techniques differ from brushes
Knives apply paint as a thin sheet, smear, or sculpted ridge instead of depositing bristles’ hairs. You will rely on pressure, blade angle, and paint consistency rather than brushstrokes. This change affects how you mix, layer, and correct color, and how you plan composition and texture from the start.
Types of palette knives and how to choose them
Palette knives come in many shapes and sizes. Choosing the right ones will influence the kinds of marks you make and the comfort of your workflow. Below is a concise reference to help you select appropriate knives.
| Knife type | Shape and description | Typical uses |
|---|---|---|
| Straight palette knife | Flat rectangular blade with round or straight tip | Spreading paint, mixing on palette, broad strokes |
| Offset spatula | Blade offset from handle | Keeps knuckles clear of paint; ideal for skimming and scraping |
| Diamond/triangular knife | Pointed triangular blade | Tight edges, fine scraping, detailed strokes |
| Trowel/large spatula | Wide, thick blade | Applying heavy impasto, covering large areas |
| Rounded tip knife | Rounded end | Smooth blending, soft edges |
| Small pointed knife | Narrow, pointed | Detail work, sgraffito, line work |
Select a few shapes in different sizes to start—typically one small pointed knife, one medium offset spatula, and one wide trowel-style knife.
Choosing acrylic paints and mediums for knife work
Your paint choice affects how well you can shape and hold texture. Not all acrylics behave the same with a knife.
Heavy body vs. soft body acrylics
- Heavy body acrylics: Thicker, retain knife marks, ideal for strong impasto and sculptural textures.
- Soft body acrylics: More fluid, better for glazing and thin layers; less suitable for pronounced knife texture without additives.
For knife painting, you will primarily use heavy body paints or modify soft body paints with gel or paste mediums.
Additives and mediums: what they do
Using mediums strategically can change drying time, texture, gloss, and adhesion. The table below summarizes common options.
| Medium/Additive | Effect on paint | Practical use |
|---|---|---|
| Heavy gel (matte/gloss) | Thickens paint; increases body and transparency depending on formula | Build impasto, extend paint without losing color |
| Modeling paste | Creates very thick, textured surfaces | Sculptural texture, carveable when dry |
| Regular gel medium | Thickens and extends paint; maintains color when used moderately | Increase volume without reducing pigment strength |
| Retarder | Slows drying time | Workability for blending and smoothing edges |
| Glazing medium | Increases transparency and flow | Thin, translucent layers for color depth |
| Flow improver | Increases fluidity without thinning | Smooth strokes for knife wiping or spread |
| Matte/gloss mediums | Alter sheen | Match final surface sheen or create contrast |
Use these additives in measured amounts and test samples before committing to a large work. Overuse can weaken adhesion or alter color values.
Preparing surfaces and supports
Your support will affect texture, longevity, and ease of working.
Surface types and priming
- Canvas (stretched): Flexible, common; for heavy impasto use a rigid cradle or panel underneath to prevent sagging.
- Stretched canvas board or panel: Rigid supports are preferable for thick knife work.
- Wood panels (gessoed): Excellent for heavy texture, stable and durable.
- Acrylic paper: Good for practice but may buckle with thick layers.
Always prime wood or canvas with acrylic gesso. For very textured work, apply a thicker ground or even a layer of modeling paste to create tooth and support.
Tooth and preparation tips
You will want enough tooth to hold subsequent layers. For glossy surfaces, sand lightly between layers to improve adhesion. When using large amounts of heavy gel or paste, consider building smaller sections at a time to avoid long-term sagging.
Workspace and tool organization
Setting up efficiently will keep you focused on marks and texture rather than logistics.
- Use a glass or disposable palette for mixing. Glass is easy to clean and provides a smooth surface for knife mixing.
- Keep water, rags, and a spray bottle ready to control drying.
- Use palette cups for mediums and small washes.
- Keep extra knives and a container for used tools.
- Working upright on an easel helps you apply consistent pressure; horizontal surfaces are useful when working very thick impasto.
How to hold and control the palette knife
Your grip influences the mark. Hold the knife:
- Near the handle for better control and finer details.
- Further back for broader, looser gestures.
- At a low angle (10–30 degrees) to smear or flatten paint.
- At a higher angle (30–60 degrees) for scraping and building ridges.
Experiment with wrist movement, arm position, and pressure. You will find that small changes produce markedly different textures.
Basic palette knife techniques
Below are core knife maneuvers you should master before attempting complex compositions.
Loading the knife
Scoop paint from the pile with a quick, decisive motion. You will want to pick up enough paint for a continuous stroke; too little will create thin gaps, too much will create blobs.
Spreading and smoothing
Push paint across the surface like spreading butter. Use a low angle and steady pressure. This creates broad, flat areas and removes brush marks.
Laying thick impasto
Apply paint in a single, forceful lift and press. Use a trowel or wide spatula and leave ridges for sculptural effect.
Scraping and subtractive marks
Drag the knife across a thick layer to remove paint, reveal underlying colors, or create linear textures. This is useful for correcting and adding contrast.
Pulling and dragging
Pull paint by dragging the knife from an area of heavy paint into an empty area to create tapered strokes and broken color effects.
Sgraffito and incisions
Scratch lines into semi-wet paint using the knife’s edge or a narrow pointed tool to reveal underlayers and add delicate detail.
Color mixing and palette management with a knife
Mixing with a knife differs from brush mixing; it’s more physical and often more efficient.
- Use a glass or ceramic palette for clean mixing and easy scraping.
- Mix larger batches of base colors you will reuse.
- Avoid over-mixing to prevent muddying; partially mixed blends can add liveliness.
- When mixing on canvas, apply strokes that allow colors to intermix visually rather than completely blending to a single hue.
Practical tip: keep primary colors and white/black accessible. Knife mixing can use more paint than brush mixing, so measure quantities mentally to avoid waste.
Working wet-on-wet vs wet-on-dry with acrylics
Acrylics dry quickly, which affects how you layer.
- Wet-on-wet: Use retarder or slower drying medium to maintain blendability. Ideal for soft transitions and subtle color mixing on the canvas.
- Wet-on-dry: Because acrylics dry fast, letting a layer dry before adding a thick impasto layer ensures distinct textures and clean edges.
Plan layers accordingly. For thick impasto, build in stages: establish thin underpainting, allow it to cure, then add heavier texture.
Building layers and depth with knife work
Layering with a knife requires both structural thinking and patience.
- Start with a strong underpainting to map values and composition.
- Add mid-tones and local color with broader knife strokes.
- Apply highlights and final impasto last to retain crispness.
- When working in multiple layers of heavy mediums, ensure each layer is properly cured to avoid cracking or adhesion failure.
Use cross-hatching knife strokes and varied blade directions to create depth and unify layers.
Glazing and transparent effects with knives
While knives are typically associated with opaque, thick textures, you can create transparent layers:
- Thin paint with glazing medium to produce translucent layers that you can apply with a flat knife to avoid brush marks.
- Use a soft body or heavy glazing medium mixed with color and spread thinly.
- Build subtle color shifts under thicker impasto for dimensionality.
Test mixtures to retain color intensity and avoid lifting previous layers.

Cleaning and maintenance of palette knives
Proper care extends tool life and prevents contamination.
- Remove excess paint immediately with a rag and scrape on the palette.
- For acrylics, clean knives under running water and use a mild soap; dried acrylic can be more difficult to remove.
- Store knives dry and avoid letting metal blades sit in water—dry to prevent rust.
- For stubborn dried paint, use a solvent recommended by the manufacturer or a gentle mechanical removal with a scraper, taking care not to damage fine edges.
Keep knives organized by type and label if you use many sizes to avoid cross-contamination.
Troubleshooting common issues
You will encounter common problems when starting; here are solutions:
- Paint cracking in thick layers: Ensure proper drying between layers and don’t apply extremely thick sections in a single pass. Use flexible supports cautiously.
- Colors muddying: Avoid over-mixing complementary colors; restrict palette choices and clean knife frequently.
- Poor adhesion of thick mediums: Use proper gessoed or primed surfaces and follow manufacturer’s instructions for medium ratios.
- Knife marks unwanted in finished piece: Smooth with a metal scrape or thin glaze once dry, or sand very gently where appropriate.
Addressing these early will save time on corrections.
Safety and studio care
Working safely will protect your health and extend the life of materials.
- Work in a well-ventilated area, especially if using retarder, solvent, or spray varnishes.
- Wear gloves if you have sensitive skin or prolonged exposure.
- Keep knives in a secure container to avoid accidental cuts.
- Dispose of solvent-soaked rags properly to prevent spontaneous combustion—store them in metal containers with lids.
Following these steps will help you maintain a healthy and efficient workspace.
Beginner-friendly practice exercises
Structure your practice to build muscle memory and confidence with the knife.
Exercise 1 — Spreading and smoothing:
- Objective: Control pressure and angle.
- Materials: Heavy body paint, one wide knife.
- Steps: Mix three values of a color. Spread each across the canvas in large strokes, practicing pressure changes to create uniform coverage.
Exercise 2 — Ridges and ridgelines:
- Objective: Create consistent, sculptural ridges.
- Materials: Heavy gel medium mixed with paint, trowel knife.
- Steps: Load a generous amount and apply vertical strokes. Aim for even ridge height and spacing.
Exercise 3 — Sgraffito detail:
- Objective: Reveal underlayer precisely.
- Materials: Two contrasting colors, small pointed knife.
- Steps: Lay a thick underlayer, let it firm slightly, apply a contrasting top layer, then scratch lines to reveal the base.
Exercise 4 — Color breaking:
- Objective: Learn broken color mixing.
- Materials: Three colors, medium-sized knife.
- Steps: Place colors adjacent and use diagonal pulls to create fragmented blends that read optically.
Repeat these exercises daily for short sessions to build control and confidence.
Sample step-by-step project: Simple textured seascape
The following table outlines materials and steps for a beginner project that combines several knife techniques.
| Step | Materials | Actions | Tips |
|---|---|---|---|
| 1 – Support prep | Gessoed wood panel | Apply a thin neutral underpainting with large knife | Use low-angle strokes to smooth |
| 2 – Sky base | Light blue heavy body + retarder | Spread broad horizontal bands for sky | Keep edges soft with low pressure |
| 3 – Sea base | Ultramarine + green mix | Apply slightly darker bands with a trowel | Vary blade angle for wave shapes |
| 4 – Mid-layer texture | Heavy gel + white | Add thick ridges for waves using a trowel | Build in segments to avoid sagging |
| 5 – Highlights | Titanium white with a touch of yellow | Use pointed knife to create foam and reflections | Keep highlights sparing for impact |
| 6 – Refinement | Small knife and glaze | Scrape lines and add transparent washes for depth | Allow each heavy layer to cure |
| 7 – Finish | Matte or gloss varnish | Apply final varnish when completely dry | Choose varnish sheen to complement texture |
This project enables you to practice spreading, ridging, scraping, and glazing in a controlled format.
How to varnish and finish knife paintings
Finishing protects and enhances your work. Consider these steps:
- Wait until the painting is fully cured—thick acrylic layers can take weeks to months to fully cure. Follow manufacturer recommendations.
- Clean the surface of dust with a soft dry brush or tack cloth.
- Select a varnish (matte, satin, or gloss) appropriate for your aesthetic. Test on a sample.
- Apply an isolation coat if you want to be extra cautious—this thin layer protects the paint and provides a uniform surface for varnish.
- Spray varnishes or a brush-applied acrylic varnish can be used; spray is often better for textured surfaces but requires ventilation and even passes.
- Apply multiple thin coats rather than one heavy coat to avoid drips and pooling in textured areas.
Proper varnishing preserves color and texture and prevents dust accumulation.
Common mistakes beginners make and how to avoid them
Recognizing typical missteps will accelerate your progress.
- Using the wrong paint consistency: Use heavy body or appropriate gels for texture. If paint is too thin it won’t hold shape.
- Ignoring support rigidity: Use panels or reinforce canvases when applying heavy impasto.
- Overworking the paint: Acrylics can reveal scrubbed or overworked areas; aim for decisive marks.
- Failing to plan values: Knife textures read strongly in light and shadow; plan values to avoid a flat composition.
- Not testing additives: Small tests prevent adhesion and drying issues.
Take time for small tests before applying new techniques to a final piece.
Developing your style and next steps
As you become comfortable with knife techniques, identify the marks and textures you prefer. Try combining brushwork and knife work to maximize the strengths of both tools. Consider studying works by artists known for palette knife techniques to see how they balance color, form, and texture.
Recommended brands and resources
While you will find many brands, these are commonly recommended for beginners:
- Paints: Golden Heavy Body, Liquitex Heavy Body, Winsor & Newton Professional Acrylics.
- Gels and pastes: Golden Gel Mediums, Liquitex Modeling Paste, M. Graham heavy gels.
- Knives: Stainless steel knives from brands like Silverline, Richeson, and inexpensive sets from art suppliers to start.
Books and online tutorials can accelerate skill acquisition. Look for demonstrations that show real-time knife handling and mixing techniques.
Practice plan: 30 days to confident knife work
A structured approach helps you improve steadily. Below is a compact, repeatable schedule you can follow.
| Week | Focus | Daily Session (30–60 min) |
|---|---|---|
| Week 1 | Grip, pressure, basic strokes | Exercises 1–3: spreading, scraping, ridges |
| Week 2 | Texture building | Exercises 2–4: impasto patterns, sgraffito |
| Week 3 | Color and mixing | Experiment with broken color and on-canvas mixing |
| Week 4 | Composition and small paintings | Complete 2 small studies applying combined skills |
At the end of 30 days you should feel more comfortable controlling knife marks and planning textured compositions.
Final tips for consistent improvement
- Keep a sketchbook with color notes and small knife studies.
- Photograph your progress to track improvements and color accuracy.
- Work on varied supports to understand how surface affects marks.
- Network with other artists and gather feedback on textures and composition.
By practicing deliberately and reviewing results, you will refine your technical control and artistic voice.
Conclusion
Using palette knives with acrylics gives you access to a broad range of textural and expressive possibilities. With the right tools, materials, and practice plan, you can confidently apply bold impasto, precise scraping, and subtle glazing to realize your artistic ideas. Begin with simple exercises, build towards complete studies, and maintain proper care and safety for consistent, long-lasting results.