Have you ever wondered how professional watercolor artists achieve those crisp, white highlights in their paintings? The secret often lies in a versatile product known as masking fluid. Understanding how to use masking fluid in watercolor painting can greatly enhance your artwork by allowing you to preserve white spaces and create sharp details effortlessly.

Understanding Masking Fluid
What Is Masking Fluid?
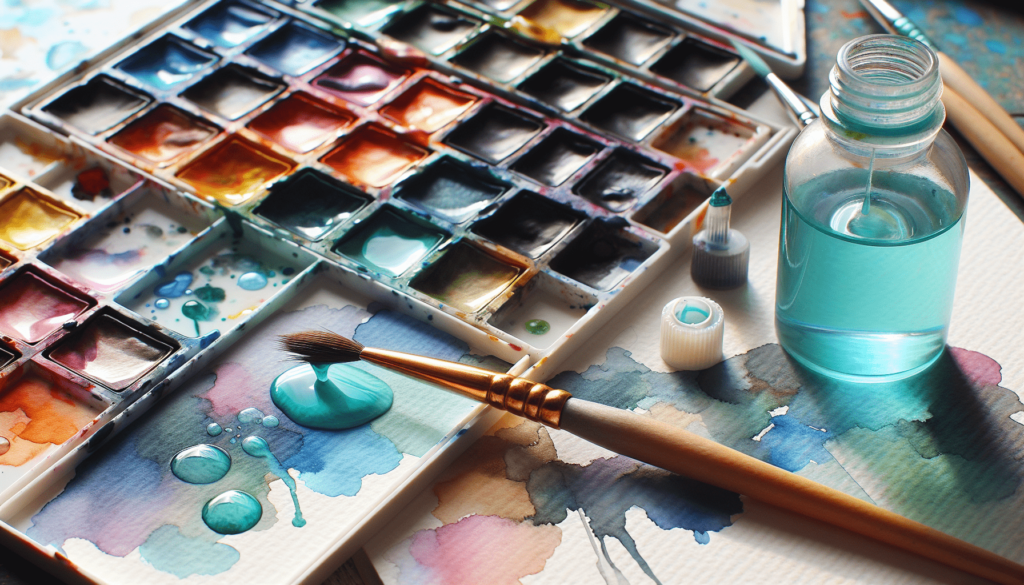
Masking fluid, sometimes referred to as frisket, is a latex-based solution that you can apply to your watercolor paper to protect areas where you want to preserve the white of the paper or an initial wash of color. It acts as a barrier to watercolor paint, ensuring that specific sections of your artwork remain untouched by subsequent layers of paint.
Types of Masking Fluid
There are different types of masking fluid available on the market. Some contain added pigments to make them more visible on your paper, while others are colorless. Here’s a comparison table to understand the two primary types:
| Type | Characteristics | Usage Scenario |
|---|---|---|
| Colored Masking Fluid | Contains pigments, visible on paper | Ideal for detailed work, easy to see |
| Clear Masking Fluid | Colorless, less visible on paper | Best when visibility of mask is not crucial |
Preparing to Use Masking Fluid
Before you begin using masking fluid, it’s important to prepare your workspace and materials properly.
Tools and Materials
To effectively use masking fluid, you will need the following tools and materials:
- Masking Fluid: Choose between colored or clear fluid based on your preference.
- Applicators: Brushes, dip pens, ruling pens, or applicator bottles.
- Watercolor Paper: High-quality, preferably 140 lb or heavier.
- Watercolor Paints: Your choice of watercolor paints.
- Clean Water: For cleaning brushes and thinning your paints.
Protecting Your Tools
Masking fluid can be harsh on your brushes, so it’s advisable to use cheap or dedicated brushes for this purpose. Alternatively, you can dip your brush in soapy water before using masking fluid. This creates a thin, protective layer that makes cleaning easier.
Applying Masking Fluid
Now that you’re prepared, it’s time to apply the masking fluid to your watercolor paper.
Step-by-Step Process
Follow these steps to apply masking fluid effectively:
- Plan Your Painting: Determine which areas you want to mask off to keep white or preserve the current colors.
- Shake the Bottle: Ensure the fluid is well-mixed.
- Dip Your Applicator: Dip your brush or applicator into the masking fluid, but avoid dipping too deeply to prevent excess build-up.
- Apply the Fluid: Apply the masking fluid to the areas you wish to protect. Move swiftly but carefully to maintain clean edges.
- Let It Dry: Allow the fluid to dry completely before proceeding with your painting. This can take anywhere from 15 minutes to an hour, depending on the thickness of the application and room conditions.
Knowing When to Use Masking Fluid
Masking fluid is incredibly useful in several scenarios, including:
- Preserving Whites: Essential for keeping the whites of the paper clean and bright.
- Detail Work: Perfect for intricate details, such as the veins on leaves or the sparkle in an eye.
- Layering: When painting in layers, masking certain areas can help you build up depth and complexity.
Painting Over Masking Fluid
Once your masking fluid has dried, you can start painting over it with your watercolors.
Techniques for Painting Over Masking Fluid
Here are some techniques to consider when you’re ready to paint over the masked areas:
- Wet-on-Wet: This technique involves wetting the paper and then adding wet paint. The colors will flow and blend seamlessly around the masked areas.
- Wet-on-Dry: Apply wet paint directly onto dry paper. This technique allows for more control and produces more defined edges.
- Layering: Build up your painting in layers, allowing each layer to dry before adding the next. This technique adds depth and richness to your work.
Consideration of Colors
Be mindful of the colors you’re using, especially if you plan to remove large areas of masking fluid. Dark or highly saturated colors adjacent to masked areas can create stark contrasts, which might not blend seamlessly once the mask is removed.

Removing Masking Fluid
After you have finished painting and allowed your work to dry completely, it’s time to remove the masking fluid.
Steps for Safe Removal
Follow these steps for safely removing masking fluid:
- Ensure Dry Paint: Make sure your paint is completely dry before you start removing the fluid.
- Gently Rub: Using your fingers, a rubber cement pick-up, or an eraser, gently rub the masked area. The masking fluid will peel off easily.
- Brush Away Residue: Use a clean, soft brush to sweep away any remaining bits of masking fluid.
Potential Issues and Solutions
Here are a few common issues you might face when removing masking fluid and their solutions:
| Issue | Solution |
|---|---|
| Paper Tearing | Ensure the masking fluid is completely dry before removal, and use a gentle touch. |
| Staining Around Masked Areas | Avoid using masking fluid on delicate or heavily textured paper to reduce staining risks. |
| Leftover Residue | Brush gently and thoroughly to remove all remnants of masking fluid. |
Best Practices and Tips
Fine-tune your technique with these best practices and tips:
Use in Moderation
Using masking fluid should be strategic. Overuse can make your painting look unnatural and overly segmented. Plan carefully which areas truly need masking.
Thin Layers
Apply masking fluid in thin layers to ensure it dries quickly and is easy to remove. Thick layers can be difficult to peel off and might damage your paper.
Practice First
If you are new to using masking fluid, practice on a scrap piece of watercolor paper before applying it to your final piece. This will help you understand how the fluid behaves and how easily it can be removed.
Be Patient
Patience is key when working with masking fluid. Ensure each layer of masking fluid and paint is completely dry before proceeding to the next step. This helps prevent smudging and tearing.
Troubleshooting Common Problems
Even with the best preparation, you may encounter some issues when using masking fluid. Here’s how to troubleshoot common problems:
Masking Fluid Discoloration
Sometimes, masking fluid can leave behind a slight discoloration on your paper. This is more common with pigmented masking fluid. To minimize this risk, use high-quality, pH-neutral masking fluid and avoid leaving it on your paper for extended periods.
Difficulty in Removing
If you find it challenging to remove masking fluid, it might be due to a thick application or insufficient drying time. Ensure you’re applying thin layers and allowing them to dry fully. Employ a rubber cement pick-up for more efficient removal.
Damage to Paper
Removing masking fluid can occasionally tear the paper surface. This is more likely if you’re using lower-quality paper or if the masking fluid was applied too thickly. Use heavier, high-quality watercolor paper to reduce this risk.
Advanced Techniques
Once you are comfortable with the basics, you can explore some advanced techniques involving masking fluid.
Layered Masking
You can create depth and complexity in your paintings by using layered masking. Apply masking fluid in stages, painting in between applications to build up layers of color and texture. This method allows you to achieve intricate details and sophisticated compositions.
Masking Fluid as a Textural Tool
Masking fluid can also be used to add texture to your watercolor paintings. Splatter masking fluid onto your paper using a toothbrush or a flicking motion with a brush to create random patterns. Once removed, these areas will add interesting texture and contrast to your artwork.
Combining with Other Mediums
Feel free to experiment with combining masking fluid with other mediums such as ink, gouache, or acrylics. Masking fluid can provide sharp contrasts and preserve areas for other types of paint, expanding the range of effects you can achieve.
Conclusion
Understanding how to use masking fluid in watercolor painting is a valuable skill that enhances your ability to create detailed, vibrant works of art. By following best practices and experimenting with advanced techniques, you can master this tool and incorporate it seamlessly into your artistic process. Remember to practice, be patient, and use masking fluid strategically to achieve the best results in your watercolor paintings.


