Have you ever wondered how to achieve a vibrant and eye-catching base coat on rocks for your artistic projects? This article will guide you through the process of using highlighters on rocks to achieve a bright and striking base coat. By incorporating highlighters, you can bring a new level of brightness and creativity to your painted rocks.
Choosing the Right Rocks
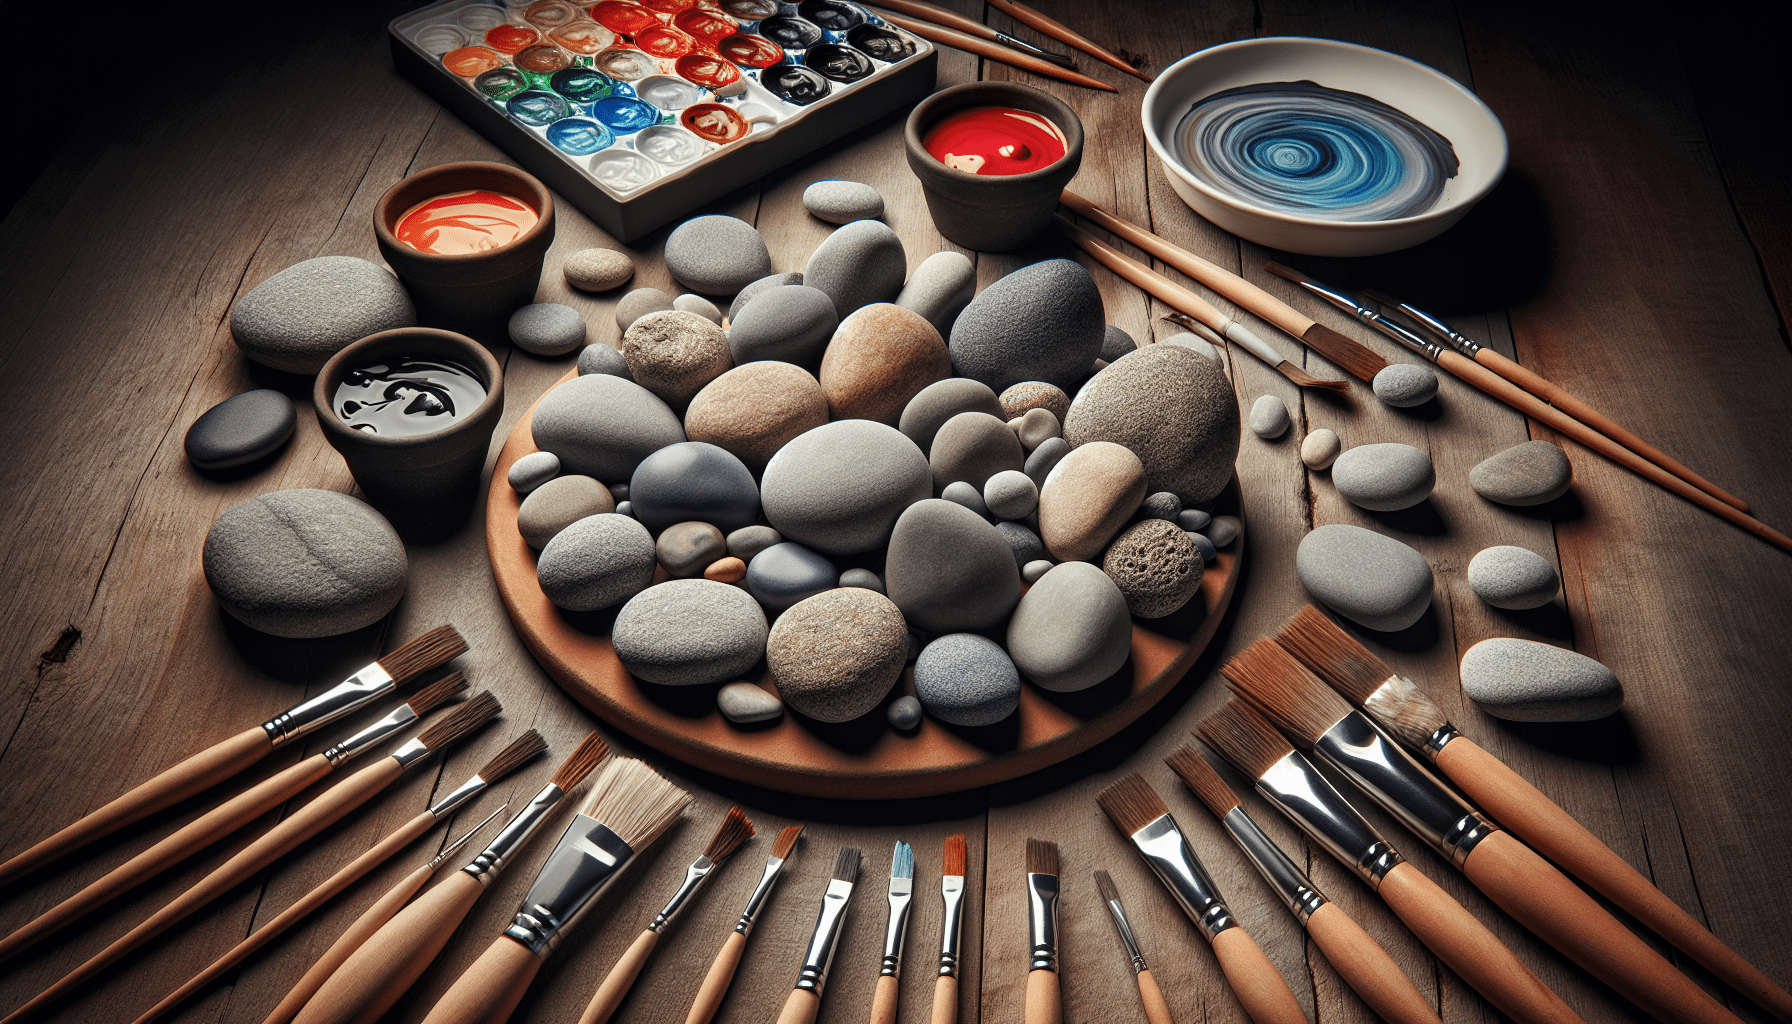
Selecting the appropriate rocks is crucial for achieving the best results with highlighters. Look for rocks that have a smooth, flat surface. This type of surface will allow the highlighter ink to adhere more effectively and produce an even, bright base coat.
Types of Rocks
Various types of rocks can be used for painting, but some work better than others when using highlighters.
| Rock Type | Description |
|---|---|
| Smooth River Rocks | Ideal for their smooth surfaces and easy-to-paint texture |
| Flat Rocks | Easier to handle and provide more surface area for artwork |
| Polished Stones | Offer a sleek appearance but may require more preparation for highlighter use |
Preparing the Rocks
Before applying highlighter ink, ensure the rocks are clean and free of any dirt or debris. Washing the rocks with soap and water and allowing them to dry completely can significantly enhance the adherence of the highlighter ink.
Understanding Highlighters
Highlighters contain fluorescent ink that glows under ultraviolet light, making them particularly effective for creating bright and vivid colors.
Types of Highlighters
Different highlighters can produce varying effects on rocks.
| Highlighter Type | Properties | Suitable For |
|---|---|---|
| Water-based | Easily blendable and removable | Temporary artwork, base coats |
| Alcohol-based | Permanent and vibrant colors | Permanent designs, bright base coats |
| Gel-based | Good for smooth surfaces | Textured designs |
Choosing Colors
Using a variety of highlighter colors can add depth and interest to your rock paintings. Highlighter sets often come in multiple colors, allowing you to experiment with different combinations.

Application Techniques
Applying highlighters to rocks requires specific techniques to ensure an even and bright base coat.
Direct Application
One of the simplest methods is to apply the highlighter directly to the rock’s surface.
- Choose Your Highlighter: Select a highlighter color that you want to use for the base coat.
- Stroke Methodically: Apply the highlighter in even strokes, covering the entire surface of the rock.
- Multiple Layers: Allow the first layer to dry before adding additional layers to achieve a more vibrant color.
Blending Techniques
To create a more nuanced and bright base coat, consider blending different highlighter colors.
- Apply the First Color: Cover the rock with an initial layer of one highlighter color.
- Add Secondary Colors: Before the first color dries, add secondary colors in desired areas.
- Blend with Fingers or Tools: Use your fingers or a blending tool to merge the colors together for a smooth gradient effect.
Sealing the Base Coat
To preserve the brightness and prevent the highlighter ink from fading, it’s important to seal the base coat.
- Choose a Sealer: Select a clear acrylic sealer or varnish that is suitable for rock painting.
- Apply Evenly: Spray or brush the sealer evenly over the rock.
- Allow to Dry: Ensure the sealer is completely dry before moving on to additional painting or decoration.
Creative Uses
Using highlighters on rocks opens up numerous creative possibilities. Below are some suggestions to inspire your next project.
Vibrant Backgrounds
Create stunning backgrounds for your rock art by using highlighters as the base coat. The bright colors can make the subsequent layers of your artwork stand out more effectively.
Patterns and Designs
Highlighters can also be used for creating patterns and designs.
- Striped Patterns: Apply different highlighter colors in stripes across the rock.
- Polka Dots: Use the tip of the highlighter to create small dots for a dotted pattern.
- Abstract Art: Blend multiple colors using various methods to produce abstract designs.
Highlighting Details
While highlighters are mainly used for base coats, they can also be effective for highlighting specific details in your rock paintings.

Troubleshooting Common Issues
Despite best efforts, you may encounter some challenges when using highlighters on rocks. Below are common issues and their solutions.
Ink Not Adhering
Issue: The highlighter ink is not sticking to the rock surface. Solution: Ensure the rock is thoroughly cleaned and dried. Consider lightly sanding the rock for better adherence.
Fading Colors
Issue: The highlighter colors are fading over time. Solution: Apply a good quality clear sealer to lock in the colors and protect the surface from exposure to the elements.
Uneven Coating
Issue: The highlighter coat appears uneven. Solution: Apply multiple thin layers instead of one thick layer. Allow each layer to dry before applying the next.
Advanced Techniques
Once you have mastered the basics of using highlighters on rocks, you can explore more advanced techniques to elevate your artwork.
UV Light Enhancement
Highlighters often glow under UV light, adding a unique dimension to your rock paintings.
- UV Reactive Paint: Combine highlighters with UV reactive paint for a glowing effect.
- Use UV Light: Illuminate your painted rocks with UV light to see the highlighters’ glowing properties.
Mixed Media
Incorporate other materials and mediums to enhance your highlighter base coats.
| Material | Application |
|---|---|
| Watercolors | Use watercolors over the highlighter base for added depth |
| Acrylic Paints | Detail your highlighter base with acrylic paint designs |
| Markers | Add fine details with ink or paint markers |
Summary
Using highlighters on rocks for a bright base coat is a simple yet effective method to create vibrant and engaging pieces of art. By carefully selecting your rocks, understanding the types and properties of highlighters, and applying the techniques discussed, you can achieve stunning results that stand out. Ensure to troubleshoot any issues that arise and experiment with advanced techniques to further enrich your creative expressions.
Your artistic journey with highlighters and rocks can be a playful and fulfilling process. Happy painting!