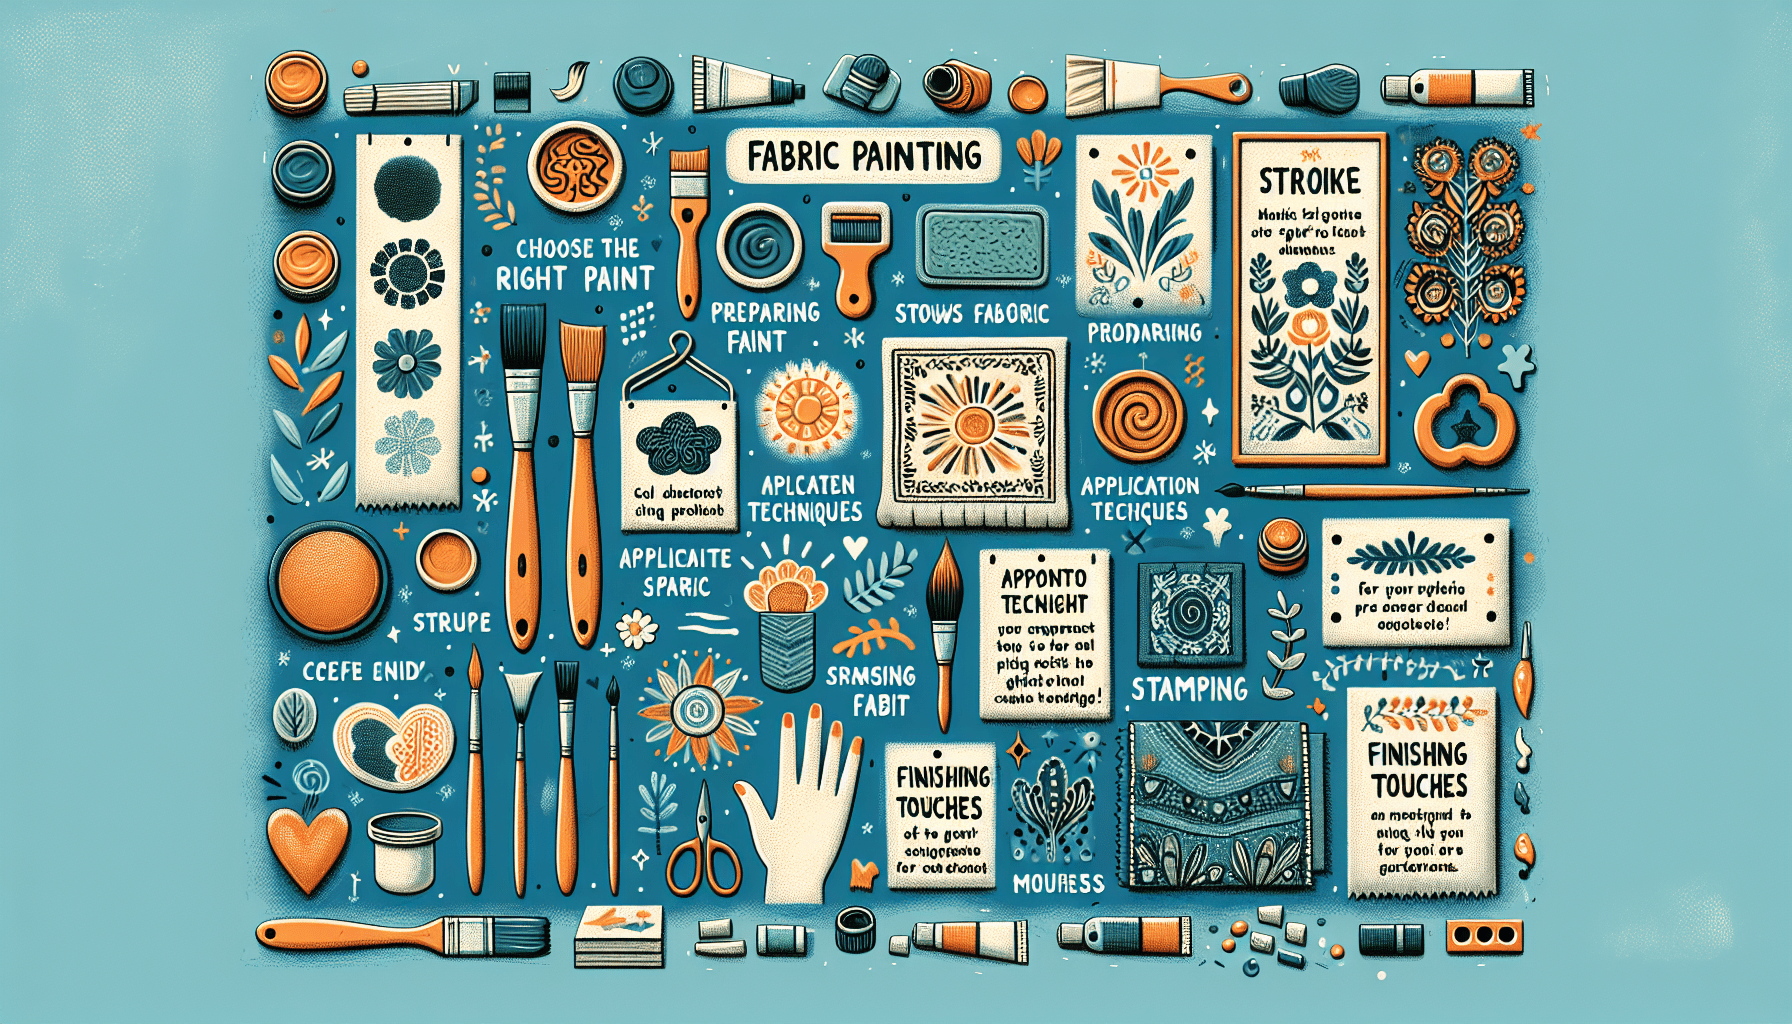
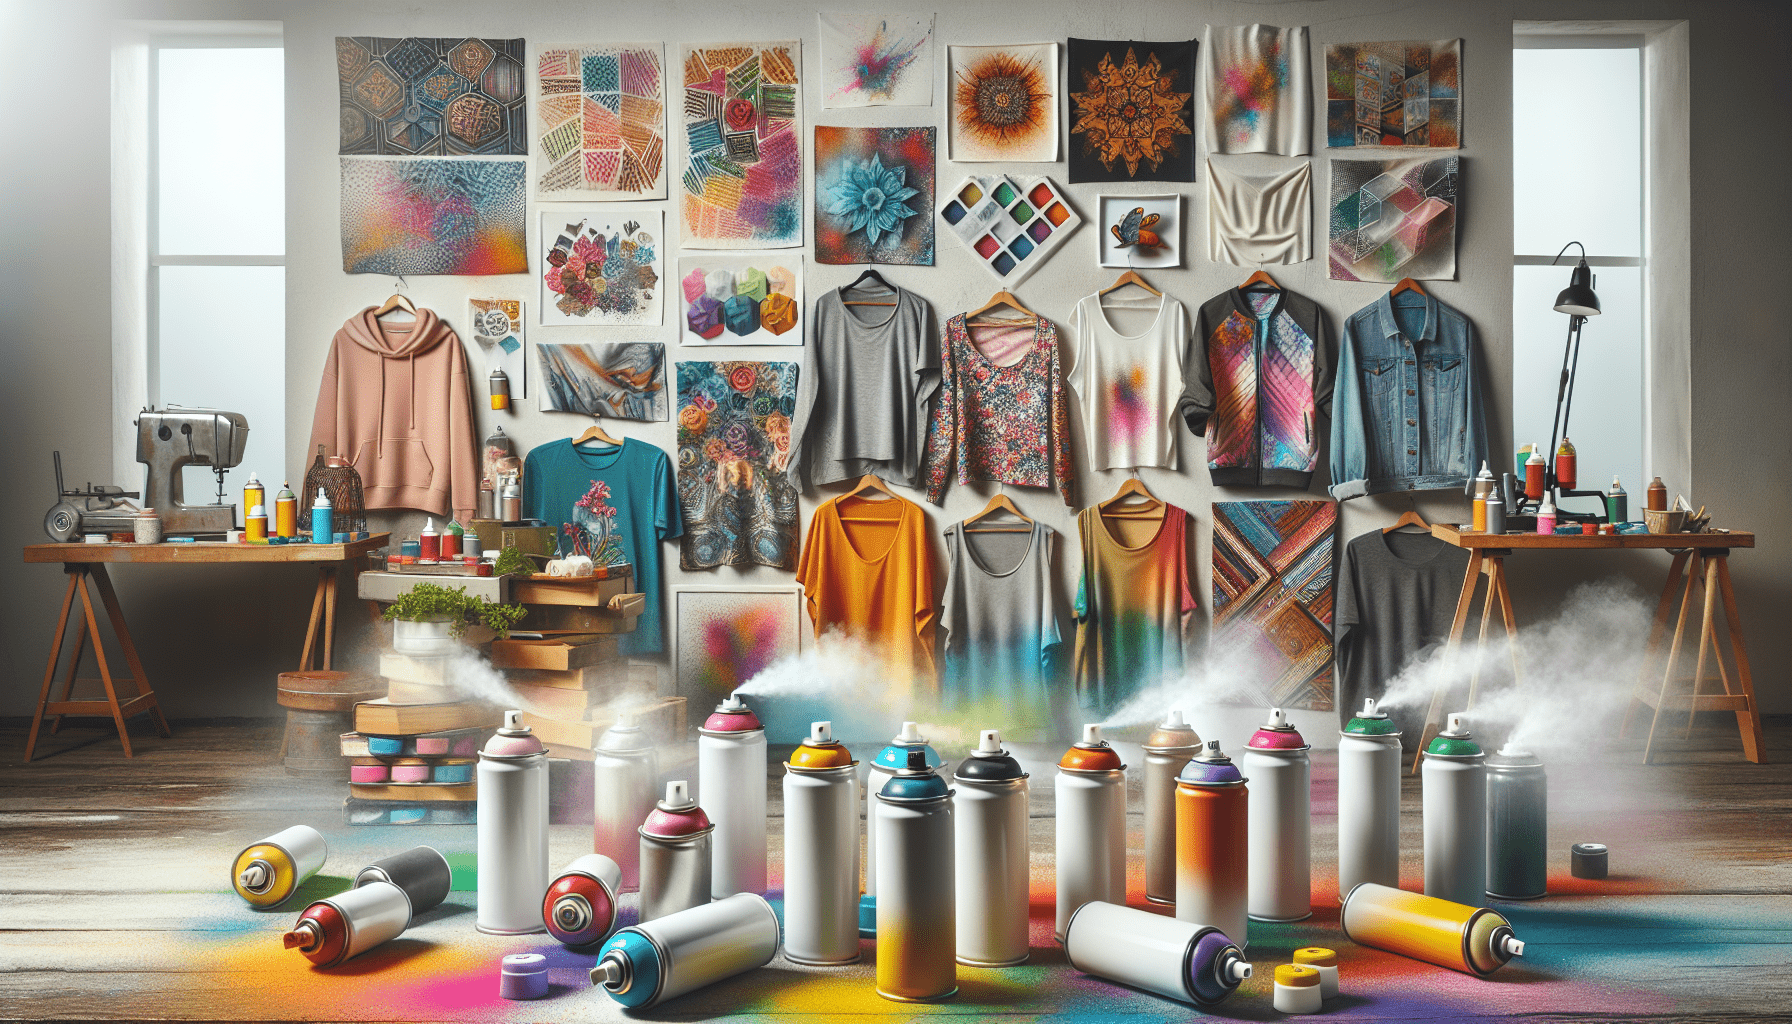
Fabric paint is a versatile medium that allows you to express your creativity and add a personal touch to your clothing and home decor. Whether you are a beginner or an experienced artist, this article will guide you through step-by-step instructions on how to effectively use fabric paint to achieve vibrant and long-lasting results. From selecting the right fabric and paint to mastering different application techniques, this comprehensive guide will equip you with the knowledge and skills needed to create stunning designs that withstand the test of time. So, let’s explore the world of fabric paint together and unlock your artistic potential.
Gathering Supplies
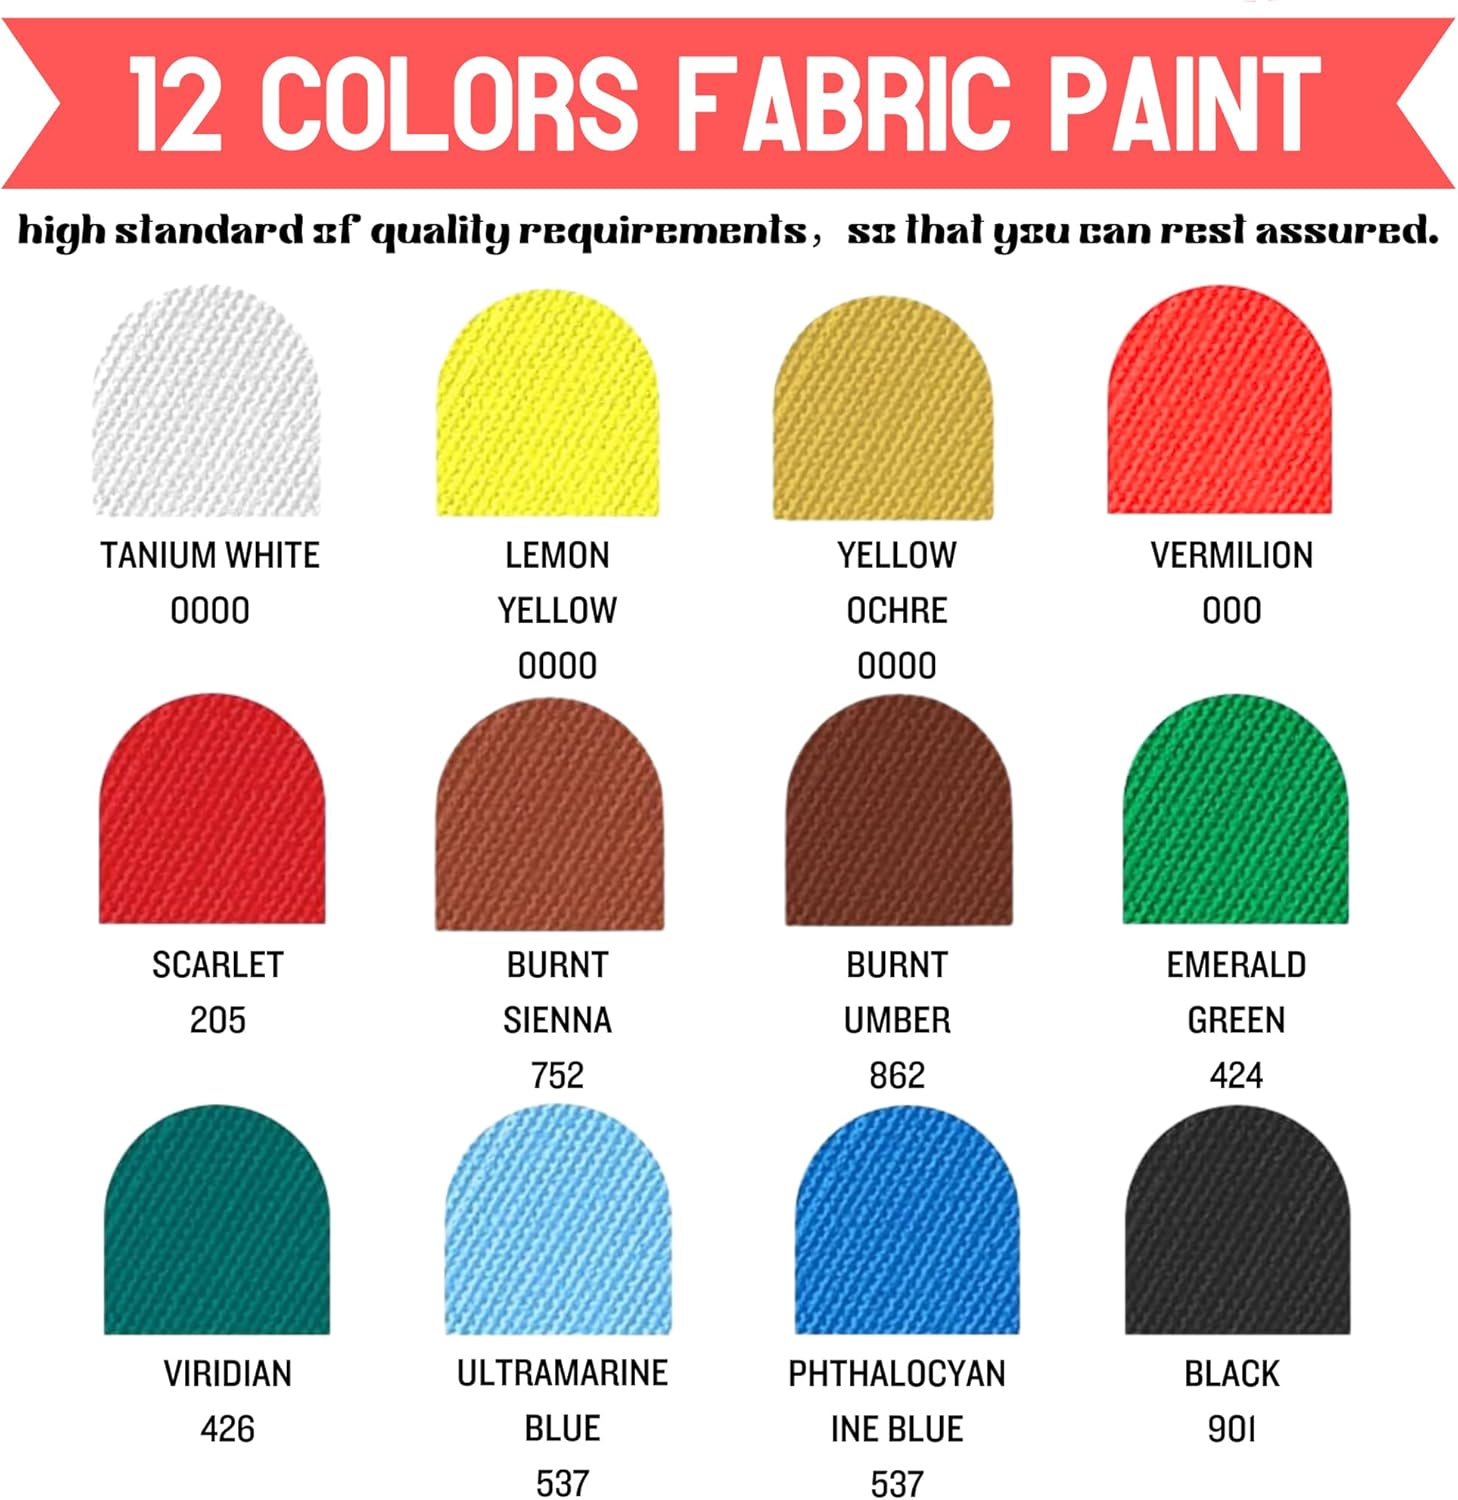
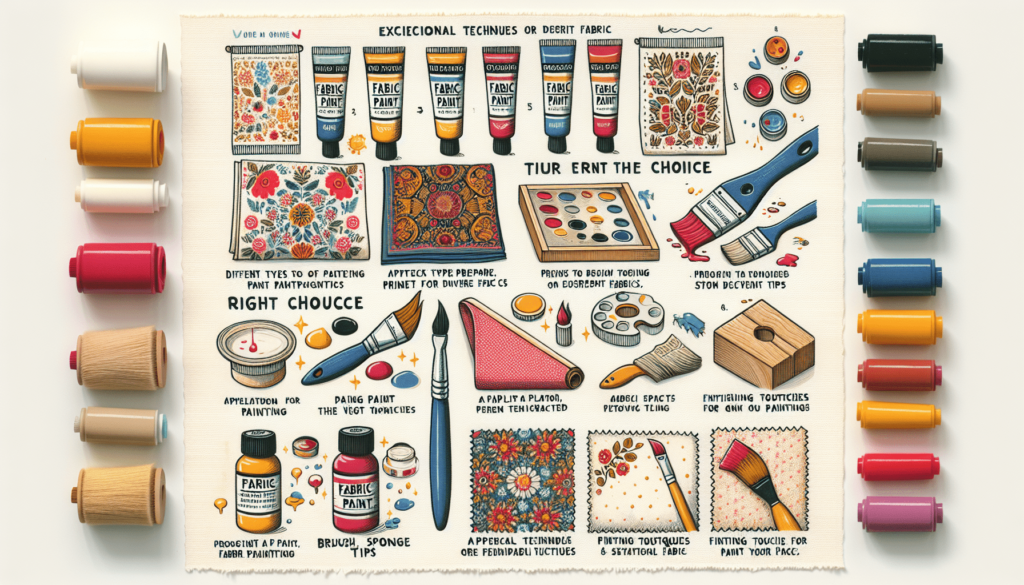
To begin your fabric painting journey, it is crucial to gather all the necessary supplies. Choosing the right fabric paint is the first step. Look for fabric paints specifically designed for textile projects as they offer better durability and colorfastness. Consider the type of fabric you will be working with and choose a paint that is compatible with it. There are various types of fabric paints available in the market, including acrylic, fabric markers, and fabric dye.
Once you have chosen the fabric paint, it’s time to select the fabric for your project. Keep in mind that not all fabrics are suitable for painting. Natural fibers like cotton, linen, and silk are ideal as they absorb the paint well, while synthetic fabrics like polyester may require special fabric paints. Consider the texture and color of the fabric as it will affect the final outcome of your design.
Preparing the paints and brushes is essential for a smooth painting process. Make sure to read the manufacturer’s instructions and shake the paint bottles well before using them. It is recommended to have a variety of brushes in different sizes and shapes to create different effects and details in your design. Additionally, gather other necessary tools like palette knives, sponges, and stencils, depending on the techniques you plan to use.
Preparing the Fabric
Before you start painting, it is crucial to prepare the fabric properly. Washing the fabric helps remove any dirt, chemicals, or sizing agents that might be present. Use mild detergent and follow the care instructions for the fabric. Avoid using fabric softeners as they can create a barrier that prevents the paint from adhering to the fabric.
After washing, iron the fabric to remove any wrinkles or creases. This step ensures a smooth surface for painting and prevents any unwanted patterns or distortions in your design. Use the appropriate iron setting based on the fabric type to avoid damaging it.
Stretching the fabric is recommended to prevent it from shifting or wrinkling during the painting process. This is particularly important for larger pieces of fabric. You can use a tapestry frame, embroidery hoop, or any other suitable stretching device to secure the fabric tightly.
To make painting more convenient, secure the fabric on a surface that allows easy movement and access to all areas. Use tape or fabric clips to keep the fabric taut and prevent it from moving while you work. A drawing board or sturdy table covered with a smooth, lint-free cloth can serve as an excellent surface for painting.
Setting Up Your Workspace
Creating an organized and comfortable workspace is essential for an enjoyable fabric painting experience. Start by covering your work area with a plastic drop cloth or newspaper to protect it from paint spills and stains. This will also make the cleanup process much easier.
Proper ventilation is crucial when working with fabric paints. Choose a well-ventilated area or use fans and open windows to ensure a constant flow of fresh air. This will help dissipate any fumes and maintain a safe environment for painting. If you are using heat-setting techniques, ensure that your workspace is away from flammable materials and follow the manufacturer’s instructions for safe use.
Organize your supplies in a way that allows easy access to all the necessary tools and paints. Use containers, organizers, or a designated shelf to keep everything within reach. This will help you stay focused on your project without wasting time searching for items.
Preparing a palette is essential for mixing colors and keeping them easily accessible during the painting process. Use a palette made specifically for fabric painting or improvise with a flat surface, like a ceramic plate or a piece of glass. Place small dollops of each color you plan to use on the palette, leaving enough space between them for mixing and blending.
Practicing Techniques
Before diving into your final design, it is beneficial to practice various techniques on scrap fabric. This allows you to familiarize yourself with the paint’s consistency, brush strokes, and different application methods. Test the paint on a small piece of fabric similar to the one you will be painting on to get a better idea of how it will appear on the final piece.
Experimenting with different techniques can expand your creativity and help you discover new ways to achieve unique effects. Play around with brush strokes, stippling, sponge painting, or even try using different objects as stamps. This experimentation phase allows you to find the techniques that resonate with your artistic style and desired outcome.
Creating color blends is another aspect of fabric painting that requires practice. Mix different colors on your palette to create a range of shades and gradients. Take note of the paint-to-paint ratio and the amount of pressure applied to achieve the desired effect. Practice blending colors smoothly to create seamless transitions and gradients in your designs.
Stroke and line work are fundamental skills in fabric painting. Practice creating different types of strokes, such as thin lines, broad strokes, and curved lines. Experiment with various brushes to achieve different textures and effects. Mastering stroke and line work will enhance the precision and detail of your designs.
Applying the Fabric Paint
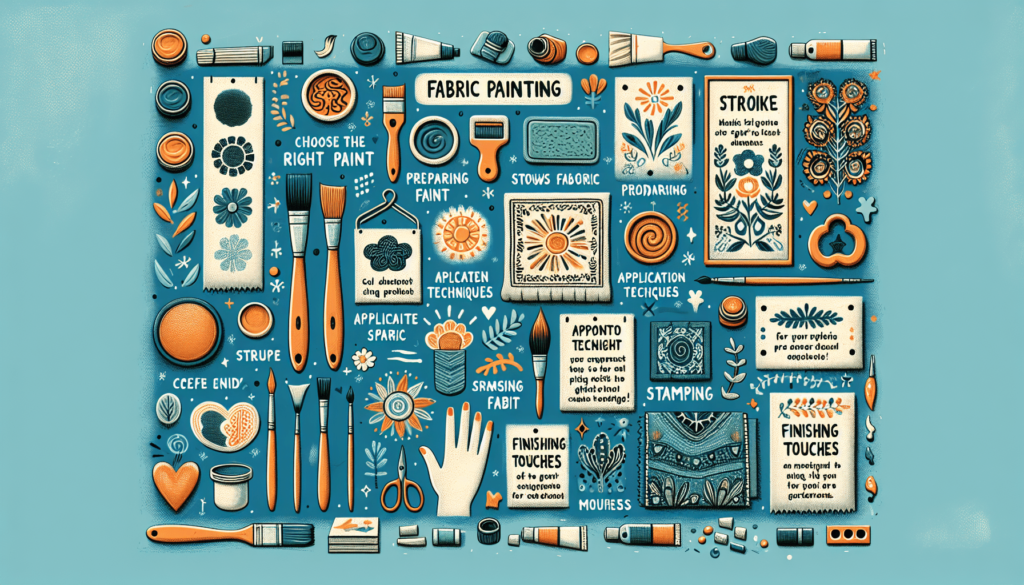
Once you have practiced and are confident in your techniques, it’s time to apply the fabric paint to your chosen fabric. Start by transferring your design onto the fabric using transfer paper, a stencil, or freehand sketching. This will serve as a guideline for your painting and ensure accuracy.
When applying colors, work in layers to achieve depth and vibrancy. Start with a base color and let it dry before adding additional layers or details. Remember to clean your brushes thoroughly before switching colors to avoid contaminating the paints.
Experiment with different brushes and tools to create different effects and textures. Use fine brushes for intricate details, flat brushes for large areas, and sponge brushes for soft blending or textured effects. You can also explore fabric printing techniques using stamps, stencils, or masks to add interesting patterns or motifs to your design.
Adding details and highlights can bring your fabric painting to life. Use smaller brushes or fabric markers to add fine lines, dots, or accents. Consider the light source in your design and add highlights or shading accordingly to create a sense of depth and dimension.
Curing and Drying
After completing your painting, it is crucial to allow the paint to dry completely. Follow the manufacturer’s instructions regarding the drying time for the specific fabric paint you are using. Avoid touching or manipulating the surface until it is fully dried to prevent smudging or smearing.
Curing the paint is an additional step that ensures better durability and washability of your fabric painting. Place a clean cloth or parchment paper over the painted area and carefully iron it using the appropriate heat setting for the fabric type. This will help set the paint and make it more resistant to fading or washing off.
Heat-setting the paint is particularly important for some fabric paints, such as fabric dyes. Follow the specific instructions provided by the manufacturer to apply heat to the painted fabric correctly. This step activates the paint and bonds it securely to the fabric fibers.
To maintain the longevity of your painted fabric, avoid washing it prematurely. Give the paint ample time to fully cure and set before laundering. This will ensure that the colors remain vibrant and the design stays intact even after multiple washes.
Adding Extra Effects
To take your fabric painting to the next level, consider incorporating extra effects into your designs. Fabric medium can be added to fabric paints to create transparency and watercolor-like effects. Experiment with different ratios of fabric medium to paint and practice on scrap fabric to achieve the desired transparency levels.
Adding texture to your fabric painting is possible with fabric additives such as salt, sand, or fabric gels. Sprinkle these additives onto wet paint, and they will create interesting textures and patterns as the paint dries. Test different additives, experiment with their placement, and discover unique ways to enhance the tactile quality of your designs.
Stencils and masks can be valuable tools for creating precise shapes or repeated patterns. Explore various stencil designs or create your own with paper or plastic sheets. Place the stencil on the fabric and apply the paint using a sponge or brush. Masks, on the other hand, block certain areas of the fabric, allowing you to create fascinating negative space effects.
A resist effect refers to creating a design that resists the paint, resulting in areas that remain unpainted or lighter in color. There are several methods for achieving a resist effect, such as using wax crayons or specialized resists. Apply the resist to the fabric before painting and allow it to dry. The resist will repel the paint, creating unique patterns or designs.
Fixing Mistakes
Accidents happen, even in the world of fabric painting. It is essential to know how to address and fix mistakes to salvage your artwork. Blot or scrub wet mistakes gently with a clean cloth or sponge to remove excess paint. Be careful not to spread the mistake further or damage the surrounding area.
Removing dry paint stains can be more challenging but not impossible. Use a fabric stain remover or spot cleaner specifically designed for your fabric type. Apply the cleaner onto the stain, let it sit for a few minutes, and then gently rub or blot the stain with a cloth or sponge. Repeat the process until the stain is no longer visible.
Camouflaging small errors can be an effective way to salvage a design. Use fabric markers or paints in a color similar to the background or surrounding area to cover up small mistakes. Be mindful of blending the colors seamlessly to avoid noticeable patches or inconsistencies.
If the mistake is too significant to fix or the design has completely gone wrong, it’s best to start over. Sometimes starting with a fresh canvas can lead to better results and a more satisfying end product. Take it as an opportunity to learn from any mistakes or missteps and apply those lessons to your next painting.
Caring for Fabric Painted Items
To ensure the longevity of your fabric painted items, it is essential to care for them properly. When washing painted fabrics, follow the care instructions provided by the fabric manufacturer. Avoid using harsh detergents, bleach, or fabric softeners as they can damage or fade the paint. Choose a mild detergent specifically formulated for delicate or hand-painted fabrics.
When laundering painted items, it is recommended to turn them inside out to minimize friction and prevent the paint from rubbing against other garments. Wash them in cold water using a gentle cycle to protect both the fabric and the paint. To further protect your designs, consider placing the item in a garment bag before washing.
Proper storage of fabric painted items is crucial to prevent damage and ensure their longevity. Avoid folding or creasing the painted areas as this can cause cracking or peeling over time. Lay the items flat or hang them on padded hangers to maintain their shape and prevent any unwanted folds or wrinkles.
Over time, painted designs may fade or become less vibrant due to repeated washing or exposure to sunlight. To refresh or retouch your painted designs, use fabric markers or paints in the same colors as the original design. Apply the colors sparingly and with precision to match the existing design and bring back its vibrancy.
Exploring Advanced Techniques
Once you have mastered the basics of fabric painting, you can start exploring more advanced techniques to push your creativity further. Creating multiple color gradients involves blending multiple colors seamlessly to create a smooth transition. Experiment with different color combinations and practice blending techniques to achieve beautiful and intricate gradients.
Freehand painting allows you to unleash your creativity and create unique designs without any guidelines or stencils. This technique requires confidence and practice, as it involves directly applying the paint onto the fabric with brushes or fabric markers. Embrace imperfections and embrace the spontaneity of freehand painting.
Fabric paints offer dimensional effects that can add an extra layer of visual interest to your designs. They can be in the form of puffy fabric paints, glitter fabric paints, or even fabric paints that create a raised texture. Experiment with these paints to add depth, texture, and a tactile quality to your fabric paintings.
Incorporating mixed media techniques into fabric painting can open up a world of possibilities. Combine fabric paints with other materials such as embroidery threads, beads, or sequins to create mixed media art pieces. Think outside the box and experiment with various materials to add a unique touch to your fabric paintings.
By following these comprehensive guidelines, you can confidently embark on your fabric painting journey. Remember to gather all the necessary supplies, prepare the fabric properly, set up an organized workspace, practice different techniques, apply the fabric paint carefully, cure and dry your painted fabric, add extra effects, fix mistakes when necessary, and care for your fabric painted items. With time and practice, you can explore advanced techniques and create stunning fabric art pieces that showcase your unique style and creativity.
