In this article, you will discover a comprehensive guide on effectively utilizing black wax on chalk paint. Enhancing the beauty and durability of your painted furniture or decorative pieces can be achieved by mastering the art of black wax application. With step-by-step instructions, helpful tips, and expert insights, you will gain the knowledge needed to create stunning, professional-looking finishes that will leave a lasting impression. Whether you are a seasoned DIY enthusiast or a beginner exploring the world of chalk paint, this article will provide you with all the necessary information to achieve exquisite results and elevate your creative projects to new heights.
Preparing the Surface
Cleaning the Surface
Before applying black wax on chalk paint, it is crucial to ensure that the surface is clean and free from dust, dirt, and any other debris. Using a mild detergent or a specialized surface cleaner, wipe down the surface thoroughly with a damp cloth. Pay close attention to any hard-to-reach areas, corners, and edges. Once cleaned, allow the surface to dry completely before proceeding to the next step.
Sanding and Priming
For optimal results, it is recommended to lightly sand the surface before applying chalk paint. This step helps to achieve better adhesion and a smoother finish. Use a fine grit sandpaper to gently sand the surface in a circular motion. After sanding, remove any sanding dust with a clean cloth or a tack cloth. If the surface has stains or imperfections, applying a coat of primer can help to even out the surface and improve paint adhesion.
Applying the Base Coat
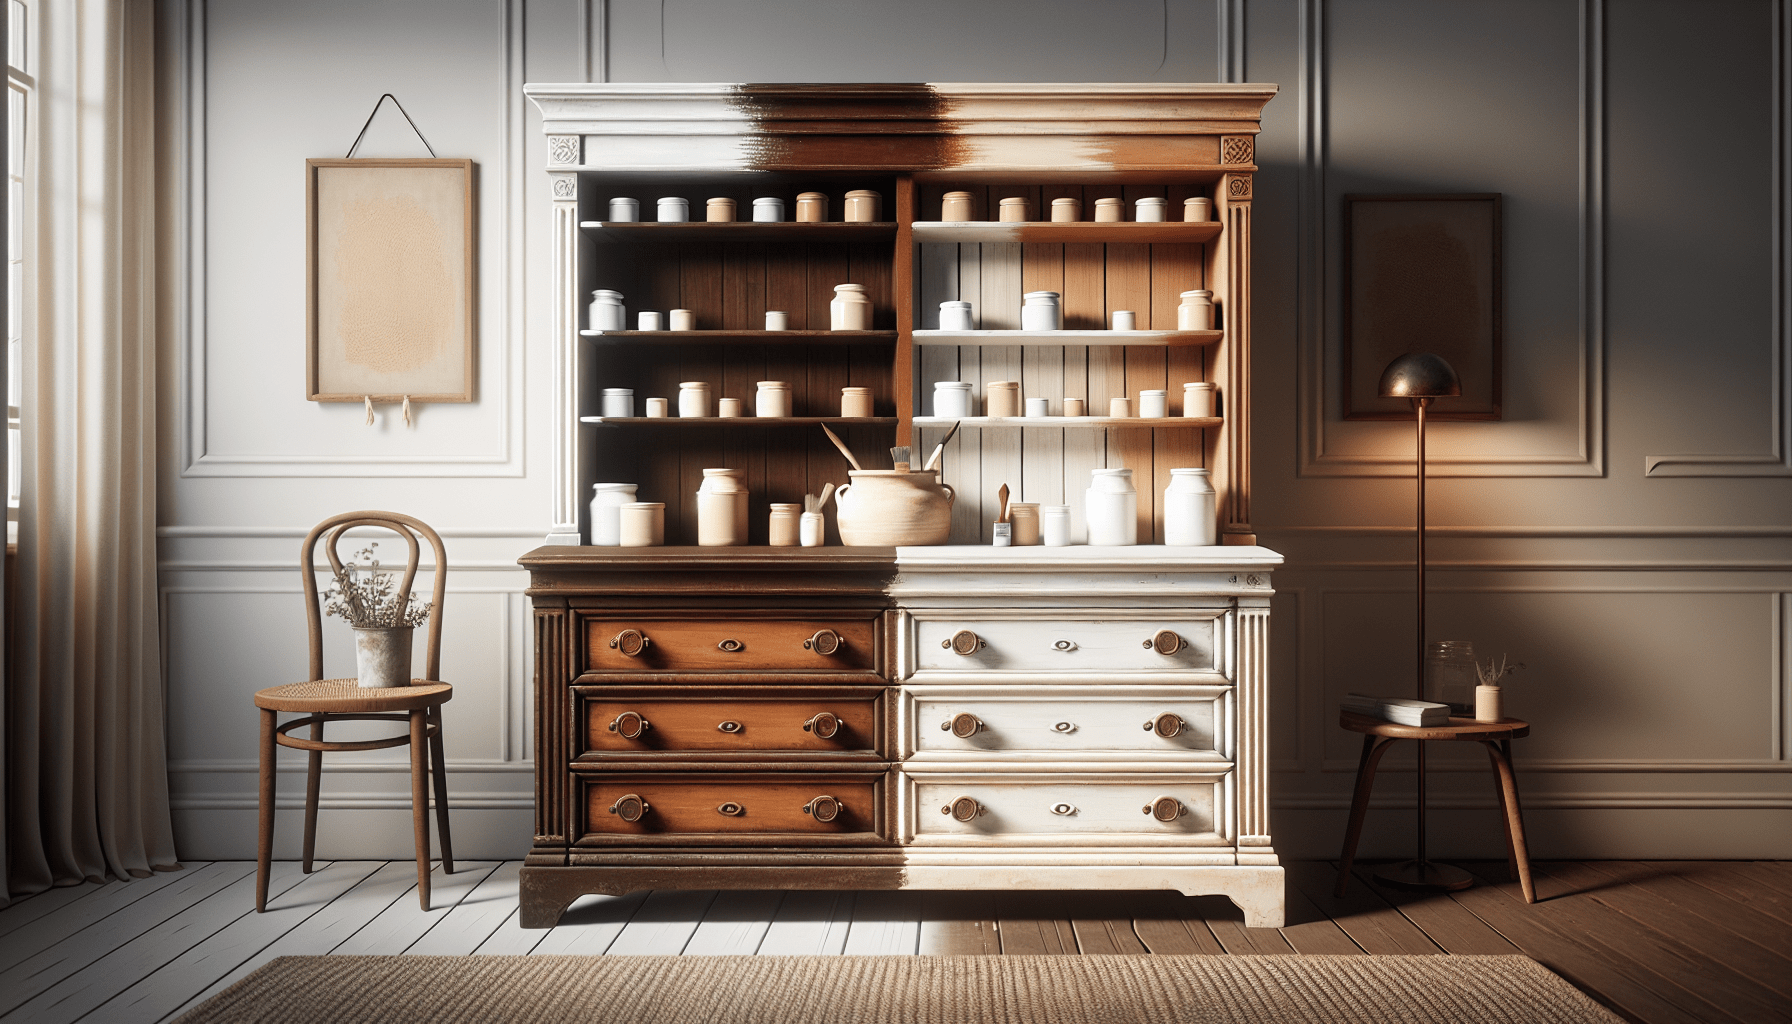
Before moving on to applying black wax, it is necessary to apply a base coat of chalk paint. Choose a color that complements the desired finish and apply it evenly to the surface using a high-quality brush or roller. Allow the base coat to dry according to the manufacturer’s instructions before proceeding to the next step.
Applying Black Wax
Choosing the Right Wax
When it comes to black wax, it is important to select a high-quality wax specifically designed for use with chalk paint. Ensure that the wax is compatible with the type and color of chalk paint used. Opt for a wax that provides a smooth and protective finish without compromising the desired look.
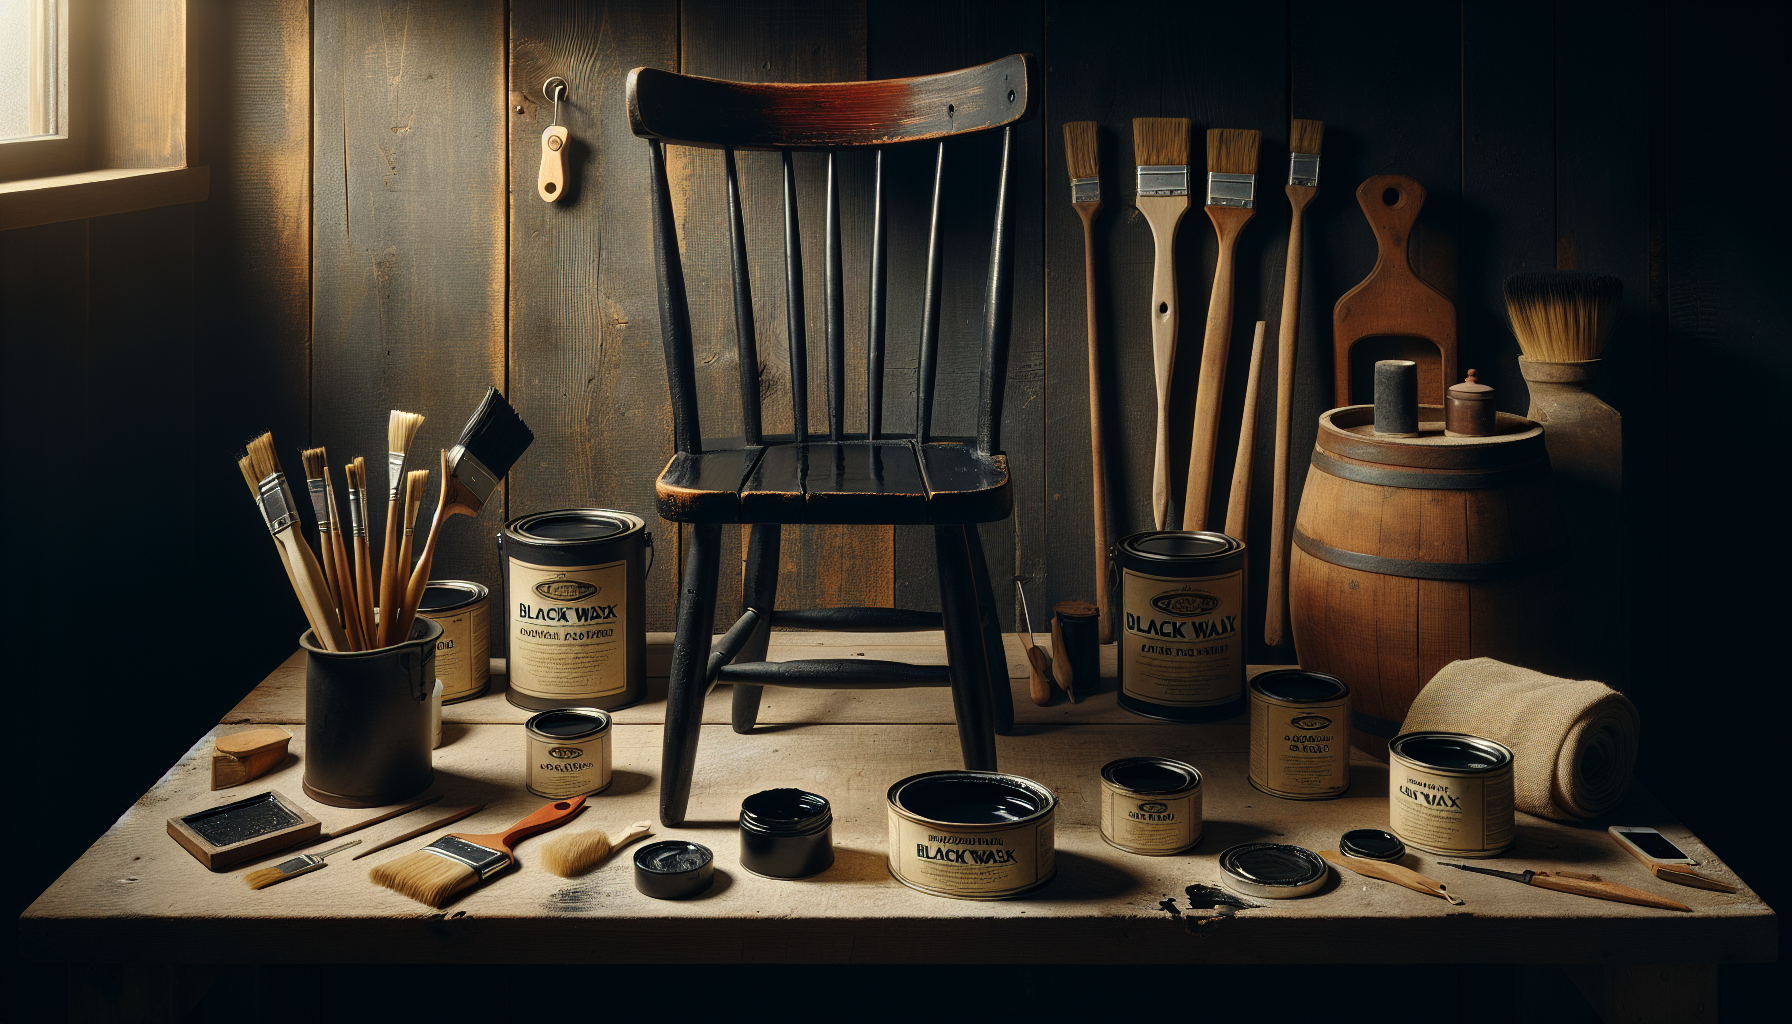
Gathering Necessary Tools
Before starting the application process, gather the necessary tools such as a wax brush or a lint-free cloth, a waxing brush or a clean lint-free rag, and a soft, lint-free cloth for buffing. These tools will help to effectively and evenly apply the black wax to the surface.
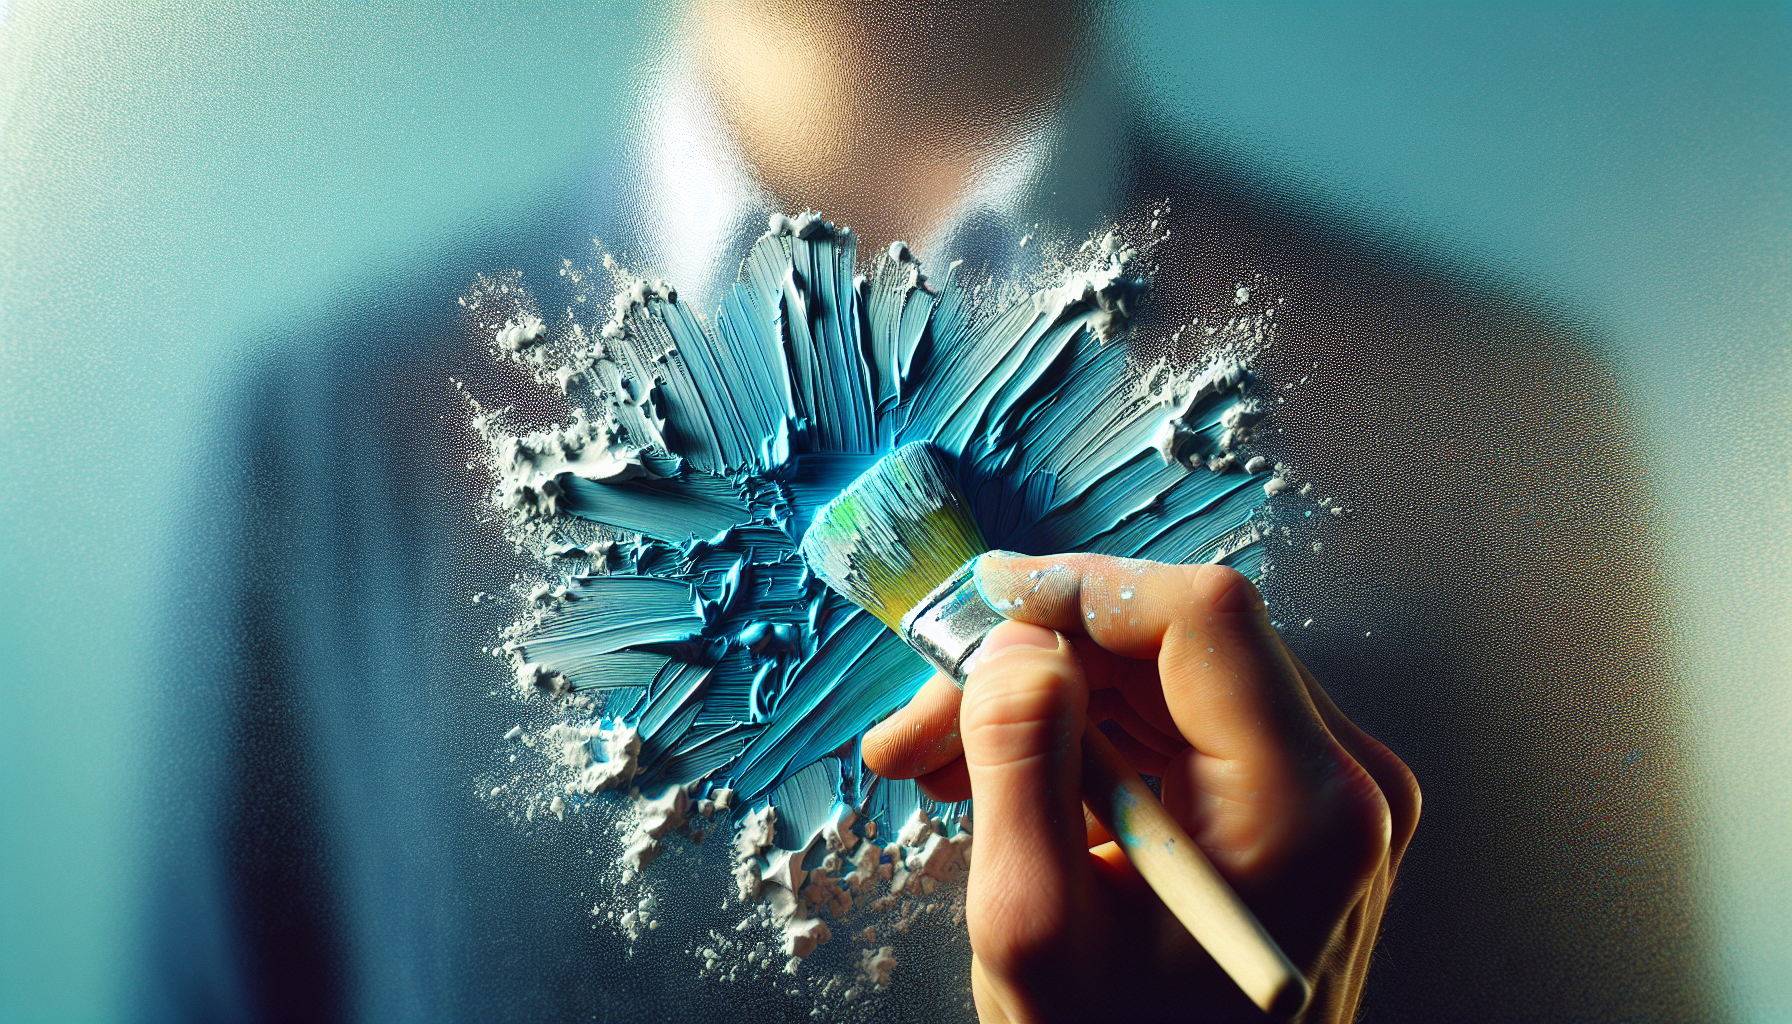
Applying the First Coat of Wax
Dip the wax brush or cloth into the black wax, coating it evenly. Begin applying the wax to the surface in small, circular motions. Work in manageable sections to ensure even coverage. As you apply the wax, make sure to work it into the surface, allowing it to penetrate the chalk paint. This will help to enhance the depth and richness of the color.
Buffing the Wax
After applying the first coat of black wax, allow it to dry for the recommended amount of time specified by the manufacturer. Once dry, use a waxing brush or a clean, lint-free cloth to gently buff the waxed surface. The buffing process helps to remove any excess wax and creates a smooth, polished finish. Use light pressure and circular motions while buffing to achieve the desired level of sheen.
Applying Additional Coats (Optional)
Depending on the desired depth of color and level of protection, additional coats of black wax can be applied. Allow each coat to dry thoroughly before applying the next one. Remember to buff the surface after each coat to maintain a smooth and polished finish. Applying multiple coats can create a deeper and more dramatic effect, enhancing the overall appearance of the finished piece.

Achieving Different Finishes
Distressed Look
To achieve a distressed look, apply black wax in the desired areas using a brush or cloth. Once the wax has dried, gently sand those areas using fine grit sandpaper. The sanding will remove some of the chalk paint and wax, revealing the base coat underneath. Use a distresseding technique to create a worn and aged appearance.
Antique Look
For an antique look, mix a small amount of brown or dark wax with black wax. Apply the mixture using a brush or cloth, focusing on corners, edges, and any detailed areas. After the wax has dried, lightly sand those areas to reveal the base coat and create an antique patina. Buff the surface to achieve a smooth and aged finish.
Aged Look
To achieve an aged look, first, apply a coat of black wax evenly using a brush or cloth. Allow the wax to dry before applying a thin layer of white or light-colored chalk paint over the waxed surface. Immediately after applying the paint, gently wipe away some of the paint with a damp cloth, exposing the underlying black-waxed surface. This technique will create a weathered and aged appearance.
Smooth and Contemporary Look
For a smooth and contemporary look, apply a thin layer of black wax using a brush or cloth in long, even strokes. Ensure that the application is smooth and uniform, avoiding any excess wax buildup. Allow the wax to dry before buffing the surface to a lustrous sheen. This technique will result in a sleek and modern finish, showcasing the richness of the black wax.
Troubleshooting and Tips
Dealing with Excess Wax
If you accidentally apply too much black wax, it can result in a tacky or sticky surface. To address this issue, lightly wipe away the excess wax using a clean cloth. Applying some mineral spirits or turpentine to the cloth can help remove stubborn or excessive wax buildup. Ensure to wipe away any residue thoroughly and buff the surface to restore its desired finish.
Fixing Uneven Application
In case the black wax is unevenly applied or there are visible brush marks, gently sand the surface using fine grit sandpaper. This will help to even out the wax and create a smoother finish. After sanding, apply an additional thin coat of black wax, being mindful of achieving a more even application. Buff the surface to blend and level the wax for a seamless appearance.
Avoiding Sticky Wax
To prevent excessive stickiness, do not apply too thick of a layer of black wax. Instead, apply thin and even coats, allowing each coat to dry completely before applying the next. Ensuring proper drying time and avoiding excessive application will help to prevent the wax from becoming sticky.
Protecting the Finished Surface
To protect the finished surface and ensure its longevity, consider applying a topcoat or sealant over the black wax. This additional layer of protection will help to guard against scratches, moisture, and other potential damage. Select a topcoat that is compatible with chalk paint and follow the manufacturer’s instructions for proper application and drying times.

Cleaning and Maintenance
Cleaning the Waxed Surface
To clean a surface treated with black wax, use a mild, non-abrasive cleaner or a damp cloth. Gently wipe away any dirt or stains without scrubbing too vigorously, as this may damage the waxed finish. Avoid using harsh chemicals or abrasive cleaners that could strip away the wax and compromise the appearance.
Maintaining the Waxed Surface
Regular maintenance is essential to keep the waxed surface looking its best. Periodically, gently buff the waxed surface with a soft, lint-free cloth to restore its luster. In high-traffic areas or on frequently used furniture pieces, consider reapplying a thin coat of black wax to refresh and reinforce the protective finish. This will help to maintain the beauty and longevity of the waxed surface.
Enhancing with Dark Wax
Understanding the Role of Dark Wax
Dark wax is often used to enhance and deepen the color of the black wax, creating richer and more intense finishes. It is typically applied on top of the black wax to add depth, dimension, and an antiqued effect to the painted surface. Dark wax can be used sparingly or selectively to highlight details and create a more dramatic look.
Creating Depth and Drama
To create depth and drama, apply a small amount of dark wax using a brush or cloth onto the surface already treated with black wax. Focus on the crevices, recessed areas, and details to emphasize the texture and add an aged patina. Blend the dark wax with the black wax using a soft, lint-free cloth to achieve a seamless transition between the two waxes.
Applying Dark Wax on Top of Black Wax
After applying the black wax and allowing it to dry, gently apply a thin layer of dark wax over the black wax. Use a brush or cloth to work the dark wax into the black wax, ensuring even coverage. If the dark wax is too intense, you can use a clean cloth to carefully remove some of the excess wax until the desired effect is achieved. Buff the surface to a beautiful and cohesive finish.
Using Black Wax in Different Projects
Furniture Restoration
Black wax can be a valuable tool in furniture restoration projects. It can help to revive and enrich the appearance of worn or dull furniture pieces, bringing out the beauty of the wood or paint finish. By using black wax, you can give old furniture a new lease on life, adding depth and character to the restored piece.
Refinishing Cabinets
When refinishing cabinets, black wax can be used to create depth and enhance the overall aesthetic. Whether it’s a kitchen, bathroom, or any other type of cabinet, black wax can bring out the grain of the wood and add a touch of elegance. It is an excellent choice for achieving a vintage or distressed look, adding personality to the cabinets.
Revamping Home Decor
Black wax can be used to transform various home decor items, such as frames, mirrors, candle holders, and more. By applying black wax, you can achieve different finishes and styles, allowing you to personalize and revamp your home decor. Whether you prefer a contemporary or a shabby-chic look, black wax offers versatility and the ability to create unique pieces.
Benefits and Versatility of Black Wax
Highlighting Details and Texture
Black wax has the ability to enhance and highlight the details and texture of a painted surface. It can seep into crevices, corners, and recessed areas, emphasizing the depth and intricacy of the piece. By using black wax, you can create visual interest, bringing out the unique characteristics of the surface.
Creating Vintage and Shabby-Chic Looks
Black wax is often associated with vintage and shabby-chic aesthetics. It can help to achieve an aged, weathered, or distressed look, adding a touch of nostalgia to your furniture or decor. Whether you want to create a rustic farmhouse feel or a romantic vintage vibe, black wax can contribute to the overall charm and character of the finished piece.
Complementing Various Color Schemes
Black wax is a versatile product that can seamlessly complement various color schemes and design styles. It can be used on light or dark paint colors, adding depth and richness. Whether you are working with neutral tones, vibrant hues, or monochromatic palettes, black wax offers a captivating contrast and a sophisticated touch.
Mixing Black Wax with Other Colors
Creating Custom Tinted Waxes
Black wax can be mixed with other colored waxes to create custom tinted waxes. This allows you to achieve unique finishes and experiment with different shades. By combining black wax with white, brown, or other colored waxes, you can personalize the wax to match your desired look and add a distinctive touch to your projects.
Achieving Unique Finishes
Mixing black wax with other colors opens up a world of possibilities for creating unique finishes. By blending black wax with colored waxes, you can achieve various shades, undertones, and effects. Whether you want a subtle tint or a bold hue, experimenting with different wax combinations can help you achieve a truly personalized and one-of-a-kind finish.
Experimenting and Personalizing
Adding Pigments or Glazes to Black Wax
For those looking to further customize their finishes, adding pigments or glazes to black wax can create stunning effects. By mixing pigments or glazes with black wax, you can introduce color, depth, and dimension to your projects. This technique allows you to push the boundaries of creativity, transforming your pieces into truly unique works of art.
Layering Different Wax Colors
Layering different wax colors is another way to experiment and personalize your finishes. By applying multiple layers of black wax, followed by layers of colored waxes, you can achieve a multi-dimensional and nuanced look. This layering technique adds depth and texture, making the surface visually captivating and intriguing.
In conclusion, black wax is a versatile tool that can elevate your chalk paint projects to new heights. Whether you are aiming for a distressed, antique, or contemporary look, black wax offers endless possibilities to achieve the desired finish. From furniture restoration to revamping home decor, the benefits and versatility of black wax make it a valuable asset for any DIY enthusiast or professional painter. So, unleash your creativity, experiment with different finishes, and personalize your projects using black wax on chalk paint.