Enamel paint is a popular choice for achieving a smooth and durable finish on various surfaces. However, when it comes to spraying enamel paint, special considerations need to be taken into account. This article will provide you with expert guidance on how to thin enamel paint effectively for spraying, ensuring optimal results and a flawless application. By the end, you will have a clear understanding of the proper techniques and ratios to achieve the desired consistency, enhancing your painting experience and achieving professional-quality finishes.

Understanding Enamel Paint
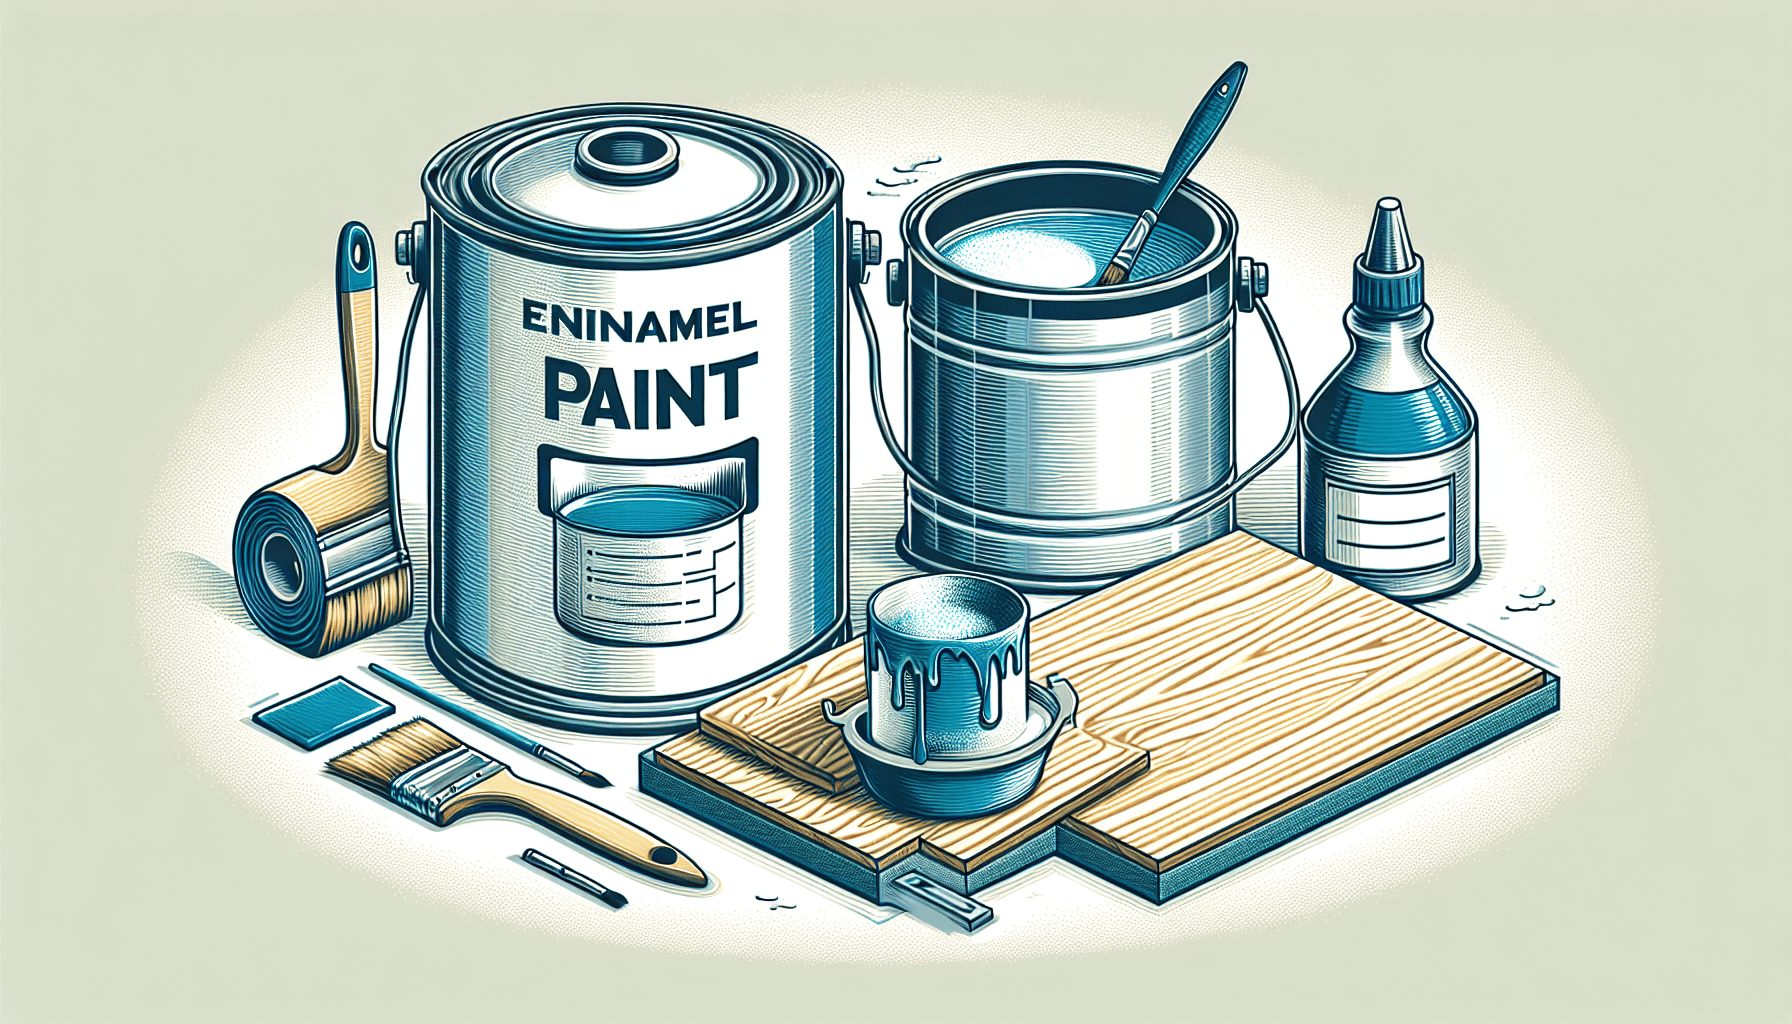
Enamel paint is a type of paint that is known for its glossy and durable finish. It is commonly used for painting surfaces that require a high level of durability and resistance to wear and tear, such as metal, wood, or plastic. Enamel paint is composed of pigment, oil, and a solvent, which helps to keep the paint in a liquid state.
Why do you need to thin enamel paint for spraying?
Enamel paint is often thicker than other types of paint, which makes it difficult to apply with a sprayer. Thinning the paint allows it to flow more easily through the nozzle of the sprayer, resulting in a smoother and more even finish. Thinning the paint also helps to reduce the chances of clogs or inconsistent spray patterns, ensuring that you achieve professional-looking results.
Choosing the Right Thinner
When it comes to thinning enamel paint, it’s important to choose the right type of thinner. The right thinner will depend on the type of enamel paint and the manufacturer’s recommendations. Using the wrong type of thinner can affect the drying time, adhesion, and overall performance of the paint.
Determining the type of enamel paint
Before choosing a thinner, it’s important to determine the type of enamel paint you are using. This information can usually be found on the paint can or product label. There are different types of enamel paint, such as oil-based or water-based, and each type may require a different type of thinner for optimal results.
Researching the recommended thinner
Once you have determined the type of enamel paint, it is crucial to research the recommended thinner. The manufacturer’s guidelines will provide specific information on the appropriate thinner to use for thinning the paint. This information can typically be found on the paint can or on the manufacturer’s website. By using the recommended thinner, you can ensure that the paint will perform as intended.
Considerations for different environments
Different environments may require different thinning ratios for enamel paint. Factors such as temperature, humidity, and altitude can affect the drying time and viscosity of the paint. It is important to take these factors into consideration when choosing a thinner and determining the appropriate thinning ratio. Consulting with a professional or contacting the manufacturer can provide valuable guidance in determining the best thinning ratio for your specific environment.
Preparing the Tools and Work Area
Before you begin thinning enamel paint for spraying, it is essential to gather the necessary tools and set up a well-ventilated work area. Additionally, taking protective measures for personal safety is crucial to ensure a safe painting experience.
Gather the necessary tools
To thin enamel paint for spraying, you will need the following tools:
- Enamel paint thinner: As mentioned earlier, it is important to use the recommended thinner for the specific type of enamel paint you are using.
- Measuring tools: These can include graduated mixing cups or measuring spoons, depending on the manufacturer’s recommended thinning ratios.
- Mixing sticks or stirrers: These are used to thoroughly mix the paint and thinner together.
- Spray gun or sprayer: Having a high-quality spray gun or sprayer will help achieve the desired results.
- Safety gear: Wear protective gloves, goggles, and clothing to minimize exposure to the paint and fumes.
Set up a well-ventilated work area
Thinning enamel paint for spraying can release fumes that may be harmful if inhaled in large quantities. It is essential to set up a well-ventilated work area to ensure proper air circulation and minimize exposure to these fumes. If possible, work in an outdoor area or in a well-ventilated room with open windows and fans to provide a constant flow of fresh air.
Protective measures for personal safety
When working with enamel paint, it is important to prioritize personal safety. Wear appropriate safety gear, including gloves, goggles, and protective clothing, to minimize skin contact with the paint and protect your eyes from any potential splatters or drips. Additionally, consider using a respirator to further reduce your exposure to hazardous fumes. Always follow the manufacturer’s instructions and recommendations for safety precautions.
Preparing the Enamel Paint
Before adding the thinner, it is important to identify the desired consistency of the enamel paint and understand the recommended thinning ratio. Measuring and mixing the paint and thinner correctly will help achieve the desired results.
Identify the desired consistency
The desired consistency of thinned enamel paint for spraying will depend on the project and the surface being painted. Generally, enamel paint should have a smooth and flowing consistency that allows it to be easily sprayed without clogging the nozzle. It should not be too thick or too thin.
Understanding the recommended thinning ratio
The manufacturer’s recommended thinning ratio is crucial in achieving the desired consistency for spraying enamel paint. This information is typically provided on the paint can or on the manufacturer’s website. The thinning ratio will indicate the proper amount of thinner to mix with a specific volume of enamel paint. Following this ratio is important to avoid over-thinning or under-thinning the paint, which can affect the quality of the finish.
Measuring and mixing the paint and thinner
To achieve the recommended thinning ratio, it is important to measure the enamel paint and thinner accurately. Graduated mixing cups or measuring spoons can be used for precise measurements. Pour the desired amount of enamel paint into a clean container and then slowly add the recommended amount of thinner. Use a mixing stick or stirrer to thoroughly blend the paint and thinner together. Continuously stir the mixture until a smooth and consistent consistency is achieved.
Methods for Thinning Enamel Paint
There are several methods for thinning enamel paint, including following the manufacturer’s guidelines, test spraying and adjusting as necessary, and using blending and straining techniques.
Using the manufacturer’s guidelines
The manufacturer’s guidelines provide the most accurate and reliable information on how to thin their specific brand of enamel paint. It is important to read and follow these guidelines carefully to ensure the best results. The manufacturer’s guidelines will typically include information on the recommended thinning ratio, specific thinning techniques, and any additional tips or precautions.
Test spray and adjust as necessary
Before committing to spraying the entire surface, it is advisable to test spray a small area to evaluate the consistency and coverage of the thinned enamel paint. This will allow you to assess if any adjustments need to be made. If the paint is too thick, it may result in a textured or uneven finish. If it is too thin, it may run or drip. Adjust the thinning ratio as necessary to achieve the desired results.
Blending and straining techniques
In some cases, enamel paint may require additional preparation techniques, such as blending or straining, to achieve the desired consistency. Blending involves mixing multiple shades or colors of enamel paint together to create a unique shade or color. Straining, on the other hand, involves filtering the paint through a fine mesh or strainer to remove any impurities or particles that may affect the finish. These techniques can help ensure a smooth and flawless application of thinned enamel paint.
Spraying Techniques and Equipment
Proper spraying techniques and using the appropriate equipment are crucial in achieving professional results with thinned enamel paint.
Selecting the appropriate spraying equipment
The type of spraying equipment you choose will depend on the size and nature of your project. There are different types of spray guns and sprayers available, including gravity feed, airless, and HVLP (High Volume Low Pressure). Consider the type of enamel paint you are using and the manufacturer’s recommendations when selecting the appropriate spraying equipment. It is also important to ensure that the equipment is clean and free from any contaminants before use.

Understanding the correct pressure settings
Using the correct pressure settings on your spraying equipment is essential for achieving optimal results. The pressure settings will vary depending on the type of equipment and the specific enamel paint being used. The manufacturer’s guidelines should provide information on the recommended pressure settings for their specific paint and equipment. It is important to follow these guidelines to avoid over or under spraying, which can result in an uneven or patchy finish.
Practice and control techniques
Spraying enamel paint requires practice and control to achieve a smooth and even finish. Practice on a scrap piece of material or a test surface to familiarize yourself with the equipment and adjust your technique as needed. Maintain a consistent distance from the surface being painted, usually around 6-12 inches, and use smooth and sweeping motions to ensure even coverage. Overlapping each pass slightly will help achieve an even finish. Developing good control and technique will allow for better accuracy and a more professional result.
Safety and Protective Measures
When working with enamel paint, safety should be a top priority. Taking appropriate safety measures, including wearing the right safety gear and minimizing exposure to hazardous fumes, is vital to protect your health and well-being.
Wearing appropriate safety gear
Enamel paint can be harmful to the skin and eyes, so wearing appropriate safety gear is crucial. Protective gloves should be worn to prevent skin contact with the paint. Goggles or safety glasses will safeguard your eyes from any splatters or drips. Additionally, wearing long sleeves and pants can help protect your skin from accidental contact with the paint.
Choosing the right respirator
To further minimize your exposure to potentially harmful fumes, consider wearing a respirator specifically designed for painting. A respirator will filter out the fumes and particles in the air, providing you with clean and safe breathing air. It is important to select a respirator that is approved for use with enamel paint and that fits well and seals properly to your face.
Minimizing exposure to hazardous fumes
Enamel paint can release hazardous fumes during the spraying process, so it is important to take steps to minimize your exposure. Ensure that your work area is well-ventilated by opening windows and using fans to provide a constant flow of fresh air. If possible, set up a ventilation system that will exhaust the fumes to the outside. Working outdoors or wearing a protective mask can also help minimize your exposure to these fumes.
Proper Application and Cleanup
Achieving professional results with thinned enamel paint requires proper application techniques and thorough cleanup after spraying.
Prepping the surface for painting
Before applying thinned enamel paint, it is important to properly prepare the surface being painted. This typically involves cleaning the surface to remove any dirt, dust, or grease that may affect the adhesion of the paint. Sanding the surface lightly can also help create a more receptive surface for the paint. Follow any specific instructions provided by the manufacturer for preparing the surface.
Applying thin coats for best results
To achieve a professional finish, it is recommended to apply multiple thin coats of thinned enamel paint, rather than one thick coat. Thin coats allow for better control and reduce the chances of runs or drips. Apply each coat in smooth and even strokes, overlapping slightly with each pass. Allow each coat to dry completely before applying the next one.
Cleaning up the equipment after spraying
After you have finished spraying enamel paint, it is important to clean your equipment thoroughly to maintain its performance and durability. Follow the manufacturer’s instructions for cleaning the spray gun or sprayer, including disassembling any removable parts, using the recommended cleaning solutions, and removing any excess paint. Dispose of any leftover paint or cleaning solutions according to local regulations.
Troubleshooting Common Issues
Even with careful preparation and execution, there may be some common issues that can arise when spraying thinned enamel paint. Knowing how to identify and troubleshoot these issues can help you achieve the best results possible.
Adhesion problems and solutions
If the thinned enamel paint does not adhere properly to the surface, it may crack, peel, or flake off. Adhesion problems can occur due to improper surface preparation, incompatible paint and surface materials, or inadequate drying time. To address this issue, ensure that the surface is properly cleaned and prepared, and use an appropriate primer if necessary. Additionally, consider using enamel paint specifically formulated for the surface material.
Avoiding runs and drips
Thinned enamel paint that is applied too thickly or in excess can result in runs or drips. To avoid this issue, apply thin coats of paint, allowing each coat to dry completely before applying the next one. Use smooth and even strokes, maintaining a consistent distance from the surface. If runs or drips do occur, gently sand them down after the paint has dried and apply a new thin coat to even out the surface.
Dealing with clogs or inconsistent spray patterns
Clogs in the spray gun or sprayer can cause inconsistent spray patterns, resulting in an uneven finish. This can be caused by impurities in the paint, inadequate mixing, or a dirty or damaged nozzle. To address clogs, thoroughly clean the spray gun or sprayer and remove any build-up or blockages. Straining the thinned enamel paint through a fine mesh or strainer can also help remove any impurities. If the nozzle is damaged, replace it with a new one.
Conclusion
Thinning enamel paint for spraying can be a challenging task, but by following the appropriate steps and using the right techniques and equipment, you can achieve professional results. Understanding the importance of choosing the right thinner, preparing the enamel paint correctly, and using proper spraying techniques and safety measures are key to a successful paint job. With the benefits of using thinned enamel paint, such as a smooth, even, and durable finish, you can tackle your next painting project with confidence and achieve the desired results.