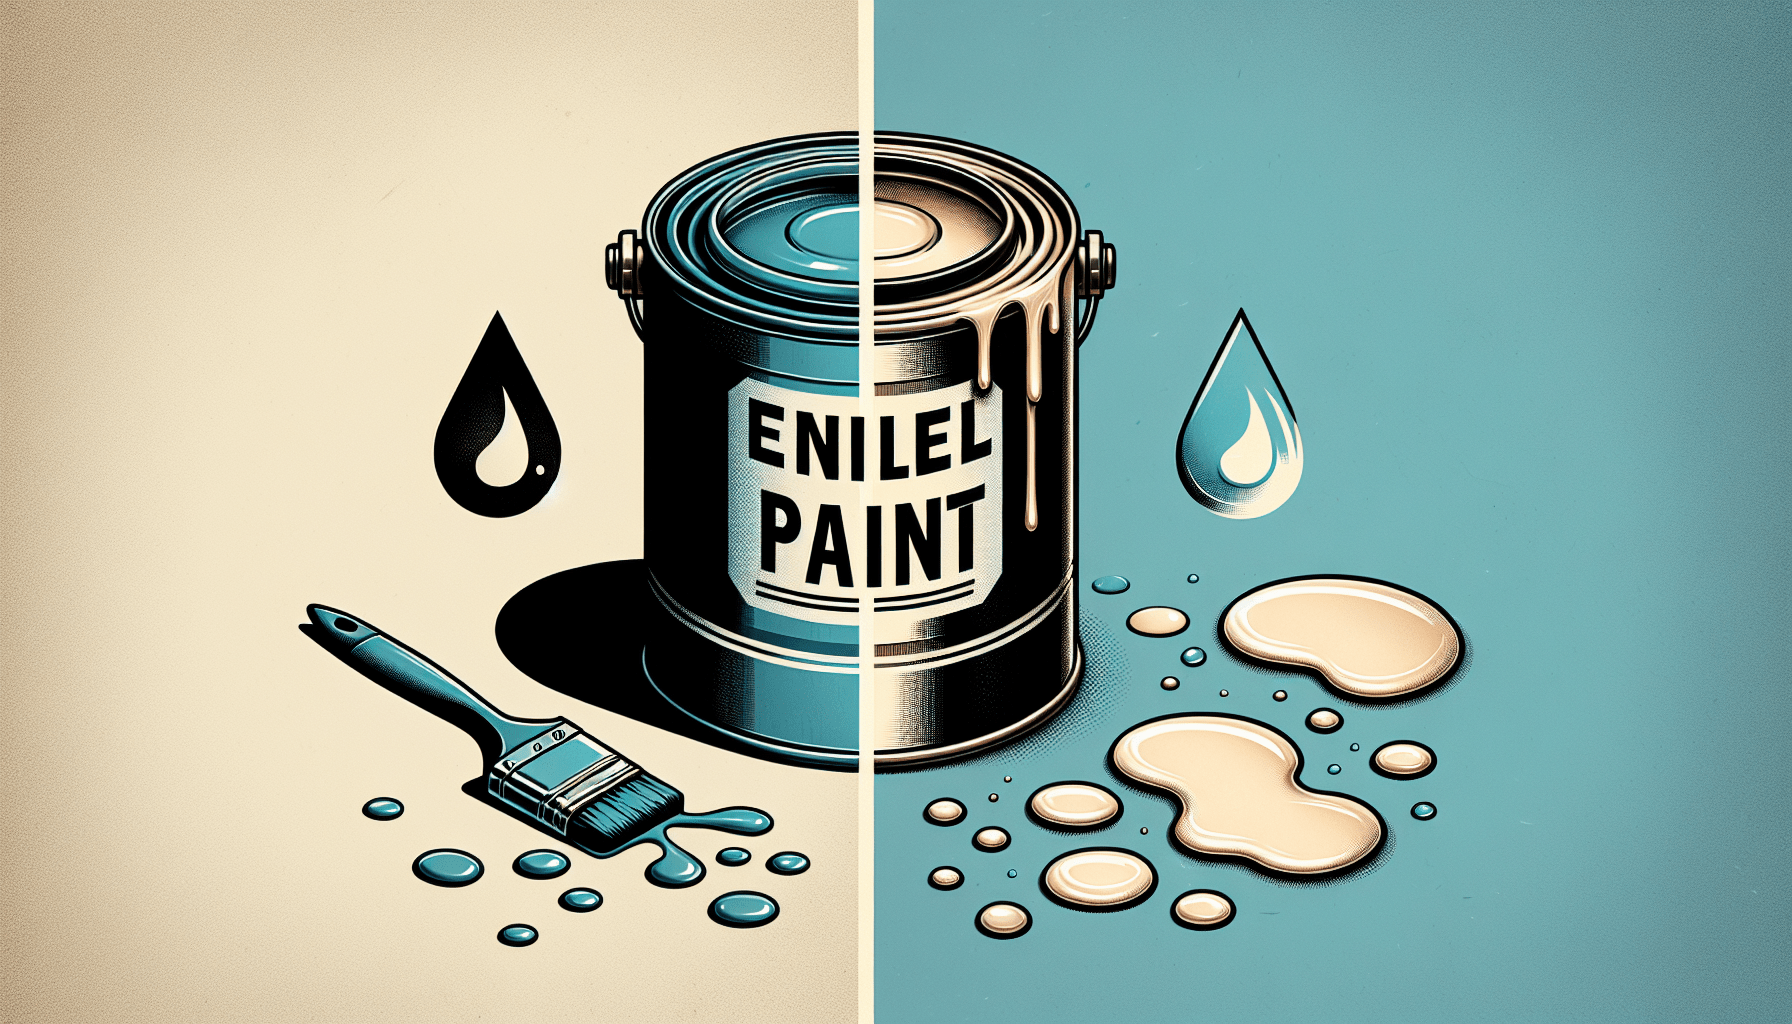
Enamel paint is a popular choice for airbrushing due to its durability and glossy finish. However, achieving the right consistency can be a challenge. In this article, you will learn the essential techniques for thinning enamel paint to achieve optimal results with your airbrush. Whether you are a professional artist or a hobbyist, mastering the art of thinning enamel paint will enable you to create smooth and flawless finishes on various surfaces. So, let’s explore the precise methods and proportions that will help you achieve the perfect consistency for your airbrush projects.
Why Thin Enamel Paint for Airbrushing?
Enamel paint is a popular choice for airbrushing due to its durability, glossy finish, and vibrant colors. However, when using enamel paint with an airbrush, it is essential to thin the paint properly to achieve the desired results. Thinning enamel paint before airbrushing offers several advantages, such as improved flow, better control, and reduced risk of clogging the airbrush. In this article, we will explore the importance of thinning enamel paint for airbrushing and the steps to achieve the ideal consistency.
Advantages of Thinning Enamel Paint for Airbrushing
Improved Flow
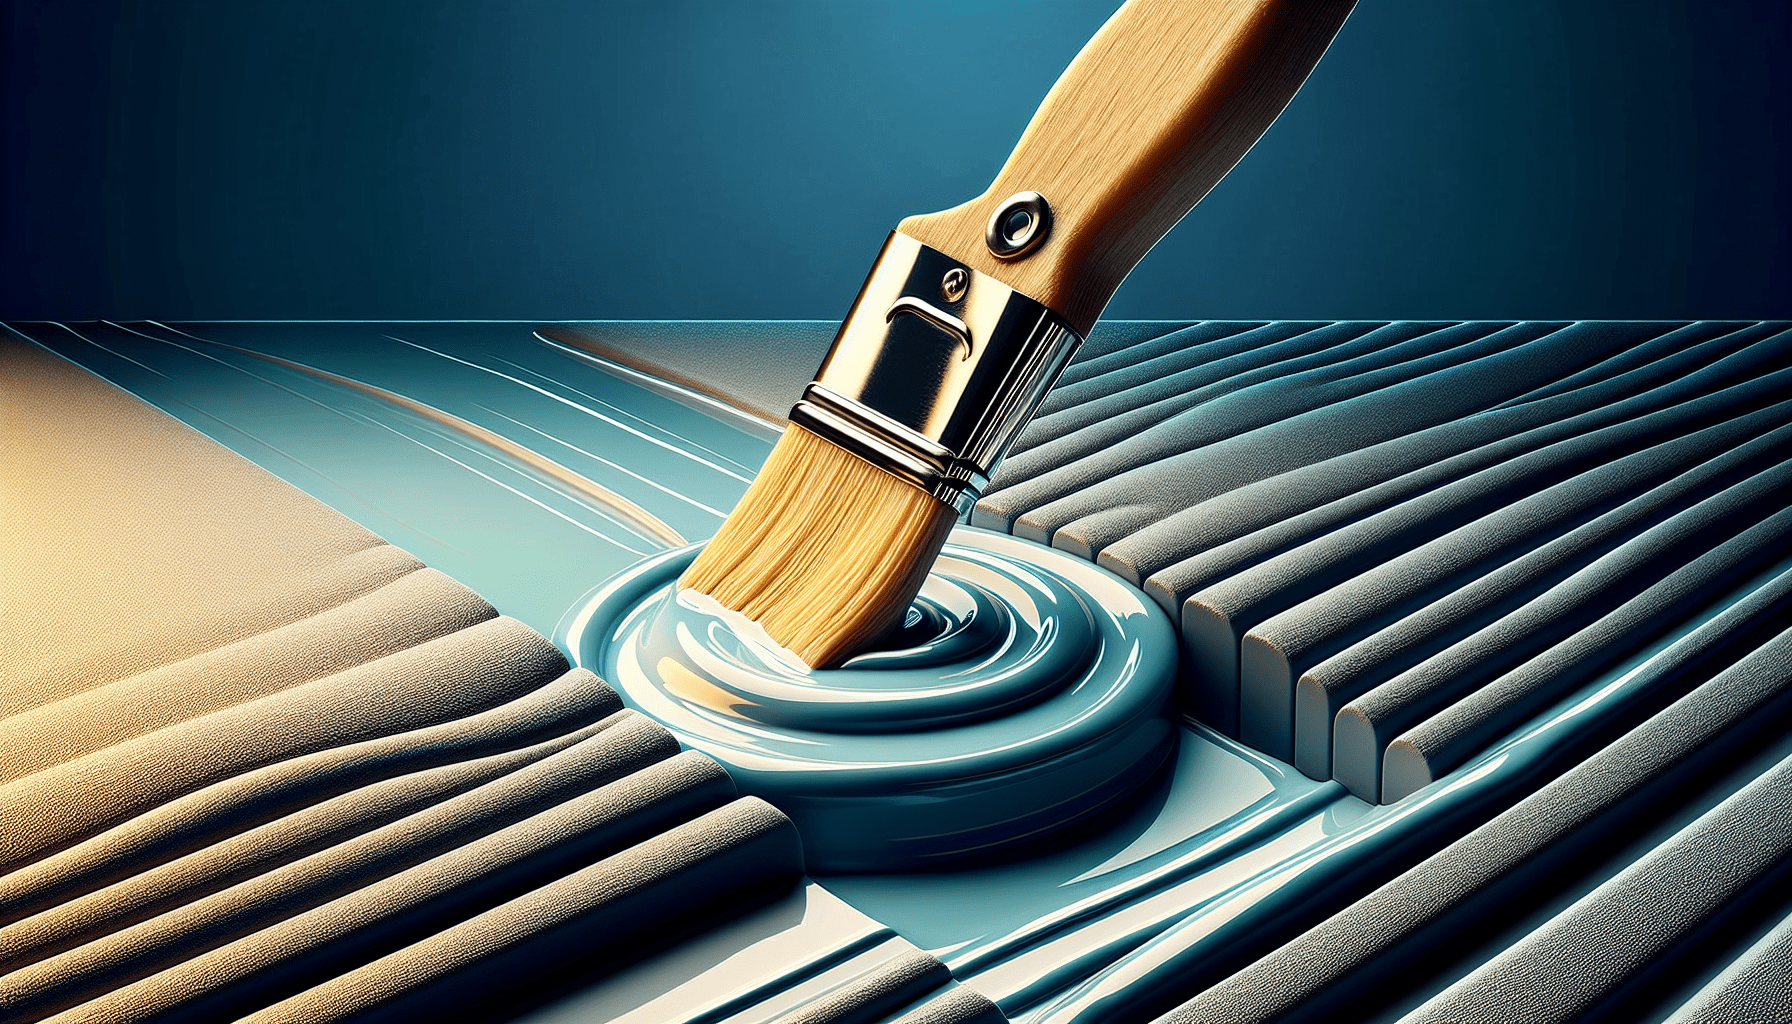
Enamel paint, in its original consistency, can be thick and viscous. When airbrushing with unthinned enamel paint, the thick consistency can hinder the paint’s flow through the airbrush nozzle. This can lead to sputtering or uneven coverage, affecting the overall quality of the paint job. By thinning the enamel paint, you can improve the flow and ensure smooth, even application.
Better Control
Thinned enamel paint provides better control over the airbrushing process. The reduced viscosity allows for more precise manipulation of the paint, making it easier to achieve fine details and smooth gradients. With better control, you can create intricate designs and achieve professional-looking results.
Reduced Risk of Clogging
Airbrushes, especially those with smaller nozzle sizes, are prone to clogging when used with unthinned enamel paint. The thicker consistency of unthinned paint can clog the nozzle, resulting in interruptions and uneven spray patterns. Thinning the enamel paint helps minimize the risk of clogging, ensuring uninterrupted flow and consistent spray patterns.

Importance of Proper Thinning for Achieving Desired Results
Properly thinning enamel paint is crucial for achieving the desired results in airbrushing. The right consistency allows for even coverage, smooth gradients, and accurate color representation. Without proper thinning, the paint may be too thick, leading to a textured or uneven finish. On the other hand, over-thinning the paint may result in transparent or watery coverage. To ensure the best outcome, it is essential to follow the manufacturer’s recommendations and conduct test sprays to assess and adjust the consistency as needed.
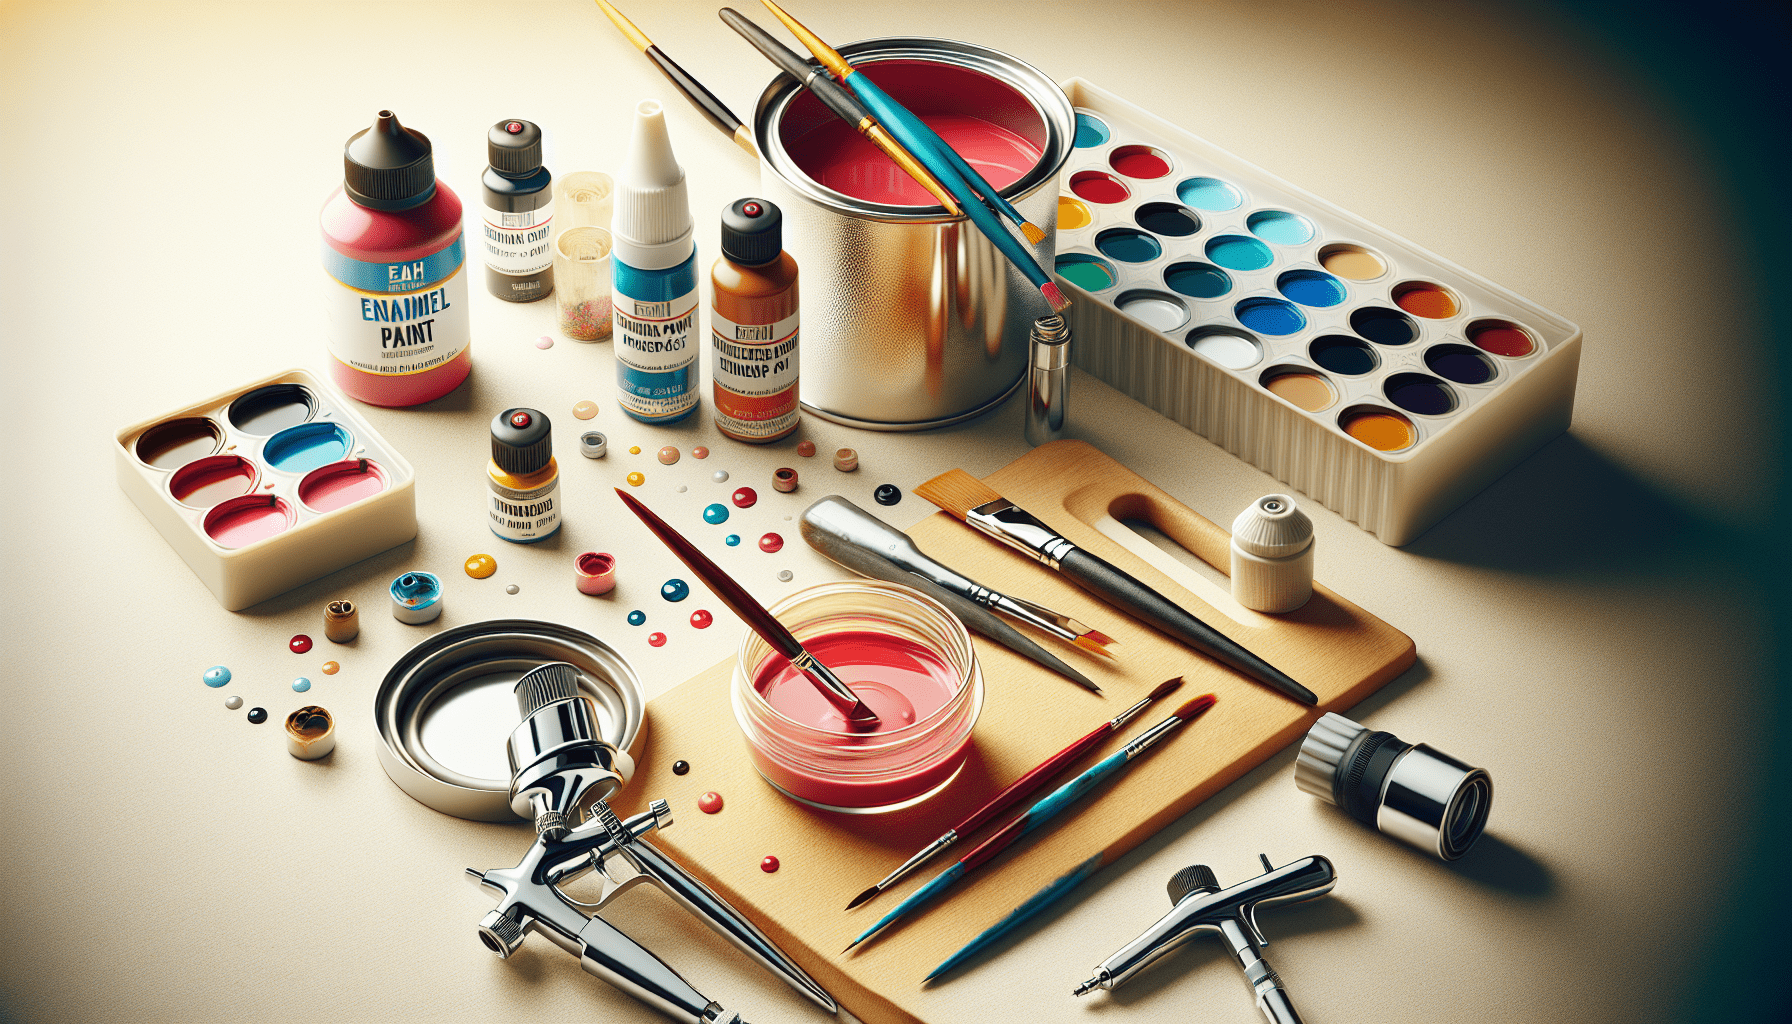
Materials Needed
Before diving into the process of thinning enamel paint for airbrushing, gather the following materials:
- Enamel paint
- Thinner
- Stirring stick
- Measuring cup
- Disposable gloves
- Safety goggles
- Respirator mask
These materials will ensure a safe and efficient thinning process, protecting you from harmful fumes and facilitating accurate measurements.

Preparing the Work Area
Before thinning enamel paint, it is crucial to create a suitable work environment. Follow these steps to prepare your work area:
Choosing a Well-Ventilated Area
Thinning enamel paint involves working with solvents that release fumes, which can be harmful if inhaled. Select a well-ventilated area, preferably outdoors or in a well-ventilated room with windows or ventilation fans. Adequate ventilation will help dissipate fumes and ensure a safer working environment.
Covering the Work Surface with a Protective Layer
Lay down a protective layer, such as a plastic sheet or newspaper, to prevent any spilled or splattered paint from damaging your work surface. Enamel paint can be challenging to remove once it dries, so taking precautions to protect your workspace is essential.
Organizing Materials for Easy Access
Arrange all the materials required for thinning enamel paint within reach. Having your enamel paint, thinner, measuring cup, stirring stick, disposable gloves, safety goggles, and respirator mask readily available will streamline the process and prevent any unnecessary delays or interruptions.
Preparing the Enamel Paint
Before thinning the enamel paint, it is crucial to familiarize yourself with the manufacturer’s instructions. Each brand of enamel paint may have specific guidelines regarding the thinning process. Carefully read and follow the instructions provided to achieve the best possible results.
Reading the Manufacturer’s Instructions
Refer to the manufacturer’s instructions printed on the enamel paint container or included in the packaging. These instructions will provide valuable information on the recommended thinning ratios, compatible thinners, and any specific instructions for airbrushing.
Properly Shaking the Paint Bottle
Enamel paint tends to settle over time, with pigments and solvents separating. To ensure an even consistency, vigorously shake the paint bottle for a few minutes. This shaking action will help mix the pigments and solvents and prepare the paint for thinning.
Pouring the Necessary Amount of Paint into a Measuring Cup
Using a measuring cup, carefully pour the desired amount of enamel paint. The amount will vary depending on the size of your project and your airbrushing technique. Follow the manufacturer’s instructions for the recommended paint-to-thinner ratio, which will help you determine the appropriate amount of paint required.
Determining the Thinning Ratio
To achieve the ideal consistency for airbrushing, it is crucial to determine the correct thinning ratio. Here’s how you can determine the thinning ratio:
Consulting the Manufacturer’s Recommendations
Refer back to the manufacturer’s instructions to identify the recommended thinning ratio for the specific enamel paint you are using. The instructions may provide guidance on the suitable amount of thinner to add for a given quantity of paint. Following these recommendations will ensure that you achieve the desired consistency.
Doing a Test Spray to Assess Consistency
Before thinning the entire batch of enamel paint, it is advisable to perform a test spray. Use a scrap piece of material or a designated test surface to spray a small amount of unthinned paint. Observe the consistency of the spray pattern and assess whether it meets your desired outcome. Depending on the results, you can adjust the thinning ratio by adding more paint or thinner as required.
Adding Thinner to the Enamel Paint
Once you have determined the appropriate thinning ratio, it’s time to add the thinner to the enamel paint. Follow these steps to ensure a smooth mixture:
Adding Small Amounts of Thinner at a Time
To avoid over-thinning the paint, it is best to add the thinner in small increments. Start by adding a small amount of thinner, typically around 10-20% of the total paint volume, to the enamel paint. Slowly pour the thinner into the paint while stirring continuously.
Stirring the Paint and Thinner Mixture Thoroughly
Use a stirring stick or a dedicated mixing tool to thoroughly blend the paint and thinner. Stir the mixture in a circular motion, making sure to scrape the sides and bottom of the container. Continue stirring until the paint and thinner are well-mixed, and the consistency is uniform throughout.
Achieving the Desired Consistency
The desired consistency of thinned enamel paint for airbrushing may vary depending on personal preference and the specific airbrushing technique. However, there are general guidelines to help you achieve the desired consistency. Here’s how to evaluate and adjust the thinned paint’s consistency:
Spraying a Small Amount of Thinned Paint onto a Test Surface
Similar to the earlier test spray, spray a small amount of thinned paint onto a test surface to evaluate its consistency. Observe how the paint flows through the airbrush and the coverage it provides. Pay attention to any inconsistencies or issues that may arise during the spraying process.
Evaluating the Consistency and Adjusting as Needed
Based on the test spray results, evaluate the consistency of the thinned enamel paint. If the paint appears too thick or results in a textured finish, you may need to add more thinner to achieve a smoother consistency. Conversely, if the paint appears too watery or transparent, consider adding a small amount of paint to thicken the mixture. Continue adjusting and testing until you achieve the desired consistency.
Using the Thinned Enamel Paint
Once you have achieved the desired consistency, you are ready to use the thinned enamel paint with your airbrush. Follow these steps for optimal application:
Pouring the Thinned Paint into the Airbrush Cup
Carefully transfer the thinned enamel paint into the airbrush’s cup. Take care not to spill or slosh the paint, as this can lead to inconsistencies in the spraying process. Ensure that the airbrush cup is securely attached, minimizing the risk of leaks during application.
Adjusting Air Pressure and Spray Pattern for Optimal Application
Before starting your project, adjust the air pressure on your airbrush to the appropriate level. The optimal air pressure will depend on factors such as the airbrush model, nozzle size, and the desired effect. Refer to the manufacturer’s instructions or tested airbrushing techniques to determine the optimal air pressure setting. Additionally, adjust the spray pattern according to the desired coverage and effect.
Cleaning Up
After completing your airbrushing project, it is crucial to properly clean your airbrush and dispose of any leftover thinned paint and cleaning materials. Follow these steps for an efficient cleanup process:
Thoroughly Cleaning the Airbrush
Disassemble your airbrush and clean each component thoroughly. Rinse the paint cup, nozzle, needle, and any other removable parts with an appropriate cleaner or solvent. Use a soft brush or pipe cleaner to remove any stubborn paint residue. Once clean, reassemble the airbrush carefully, ensuring all components are securely in place.
Disposing of Any Leftover Thinned Paint and Cleaning Materials Properly
Dispose of any leftover thinned paint following local regulations for hazardous waste disposal. Thinned enamel paint and some cleaning materials may require special handling or designated disposal methods. Check with your local waste management authorities for guidance on the proper disposal of these materials.
Tips and Precautions for Thinning Enamel Paint for Airbrushing
To ensure a successful airbrushing experience, consider the following tips and precautions:
Wearing Protective Gear Throughout the Process
Enamel paint and thinners contain chemicals that can be harmful if exposed to your skin, eyes, or respiratory system. Wear disposable gloves, safety goggles, and a respirator mask during the entire thinning and airbrushing process to protect yourself from fumes and any potential contact with hazardous materials.
Avoiding Over-Thinning the Paint
Adding too much thinner to enamel paint can result in a transparent or watery consistency that is unsuitable for airbrushing. Be cautious when adding thinner, and remember to add it in small increments while continuously evaluating the consistency. It is easier to add more thinner if necessary than to rectify an over-thinned paint mixture.
Practicing on a Scrap Piece Before Starting a Project
Before airbrushing on your intended project surface, practice on a scrap piece of material. This allows you to familiarize yourself with the airbrush, the thinned paint’s consistency, and the desired effects. Practicing beforehand reduces the risk of mistakes or inconsistencies when working on your actual project.
In conclusion, thinning enamel paint for airbrushing is a crucial step to achieve the desired professional results. Proper thinning offers improved flow, better control, and reduces the risk of clogging the airbrush. By following the outlined steps and considering the tips and precautions, you can confidently thin enamel paint for your airbrushing projects, creating stunning artwork with ease.