As an artist, your most prized possessions are likely your brushes. The longer they last, the better you become at your craft. Extra care is needed for oil paint brushes between coats; improper storage could lead to damage of the bristles which in turn affects your work. “How To Store Oil Paint Brushes Between Coats” is a comprehensive guide that instructs you on how to preserve the quality of your brushes with meticulous techniques and specialized materials. This article elaborates on these effective methods to ensure the longevity of your brushes. Making the most of your tools begins with caring for them properly, and this guide is a valuable resource to help you get started on the right track.
Choosing the Right Storage Container
One of the initial steps you need to take to properly store your painting brushes is selecting the right storage container. It is imperative to take into consideration a few crucial factors.
Consider airtight containers
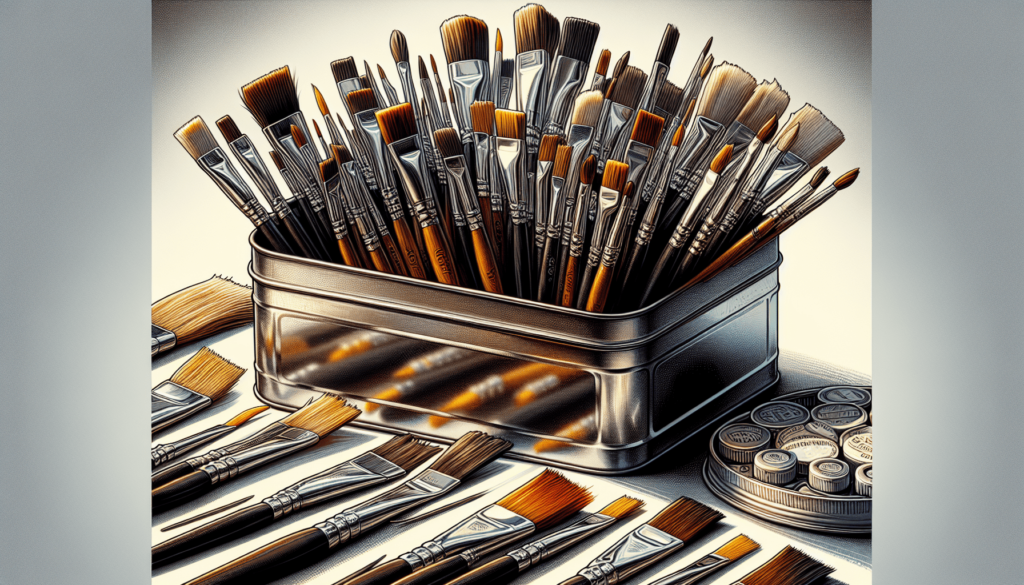
Airtight containers are an excellent option for storing your brushes. They prevent dust, dirt, and other external elements from entering, which could potentially damage your brushes. Furthermore, they also help to retain the moisture in the brushes, preventing them from drying out and hardening.
Use containers with separate compartments
Containers with separate compartments are beneficial as they allow you to organise your brushes by size, type, or use. This not only helps in quick and easy identification but also prevents the brush bristles from touching and potentially damaging one another.
Opt for containers with secure lids
Securing your brushes in a container with a robust lid is key to protecting them from physical damage. A solid lid shields the brushes from external pressure or accidental drops, helping to maintain the shape and integrity of the brush bristles.
Preparing the Brushes for Storage
Before you place your brushes in the storage container, they need to be prepared suitably to ensure they remain in good condition, ready for their next use.
Clean the brushes thoroughly
Firstly, clean your brushes thoroughly to eliminate all traces of paint. Leftover paint can harden and clump the bristles together, damaging them and reducing their efficacy.
Remove excess paint
Use a soft rag or paper towel to wipe off excess paint from the brush. Start from the base and move towards the tip. Be careful not to be too harsh as it could lead to bristle fall.
Rinse with mild soap and water
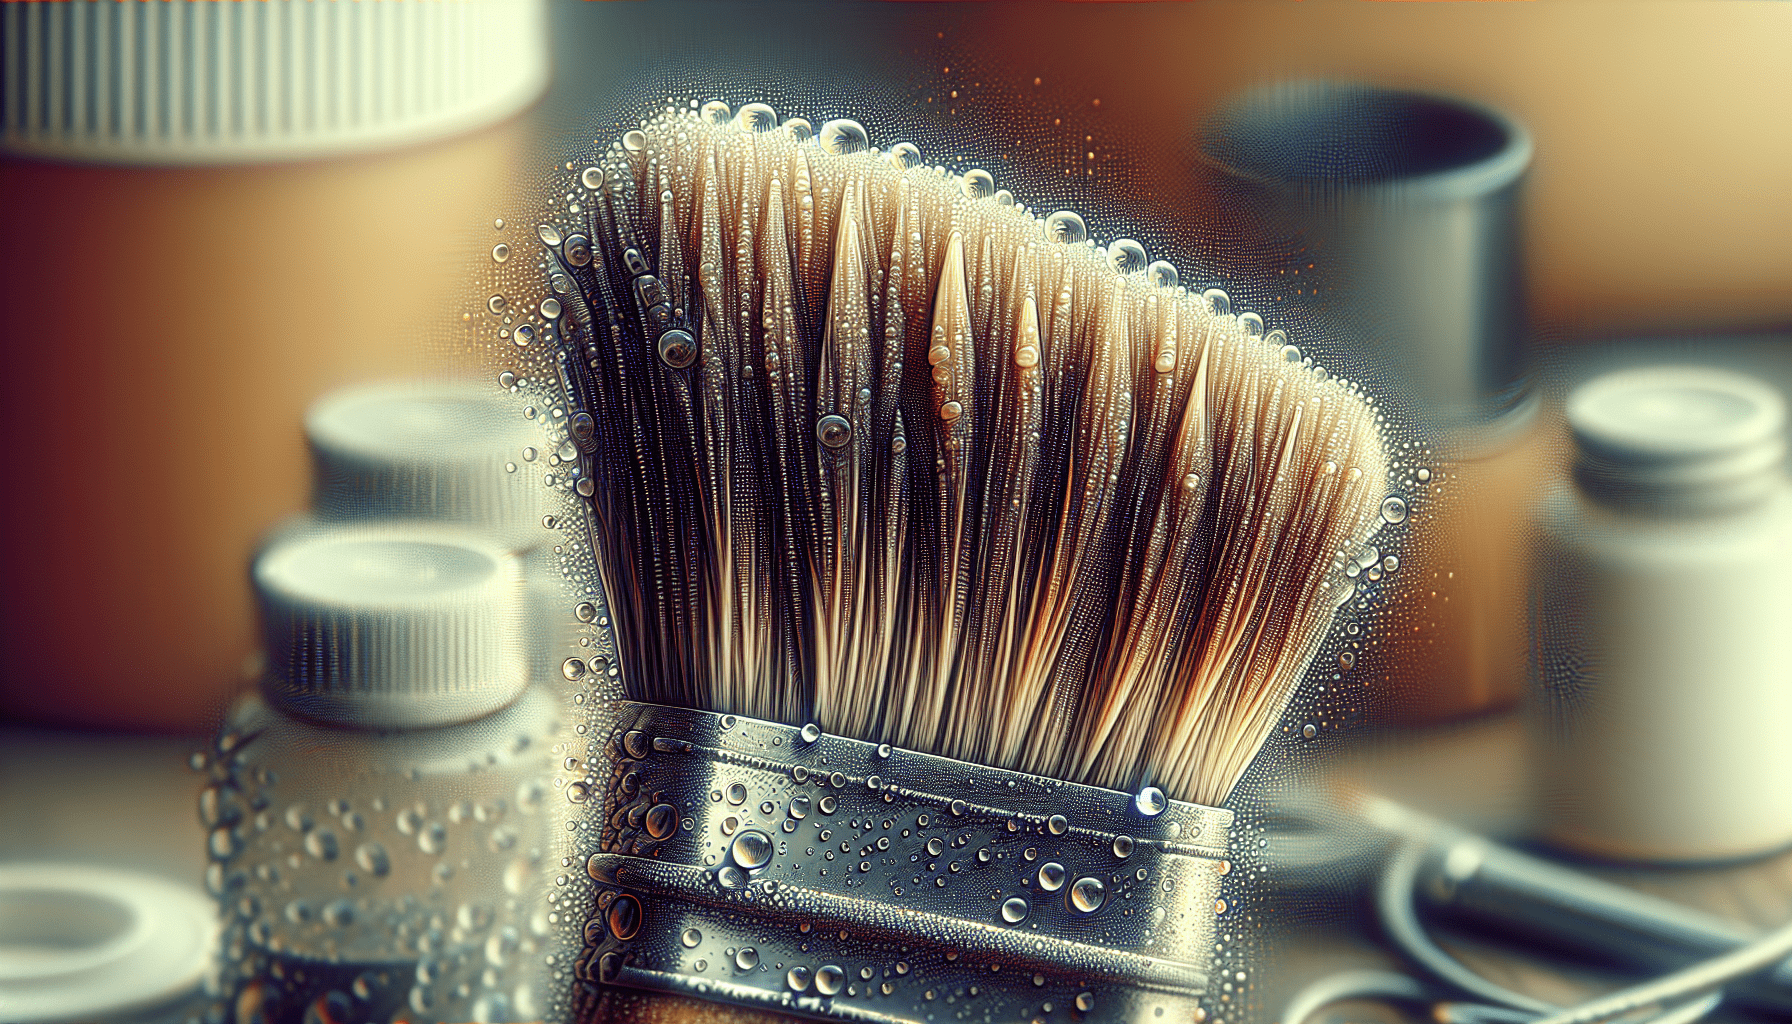
Next, rinse the paintbrushes with mild soap and warm water. The soap helps to break down the paint residues, allowing for a more thorough clean.
Gently reshape the bristles
Once the brushes are clean, taking time to gently reshape the bristles is essential. This helps them dry in their natural shape, maintaining their effectiveness for future paintings.
Pat dry with a clean cloth
Lastly, pat the brushes dry using a soft, clean cloth, ensuring that you remove as much moisture as possible. Excess moisture can encourage the growth of mould or mildew, which can damage the bristles and the handle of the brush.

Drying the Brushes Properly
Proper drying of brushes is a crucial step in maintaining their longevity and efficacy.
Allow the brushes to air dry completely
After cleaning, brushes should be left to air dry completely. Placing them on a flat surface with the bristles hanging off the edge allows for better air circulation, speeding up the drying process.
Avoid using heat sources to speed up drying
Refrain from using direct heat sources, like hairdryers, to speed up the drying process. The heat can potentially damage the bristles and loosen the glue that holds them in place.
Consider using a brush holder or rack
A brush holder or a rack allows you to dry multiple brushes at once, without the bristles touching any surface. This not only expedites the drying process but also ensures the bristles maintain their shape.
Protecting the Brush Bristles
The bristles are the most essential part of a paintbrush, hence, their protection should be of utmost importance.
Cover the brushes with protective caps
Protective caps, usually made of plastic or metal, can be used to cover the bristles of the brush. They protect the bristles from damage and help maintain their shape.
Wrap the brushes with tissue or paper towels
If protective caps are not available, wrapping the bristles gently with tissue or paper towels can offer protection as well. This method not only shields the bristles from physical damage but also absorbs any residual moisture.
Store brushes horizontally to avoid bending
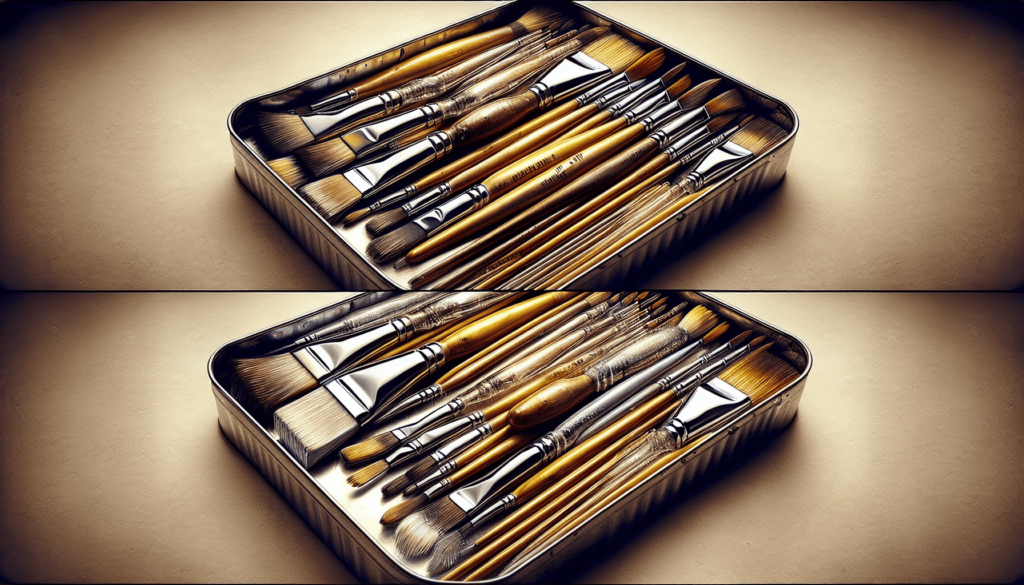
Always store brushes horizontally, this prevents the bristles from bending or being put under unnecessary strain which could affect their shape and performance.

Avoiding Damage during Storage
Preventing damage to your brushes during storage is key for maintaining their durability and performance.
Avoid placing heavy objects on top of brushes
Never place heavy objects on top of your brushes. The pressure can permanently deform the shape of the bristles, making the brushes useless.
Keep brushes away from extreme temperatures
Extreme temperature changes can lead to expansion and contraction of the bristles, in turn leading to a loss of shape. Hence, brushes should be stored away from areas that experience high temperature variations.
Prevent exposure to direct sunlight
Avoid keeping the brushes under direct sunlight as UV rays can cause the bristles to break down, and damage the handle.
Considering Brush Types
Different types of brushes require different storage methods.
Separate storage for different brush types
Keep your brushes sorted according to their types. This has many benefits, including preventing bristle damage from incompatible brushes rubbing together, and facilitating easy selection during painting.
Store natural bristle brushes separately
Natural bristle brushes are more delicate than synthetic ones and require special consideration during storage. If possible, keep them separate and avoid storing them in restrictive spaces that can damage their shape and composition.
Use protective sleeves for delicate brushes
Delicate brushes, especially those of high quality or those intended for detailed work, often come with protective sleeves. These sleeves should be used for storage, as they provide the best protection for the bristles.

Choosing the Right Location
Choosing the right location for storage plays a vital role in extending the life of your brushes.
Find a cool, dry, and well-ventilated area
Humidity and heat are both detrimental to brushes, therefore, store them in a cool, dry, and well-ventilated area. This prevents the growth of mold or mildew and the breakdown of bristle and handle materials.
Avoid storing brushes near solvents or chemicals
Storing brushes near solvents or chemicals can lead to accidental spills that can damage the brushes. Additionally, strong fumes can degrade the materials of the brush over time.
Select a location away from pets or children
A perfect location to store your brushes would be away from the reach of children and pets. This prevents accidental damage and misuse.
Maintenance Tips between Coats
Preserving brushes when you’re in the midst of painting can be crucial for the quality of your artwork and the longevity of your brushes.
Avoid leaving brushes in solvent for too long
If you’re taking a break between coats, avoid leaving your brushes soaking in solvent for extended periods. This can cause the bristles to spread apart and lose their shape.
Clean brushes gently with appropriate solvents
Clean your brushes gently with the appropriate solvents for the type of paint you’re using. This helps remove the excess paint and keep the brushes ready for the next coat.
Reshape bristles before resuming painting
After cleaning, remember to reshape the bristles before dipping them into paint again. This ensures consistent brush strokes and a higher quality finished product.

Regular Cleaning and Maintenance
Maintenance and regular cleaning of brushes enhance their usability and longevity.
Establish a regular cleaning routine
Establishing a cleaning routine can help maintain the brushes’ condition and increase their lifespan. Try to clean your brushes immediately after use and before storage to prevent the buildup of dried paint.
Store brushes properly after each use
Once you’ve cleaned your brushes, ensure they’re correctly stored. As previously mentioned, optimal storage includes air drying the brushes, storing them horizontally, and using protective caps or sleeves.
Inspect brushes for damage before storage
Before storage, always inspect your brushes for signs of damage. Look for frayed bristles, loose handles or cracking paint on the handles. This helps to keep a check on the quality and condition of your brushes.
Reviving Dried Brushes
Inevitably, brushes may dry out and harden due to residual paint left on them. However, there are ways to revive these brushes.
Soak brushes in brush cleaner
First, soak the brushes in a specially-formulated brush cleaner. These cleaners are designed to break down dried paint without damaging the bristles, thus reviving the brushes.
Gently massage bristles to remove dried paint
After soaking, gently massage the bristles to remove the loosened paint. Always work in the direction of the bristle tips and avoid pulling or tugging.
Rinse thoroughly and reshape bristles
Finally, rinse the brushes thoroughly and reshape the bristles before leaving them to air-dry. With suitable care, your brushes can be revived and ready for your next painting session.
Proper storage and maintenance of your brushes can significantly extend their lifespan and ensure consistent, high-quality results in your artwork. Consider these tips for your brushes, and you can enjoy smooth and enjoyable painting sessions for a long time.


