Spray painting a football helmet can enhance its appearance and give it a fresh new look. In this article, you will learn the step-by-step process of effectively spray painting a football helmet. From preparing the surface to choosing the right paint and applying it with precision, this comprehensive guide will ensure that you achieve a professional and durable finish. Whether you are a football player looking to personalize your helmet or a designer seeking a unique project, this article will equip you with the knowledge and techniques needed to successfully spray paint a football helmet.
Understanding the Importance of Quality Painting
The Role of Helmet Aesthetics in Team Spirit
When it comes to team sports, a unified and cohesive appearance can significantly contribute to team spirit and morale. The football helmet, being one of the most visible parts of a player’s uniform, plays a crucial role in establishing a team’s identity. The aesthetics of the helmet, including its colors, logos, and designs, can instill a sense of pride and belonging among the players. Therefore, ensuring quality painting of the football helmet is vital for representing the team’s image and fostering a strong team spirit.
Maintaining the Durability and Integrity of the Helmet
Apart from visual appeal, quality painting also plays a vital role in maintaining the durability and integrity of the football helmet. The paint not only adds a protective layer to the surface but also helps keep the helmet free from rust, corrosion, and other damages caused by external factors like weather conditions, sweat, and impacts. By properly painting the helmet, you can extend its lifespan and ensure it remains in optimal condition throughout its use.
Hygiene and Cleanliness
It is no secret that football helmets can become breeding grounds for bacteria and unpleasant odors due to sweat and continuous use. Quality painting not only enhances the aesthetic appeal of the helmet but also facilitates hygiene and cleanliness. By creating a smooth surface on the helmet, the painted layer becomes easier to clean and maintain, reducing the buildup of bacteria and minimizing odors. Properly painted helmets can be easily sanitized and contribute to a safer and more comfortable playing environment.
Assembling the Necessary Materials
Choosing the Right Spray Paint
Choosing the right spray paint is a crucial factor in achieving a high-quality and long-lasting finish on your football helmet. It is recommended to use high-quality, automotive-grade spray paint designed specifically for painting helmets. These paints are formulated to adhere well to the surface of the helmet, provide excellent coverage, and withstand the wear and tear associated with sports activities. Selecting the appropriate color(s) that represent your team is also an essential aspect of this process.
Gathering Essential Tools
To ensure a successful painting project, it is essential to gather the necessary tools beforehand. Some essential tools you will need include sandpaper or sanding blocks for surface preparation, a primer for better paint adherence, various brushes or an airbrush for detailing, and a clear coat for added protection. Additionally, having masking tape, plastic sheets or drop cloths, and a well-ventilated area for painting are crucial for a smooth and efficient process.
Understanding the Purpose of Each Tool
To achieve professional results, it is important to understand the purpose of each tool and how to use them effectively. Sandpaper or sanding blocks help in preparing the helmet’s surface by smoothing out any imperfections or rough areas. A primer creates a suitable base for the paint to adhere to, ensuring better durability and longevity. Different brushes or an airbrush allow for precise detailing, helping you achieve the desired design and logos. Finally, a clear coat provides an additional layer of protection, enhancing the helmet’s finish and safeguarding it from scratches and fading.

This image is property of images.unsplash.com.
Safety Precautions During the Painting Process
Importance of Wearing Protective Gear
Prioritizing safety should be of utmost importance during the painting process. You should always wear appropriate protective gear, including gloves, goggles, and a respirator mask, to protect yourself from potential harm caused by paint fumes, chemicals, and particles. Wearing a respirator mask is particularly essential to avoid inhalation of harmful compounds present in spray paints. By taking the necessary safety measures, you can ensure your well-being while achieving professional painting results.
Choosing a Well-Ventilated Area
When painting a football helmet, it is crucial to choose a well-ventilated area. Adequate ventilation helps in dissipating the fumes emitted by the paint, preventing their accumulation and potential health risks. Paint fumes can be hazardous if inhaled for prolonged periods, so it is important to work in an area with open windows or proper air circulation. Additionally, working in a well-ventilated space allows the paint to dry evenly, ensuring a smooth and flawless finish.
Avoiding Skin and Eye Contact with Paint
While preparing and spraying the paint onto the football helmet, it is important to avoid any skin contact with the paint. Some spray paints may contain chemicals that can irritate or harm your skin. Therefore, wearing appropriate gloves and protective clothing is essential to minimize the risk. Additionally, wearing goggles or safety glasses protects your eyes from potential paint splatters, ensuring the safety of your vision.
Preparing the Football Helmet for Painting
Cleaning the Helmet Properly
Before painting, it is crucial to clean the football helmet thoroughly to remove any dirt, sweat, or oils that may hinder the paint’s adherence. Start by removing any removable parts, such as the face mask or padding, according to the manufacturer’s instructions. Then, using a mild soap or helmet cleaner, gently wash the surface of the helmet with a soft cloth or sponge. Ensure that all surfaces, including the inside, are properly cleaned and rinsed. Once cleaned, allow the helmet to dry completely before proceeding with the painting process.
Removing Any Original Stickers or Decals
To achieve a seamless and professional finish, it is important to remove any original stickers or decals from the football helmet. Use a heat gun or a hairdryer to soften the adhesive and carefully peel off the stickers or decals. If there are any sticky residues left behind, a small amount of rubbing alcohol or adhesive remover can be used to clean the surface. By removing these elements, you create a blank canvas for the new paint job and ensure a smooth and uniform appearance.
Lightly Sanding the Surface for Better Paint Adherence
To promote better adherence of the paint, it is recommended to lightly sand the surface of the football helmet. Use fine-grit sandpaper or sanding blocks to gently scuff the entire surface of the helmet. This process helps roughen the surface slightly, allowing the paint and primer to adhere more effectively. Be cautious not to oversand or create deep scratches, as this may compromise the integrity of the helmet. Once the entire surface has been lightly sanded, wipe away any residual dust using a clean cloth.

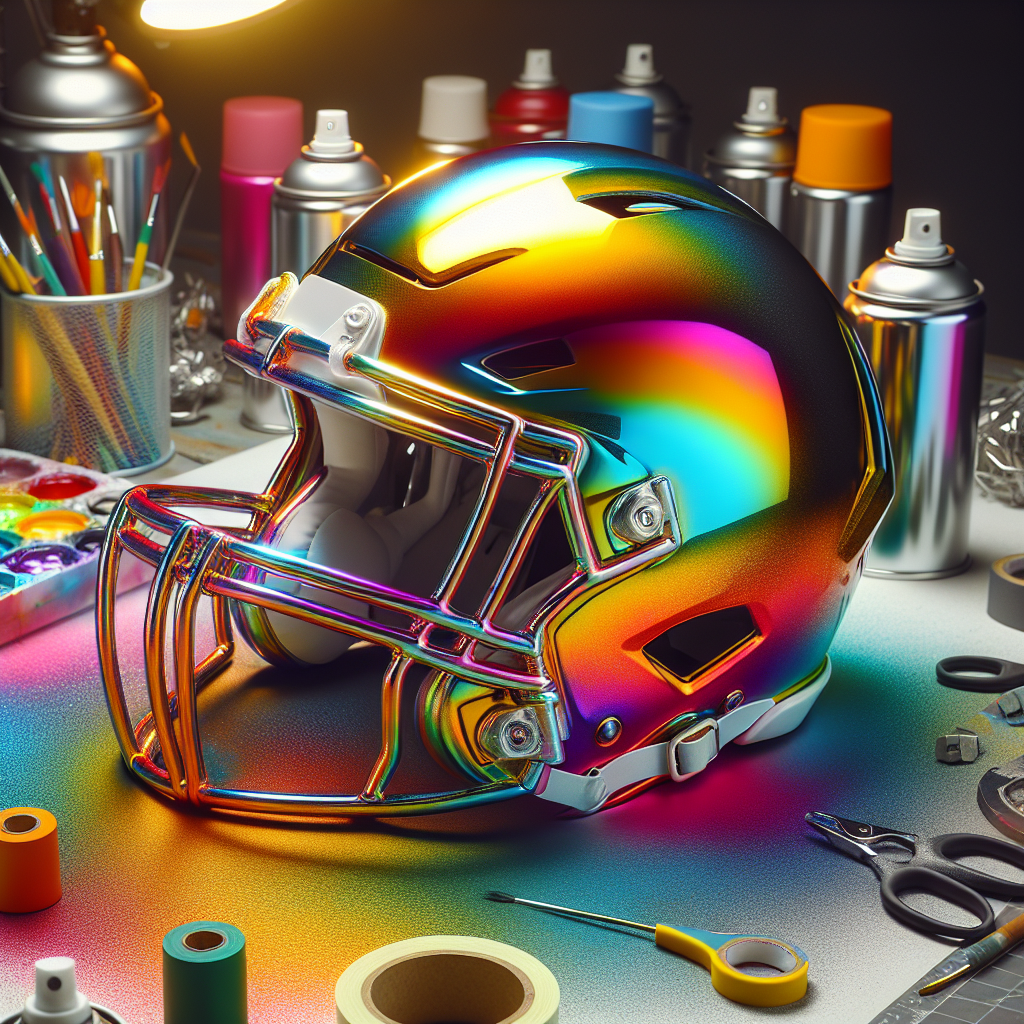
This image is property of images.unsplash.com.
Applying a Primer to the Helmet
Selection of Appropriate Primer
Applying a primer is a crucial step in the painting process to ensure the longevity and quality of the paint job on the football helmet. It is important to select an appropriate primer that is compatible with the helmet material and the spray paint being used. The primer acts as a bonding agent between the helmet surface and the paint, enhancing the paint’s adherence and providing a smooth and even base for the final coat. Choose a primer specifically designed for use on helmets and follow the manufacturer’s instructions for the best results.
Techniques for Evenly Applying the Primer
When applying the primer to the football helmet, it is important to achieve an even and uniform coat for optimal results. Start by shaking the primer can thoroughly to ensure proper mixing of the components. Hold the can approximately 6-8 inches away from the helmet surface and spray using smooth back-and-forth motions. Apply multiple thin coats, allowing each coat to dry for the recommended time specified by the manufacturer. By following these techniques, you can achieve an even and consistent primer layer, setting the foundation for a flawless paint finish.
Allowing the Primer to Dry Completely
After applying the primer, it is crucial to allow it to dry completely before proceeding with the next steps of the painting process. Drying times may vary depending on the primer brand and environmental conditions, so it is essential to consult the manufacturer’s guidelines. During the drying process, ensure that the helmet is placed in a clean and dust-free area to prevent any particles from adhering to the wet primer. Patience is key at this stage to ensure the primer fully cures and prepares the helmet surface for the paint application.
Spraying the Helmet with Paint
Applying the First Coat of Paint
Once the primer has dried completely, it is time to apply the first coat of paint on the football helmet. Shake the paint can thoroughly to mix the contents and hold it at a distance of 6-8 inches from the helmet surface. Using smooth and steady back-and-forth motions, apply a thin and even coat of paint. It is essential to maintain consistency in the spraying distance and speed to achieve an even coverage without drips or runs. Apply multiple thin coats, allowing each coat to dry before applying the next, until the desired color and coverage are achieved.
Tips to Ensure Even Coverage
To ensure even coverage and a professional finish, there are a few tips to keep in mind while spraying the paint onto the football helmet. Firstly, start with light and thin coats, gradually building up the color and coverage. This approach minimizes the risk of drips or runs and allows better control over the application. Secondly, maintain a consistent distance between the spray can and the helmet surface throughout the process. Deviating from the recommended distance can result in uneven coverage or oversaturation in some areas. Lastly, work in a clean and well-lit area to easily identify any missed spots or unevenness while spraying.
Allowing the Paint to Dry Before Applying Additional Layers
After each coat of paint, it is crucial to allow sufficient drying time before applying additional layers. Drying times can vary depending on factors such as humidity and temperature, so it is important to follow the paint manufacturer’s instructions. Rushing the process and applying more paint before the previous coat is fully dry can result in smudging, bubbling, or uneven finishes. Patience is key to achieve a professional and durable paint job on your football helmet.

This image is property of images.unsplash.com.
Adding Details and Decorations to the Helmet
Applying Team Logos or Other Decals
To customize your football helmet and showcase your team’s identity, you can apply team logos or other decals. These can be obtained from specialized retailers or custom ordered to match your desired design. Before applying the decals, ensure that the helmet surface is clean and free from any dust or debris. Carefully position the decals on the helmet, following the provided guidelines, and smooth them out using a soft cloth or a decal applicator tool. Once applied, gently press down on the decals to ensure proper adherence without causing any damage to the paint finish.
Using Stencils for Precise Detailing
For precise detailing and intricate designs, stencils can be a valuable tool when painting a football helmet. Stencils are pre-cut templates that allow you to easily reproduce specific patterns, numbers, or letters on the helmet’s surface. Ensure that the helmet is clean and dry before positioning the stencil securely in place. Use masking tape to hold the stencil in position and prevent any movement or bleed. Apply the paint color of your choice using an airbrush or a small brush, being careful not to oversaturate or smudge the stencil. Once the paint has dried, gently remove the stencil to reveal the detailed design.
Tips for Hand Painting or Airbrushing Additional Designs
For a more personalized touch, hand painting or airbrushing additional designs on the football helmet can add depth and creativity to the overall appearance. Before starting, clean the helmet surface and plan out the design to ensure symmetry and balance. Use fine brushes or an airbrush for precise detailing, depending on your preferred technique. Practice on a spare surface with similar materials to get comfortable with the tools and techniques before applying the design on the helmet. Take your time, be patient, and allow each layer to dry before adding additional details to achieve a professional and visually appealing result.
Protecting the Helmet’s Paint Job with a Clear Coat
Choosing a Durable Clear Coat Product
To protect the paint job on your football helmet and enhance its longevity, applying a clear coat is essential. A clear coat serves as a protective layer, shielding the paint from scratches, UV rays, and environmental damage. When choosing a clear coat product, opt for a high-quality, automotive-grade clear coat specifically designed for use on helmets. Ensure the clear coat is compatible with the paint and primer used, and follow the manufacturer’s instructions for the best results. A durable clear coat adds an extra layer of protection and gives the helmet a polished and professional appearance.
Applying the Clear Coat Evenly
Before applying the clear coat, ensure that the helmet surface is clean and free from any dust or debris. Shake the can thoroughly to mix the contents, and hold it approximately 6-8 inches away from the helmet surface. Apply the clear coat using smooth and even strokes, maintaining a consistent distance and speed throughout. Be cautious not to oversaturate the surface, as this can lead to drips or uneven finishes. Apply multiple thin coats, allowing each coat to dry completely before applying the next. By applying the clear coat evenly, you can protect the painted surface and achieve a glossy and durable finish on your football helmet.
Allowing the Clear Coat to Dry Completely
After applying the final coat of clear coat, it is crucial to allow it to dry completely before handling or reassembling the football helmet. Drying times can range from a few hours to several days, depending on the product and environmental conditions. It is important to exercise patience during this stage to prevent any damage to the paint job. Place the helmet in a clean and dust-free area and avoid any contact with dust, moisture, or other potential contaminants until the clear coat has fully cured. This ensures that the helmet’s paint job is fully protected and ready for use.

Reassembling the Football Helmet
Replacing the Face Mask
Once the paint has fully dried and the clear coat has cured, it is time to reassemble the football helmet. Start by attaching the face mask according to the manufacturer’s instructions. Ensure that all screws or fasteners are properly tightened to secure the face mask in place. Double-check that it is aligned correctly and provides adequate protection to the player’s face and head. Proper installation of the face mask is crucial for the helmet’s overall functionality and safety.
Adding Any Additional Padding or Hardware
While reassembling the football helmet, it is important to account for any additional padding or hardware that may have been removed during the painting process. Check all the interior components of the helmet, including chin straps, padding, and buckles, and ensure they are intact and in good condition. Replace or repair any damaged or worn-out parts to maintain the helmet’s original level of comfort and protection. Ensure that all padding is properly positioned and securely attached, and that the helmet fits snugly on the player’s head.
Ensuring the Helmet Fits Properly After Reassembly
After reassembling the football helmet, it is crucial to ensure that it fits properly on the player’s head. The helmet should provide a secure and comfortable fit, with no excessive movement or pressure points. Adjust the chin straps and any interior padding to achieve a snug but not overly tight fit. It is important to strike a balance between comfort and safety, as a well-fitted helmet can significantly reduce the risk of head injuries during gameplay. Regularly check the helmet’s fit and make any necessary adjustments throughout the season to ensure optimal protection.
Maintaining the Helmet After Painting
Cleaning Tips to Prolong the Paint Job
To prolong the longevity and appearance of the painted football helmet, regular cleaning and maintenance are essential. After each use, wipe down the helmet with a damp cloth to remove any sweat or dirt. Avoid using harsh chemicals or abrasive cleaners that can damage the paint or clear coat. If necessary, use a mild soap or helmet cleaner specifically designed for painted surfaces. Gently wipe the helmet, rinse, and allow it to air dry completely before storing. By practicing proper cleaning techniques, you can keep the helmet clean and vibrant for a longer period.
Storing the Helmet Properly
Proper storage is crucial to protect the football helmet’s paint job during periods of non-use. Store the helmet in a clean, dry, and well-ventilated area away from direct sunlight and extreme temperatures. Avoid stacking heavy objects on top of the helmet or placing it in a crowded space where it can be easily damaged. For added protection, consider using a helmet bag or case designed for storage and transportation. Regularly inspect the helmet for any signs of damage or wear and address them promptly to maintain its longevity and appearance.
Handling Minor Chips or Scratches
Over time, it is possible for the football helmet’s paint job to develop minor chips or scratches. It is important to address these issues promptly to prevent further damage and maintain the helmet’s appearance. To handle minor chips or scratches, start by cleaning the affected area with a mild soap and water. Once clean and dry, apply touch-up paint that matches the original color. Use a small brush or a toothpick to carefully fill in the damaged area. Allow the touch-up paint to dry completely and gently blend it into the surrounding paintwork. By addressing minor imperfections promptly, you can preserve the overall aesthetics and integrity of the helmet’s paint job.
In conclusion, understanding the importance of quality painting is crucial for achieving a professional and durable finish on a football helmet. From the role of helmet aesthetics in team spirit to maintaining the helmet’s durability and cleanliness, every aspect contributes to a visually appealing and functional paint job. By assembling the necessary materials, following safety precautions, and properly preparing, priming, and painting the helmet, you can achieve an outstanding finish that represents your team’s identity. Adding details, protecting the paint with a clear coat, and reassembling the helmet with care ensure that the final result is both aesthetically pleasing and functional. Proper maintenance and storage practices, as well as addressing minor chips or scratches promptly, contribute to a prolonged and vibrant paint job. With the right techniques, attention to detail, and dedication, you can transform a football helmet into a work of art that reflects your team’s pride and excellence.