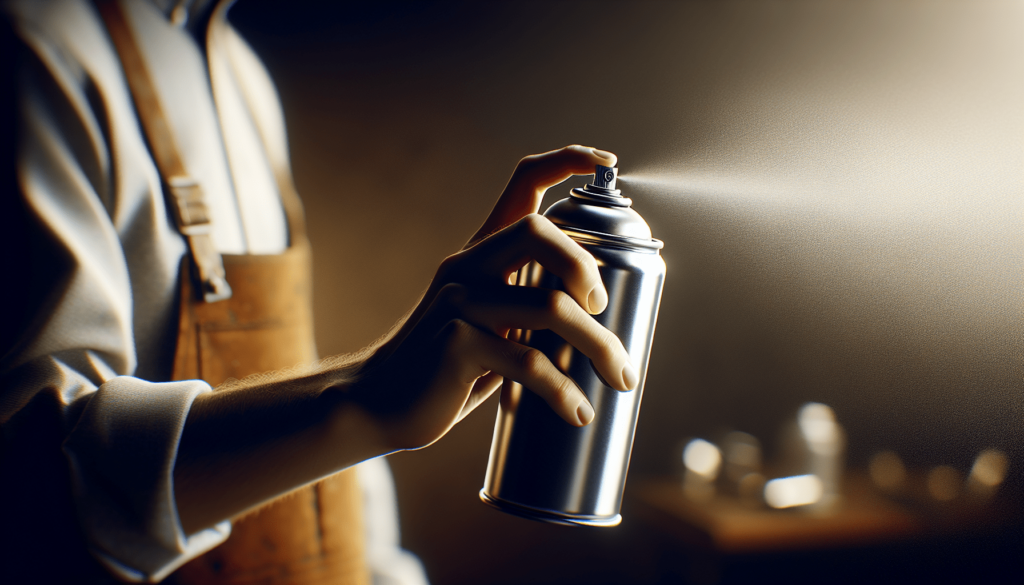
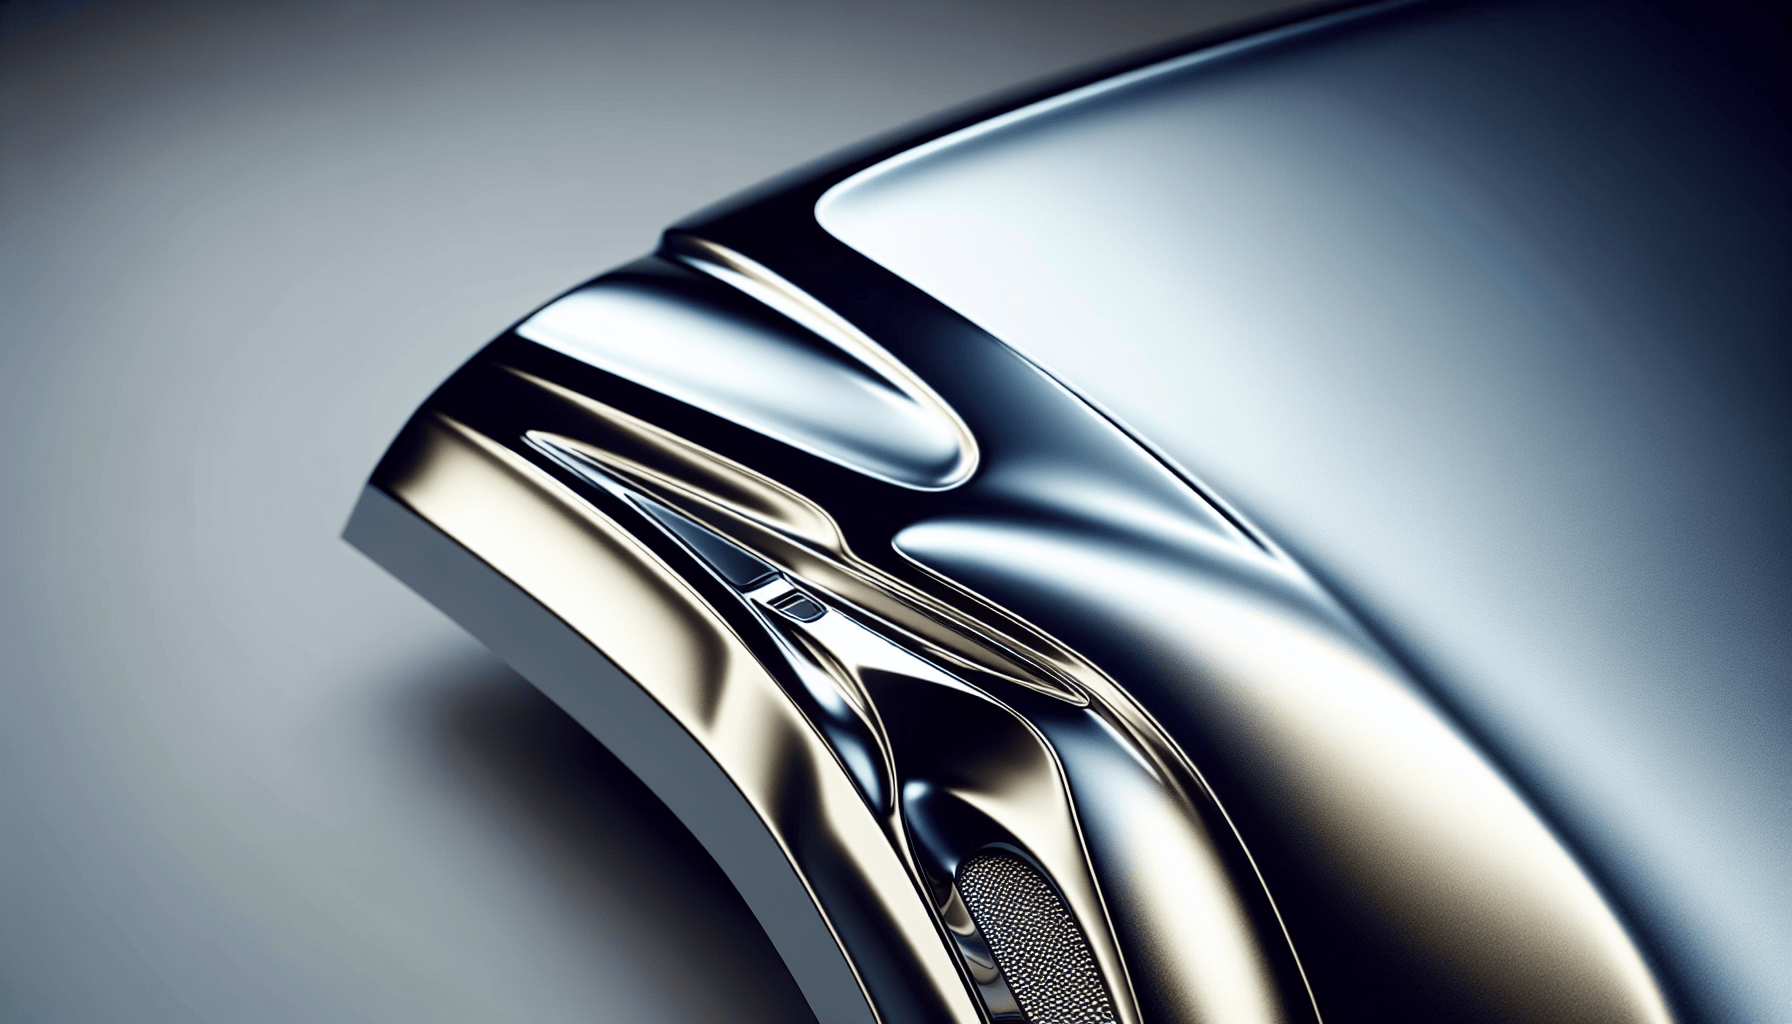
Have you ever wondered how to achieve a flawless, professional finish when spraying metallic paint? Whether you’re working on a DIY project, refurbishing a piece of furniture, or touching up a vehicle, the techniques for spraying metallic paint can be quite precise and require a meticulous approach. This guide aims to provide you with a comprehensive understanding of how to master the art of spraying metallic paint.
Introduction to Metallic Paint
Metallic paint, often referred to as metal flake or metalized paint, contains tiny flakes of metal that add depth and a unique shimmer to the finish. It’s widely used in automotive applications but is also popular in home decor, crafts, and various industrial purposes.
Why Choose Metallic Paint?
Metallic paint gives surfaces a unique and visually appealing appearance that is difficult to achieve with standard paints. The metallic flakes reflect light, creating a sparkle and depth that can enhance the aesthetic quality of any item.
Types of Metallic Paint
Different types of metallic paints cater to various surfaces and applications. Below is a table summarizing the common types and their primary uses:
| Type of Metallic Paint | Application Areas | Advantages |
|---|---|---|
| Automotive Metallic Paint | Cars, motorcycles, bicycles | Durable, resistant to weather |
| Acrylic Metallic Paint | Home decor, crafts, interior walls | Versatile, easy to apply |
| Enamel Metallic Paint | Industrial machinery, appliances | Hard-wearing, long-lasting |
Selecting the correct type of metallic paint suited to your specific project is the first step in ensuring a successful outcome.
Preparing the Surface for Metallic Paint
The key to a professional-looking finish is thorough surface preparation. The surface must be clean, smooth, and free from defects to allow the paint to adhere properly.
Step-by-Step Surface Preparation
-
Cleaning
- Use a degreaser or a specialized cleaning agent to remove any grease, oil, or dirt from the surface. Contaminants can compromise paint adhesion.
-
Sanding
- Sand the surface with fine-grit sandpaper (e.g., 400-600 grit) to create a smooth, even base. For metal surfaces, ensure all rust is removed.
-
Priming
- Apply a suitable primer to the surface. For metallic paint, an acrylic or epoxy primer is often recommended as it provides a good base for the paint to adhere to.
-
Filling Imperfections
- Use a fine-quality filler to address any dents, scratches, or surface irregularities. Sand the filled areas smooth after the filler has set.
Importance of Primer
Priming is crucial as it helps the metallic paint adhere better and provides a uniform base color that can significantly enhance the topcoat’s appearance. Choose a primer that is compatible with the type of metallic paint you are using.

Equipment and Materials Needed
To achieve a high-quality metallic finish, you must utilize the right tools and materials. Below is a list of essential items:
Essential Tools
| Tool | Purpose |
|---|---|
| HVLP Spray Gun | Even application of paint |
| Air Compressor | Supplies continuous air pressure for spray gun |
| Paint Mixing Cups | To mix paint and thinner in correct ratios |
| Respirator Mask | Protects lungs from fine paint particles |
| Sandpaper (various grits) | Surface preparation |
| Painter’s Tape and Plastic Sheeting | Protects areas not meant to be painted |
Essential Materials
- Metallic Paint: Selected based on your project’s requirements.
- Primer: Chosen according to the metallic paint type.
- Thinner: Helps to achieve the correct paint viscosity.
- Cleaner/Degreaser: For initial surface cleaning.
Mixing Metallic Paint
Properly mixing metallic paint is pivotal for a consistent finish. The mixing process involves combining the paint with an appropriate reducer or thinner to achieve the desired spraying consistency.
Mixing Ratios
Refer to the manufacturer’s instructions for the specific mixing ratios of paint to thinner. A standard ratio might be 1:1, but this can vary.
Mixing Technique
-
Stirring
- Thoroughly stir the metallic paint to ensure the metal flakes are evenly distributed.
-
Adding Thinner
- Gradually add the recommended amount of thinner, stirring continuously to maintain an even consistency.
-
Straining the Mixture
- Use a paint strainer to filter out any lumps or impurities before pouring the paint into the spray gun.

Setting Up the Spray Gun
Achieving the perfect metallic finish also heavily relies on the correct setup of the spray gun. Here are the steps:
Adjusting the Sprayer
-
Air Pressure
- Set the air pressure according to the paint manufacturer’s recommendations, typically between 25-30 PSI for HVLP spray guns.
-
Fluid Control
- Adjust the fluid control knob to regulate the amount of paint being sprayed.
-
Fan Pattern
- Set the spray pattern to a wide, even fan for large surfaces or a narrower pattern for detailed work.
Testing the Spray Pattern
Before spraying the actual surface, test the spray pattern on a piece of scrap material. This allows you to make any necessary adjustments to the air pressure, fluid control, or spray pattern for an optimal finish.
Technique for Spraying Metallic Paint
Spraying metallic paint involves a specific technique to ensure even distribution of the metal flakes and a smooth finish.
Spraying Steps
-
Initial Pass
- Begin with a light mist coat to create a tacky base layer. This helps subsequent layers adhere better.
-
Successive Coats
- Apply several medium wet coats, allowing each coat to flash off (dry to touch but slightly tacky) before applying the next. This usually takes around 10-15 minutes.
-
Cross Hatch Technique
- Use a cross-hatch pattern (horizontal passes followed by vertical passes) to ensure even coverage and reduce the appearance of stripes caused by metallic particles.
Distance and Overlap
Maintain a consistent distance of about 6-8 inches between the spray gun and the surface. Overlap each pass by 50% to ensure uniform coverage and minimize striping.
Avoiding Common Issues
- Runs and Sags: These can occur if the paint is applied too heavily. Maintain a moderate pace and apply thinner coats.
- Tiger Stripes: Uneven distribution of metallic particles can create striping. Ensure even overlap and use the cross-hatch technique.
Drying and Curing
After applying the final coat, the drying process is crucial to achieve a durable finish.
Initial Drying
Allow the painted surface to dry in a dust-free environment. Initial drying (dust-free) usually takes about 30 minutes to an hour, depending on environmental conditions.
Curing Time
The full curing process can take several days to a week. Avoid heavy handling or exposure to harsh conditions during this period to allow the paint to harden fully.
Post-Application Care
Once the paint has fully cured, a clear coat can be applied if a glossier finish or additional protection is desired. Wet sanding between coats of clear can further enhance the smoothness and gloss of the finish.
Safety Considerations
Spraying metallic paint involves handling chemicals and fine particles that pose health risks if proper precautions are not taken.
Personal Protective Equipment (PPE)
- Respirator Mask: Protects against inhaling paint fumes and particles.
- Gloves: Prevent skin contact with paint and solvents.
- Protective Eyewear: Shields eyes from paint splashes.
Ventilation
Ensure the spraying area is well-ventilated to disperse harmful fumes. Utilize exhaust fans or spray in a designated paint booth if possible.
Safe Storage and Disposal
Properly store unused paint and thinner in sealed containers, away from heat sources. Dispose of paint waste according to local environmental regulations to prevent hazards.
Troubleshooting Common Issues
Even with meticulous preparation and application, issues can still arise. Here’s how to troubleshoot some common problems:
Fish Eyes
Fish eyes are small circular craters that can appear on the painted surface due to contamination.
Solution: Clean the surface thoroughly to remove any oils or silicone contamination. Use a fish-eye eliminator additive in the paint.
Orange Peel
Orange peel texture occurs when the paint surface resembles the skin of an orange.
Solution: Adjust the spray gun settings. Increase reducer/thinner if the paint is too thick, reduce air pressure, or move closer to the surface.
Blotchy Finish
A blotchy or uneven finish can occur due to improper application techniques or inconsistent particle distribution.
Solution: Reapply using a cross-hatch technique and ensure consistent spray pattern and overlap. Sand and reapply if necessary.
Expert Tips for a Flawless Finish
Here are a few additional tips to ensure your metallic paint job is impeccable:
Humidity and Temperature Considerations
Ideal painting conditions are low humidity and moderate temperatures (60-75°F). High humidity can cause slow drying, while extreme temperatures can affect paint viscosity and flow.
Tack Coats
Apply a tack coat (a light mist coat) as the first layer to improve the adhesion of subsequent layers, especially for large surfaces.
Wet Sanding
Between layers, wet sanding with ultra-fine sandpaper (e.g., 800-1200 grit) can help achieve a smoother finish and remove minor imperfections.
Conclusion
Spraying metallic paint requires careful preparation, the right tools, and precise techniques to achieve a professional-looking finish. From selecting the appropriate paint and preparing the surface to mastering the spraying technique and troubleshooting common issues, each step is crucial to the overall success of your project. By following this comprehensive guide, you can confidently tackle any metallic paint project, ensuring it stands out with a stunning, high-quality finish.


