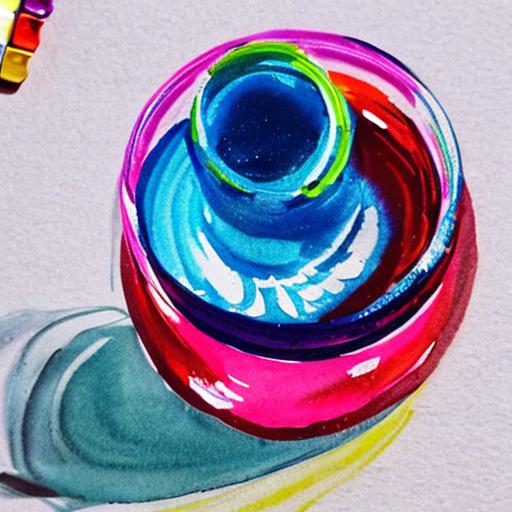
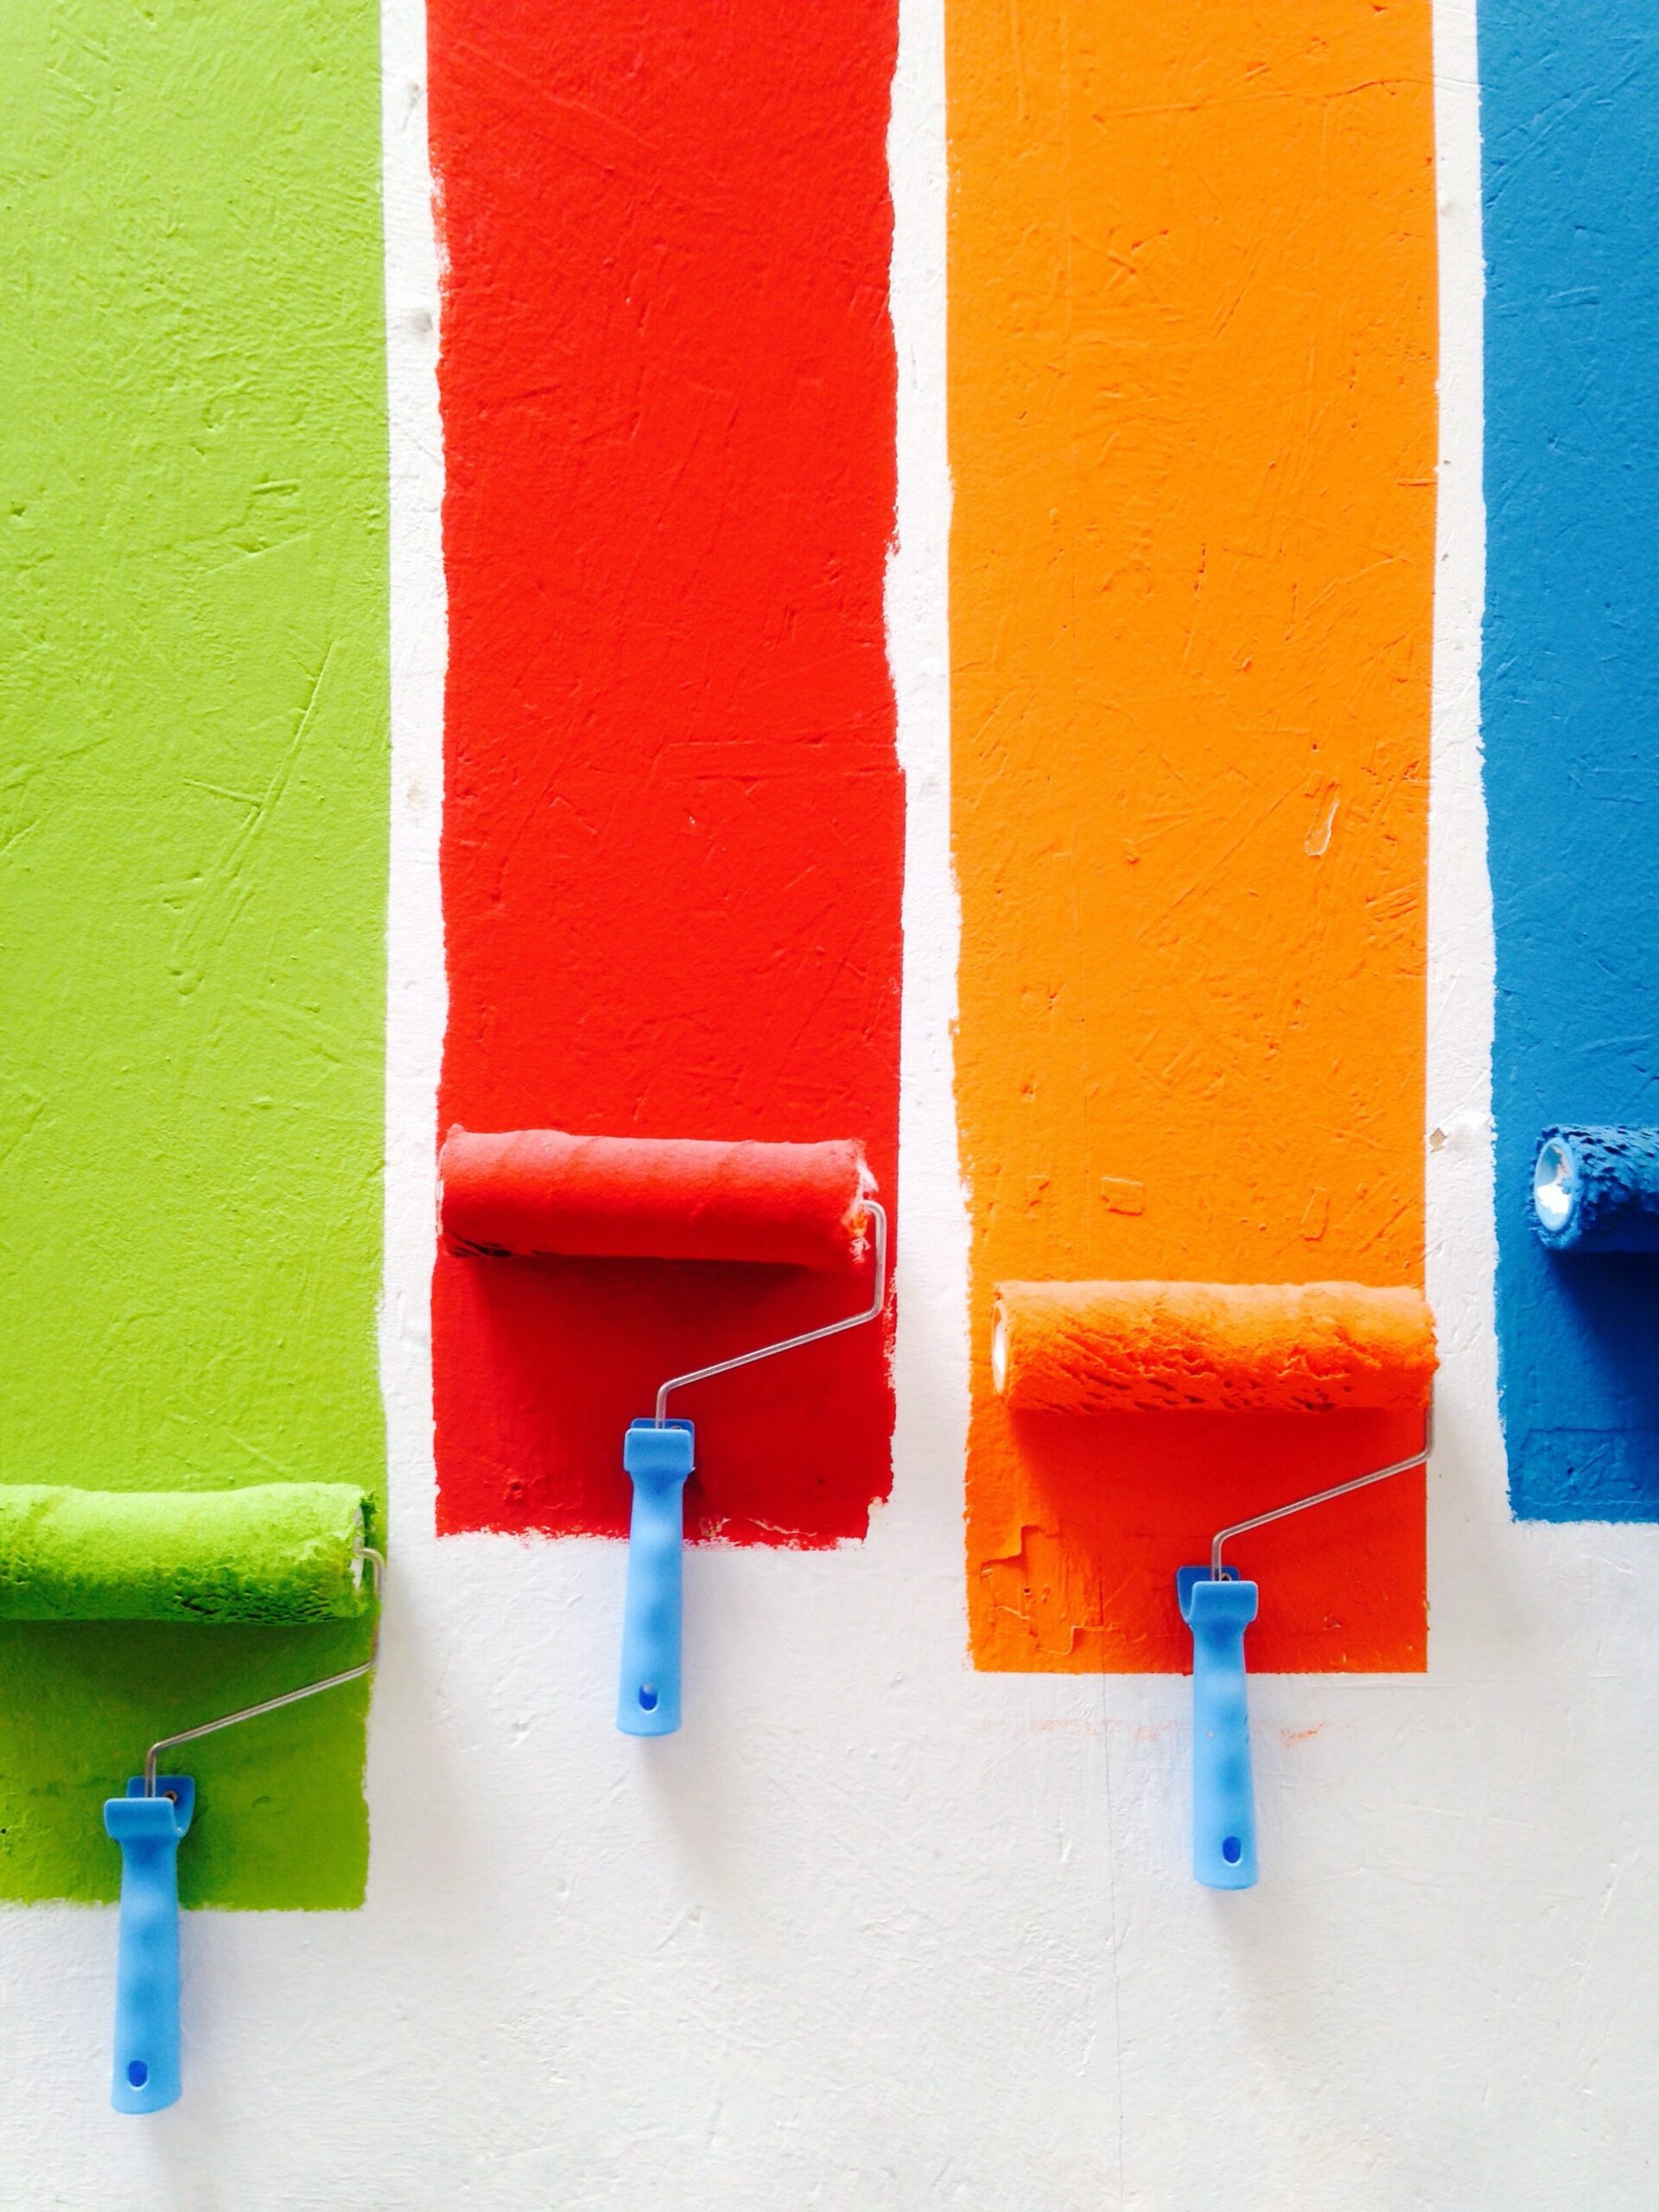
In this informative article, you will discover an insightful guide on how to skillfully recreate the exquisite beauty of gouache paint. Gouache, a versatile medium known for its opaque and matte finish, has captivated artists for centuries.
By following the expert tips and techniques presented here, you will learn how to achieve the distinct characteristics of gouache in your own artwork, allowing you to add depth, texture, and vibrancy to your creations with confidence.
Whether you are a seasoned artist looking to expand your repertoire or a beginner eager to explore new artistic avenues, this comprehensive tutorial will equip you with the knowledge and skills needed to master the art of simulating gouache paint.
Choosing the Right Materials
When it comes to creating artwork with gouache, it is important to choose the right materials to achieve the desired results. One key decision to make is whether to use watercolors or gouache paints. While both mediums are water-based and share similarities, they also have distinct differences. Watercolors are known for their transparency, while gouache paints offer more opacity. If you prefer a more opaque and vibrant look, then gouache is the way to go. However, if you enjoy the transparency and delicate washes of watercolors, then that may be the better choice for your artwork.
Another consideration when choosing materials is the quality of paints. Investing in high-quality paints can make a significant difference in the final outcome of your artwork. Professional-grade gouache paints are highly pigmented, which means they offer richer and more vibrant colors. They also have a smooth consistency, allowing for easier blending and layering. While student-grade paints may be more affordable, they often lack the same vibrancy and may not perform as well in terms of blending and layering.
The support surface you choose can also impact your gouache paintings. Gouache works well on a variety of surfaces such as watercolor paper, illustration board, or even toned paper. Consider the texture and weight of the paper, as these factors can affect the way the paint interacts and the overall appearance of the finished piece. Whichever surface you choose, ensure that it is suitable for water-based paints and can withstand the application of multiple layers without warping or buckling.
Lastly, don’t forget about the importance of brushes and tools. Brushes with synthetic bristles are great for gouache painting as they can hold a lot of paint and help create smooth, even strokes. Flat and round brushes are commonly used, but it’s worth experimenting with different sizes and shapes to achieve various effects. Other tools such as palette knives, sponges, and masking fluid can also be useful in creating texture and adding dimension to your artwork.
Preparing Your Workspace
Before you dive into your gouache painting, it’s crucial to prepare your workspace properly. This will help ensure a smooth and efficient painting process.
First, cover your work surface with a protective layer. This could be a plastic tablecloth or disposable paper to catch any paint splatters or spills, making clean-up easier and preventing damage to your workspace.
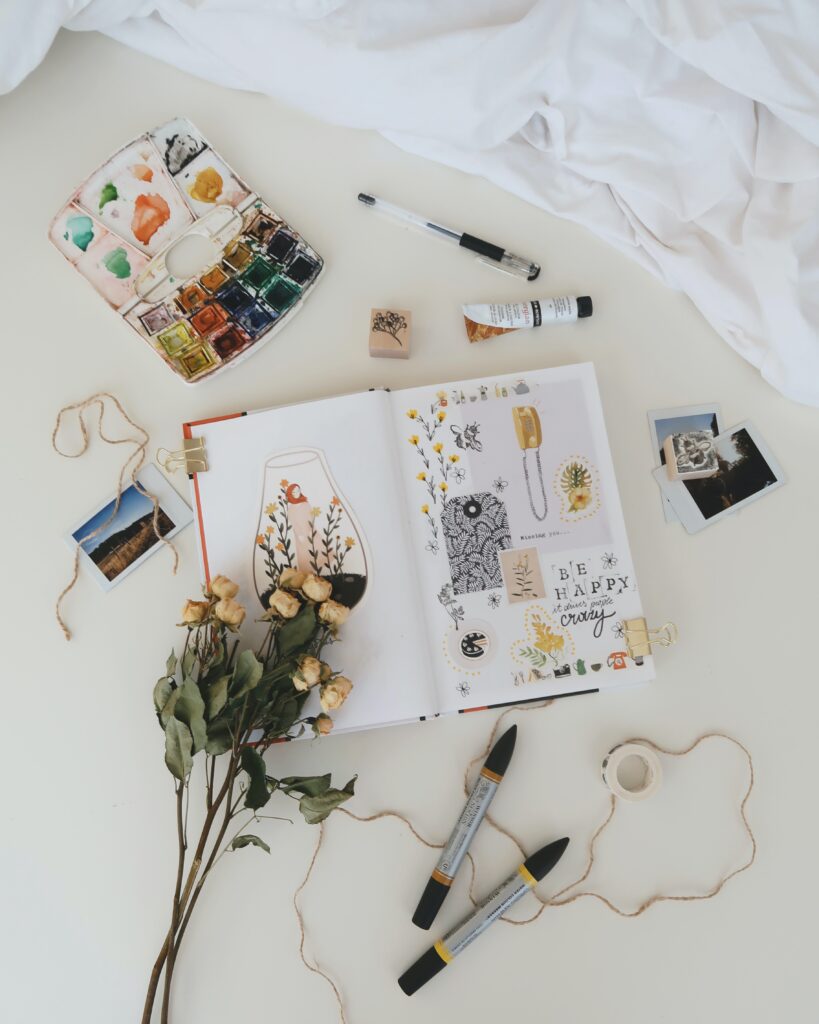
Next, set up your palette. Gouache paints can be easily dried out, so it’s essential to use a palette that keeps the paints moist and workable for longer periods. Traditional porcelain palettes with separate wells for each color are commonly used. However, you can also opt for a palette with airtight compartments or use a plastic palette with a lid to keep the paints from drying out too quickly.
Arrange your brushes and tools in a way that is convenient and easily accessible. Keep your brushes clean and organized by rinsing them in water between colors and gently wiping them with a cloth or paper towel to prevent color contamination. Having your tools within reach will help you work efficiently and prevent unnecessary interruptions during your painting process.
This image is property of images.unsplash.com.
Mixing Colors
To create vibrant and harmonious gouache paintings, it’s essential to have a good understanding of color theory and the different color mixing techniques.
Color theory is the study of how colors interact with one another and how they can be combined to create new colors. Gouache painters typically work with three primary colors – red, blue, and yellow – along with white. By mixing these primary colors in different combinations, you can create a wide range of secondary colors and further extend your color palette.
Secondary colors are created by mixing equal parts of two primary colors. For example, mixing equal parts of red and yellow will result in orange, blue and yellow will create green, and blue and red will give you violet. These secondary colors can be further manipulated by adding varying amounts of white to create different tints and shades.
Tints are lighter variations of a color, achieved by adding white, while shades are darker variations created by adding black. Experimenting with different ratios of color and white or black will help you achieve the desired tone and intensity for your artwork.
Creating the Gouache Consistency
Gouache paints come in solid form and need to be mixed with water to a specific consistency before they can be used. Achieving the right consistency is crucial to ensure proper paint application and control.
Water is the main medium used to dilute gouache paints. Start by adding a small amount of water to your paint, and gradually increase it until you reach a creamy consistency. The paint should flow smoothly without being too thick or watery. Be cautious not to over-dilute the paint, as this can result in a loss of opacity and vibrancy.
In addition to water, you can also use various mediums to blend and modify the characteristics of gouache. These mediums can extend the drying time, improve blending capabilities, or even add texture to your paintings. Experimenting with different mediums can help you achieve unique effects and enhance your artistic expression.
Avoiding over-dilution is important to maintain the opacity and vibrancy of gouache paints. Too much water can cause the paint to become translucent, similar to watercolors, and lose the signature matte and opaque appearance that gouache is known for. It’s best to start with less water and gradually add more if needed to maintain control over the paint consistency.
This image is property of images.unsplash.com.
Layering Techniques
Layering is a fundamental technique in gouache painting that allows you to build up depth, texture, and dimension in your artwork.
Understanding drying time is crucial when layering with gouache. Unlike watercolors, gouache dries to a matte finish, providing an opportunity to add subsequent layers without disturbing the underlying ones. However, it is essential to allow each layer to dry completely before applying the next one. Patience is key when layering with gouache to achieve the desired effect and prevent colors from mixing or smudging.
Building up layers is done by gradually increasing the opacity and intensity of the paint with each new layer. Start with thin, transparent layers to establish the overall composition and gradually add thicker, more opaque layers to highlight specific areas or add details. This layering technique allows for greater control over the final appearance of the artwork.
Glazing is another technique that can be used to create subtle color transitions and add depth to your gouache paintings. It involves applying a translucent layer of paint over a dry, underlying layer, allowing some of the underlying color to show through. By layering different glazes, you can create complex and nuanced color effects.
Scumbling is a technique where you gently apply a small amount of opaque paint in a loose, dry brushstroke manner. This adds texture and dimension to specific areas of your artwork, creating a visually interesting effect. Experimenting with scumbling can help you achieve various textures and enhance the overall visual appeal of your gouache paintings.
Using Opacity and Transparency
One of the advantages of working with gouache is the ability to control the opacity and transparency of the paint, allowing you to create different visual effects and achieve the desired look in your artwork.
Applying opaque layers is one way to make certain elements in your painting stand out. By using undiluted or minimally diluted paint, you can create solid shapes and areas of high contrast. This technique is especially useful for adding highlights or creating strong focal points in your artwork.
On the other hand, achieving transparency with gouache requires diluting the paint with water to a more watery consistency. Transparent layers allow the underlying colors to show through, creating softer transitions and subtle variations in hue. This technique can be used to create atmospheric effects, soft washes, or to blend colors seamlessly.
Manipulating opacity is another technique that can be employed to create interesting effects in your gouache artwork. By varying the amount of water added to the paint, you can control the transparency of the paint. Gradually transitioning from opaque to transparent areas can add depth and dimension to your paintings.
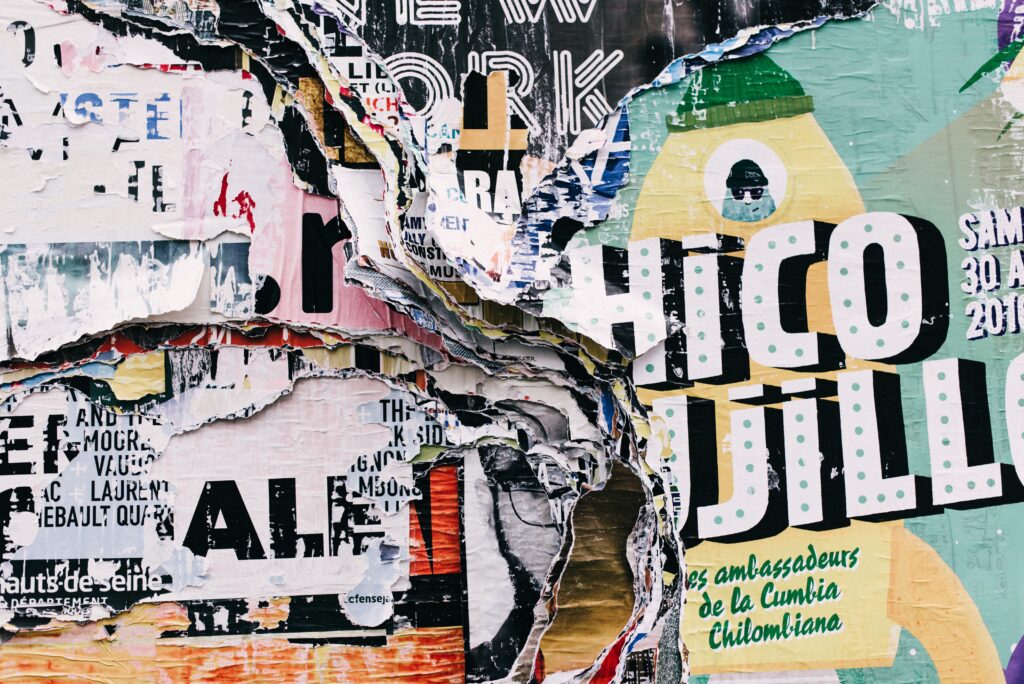
This image is property of images.unsplash.com.
Creating Textured Effects
Textured effects can add interest and visual appeal to your gouache paintings. By experimenting with different techniques, you can achieve a wide range of textures and create a unique visual experience.
Dry brushing is a technique where you use a relatively dry brush to lightly apply paint over the surface. This creates a textured and rough appearance, perfect for adding details or creating a weathered effect.
Sponging involves using a natural or synthetic sponge to apply paint, resulting in a mottled and textured effect. This technique can be used to create interesting textures such as foliage or rough surfaces.
Impasto is a technique where you apply thick layers of paint using a palette knife or brush, creating a three-dimensional texture on the canvas. This technique is perfect for adding depth, texture, and intensity to certain areas of your artwork.
Stippling involves creating patterns or textures by applying small dots or strokes of paint with a brush. This technique can be used to create intricate details or add texture to surfaces, such as a sandy beach or the fur of an animal.
Understanding Light and Shadows
Understanding how light interacts with objects and how shadows are created is crucial to creating realistic and visually striking gouache artwork. By incorporating techniques to highlight, shade, and manipulate color temperature, you can bring your paintings to life.
Highlighting techniques involve adding lighter tones or tints to certain areas of your artwork to mimic the effect of light hitting an object. By strategically placing highlights, you can create the illusion of volume and dimension.
Creating shadows is another important aspect of realistic painting. Shadows can add depth and realism to your artwork. Experiment with different shading techniques and consider the direction of light to accurately depict shadows. Shadows can be achieved by using darker tones, adding black to your colors, or utilizing glazing techniques.
Color temperature refers to the perceived warmth or coolness of a color. It plays a vital role in creating the mood and atmosphere of your artwork. Warm colors, such as reds and oranges, tend to advance in a composition, while cool colors, such as blues and greens, tend to recede. Understanding color temperature can help you create depth and spatial relationships within your paintings.

Mastering Techniques
To become proficient in gouache painting, it’s essential to master various techniques that can be used to achieve different effects and styles. Four primary techniques used in gouache painting are wet-on-dry, wet-on-wet, dry-on-dry, and lifting and masking.
Wet-on-dry is a technique where you apply wet gouache paint onto a dry surface. This technique allows for greater control and precision, making it ideal for creating fine details and crisp edges.
Wet-on-wet is a technique where you apply wet paint onto a wet surface. This technique results in more blended and soft edges, creating a smoother and more seamless appearance. It’s great for creating atmospheric effects or soft transitions between colors.
Dry-on-dry is a technique where you apply dry brushstrokes or layers of paint onto a dry surface. This technique can create interesting texture and variations in tone, ideal for adding details or creating rough surfaces.
Lifting and masking are techniques that involve removing or protecting specific areas of paint. Lifting is done by using a damp brush or sponge to lift off or lighten areas of paint, allowing underlying layers to show through. Masking is achieved by using masking fluid or tape to protect areas from paint, creating clean and sharp edges.
Finishing and Preserving Your Artwork
Once you have completed your gouache painting, it’s important to take the necessary steps to finish and preserve your artwork for long-term enjoyment.
Allow your painting to dry completely before attempting to handle or varnish it. Gouache paints dry to a matte finish, and it’s important to give them sufficient time to dry and set. This will prevent smudging or unintentional smearing of the paint.
Sealing and varnishing your gouache paintings can help protect them from dust, dirt, and fading. There are various sealing and varnishing products available specifically designed for gouache paintings. Follow the manufacturer’s instructions carefully to ensure proper application and drying.
When storing your gouache paintings, make sure they are completely dry and free from any dust or debris. Place them flat in a protective portfolio or sleeve to prevent damage and ensure their longevity. Avoid storing them in areas prone to extreme temperature changes or high humidity, as these conditions can potentially damage the artwork.
By following these guidelines, you can ensure that your gouache paintings remain vibrant and preserved for years to come, allowing you to showcase and enjoy your artistic creations.


