In “How To Set Oil Based Face Paint,” you will be guided through an easy-to-follow, step-by-step procedure to master the art of setting oil-based face paint effectively. This empowering article establishes a deep understanding of the nuances involved, from selecting the right products to applying the finishing touches. Expert advice, tips, and tricks are consolidated to ensure your face paint stays vibrant and striking for hours on end, regardless of the event or performance. It’s imperative to understand these steps, as they push you to create smoother, long-lasting designs.
Preparation
Before you begin the face painting process, there are several crucial steps you must follow to ensure the best possible results.
Cleanse and moisturize your face
The first step is to cleanse and moisturize your face. This will help to remove any dirt or oils on your skin that could interfere with the face paint. It is important that your skin is properly hydrated to lessen irritation and provide a smooth canvas for the paint. Choose a gentle, non-irritating cleanser and moisturizer suitable for your skin type.
Apply a primer
After cleansing and moisturizing, apply a primer to your face. A primer serves as a protective barrier, binding the paint to your skin and ensuring that it lasts longer. The primer also helps to smooth out your skin, creating an even surface for the paint to adhere to.
Gather necessary tools and supplies
Lastly, gather all the necessary tools and supplies you will need for the face painting process. This includes brushes of varying sizes, sponges for blending, and, of course, your selected oil-based paints.
Application Techniques
There are several methods for applying face paint, each with its own unique benefits.
Brush application
Using a brush to apply face paint allows for more precise application, making it ideal for details and intricate designs. Brushes can also be used to blend colors together for a seamless finish.
Sponge application
Sponges are a great choice for applying a large amount of paint evenly across the face, especially for the base color. This technique will allow for a more uniform layer and can also be used to create a soft, blurred effect.
Finger application
Lastly, applying face paint with your fingers can be useful for blending or smudging colors. However, ensure your hands are clean to avoid transferring oils or dirt to your face.
Creating a Base
Creating a solid base layer is vital in any face painting design.
Choose the right color
The first step in creating a base is choosing the right color. This will largely depend on the design you want to create, but it could be a neutral skin tone, a bold color, or even metallic or fluorescent paint.
Apply the base layer evenly
Using your chosen application method (brush, sponge, or fingers), apply the base layer evenly across your face. This will help to create a uniform look and ensure that the subsequent layers of paint adhere properly.
Blend the edges
After applying the base layer, it’s crucial to blend the edges. This will help to create a more seamless appearance, and prevent obvious lines or discrepancies in the paint.
Building Layers
Building layers is how you will create the depth and detail in your design.
Allow the base layer to dry
Before building additional layers, it’s essential to allow the base layer to dry completely. Applying more paint onto wet paint can result in smudging and uneven texture.
Choose additional colors for details
This is where your design starts to come to life. Choose additional colors for your design’s details, such as outlines, patterns, shading, or highlights.
Use a small brush for details
A smaller brush will allow for more precision and control when it comes to applying details. It can help in creating sharp lines, intricate patterns, or detailed features.
Blend and layer colors
By blending and layering colors, you can achieve a more realistic look or a more unique, artistic design. This is also a great way to add depth to your design.
Setting the Paint
Setting the paint is crucial to ensuring its longevity and preventing it from smudging or rubbing off.
Use a setting powder
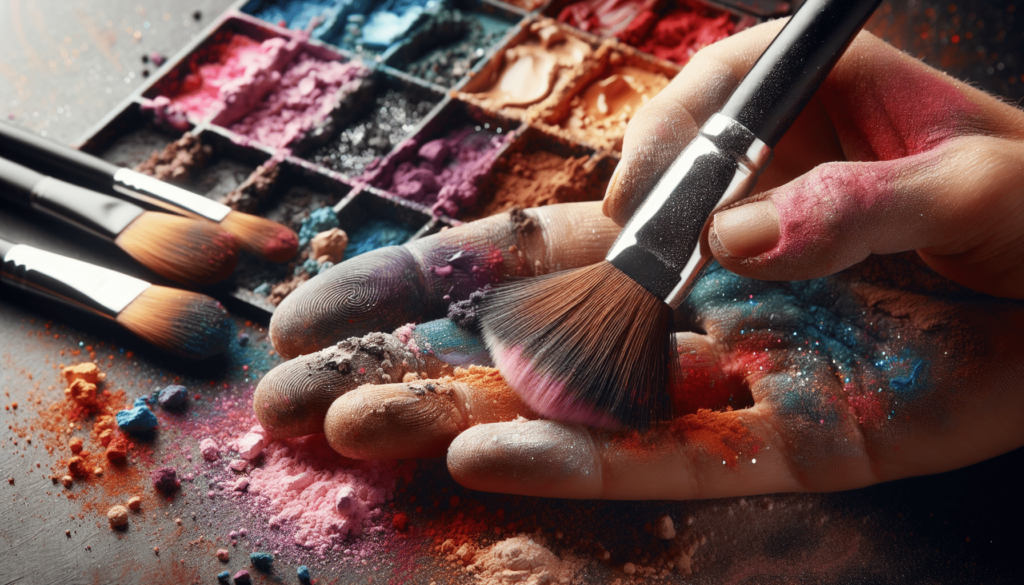
A setting powder is a translucent powder that is brushed over the face paint to lock it in place. This step is essential to ensuring that your design lasts all day (or night).
Apply the powder lightly
It’s important to apply the setting powder lightly using a large, fluffy brush, as applying too much can create a dusty appearance and alter the colors of your design.
Let the powder set
Give the setting powder a few minutes to bind with the paint. Once it has set, gently brush off any excess with a clean brush.
Sealing the Paint
Sealing the paint is the final step in the face painting process and perhaps the most important.
Use a setting spray or fixing spray
A setting spray or fixing spray acts as a protective layer over the face paint, preventing it from smudging, fading, or rubbing off throughout the day.
Hold the spray bottle at a distance
To ensure even distribution, hold the spray bottle about 12 inches away from your face and spray in a misting motion. Be sure to close your eyes and mouth during this step!
Allow the spray to dry
Give the spray a few minutes to fully dry. Resist the urge to touch your face during this time as you could disrupt the setting process.
Avoiding Smudging
With the right techniques and paints, you can ensure your design lasts without smudging.
Minimize touching your face
It sounds simple, but one of the best ways to avoid smudging your design is by avoiding touching your face.
Avoid excessive sweating
Sweating can cause your face paint to run or smear. If you’re wearing face paint an event, choose oil-based paints of high quality to withstand any environmental conditions.
Removing the Paint
When it’s time to remove the face paint, follow these steps for a gentle and effective cleanse.
Use an oil-based remover
An oil-based remover is particularly effective at removing oil-based face paint. It also helps to nourish and hydrate your skin.
Apply the remover gently
Apply the remover gently to your skin using a cotton pad, and allow it to break down the paint for a few minutes before wiping it away.
Wipe off the paint with a clean cloth
Use a clean, damp cloth to gently wipe off the paint and remover. Be sure not to scrub or tug at your skin.
Caring for Your Skin
After removing the paint, it’s crucial to care for your skin to avoid irritation and maintain its health.
Cleanse your face after removing the paint
You should cleanse your face to remove any leftover paint or remover residue. Choose a gentle, hydrating cleanser that will effectively clean your skin without stripping it of its natural oils.
Apply a soothing moisturizer
After cleansing, apply a soothing moisturizer to your face. Your skin might be a bit dry or irritated from the paint and remover, so a hydrating and calming moisturizer is a must.
Avoid harsh skincare products
Avoid using any harsh skincare products such as exfoliators or acidic ingredients for a day or two after face painting as your skin might be sensitive.
Practice and Experiment
Finally, remember that face painting is an art, and like any art, it requires practice and a willingness to experiment.
Try different designs and techniques
The more designs and techniques you experience, the more you’ll stretch your skills and creativity. Don’t be afraid to try something new!
Learn from tutorials and resources
Take advantage of the multitude of tutorials and resources available online. Learning from others can greatly improve your own techniques and style.
Have fun and express your creativity
Perhaps most importantly, have fun with it! Face painting is a form of self-expression and creativity.
