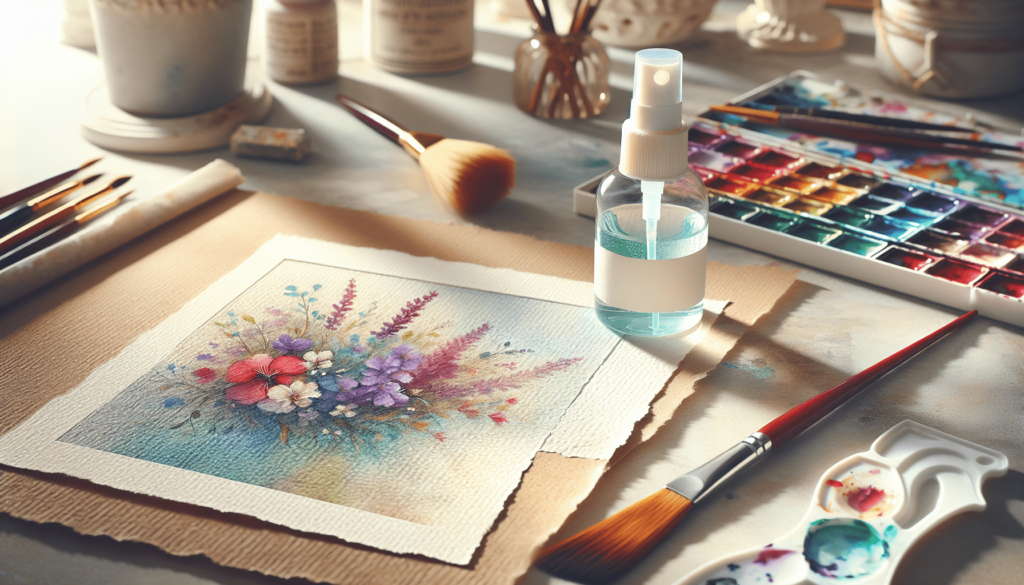
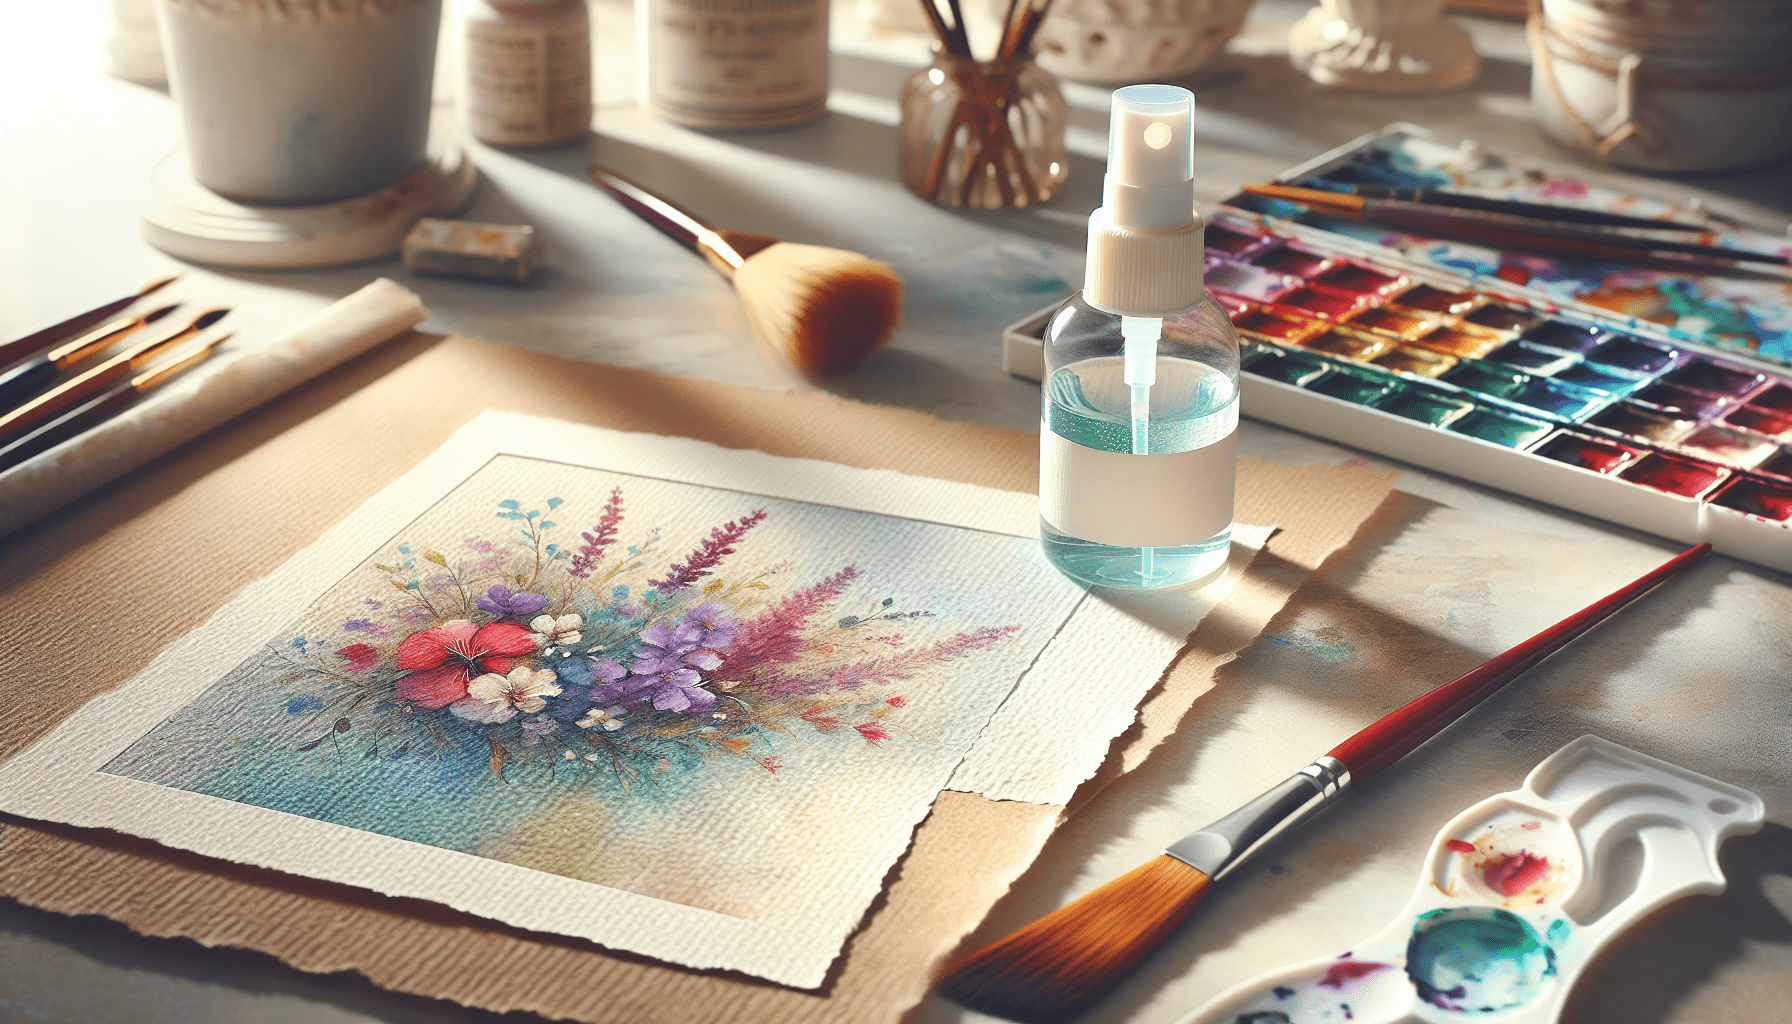
In the realm of watercolor painting, the application of a sealer to preserve your artwork is paramount. The process of sealing watercolor paint involves several meticulous steps to ensure that your piece remains protected from external elements such as moisture, UV light, and physical wear. This article, “How To Seal Watercolor Paint,” provides you with a comprehensive guide on selecting the appropriate sealing materials, preparing your artwork, and executing the sealing process proficiently. By following these recommendations, you will enhance the longevity and vibrancy of your watercolor creations, safeguarding your artistic endeavors for years to come. Have you ever completed a beautiful watercolor painting and wondered how to protect it from damage and deterioration? Sealing your watercolor paintings properly can preserve your art for years to come. In the following article, we’ll cover everything you need to know about how to seal watercolor paint, from the essential materials to step-by-step instructions and common pitfalls to avoid.
Understanding the Importance of Sealing Watercolor Paint
Before diving into the “how,” let’s address the “why.” Watercolor paintings are highly susceptible to damage from environmental factors such as moisture, dust, and UV rays. Sealing your artwork will provide a protective barrier against these elements, ensuring the longevity and vibrancy of your creation.
Why Is Sealing Watercolor Paint Necessary?
Watercolors are known for their delicacy and subtlety. However, these qualities also make them fragile. Unsealed watercolor can fade, smear, or become damaged easily over time. Here’s why sealing is crucial:
- UV Protection: Seals shield the pigments from harmful ultraviolet rays, which can cause colors to fade.
- Physical Protection: A good sealant will protect your painting from handling, accidental spills, and dust.
- Moisture Barrier: Watercolors are water-soluble and can be reactivated by moisture. A sealant prevents water from damaging your painting.
Essential Materials You Will Need
Before you start sealing your watercolor paintings, gather all the necessary materials. Ensuring you have everything at hand will make the process smoother and more efficient.
List of Materials
Here are the basic materials you’ll need to get started:
| Item | Purpose |
|---|---|
| Sealant Spray | Protects and seals the watercolor surface |
| Fixative Spray | Keeps colors from bleeding during further sealing processes |
| Brush-on Varnish | Offers longer-lasting protection and depth |
| Foam Brushes | Used for applying brush-on varnish |
| Masking Tape | Protects edges of the painting |
| Protective Gloves | Protects your hands from chemicals |
| Soft Brush | Removes dust and debris before sealing |
| Respirator Mask | Protects from inhaling harmful fumes |
| Clean Working Area | Ensures no contamination |
Types of Sealants
Selecting the right type of sealant is critical. There are two main types you can use:
- Spray Sealants: These are easy to apply and provide an even coat. Commonly used for initial sealing.
- Brush-on Varnish: Offers a more robust protection layer but requires careful application to avoid streaks.

Step-by-Step Guide to Sealing Watercolor Paintings
To achieve the best results, follow this step-by-step guide thoroughly. Each step is essential to ensure your painting is adequately protected.
Step 1: Prepare Your Workspace
Start by preparing your workspace. Ensure it’s clean, well-ventilated, and free from dust. Lay down some old newspapers or a plastic sheet to protect surfaces from sealant overspray or varnish drips. Open windows if you are working indoors, or work outside to avoid inhaling fumes.
Step 2: Clean the Painting
Use a soft brush to gently remove any dust or debris from the surface of your painting. It’s important to make sure the surface is as clean as possible before applying any sealant.
Step 3: Mask the Edges (Optional)
If your painting has a border or you want to protect certain areas from the sealant, use masking tape to cover these parts. Ensure the tape adheres well but don’t press too hard to avoid damaging the paper.
Step 4: Apply Fixative Spray
Before you apply a sealant, a fixative spray can help to lock down your watercolor pigments. This step is optional but highly recommended, especially for intense colors or heavy pigment areas.
- Hold the can approximately 12 inches away from the surface.
- Spray in a sweeping motion to avoid oversaturating any one area.
- Let it dry completely before moving on to the next step.
Step 5: Apply the First Coat of Sealant Spray
With your fixative layer dry, you can now apply the sealant spray.
- Shake the can thoroughly.
- Hold the can about 12-18 inches away from the painting.
- Apply a light, even coat in a sweeping motion.
- Let it dry for the recommended time as indicated on the product label (usually 15-30 minutes).
Step 6: Apply Subsequent Coats
For optimal protection, apply multiple coats of sealant. Follow the same procedure as the first coat, ensuring each layer is fully dry before applying the next. Typically, 2-3 coats should suffice.
Step 7: Apply Brush-on Varnish (Optional but Recommended for Maximum Protection)
For a more robust layer of protection, you can apply a brush-on varnish after the sealant spray is completely dry.
- Pour a small amount of varnish into a disposable container.
- Using a foam brush, apply the varnish in even strokes.
- Apply a light, even layer — going in one direction.
- Allow it to dry thoroughly before applying another layer. Two coats are generally sufficient.
Step 8: Let It Cure
Allow your sealed painting to cure in a safe, dust-free environment. The curing time can vary depending on the products used, but generally, it’s best to let it sit for at least 24-48 hours.
Tips and Best Practices
Sealing your watercolor paintings is an art in itself. Here are some tips and best practices to help you achieve the best results:
Always Test First
Always conduct a test on a small scrap piece of watercolor paper before applying products to your finished artwork. This helps you understand how the products will interact with your pigments and paper.
Ventilation Is Key
Always work in a well-ventilated area. Many sealants and varnishes produce fumes that can be harmful if inhaled.
Light, Even Coats
Applying sealant in heavy, uneven coats can lead to drips, streaks, and even damage to your painting. Aim for light, even coats and allow adequate drying time between applications.
Protect the Work During Drying
Once you’ve applied your sealant or varnish, leave your painting in a safe, dust-free area to dry. This helps prevent any debris from sticking to the surface.
Handle with Care
While sealants and varnishes provide a layer of protection, your painting is still susceptible to damage from rough handling. Always handle your sealed artwork with care.

Frequently Asked Questions About Sealing Watercolor Paint
Understanding the sealing process involves addressing some common concerns and questions you may have.
Can I Use Any Sealant for Watercolor Paint?
It’s crucial to use a sealant designed specifically for artwork, particularly for watercolors. General-purpose sealants may not provide the right level of protection and could even harm your painting.
How Often Should I Re-Seal My Painting?
Typically, one thorough sealing process is sufficient for most paintings. However, if your painting is displayed in a high-traffic area or exposed to direct sunlight, you may need to re-seal it every few years.
What Happens if I Skip the Fixative Step?
Skipping the fixative step can lead to running or bleeding during the sealing process, especially in areas with heavy pigment. While it’s possible to skip this step, fixing the pigments first can save you from potential issues.
Can I Use a Hair Dryer to Speed Up Drying?
Using a hairdryer on a low setting is generally safe, but be cautious. Overheating can cause the sealant to crack or warp the paper, leading to damage.
What Should I Do If I Make a Mistake?
If you notice streaks or drips after the sealant has dried, you can lightly sand the affected area with fine-grit sandpaper and re-apply the sealant. Always test this method on a sample piece first to ensure it doesn’t cause further damage.
Conclusion
Sealing your watercolor paintings is an essential step to ensure their longevity and protection. Whether you’re a seasoned artist or a beginner, understanding how to properly seal your artwork can make a significant difference in preserving your creative efforts. By following the steps and tips outlined in this article, you can confidently protect your watercolor paintings for years to come.
Make sealing a part of your finishing process, and take the time to do it right. Your future self — and your beautiful artworks — will thank you.


