Have you ever finished a paint marker piece only to worry that it might smear, fade, or wash away with the first touch?
How To Seal Paint Marker Art On Different Surfaces
Sealing paint marker art preserves color, prevents smudging, and protects your work from moisture, UV light, and abrasion. This guide shows you how to choose and apply the right sealant for each surface, how to prepare surfaces and markers for best results, and how to troubleshoot common problems. You will get practical, professional instructions to extend the life of your artwork across a wide range of materials.
Why sealing matters
Sealing is a protective step that locks pigment and binder in place. Without it, many markers remain vulnerable to rubbing, water, and fading. You will learn how selection of sealer affects durability, sheen, flexibility, and color shift, so you can match the product to your project goals.
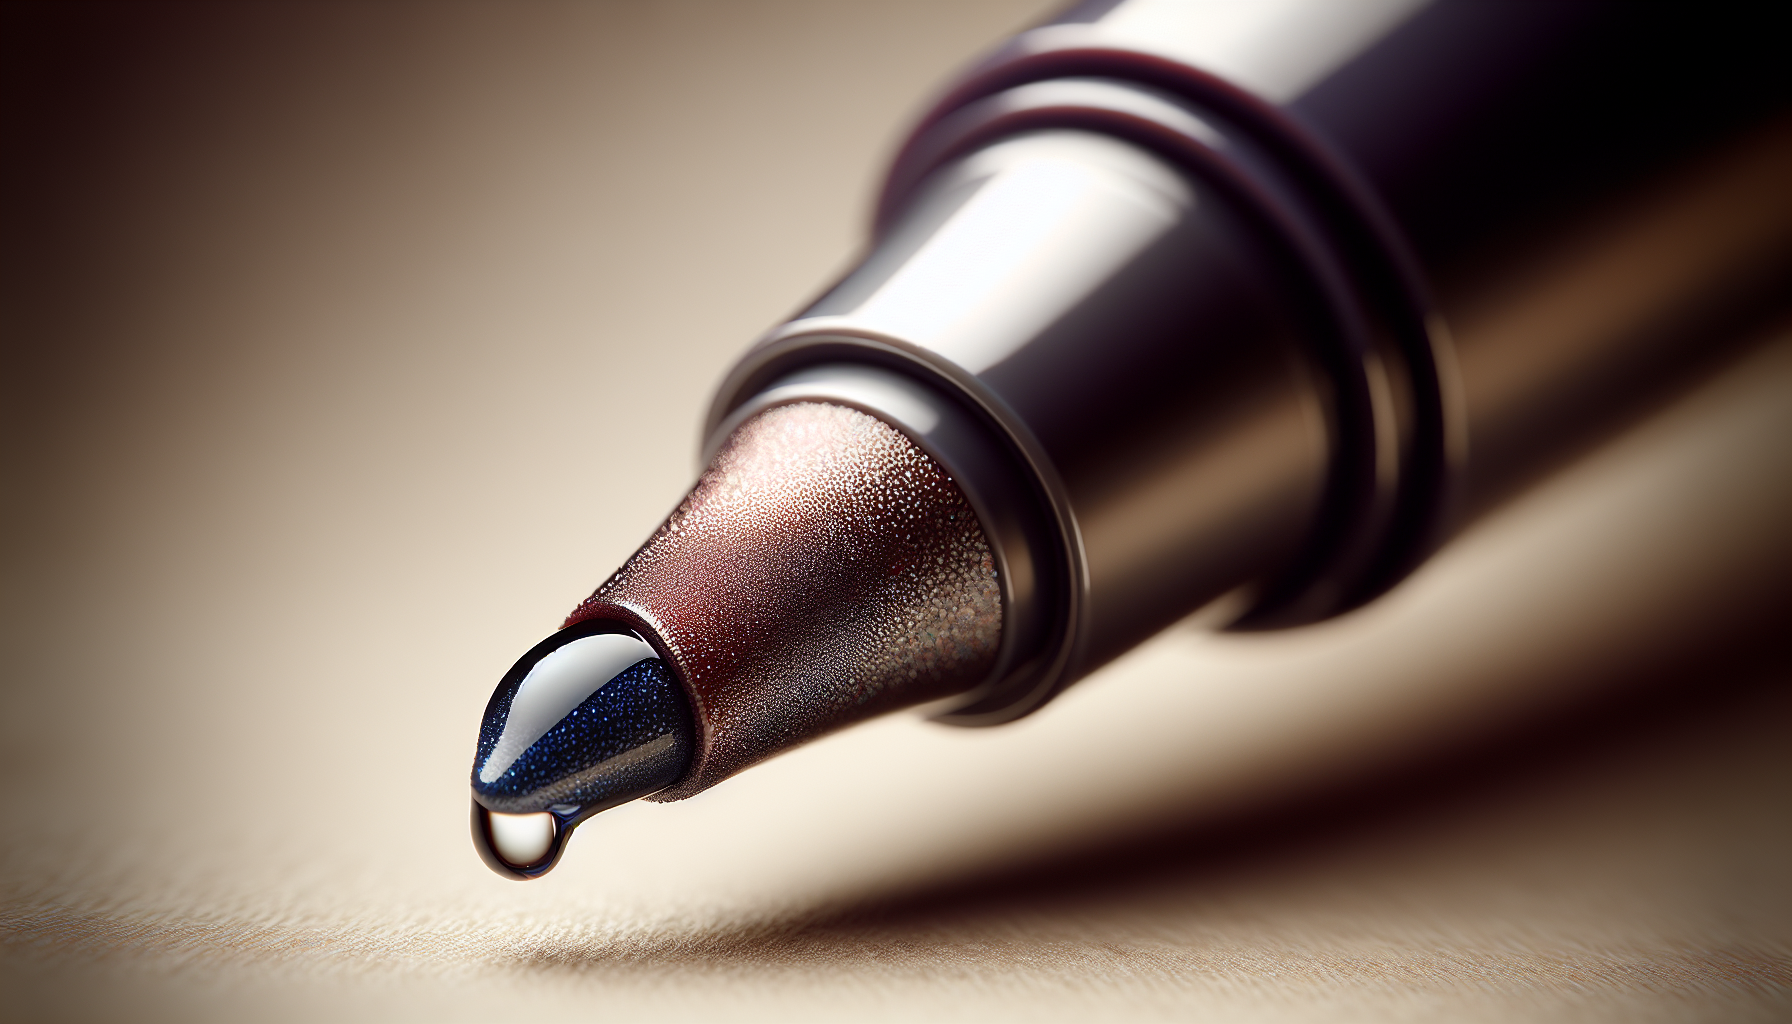
Understand paint marker chemistry
Knowing the ink or paint base in your marker—water-based, alcohol-based, or solvent/oil-based—determines the right sealer and process. Different chemistries react to sealants and solvents in different ways, which can cause bleeding, tackiness, or poor adhesion if you pick the wrong combination.
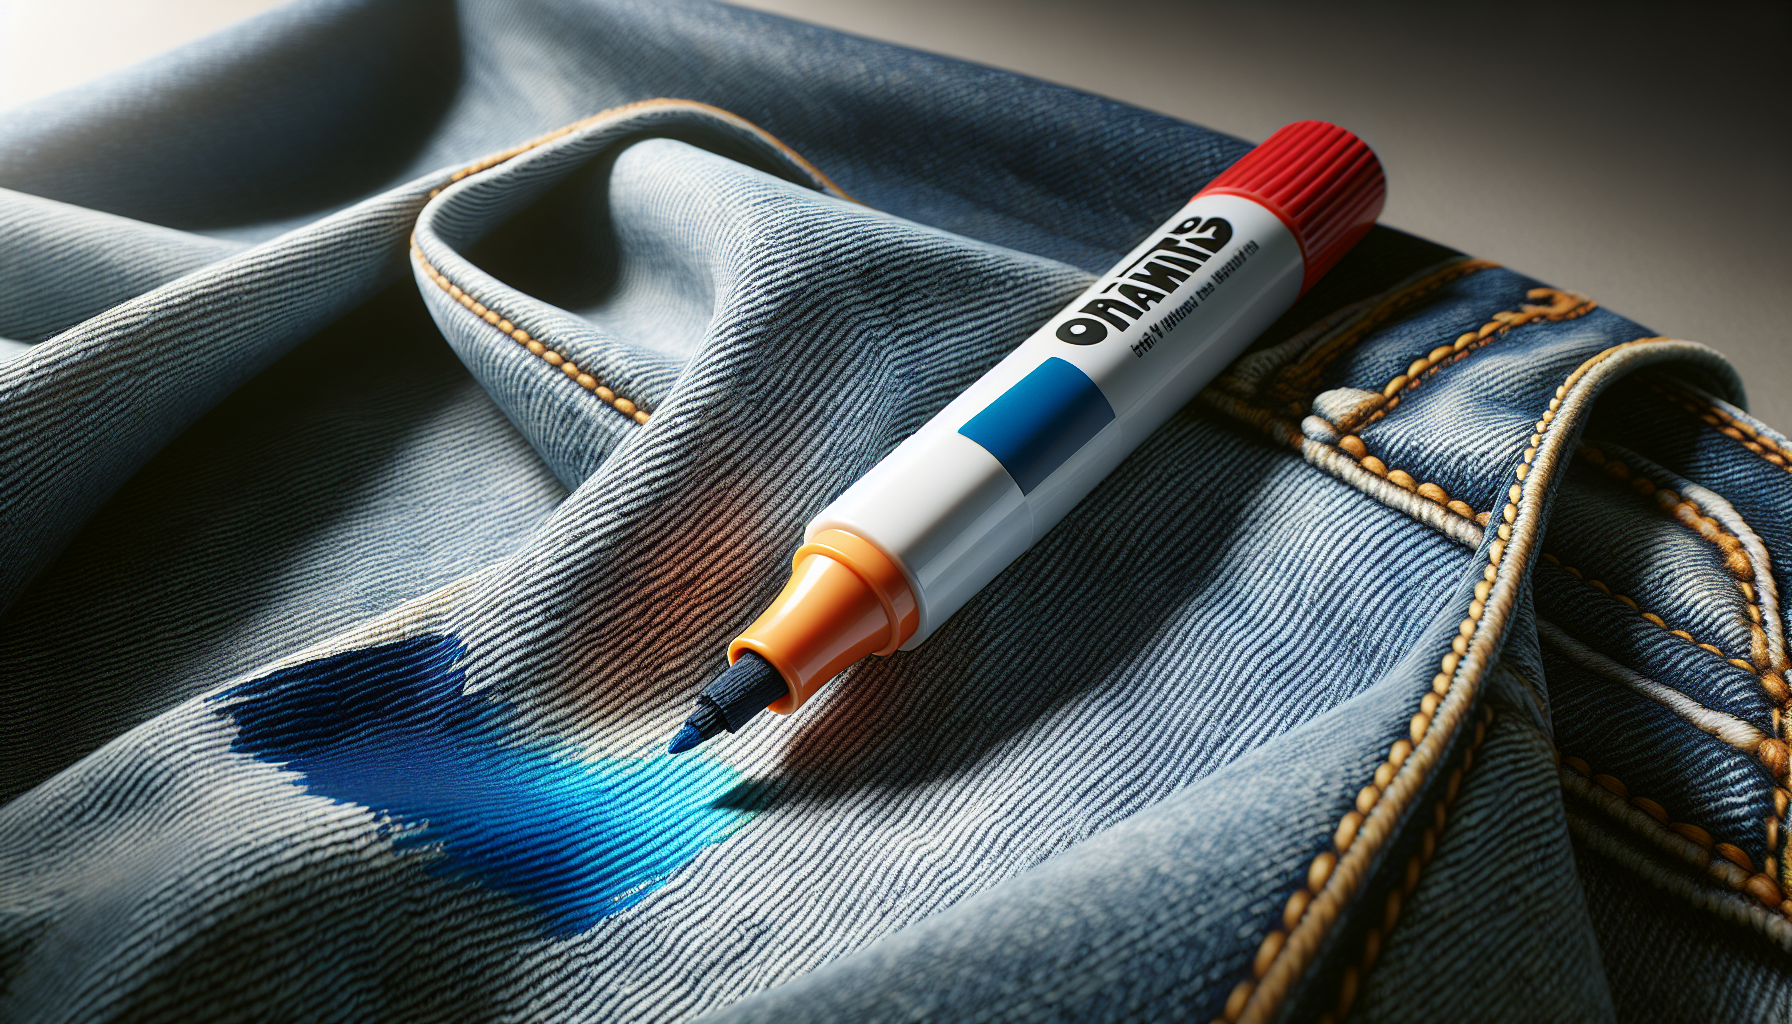
Water-based markers
Water-based markers are easy to clean up and generally safe for porous surfaces, but they can be water-reactive and may lift when a waterborne sealant is applied too soon.
Alcohol-based markers
Alcohol-based markers dry fast and bond well to many non-porous surfaces, but some alcohol pigments can be soluble in certain solvents. Sealing with compatible spray acrylics or polyurethane is often needed.
Solvent/oil-based markers
These markers usually form more robust, solvent-resistant films and often accept most clear coats. However, strong solvents in sealants can re-dissolve older solvent-based ink if full cure has not occurred.
General sealing workflow: step-by-step
A consistent workflow minimizes mistakes. Follow these steps whether you work on paper, wood, glass, or fabric.
- Clean and dry the surface thoroughly to remove dust, oils, or residues.
- Allow marker ink to fully dry and cure per manufacturer instructions—this may range from minutes to days.
- Test compatibility in an inconspicuous area or on a scrap of the same material.
- If needed, apply a suitable primer or surface conditioner.
- Choose the appropriate sealer type and application method (spray vs brush).
- Apply thin, even coats, allowing full drying time between layers.
- If you need higher gloss or scratch resistance, apply additional coats or a topcoat that specializes in abrasion resistance.
- Let the final sealed piece cure fully before handling or exposing to moisture or sunlight.

Tools and materials you will need
Gather appropriate safety gear and tools. Using the correct supplies reduces failures and finishes that look unprofessional.
- Suitable clear coat (spray acrylic, polyurethane, resin, lacquer, Mod Podge, etc.)
- Sandpaper (320–600 grit) for light scuffing where recommended
- Lint-free cloths, tack cloth
- Gloves, respirator (for solvent-based products), safety glasses
- Masking tape, drop cloth or cardboard to protect work area
- Brushes or foam applicators (if using brush-on sealant)
- Small test pieces of your substrate and the same paint markers for trial runs
Choosing sealants: overview and comparison
Selecting the right sealer depends on surface type, desired sheen, durability, and environmental exposure. The following table gives a quick comparative view.
| Sealer type | Best for | Sheen options | Durability | Notes |
|---|---|---|---|---|
| Spray acrylic (clear) | Paper, canvas, wood, ceramics, some plastics | Matte, satin, gloss | Moderate | Fast, easy; minimal brush marks; must test for solvent interaction |
| Brush-on acrylic varnish | Wood, canvas, paper | Matte, satin, gloss | Moderate | Can leave brush strokes; use foam brush for smoother finish |
| Polyurethane (oil- or water-based) | Wood, some plastics, metal | Satin, semi-gloss, gloss | High | Very durable; oil-based has stronger fumes and ambering potential |
| Epoxy resin | Tables, high-wear surfaces, jewelry | High-gloss | Very high | Thick, crystal-clear; requires skills and dust-free curing |
| Lacquer | Metal, wood, glass | High-gloss | High | Quick-drying; strong solvent may attack some marker inks |
| Clear enamel spray | Metal, glass, ceramic, plastic | Gloss | High | Good adhesion to non-porous surfaces |
| Mod Podge / PVA sealers | Paper, collage, crafts, light wear | Matte, satin, gloss | Low–moderate | Easy to use; not ideal for heavy wear or outdoor use |
| Heat-set (for fabric markers) | Fabric | N/A | Moderate | Requires an iron or heat press; preserves flexibility |
Surface-specific guidance
Below are detailed instructions and considerations for common surfaces. Each subsection explains preparation, recommended sealers, application techniques, and pitfalls to avoid.
Paper, cardstock, and illustration board
Paper is porous and fragile. You will need to balance protection and preserving the original texture.
Preparation: Ensure inks are fully dry and cured; allow at least 24 hours for heavy pigment loads. Keep the piece flat to avoid warping.
Recommended sealers: Spray acrylic varnish (light coats) or archival spray fixative for pencils/inks; avoid water-based brush-on coatings on the paper surface unless tested.
Application: Use multiple light spray passes about 6–12 inches away to prevent pooling or rippling. Hold the can moving constantly and finish in a single direction to minimize reversible sheen variations.
Pitfalls: Over-spraying or too-close application will saturate the paper and cause buckling. Do not apply heavy brush-on varnish to unprimed paper unless you have practiced on scraps.
Canvas (primed and unprimed)
Canvas is tolerant and often used with acrylic or oil markers.
Preparation: If unprimed, consider priming (gesso) to stop ink absorption. For primed canvas, gently remove dust.
Recommended sealers: Acrylic varnish (spray or brush-on) for acrylic marker work; for oil-based media, choose compatible oil varnishes and allow full curing.
Application: Apply thin, even coats; spray varnish works well for textured canvas, preserving brush-like textures.
Pitfalls: Applying a solvent-based sealer to acrylic inks before they cure may cause bloom or tackiness.
Wood
Wood is porous, variable, and often used for signage or decor.
Preparation: Sand surface smooth and remove dust. If you want a sealed, hard surface, apply a clear primer or sanding sealer. For live-edge or rough wood, test to determine ink absorption.
Recommended sealers: Spar urethane or polyurethane (for outdoor exposure, choose marine or spar formulations). Spray acrylic also works for indoor pieces.
Application: Brush-on polyurethane may require 2–4 coats with light sanding between coats (220–320 grit) for ultra-smooth finish. For outdoor wood, select spar urethane with UV inhibitors.
Pitfalls: Wood tannins or oils can bleed into a clear coat over time and yellow. Use a stain-blocking primer or shellac barrier if you notice bleeding.
Metal
Metal surfaces are non-porous and may require adhesion promoters.
Preparation: Clean with isopropyl alcohol or acetone to remove oils and fingerprints. Lightly scuff with fine sandpaper if the metal is glossy.
Recommended sealers: Clear enamel sprays, lacquer, or two-part polyurethane. Epoxy topcoats can also be used for a high-gloss table finish.
Application: Spray products often give best results on metal. Apply multiple light coats to avoid runs.
Pitfalls: If marker ink is not fully adhered (especially on slick or oily metal), the sealer may cause it to wrinkle or smudge. Test first.
Glass and ceramics
Glass and ceramics are non-porous and require sealants with strong adhesion.
Preparation: Clean thoroughly with alcohol and consider firing ceramics or using a baking process if the marker manufacturer recommends heat-setting.
Recommended sealers: Clear enamel, lacquer, or epoxy. For dishwasher-safe ceramic pieces, use a proper kiln firing if the pigments and markers are rated for that.
Application: With glass, spray or brush-on enamel often gives long-lasting results. Epoxy can create a thick, durable coating but requires careful mixing.
Pitfalls: Thermal expansion mismatch and strong solvents can cause cracking or lifting; allow full cure times and avoid thermal shock.
Plastic (various types)
Plastics are diverse (polypropylene, polyethylene, ABS, acrylic), and adhesion varies.
Preparation: Identify the type of plastic if possible. Clean thoroughly and scuff with fine sandpaper for better adhesion. Use a plastic adhesion promoter or primer on difficult plastics.
Recommended sealers: Clear enamel or specialty plastic-compatible sprays. For acrylic plastic (plexiglass), use acrylic spray varnish. For flexible plastics, choose flexible sealants.
Application: Apply thin coats; test for solvent reactions as some sealers can cause clouding on plastic surfaces.
Pitfalls: Some plastics are chemically resistant and require specially formulated primers. Avoid solvent-heavy sealers on thin plastics that can warp.
Stone, concrete, and masonry
These porous surfaces soak up inks differently and benefit from penetrative sealers.
Preparation: Clean and, if needed, remove efflorescence or dust. For porous stone, a primer or consolidant may help.
Recommended sealers: Penetrating sealers or clear acrylic masonry coatings. Epoxy can be used for tabletops and intense wear areas.
Application: Brush or spray suitable masonry sealers. For outdoor installations, use sealers with UV and water resistance.
Pitfalls: Heavy pigmentation on porous surfaces can be uneven; multiple light seal coats help reduce blotchy appearance.
Fabric and textiles
Fabric requires flexibility and wash-fastness.
Preparation: Pre-wash fabric to remove sizing and shrinkage. Dry and iron to create a flat surface.
Recommended sealers: Heat-setting is often recommended for fabric markers—iron or use a heat press per manufacturer instructions. Fabric medium and flexible textile sealers maintain hand and flexibility.
Application: Heat-set following label instructions (temperature and time). If you use a liquid sealant, choose one formulated for textiles to avoid stiffness.
Pitfalls: Ordinary acrylic varnishes will stiffen fabric and may crack with movement. Use flexible textile sealers.
Leather and faux leather
Leather needs flexible, breathable finishes.
Preparation: Clean leather with appropriate cleaners and allow to dry. Avoid oils that may bleed into the ink.
Recommended sealers: Flexible acrylic leather finishes or leather-specific sprays. Test for color change.
Application: Apply thin coats and allow thorough drying between layers to prevent tackiness.
Pitfalls: Stiff coatings will reduce leather flexibility and may flake over time.
Matching sealant to marker chemistry: compatibility tips
Choose a sealer that will not reactivate or dissolve your marker layer. Here are practical rules:
- If you used water-based markers, avoid immediately applying aggressive solvent-based sealers. Allow full cure and spot-test. Use water-based or acrylic spray varnishes first.
- If you used alcohol-based markers, acrylic spray varnish or polyurethane usually works well, but test for solvent sensitivity.
- If you used solvent- or oil-based markers, most clear coats will adhere well, but ensure the marker has fully cured to prevent re-dissolving.
When in doubt, perform a wet-scratch test on a scrap piece: apply the sealer on the test area and check for bleeding, tack, or color shift after drying.

Application techniques: spray vs brush-on
Each method has pros and cons; choose based on surface, desired finish, and working environment.
Spray sealers
Spray sealers produce smooth, even coats and are excellent for textured or detailed work. They reduce brush stroke marks and apply thin layers.
- Advantages: Fast, uniform coverage; less brush marks.
- Disadvantages: Overspray, need for ventilated area, possible inconsistency in windy conditions.
Technique tips: Use light, overlapping passes; maintain consistent distance; rotate object if possible; apply multiple thin layers.
Brush-on sealers
Brush-on sealers give you more control and are suitable for flat, indoor pieces. They are necessary for thick protective coats like polyurethane or epoxy base coats.
- Advantages: Precise control, thicker protective layers possible.
- Disadvantages: Brush marks, streaks, potential for bubbles.
Technique tips: Use foam brushes or high-quality natural/nylon brushes. Apply in long, continuous strokes. Sand lightly between coats to remove dust nibs and ensure adhesion between layers.
Epoxy and resin
Epoxy yields extremely durable, glossy surfaces suitable for tabletops and jewelry.
- Advantages: High clarity, thick protective layer, excellent abrasion resistance.
- Disadvantages: Requires precise mixing, temperature control, and dust-free curing environment.
Technique tips: Mix slowly to avoid air bubbles, pour in thin layers if concerned about exotherm, use a torch or heat gun to pop bubbles, and allow recommended cure times.
Finishing decisions: sheen, thickness, and UV protection
Your choice of sheen (matte, satin, gloss) affects perceived color vibrancy and reflectivity. Gloss enhances color saturation; matte reduces glare.
- For colored marker art, a satin or gloss finish often preserves color depth.
- For museum or archival work on paper, use archival spray fixatives and matte varnishes to reduce reflections.
- For outdoor pieces, select UV inhibitors and flexible sealers to resist cracking and fading.
Thickness: Thin coats prevent runs and wrinkling, but multiple coats produce greater protection. Thicker final coats (or resin topcoats) add scratch resistance.
Troubleshooting common problems
Even experienced artists encounter issues. Use these targeted fixes.
- Smudging after sealing: You likely sealed before ink cured or used a solvent sealer that reactivated the ink. Allow full cure and use a compatible sealer; test first.
- Tacky or sticky finish: Insufficient cure time or reacting layers. Allow extended drying; in severe cases, strip with appropriate solvent and re-seal.
- Yellowing: Oil-based polyurethane and some varnishes yellow over time. Use water-based poly or non-yellowing acrylic varnish for light or white art.
- Brush marks: Sand between coats (220–320 grit) and use foam applicators; consider switching to spray.
- Clouding on plastic/glass: Solvent incompatibility; choose non-solvent formulations or lower VOC spray acrylics.
- Cracking on flexible surfaces (fabric, leather): Use flexible textile/ leather sealers to preserve movement.
Compatibility checklist and testing protocol
Before sealing final artwork, follow this simple checklist:
- Has the ink fully cured? If unsure, wait 72 hours for heavy layers.
- Did you test sealer on a scrap or hidden area? Always test.
- Did you clean and prime the surface appropriately? Grease and dust reduce adhesion.
- Are you using appropriate PPE and ventilation for solvent-based products? Safety first.
Test protocol:
- Use a scrap of the same substrate and the same marker layer and let it cure.
- Apply sealer per instructions (spray/brush).
- Observe finish, any color shift, tackiness, and adhesion after full cure.
- Run adhesion test: tape-test a corner and pull to see if any ink lifts.
- Expose to intended conditions (water, flex) to validate durability.
Safety, ventilation, and disposal
Many sealants include volatile organic compounds (VOCs) and require ventilation. You should adhere to manufacturer safety guidelines.
- Work in a well-ventilated area, ideally outdoors or in a spray booth.
- Wear a respirator rated for organic vapors when using solvent-based products.
- Use gloves and eye protection.
- Dispose of rags and brushes per local hazardous-waste regulations; oil-soaked rags can combust and must be handled correctly.
- Store sealants away from heat and open flame.
Durability expectations and maintenance
Sealed marker art lasts longer but is not invulnerable. You should set realistic expectations based on intended use.
- Indoor decorative pieces protected with acrylic varnish can retain color for many years.
- Outdoor installations require UV-resistant, flexible coatings and periodic re-sealing.
- High-touch items (coasters, tabletops) benefit from epoxy or high-grade polyurethane.
- For washable fabric items, heat-setting and fabric sealants are necessary but will degrade over many wash cycles.
Maintenance tips:
- Clean sealed surfaces gently with mild soap and water.
- Avoid abrasive cleaners on glossy finishes.
- For minor scratches, spot-sand and recoat that area following the original process.
Practical product recommendations (examples)
These are categories and examples, not endorsements. Always read product labels and test first.
- Spray acrylic varnish: Brands like Krylon or Liquitex (varnish sprays) for general indoor use.
- Water-based polyurethane: Minwax water-based polyurethane for low-odor indoor wood projects.
- Oil-based polyurethane: Minwax oil-based for extremely durable finishes (use outdoors sparingly due to yellowing).
- Epoxy resin: Two-part tabletop resins (e.g., ArtResin, TotalBoat Epoxy) for high-gloss, thick pours.
- Clear enamel: Rust-Oleum clear enamel for metal and glass.
- Textile finish: Jacquard Textile Medium or Tulip Fabric Paint fixatives and heat-set methods.
- Leather finish: Fiebing’s Resolene for flexible leather coatings.
Frequently asked questions
What is the difference between drying and curing?
- Drying is the evaporation of solvents; curing is the chemical crosslinking that creates the final durable film. Curing can take days to weeks.
Can I combine sealers (spray then brush-on)?
- Yes, but ensure bottom layers are fully cured and compatible with the topcoat. For example, a spray acrylic base with a polyurethane topcoat is often acceptable if tested.
Will sealing change my colors?
- Some sealers slightly deepen or darken colors, especially gloss finishes. Matte finishes may mute colors. Test on scrap material.
How many coats do I need?
- Typically 2–4 thin coats produce good protection. High-wear pieces may require more or thicker specialized coatings like epoxy.
Are there archival options?
- Use archival spray fixatives for paper-based works, and choose non-yellowing acrylics for color stability.
Quick reference table: Sealer selection by surface
| Surface | Best sealer(s) | Notes |
|---|---|---|
| Paper / Cardstock | Archival spray fixative, light spray acrylic | Avoid heavy brush-on liquids; test for buckling |
| Canvas | Acrylic varnish (spray/brush) | Use varnish suited to media (acrylic vs oil) |
| Wood | Polyurethane or spar urethane | For outdoor use, pick UV-resistant spar urethane |
| Metal | Clear enamel, lacquer | Clean and scuff before application |
| Glass / Ceramic | Enamel, epoxy | For functional ware, follow marker firing/curing instructions |
| Plastic | Plastic-specific spray or adhesion promoter + sealant | Solvent compatibility varies widely |
| Stone / Concrete | Penetrating sealer or acrylic masonry coating | Use consolidants for fragile stone |
| Fabric | Heat-set (iron), fabric medium | Avoid stiffening with non-flexible varnishes |
| Leather | Leather finish (Resolene) | Keep coatings flexible |
| High-wear surfaces | Epoxy, polyurethane | Epoxy for glossy thick protection; polyurethane for tough protection |
Final recommendations and best practices
- Always allow full cure time for markers before sealing. When in doubt, wait longer.
- Test on scraps or hidden areas to validate color stability and adhesion.
- Use multiple thin coats rather than a single thick one to minimize defects.
- For pieces exposed to sunlight or moisture, invest in UV-stable and water-resistant sealants.
- Maintain safety: ventilate, wear a respirator and gloves, and dispose of materials responsibly.
Sealing your paint marker art is a small extra step that dramatically increases longevity and appearance. By understanding the interactions between marker chemistry, substrate, and sealant, you will preserve the integrity and vibrancy of your work for years to come.