In the meticulous and often intricate world of oil painting, understanding the process of sealing your artwork is essential to ensure its longevity and preservation. “How To Seal Oil Paint” provides a comprehensive guide that delineates the necessary steps and materials required to effectively seal oil-painted surfaces, safeguarding them from factors such as dust, moisture, and exposure to sunlight. By meticulously adhering to these instructions, you will be able to preserve your artistic creations, maintaining their vibrancy and integrity over time. Have you ever wondered how you can best seal an oil painting to ensure its longevity while maintaining its vibrant colors? Sealing your oil painting is a crucial step in preserving your hard work and achieving professional results. In this comprehensive guide, we will provide you with detailed instructions and essential tips on how to properly seal oil paint.
Understanding the Importance of Sealing Oil Paint
Why Seal Oil Paint?
Sealing oil paint serves multiple purposes; it protects the paint layer, enhances color vibrancy, and provides a uniform finish. Without proper sealing, your oil painting might be susceptible to environmental factors such as humidity, dust, and UV radiation, which can degrade the artwork over time.
Benefits of Sealing Oil Paint
- Protection: Shields the painting from dust, moisture, UV rays, and physical damage.
- Color Enhancement: Retains the richness and depth of the paint colors.
- Uniform Finish: Ensures the painting has an even appearance, without glossy or matte patches.
- Longevity: Prolongs the lifespan of the artwork, making it easier to maintain for years.
Preparation Before Sealing
Final Touches on Your Painting
Prior to sealing, make sure your painting is completely dry. Oil paints take considerably longer to dry compared to other types of paint.
- Drying Time: Generally, oil paint can take anywhere from a few weeks to several months to dry completely, depending on the thickness of the application and the type of medium used.
Clean the Surface
Ensure that the surface of the painting is dust-free and clean. Use a soft brush or lint-free cloth to gently wipe off any dust particles or debris.
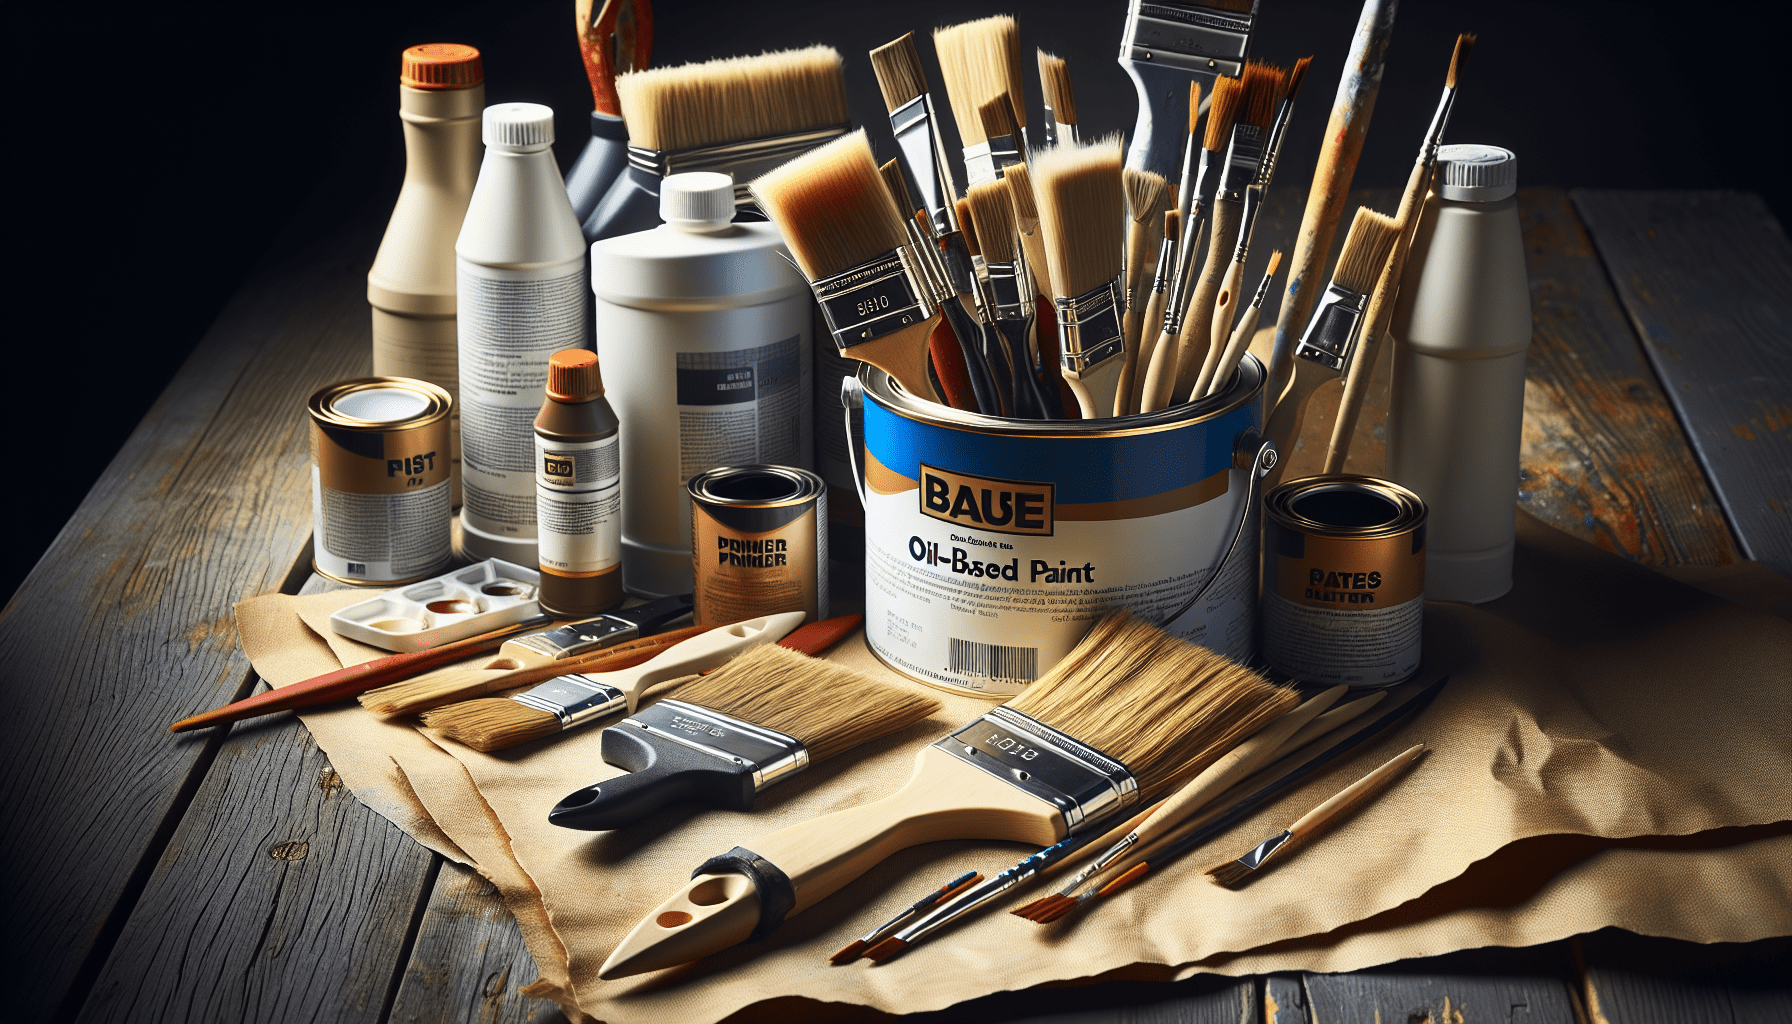
Gather Necessary Supplies
Before you begin the sealing process, gather all essential materials:
- Varnish (gloss, matte, or satin finish)
- Brushes or spray canister (depending on the type of varnish)
- Protective gloves
- Mask (if using spray varnish)
- Well-ventilated space

Types of Varnishes
Dammar Varnish
Dammar varnish is a traditional resin-based varnish that offers a high-gloss finish and is known for enhancing color richness. However, it can yellow over time.
Synthetic Resin Varnishes
Synthetic resin varnishes are less prone to yellowing and are available in various finishes such as gloss, satin, and matte. Examples include Gamvar and Winsor & Newton Professional Gloss Varnish.
Solvent-Based Varnishes
Solvent-based varnishes provide durability and are generally more resistant to environmental factors. As they contain strong solvents, it’s important to use them in well-ventilated areas.
Water-Based Varnishes
Eco-friendly and easy to apply, water-based varnishes are excellent for amateur artists. They dry quickly but may not provide the same level of protection as solvent-based options.
How to Apply Varnish
Step-by-Step Guide
Choose Your Varnish
Select a varnish that suits the finish you desire (gloss, matte, or satin) and make sure it is compatible with oil paints.
| Varnish Type | Finish | Best For |
|---|---|---|
| Dammar Varnish | High Gloss | Vibrant Color Enhancement |
| Synthetic Resin | Gloss, Satin, Matte | Reduced Yellowing |
| Solvent-Based Varnish | Durable | Long-Term Protection |
| Water-Based Varnish | Quick Drying | Eco-Friendly and Ease of Use |
Prepare Your Workspace
Ensure your workspace is clean and well-ventilated. Lay down drop cloths or newspapers to protect your workspace from spills.
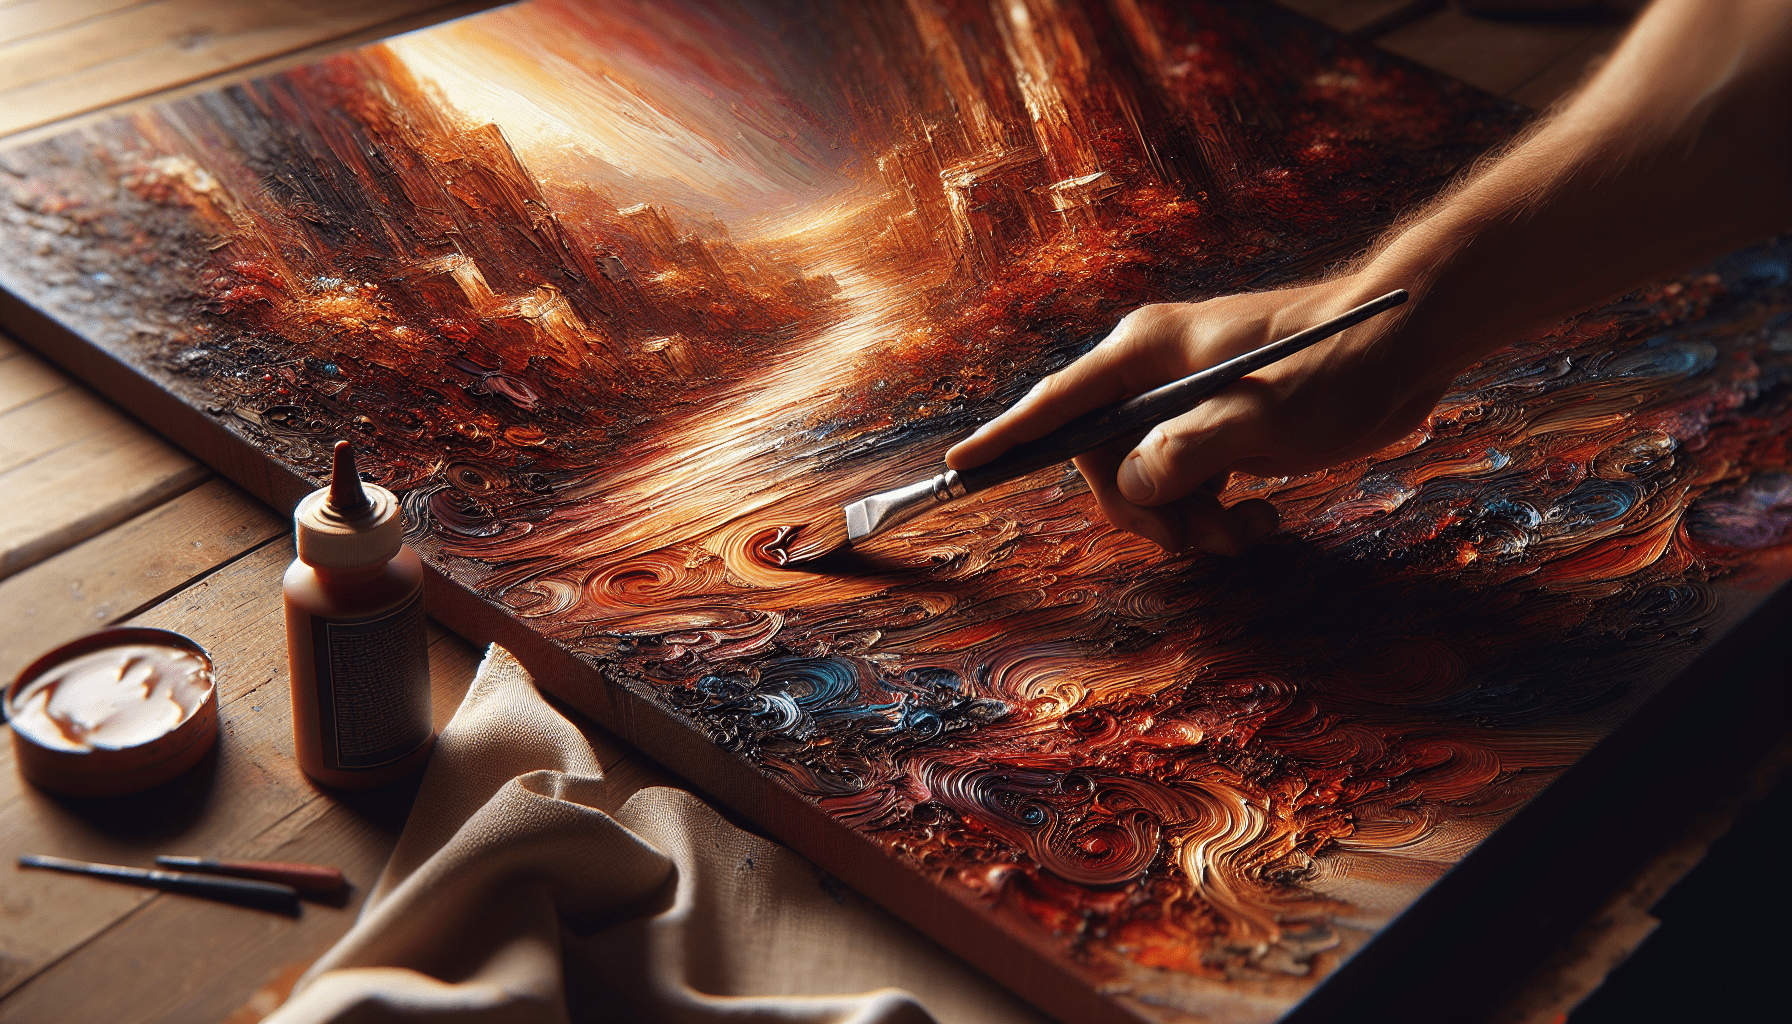
Apply the Varnish
- Brush Application: Pour a small amount of varnish into a clean container. Dip a clean, soft brush into the varnish and apply it evenly over the surface of the painting in long, smooth strokes, working from one side to the other.
- Spray Application: Hold the spray canister about 12 inches away from the painting and apply the varnish in light, sweeping motions. Avoid over-spraying one area.
Allow to Dry
Let the varnish dry completely, following the manufacturer’s instructions. Typically, varnish can take anywhere from a few hours to a couple of days to dry.
Apply Additional Coats
For added protection, apply additional coats of varnish. Each layer should be allowed to dry fully before applying the next one.
Tips for a Perfect Finish
- Consistency: Ensure consistent application for an even finish.
- Avoid Bubbles: Be gentle with the brush or spray to avoid creating bubbles in the varnish.
- Ventilation: Always work in a well-ventilated area to avoid inhaling fumes and to facilitate quicker drying.

Maintenance and Care
Regular Dusting
Regularly dust the surface of the sealed painting using a soft, dry cloth to maintain its brilliance and longevity.
Avoid Direct Sunlight
Keep the painting out of direct sunlight to prevent UV damage, which can cause colors to fade over time.
Handle with Care
When moving the painting, handle it carefully by the frame rather than the canvas to avoid any undue pressure on the artwork.
Environmental Control
Keep the painting in a stable environment with controlled humidity and temperature to prevent the varnish from cracking or the paint from warping.
Periodic Re-varnishing
Depending on the environment and condition of the painting, consider re-varnishing it every few years to refresh its protective layer.
Troubleshooting Common Issues
Yellowing Varnish
If you notice yellowing over time, consider removing the old varnish and applying a fresh coat. Synthetic resin varnishes are less prone to yellowing and can be a better alternative to traditional dammar varnishes.
Dust Particles in Varnish
Should dust particles settle into the varnish while it’s drying, lightly sanding the surface and applying another coat can help.
Uneven Finish
An uneven finish may be a result of inconsistent application. Sand down rough areas and reapply a coat of varnish evenly.
Cloudiness
Cloudiness in varnish usually results from applying it in high humidity. Ensure your workspace has low humidity and adequate ventilation. If cloudiness occurs, you may need to remove the varnish and reapply it under better conditions.
FAQ
How Long Should I Wait Before Sealing My Oil Painting?
You should wait until the painting is fully dry, which can be anywhere from several weeks to a few months.
Can I Use Acrylic Varnish on Oil Paintings?
It’s best to use varnishes specifically designed for oil paintings as they are chemically compatible and provide better protection.
How Do I Remove Varnish from an Oil Painting?
Use a solvent recommended by the varnish manufacturer and gently apply it with a soft cloth. Always test a small area first to ensure it doesn’t damage the paint layer.
Is It Necessary to Apply Multiple Coats of Varnish?
Applying multiple coats can provide additional protection and a more uniform finish, especially for paintings that will be exposed to varying environmental conditions.
What Is the Difference Between Gloss, Satin, and Matte Varnish?
- Gloss: Provides a shiny, reflective finish that enhances color vibrancy.
- Satin: Offers a soft sheen that is less reflective than gloss.
- Matte: Provides a flat finish with no shine, giving a softer look to the painting.
Final Thoughts
Sealing an oil painting is more than just a final touch; it’s an essential practice to preserve and protect your artwork. By understanding the techniques and materials involved, you can ensure your oil paintings remain in excellent condition for future generations to appreciate.
In this guide, we’ve covered everything from preparing your painting for sealing, choosing the right varnish, to applying the varnish and caring for your sealed artwork. By following these steps and tips, you’re well on your way to mastering the art of sealing oil paint, ensuring your masterpieces are protected and maintained for years to come.