So, you’ve finally decided to unleash your creativity and give your old pair of shoes a stylish makeover with acrylic paint. However, you’ve heard horror stories of the paint cracking and ruining all your hard work. No need to worry! In this article, we’ll share with you some simple yet effective tips on how to prevent acrylic paint from cracking on shoes. Say goodbye to cracked paint and hello to long-lasting, vibrant designs that will make heads turn wherever you go. So, grab your paintbrush and let’s get started!

This image is property of images.unsplash.com.
Preparing the Shoes
Clean the shoes
Before you begin the painting process, it is essential to ensure that the shoes are clean and free from any dirt or residue. Use a gentle cleaner or warm soapy water to remove any dirt, grease, or stains. Allow the shoes to dry completely before proceeding to the next step.
Remove the shoe laces and/or inserts
To make the painting process easier and more effective, take out the shoe laces and any removable inserts. This will prevent any unwanted paint from getting on them and allow you to access all areas of the shoe more easily.
Protect the surrounding areas
It’s important to protect the surrounding areas from any accidental paint splatters or spills. You can use painter’s tape or masking tape to cover areas like the soles, the edges of the sole, or any other parts of the shoe that you don’t want to be painted. This will help create clean lines and prevent any unwanted paint marks.
Choosing the Right Paint and Supplies
Select acrylic paint suitable for shoes
When choosing the paint for your shoes, make sure to select acrylic paint specifically formulated for use on shoes or fabric. Regular acrylic paint may not adhere well to the shoe material and may crack or peel easily. Look for paints labeled as “acrylic leather paint” or “fabric paint” to ensure the best results.
Consider using fabric medium
To enhance the flexibility and durability of the paint, consider adding a fabric medium to your acrylic paint. Fabric medium acts as a conditioner for the paint, making it more pliable and resistant to cracking. Simply mix the fabric medium with the paint according to the manufacturer’s instructions before applying it to the shoes.
Gather necessary painting supplies
Before you start painting, gather all the necessary supplies. You will need brushes suitable for the size and detail of your design, paint palettes or disposable plates for mixing the paint, a clean cloth or sponge for cleaning any mistakes, and paper towels for drying brushes or wiping off excess paint. Having everything prepared in advance will make the painting process much smoother.
Preparing the Paint
Mix the paint thoroughly
When working with acrylic paint, it’s important to mix it well before application. This ensures that the color pigment is evenly distributed and prevents any streakiness in your final design. Use a stirring stick or a palette knife to stir the paint thoroughly until it has a smooth consistency.
Thin the paint if needed
Depending on the thickness of the paint, you may need to thin it down slightly for easier application. If the paint seems too thick, you can add a small amount of water or acrylic medium to thin it to your desired consistency. Be careful not to add too much liquid, as it can affect the paint’s adhesion and durability.
Transfer paint to a suitable palette
Transfer the mixed paint to a suitable palette for easy access during the painting process. You can use a paint palette specifically designed for acrylic paints or simply use a disposable plate or a flat surface. Having the paint readily available on the palette will save you time and make it easier to mix colors or adjust the consistency if necessary.
Applying the Paint
Apply a base coat
Start by applying a thin base coat of paint to the entire surface of the shoe. This base coat helps create a uniform surface for the subsequent layers of paint and improves the paint’s adhesion. Use a flat brush or a sponge brush to apply the base coat evenly.
Let the base coat dry completely
Allow the base coat to dry completely before proceeding to the next steps. It’s essential to ensure that the base coat is fully dry to avoid any smudging or color bleeding when applying additional layers of paint. Refer to the drying time specified on the paint manufacturer’s instructions for best results.
Layer the paint gradually
To achieve vibrant and opaque colors, layer the paint gradually. Start with lighter shades and gradually build up the intensity by adding more layers. This technique helps create depth and dimension in your design. Use thin coats of paint and let each layer dry completely before adding the next one.
Allow each layer to dry before adding another
Patience is key when painting shoes. It’s crucial to allow each layer of paint to dry completely before applying the next one. This prevents the colors from smudging or blending together and ensures a clean and professional-looking design. Refer to the drying time specified on the paint manufacturer’s instructions for guidance.
Consider using thin coats for more flexibility
If you want your painted shoes to be more flexible and less prone to cracking, consider using thin coats of paint rather than thick layers. Thin coats allow the shoes to retain their natural flexibility, preventing the paint from cracking when the shoes are bent or flexed. Multiple thin coats will also provide better coverage and color saturation.

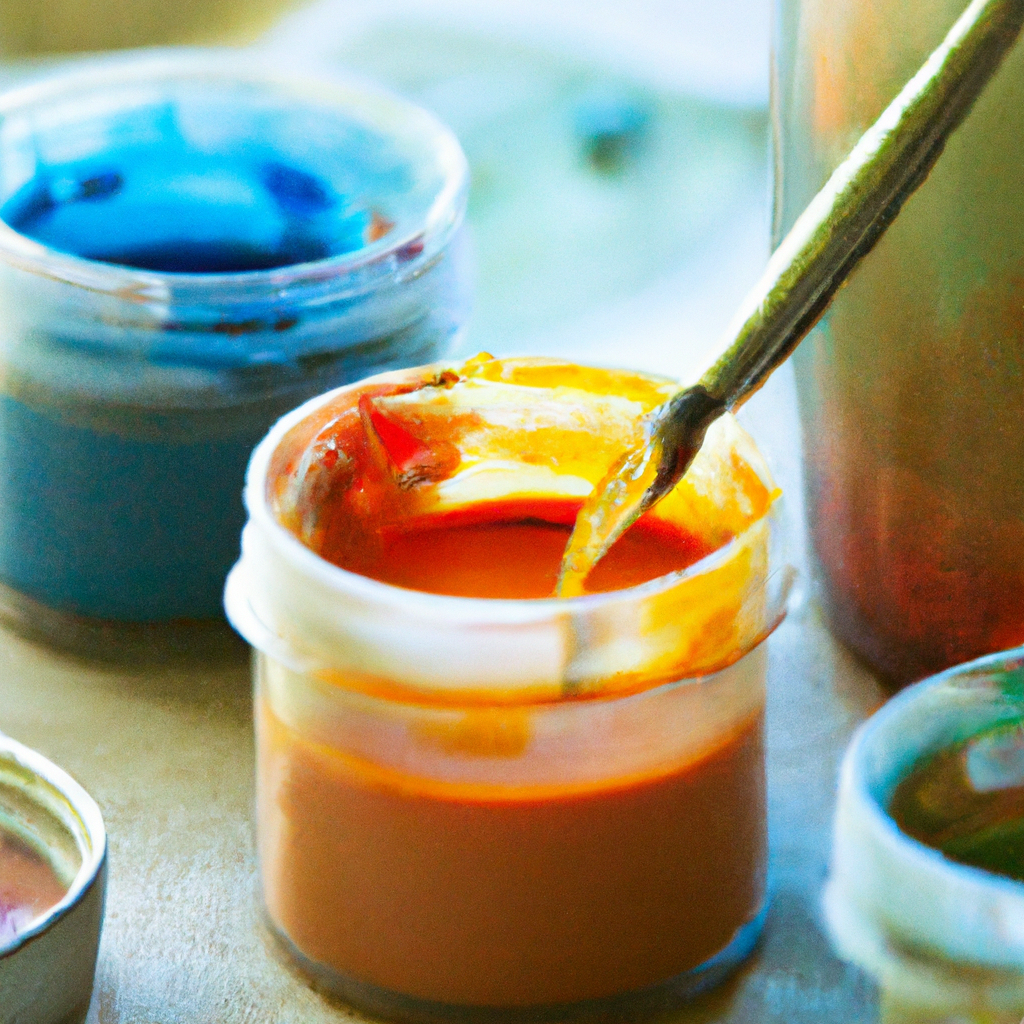
This image is property of images.unsplash.com.
Drying and Curing the Paint
Allow the paint to air dry
After applying the final layer of paint, allow the shoes to air dry for the recommended amount of time. If possible, place them in a well-ventilated area to speed up the drying process. Avoid touching or wearing the shoes until they are completely dry to avoid smudging or damaging the paint.
Speed up the drying process using a hairdryer
If you’re eager to wear your newly painted shoes or if you’re short on time, you can use a hairdryer on a low, cool setting to speed up the drying process. Hold the hairdryer several inches away from the shoes and gently move it around to evenly distribute the air. Be careful not to get too close or use high heat, as it can cause the paint to bubble or peel.
Leave the shoes to cure for a few days
While air drying is sufficient for initial drying, allowing the shoes to cure for a few days provides better long-term adhesion and durability. Leave the shoes undisturbed in a cool, dry place for at least 48 hours to allow the paint to fully cure. This step ensures that the paint bonds securely to the shoe material, minimizing the risk of cracking or peeling in the future.
Follow the recommended curing time
Different paint brands and types may have specific curing times, so it’s important to follow the manufacturer’s instructions. Some paints may require additional steps, such as heat-setting with an iron or baking in the oven, for optimum durability. Make sure to read the paint labels or consult the manufacturer’s guidelines to ensure a successful curing process.
Sealing and Protecting the Paint
Choose a suitable sealant
To protect your painted shoes and extend the lifespan of the design, it’s highly recommended to use a suitable sealant. Look for sealants specifically formulated for acrylic paint on fabric or shoes. Choose a clear, flexible sealant that won’t yellow over time and provides protection against water, dirt, and UV damage.
Apply thin layers of sealant
Apply thin, even layers of sealant to avoid any thick or uneven coverage. A bristle brush or a foam brush works well for applying the sealant. Take your time and make sure to cover the entire painted surface, including the edges and seams. Allow each layer to dry completely before applying additional coats for optimal protection and durability.
Allow each layer to dry before adding more
Just like with the paint layers, it’s important to let each layer of sealant dry completely before adding more. Rushing this step can lead to uneven drying and potential cracking or peeling. Refer to the drying time specified on the sealant’s instructions and be patient in allowing the sealant to fully cure between coats.
Consider using a fixative for added protection
If you want extra protection and longevity for your painted shoes, consider using a fixative specifically designed for acrylic paint. Fixatives provide an additional barrier and help prevent the paint from cracking, fading, or rubbing off with wear. Follow the instructions provided by the fixative manufacturer for the best results.

This image is property of images.unsplash.com.
Proper Usage and Maintenance
Avoid excessive bending or flexing
To prevent cracking or peeling of the paint, avoid excessive bending or flexing of the shoes. While most acrylic paints are designed to be flexible, constant and extreme bending can put strain on the paint layers, leading to damage. Take care when wearing or storing the painted shoes to avoid unnecessary stress on the painted areas.
Allow the shoes to fully dry before wearing
To ensure the paint is fully cured and adhered to the shoe material, allow the shoes to dry completely before wearing them. Rushing to wear the shoes too soon can result in smudging or damaging the paint. Follow the recommended drying and curing times mentioned earlier to ensure the best overall results.
Avoid exposing the shoes to extreme conditions
To maintain the longevity of the paint, avoid exposing the shoes to extreme conditions. Excessive heat, cold, moisture, or direct sunlight can cause the paint to fade, crack, or peel. If possible, avoid wearing the painted shoes in harsh weather conditions or for activities that may subject them to excessive wear and tear.
Clean the shoes carefully and gently
Cleaning your painted shoes requires extra care to prevent damage to the paintwork. Use a gentle cleanser or mild soap, along with a soft cloth or sponge, to clean any dirt or stains. Avoid using harsh chemicals, abrasive materials, or vigorously scrubbing the painted areas, as they can cause the paint to degrade or chip. Pat dry gently with a towel and allow the shoes to fully air dry after cleaning.
Touch-ups and Repairs
Store leftover paint properly
After completing your shoe painting project, it’s essential to store any leftover paint properly. Seal the containers tightly and store them in a cool, dry place away from direct sunlight or extreme temperatures. Keeping the paint in good condition allows you to easily touch up or repair any future damage or wear on your painted shoes.
Keep track of the paint colors used
To ensure accurate touch-ups or repainting in the future, make note of the paint colors used for your design. Keep a record of the brand, color name or code, and any specific mixtures or techniques used. This information will be valuable if you need to match the colors or recreate the design at a later time.
Take note of any areas that need touch-ups
Regularly inspect your painted shoes for any areas that may require touch-ups or repairs. Sometimes, small scratches, chips, or fading can occur with wear, and addressing these promptly can prevent further damage. Keep an eye out for any signs of cracking, peeling, or discoloration and take appropriate action to maintain the appearance of your painted shoes.
Use small brushes for precise touch-ups
When performing touch-ups or repairs, use small brushes specifically designed for detail work. Fine-tipped brushes enable precise application and help blend the paint seamlessly with the existing design. Take your time and work patiently to ensure a seamless and professional-looking touch-up.
Consider repainting the entire shoe if needed
In some cases, if the damage or wear on your painted shoes is extensive, it may be necessary to repaint the entire shoe. This provides a fresh canvas for your design and ensures a consistent appearance. Assess the condition of the shoes and the extent of the damage before deciding whether a full repaint is needed.

Additional Tips and Tricks
Practice on a test piece first
If you’re new to shoe painting or trying out new techniques, it’s always a good idea to practice on a test piece first. Using a scrap piece of fabric or an old shoe, experiment with different brush strokes, color combinations, or effects. This allows you to gain confidence and refine your technique before applying it to your actual shoes.
Experiment with different techniques
Don’t be afraid to experiment with different techniques to achieve unique effects on your painted shoes. Try using different brush sizes, sponges, or even stencils to create interesting patterns or textures. The possibilities are endless, and experimenting with various techniques can lead to truly one-of-a-kind designs.
Seek inspiration and reference images
If you’re unsure of what design to paint on your shoes, seek inspiration from various sources. Browse through fashion magazines, online platforms, or art websites for ideas and reference images. This can help spark your creativity and provide guidance in designing a visually appealing and personalized pair of shoes.
Protect your workspace
When painting shoes, it’s essential to protect your workspace from any accidental spills or splatters. Cover your work surface with a drop cloth, newspapers, or disposable plastic sheets to prevent any paint damage. This will also make the cleaning process easier and ensure that you can focus on the painting itself.
Consider customizing your shoes in stages
For complex or intricate designs, consider customizing your shoes in stages. Breaking down the design into smaller sections makes it easier to tackle and allows you to focus on each part more effectively. This approach also helps prevent mistakes or smudging while allowing you to achieve a more detailed and professional result.
Troubleshooting
Cracking due to improper surface preparation
If you notice cracking of the paint on your shoes, it may be due to inadequate surface preparation. Make sure you clean the shoes thoroughly before painting and remove any dirt, grease, or stains. Additionally, consider sanding the shoe material lightly to create a better surface for paint adhesion.
Cracking caused by using incorrect paint
Using incorrect paint for your shoe project may lead to cracking or peeling. To prevent this, ensure that you use acrylic paint specifically formulated for shoes or fabric. Regular acrylic paint may not adhere properly to the shoe material and may not withstand the bending or flexing associated with wearing shoes.
Cracking caused by insufficient drying time
Insufficient drying time between paint layers or before wearing the shoes can result in cracking. To avoid this, be patient and allow each layer of paint to dry completely before applying the next one. Additionally, ensure that the shoes are fully dry and cured before wearing them to prevent any stress on the paint.
Cracking resulting from inadequate sealing
If the sealing process is not done properly or if a suitable sealant is not used, the paint may be prone to cracking. Make sure to choose a sealant specifically designed for acrylic paint on fabric or shoes. Apply thin, even layers of sealant and allow each layer to dry completely before adding more. This will provide a protective barrier and help prevent cracking.
Cracking caused by excessive wear or bending
Excessive wear or bending of the shoes can cause the paint to crack, especially if the paint layers are thick or inflexible. To prevent this, avoid excessive bending or flexing of the shoes, especially in areas with painted designs. Taking care when wearing or storing the shoes can help prolong the life of the paint and minimize the risk of cracking.
By following these steps and tips, you can successfully prevent acrylic paint from cracking on your shoes and create vibrant and durable designs. Remember to take your time, be patient throughout the process, and enjoy the creative journey of customizing your shoes. Happy painting!