Have you ever considered the intricate art behind painting rocks? While it might seem like a simple task, preparing rocks properly is essential to achieving a beautiful and lasting artwork. This process involves selecting the right rocks, cleaning them meticulously, and ensuring they are ready to hold paint firmly. Success in rock painting begins well before the brush meets the stone, with careful preparation being a pivotal element.

Understanding the Basics of Rock Painting
Rock painting is not just an art form; it is a way to connect with nature, expressing creativity while enjoying a meditative and soothing activity. Whether you are a beginner or an experienced painter, knowing how to prepare your materials is crucial. By starting with a well-prepared rock, you will lay the foundation for artwork that stands the test of time in both durability and aesthetics.
Why Prepare Rocks for Painting?
There are several reasons why preparing your rocks before painting is essential. First, it provides a smooth and clean surface for your paint to adhere to, which is critical for creating sharp detail and vibrant color coverage. Additionally, cleaning and priming your rocks ensure that dirt and oils do not interfere with the paint’s ability to stick, preventing peeling and fading over time.
Moreover, properly prepared rocks help seal any toxins or harmful elements in the stone, which can negatively affect the paint and your health. This preparation step honors your time and effort by ensuring your art remains beautiful for years to come.
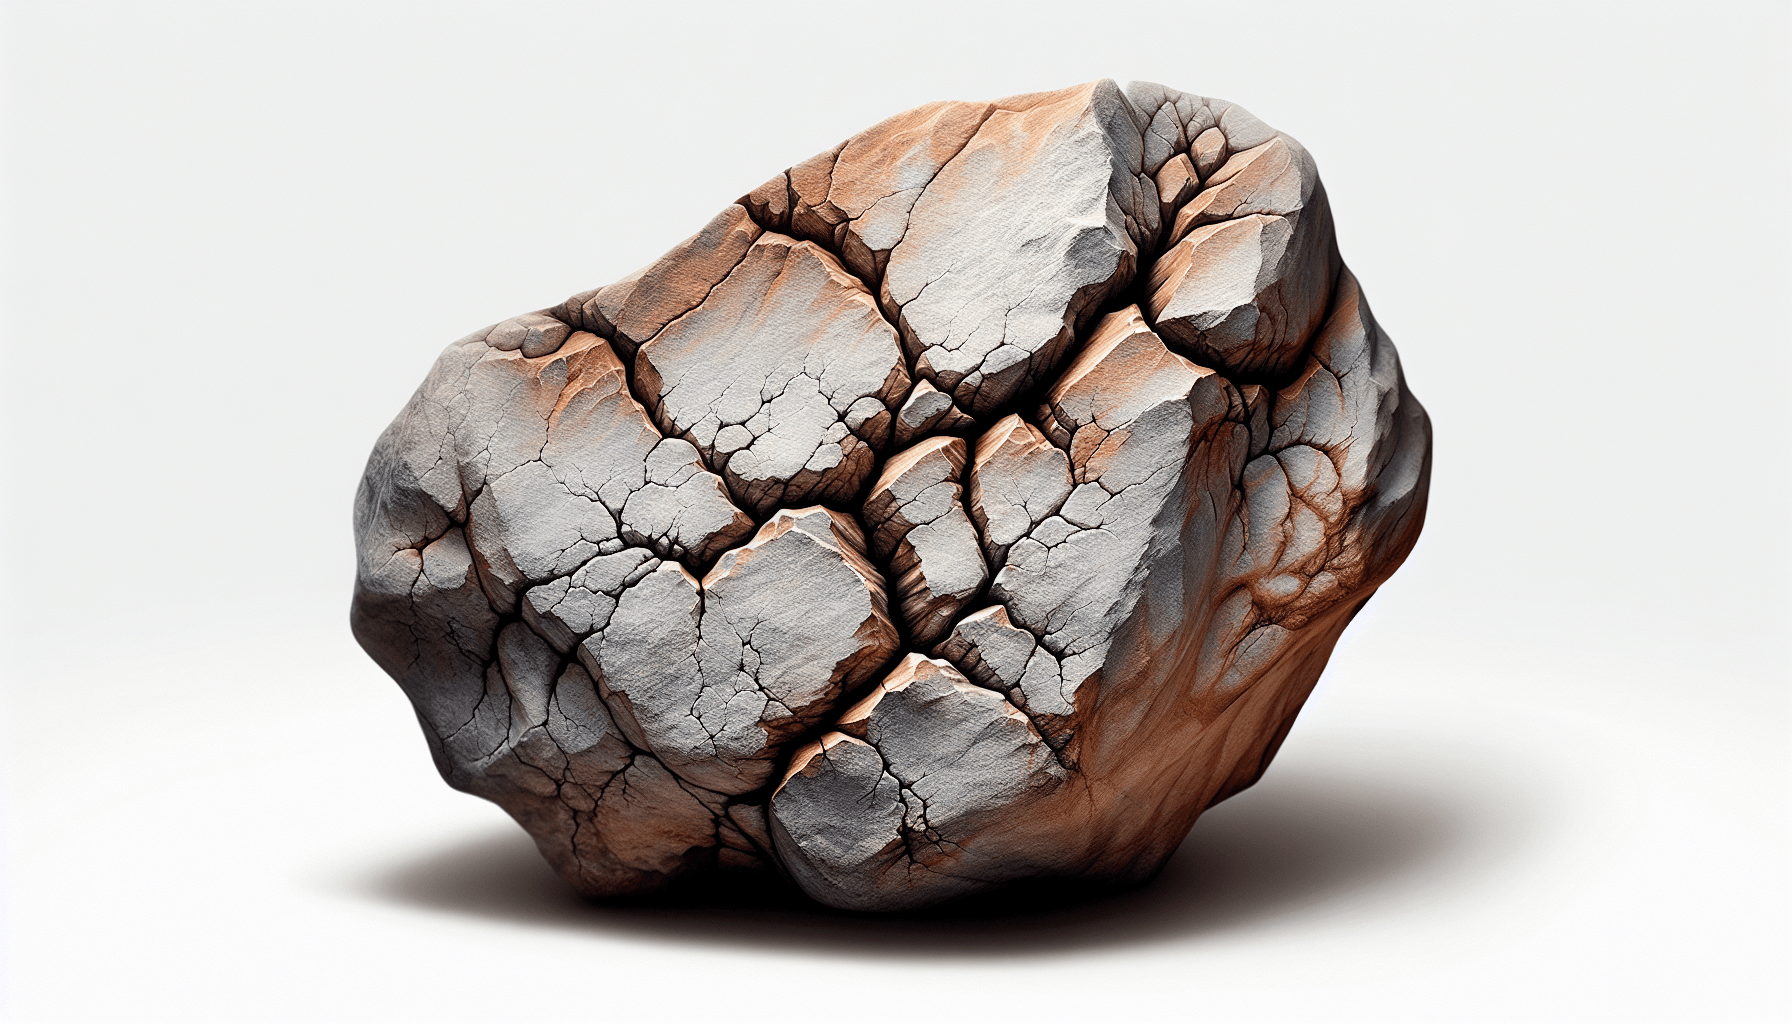
Selecting the Right Rocks
The journey to a successful rock painting project begins with selecting the right rocks. The type of stone you choose can significantly influence the outcome of your work.
Where to Find Rocks
Finding the right rock starts with knowing where to look. Natural settings such as riverbeds, beaches, and gardens are rich sources of smooth and round stones, ideal for painting. However, always ensure you follow local regulations and guidelines regarding rock collecting in natural areas.
If collecting is not an option, many garden centers, craft stores, and online retailers sell stones specifically for painting. These rocks are often pre-sorted by shape and size, simplifying the selection process.
Characteristics of Ideal Rocks for Painting
Not all rocks are created equal when it comes to painting. Here are some key characteristics to look for:
- Smoothness: A smooth surface allows for even paint application and should have minimal textures or ridges.
- Shape: Rounded edges and a flat or slightly domed surface are easiest to work with.
- Porosity: Less porous rocks hold paint better, so avoid stones that are too grainy or absorbent.
- Color: Lighter colored rocks may require less priming, but this may vary depending on your design.
By carefully selecting rocks with these attributes, you set a solid foundation for your painting project.
Cleaning the Rocks
Once the perfect rocks are collected, cleaning them thoroughly is the next significant step. Dirty or dusty surfaces can prevent paint from adhering properly, so a clean slate is crucial.
How to Clean Rocks
Cleaning rocks effectively involves a few essential steps. Here’s a simple process to ensure your rocks are spotless:
-
Rinse: Begin by rinsing your rocks under running water to remove loose dirt and debris.
-
Soak and Scrub: Prepare a solution of warm water and mild dish soap. Soak the rocks for 10-15 minutes, allowing the soap to break down dirt and oils. Use a brush with stiff bristles to scrub the rock’s surface and remove stubborn dirt.
-
Rinse Again: Thoroughly rinse all soap residues from the rocks. Avoid leaving any soap behind, as this will interfere with the primer and paint adhesion.
-
Dry: Allow the rocks to air dry completely. This can take several hours, so ensure they are stored in a dry place.
For especially grimy stones, consider using a stronger cleaning agent, such as a diluted vinegar solution, but always rinse thoroughly afterward.
Preparing the Surface
Now that your rocks are cleaned and ready, the preparation of the surface for painting becomes vital. This ensures your chosen paints adhere smoothly and durably.
Sanding the Rocks
Sanding is an optional, yet beneficial step in preparing rocks. A sanded surface not only provides a smoother finish but also helps the primer and paint to adhere more effectively.
- Use fine-grit sandpaper to gently smooth out any rough spots or ridges on the surface of the rock.
- Focus particularly on any uneven surfaces where paint might pool or streak.
- Sand lightly; the goal is to create a uniform surface without overly changing the rock’s natural shape.
Applying a Primer
Priming creates a base that enhances color vibrancy and duration of the paint on your rocks. Primers help to fill any tiny pores in the rock surface and provide a consistent tone for painting.
- Choose an acrylic gesso or a specialized rock primer for best results.
- Apply the primer using a wide brush or a sponge brush for even coverage.
- Allow the primer to dry completely, which usually takes about one hour, but follow product instructions for specific drying times.
For darker rocks, multiple primer coats may be necessary to achieve a bright and solid base color on which to paint.

Choosing the Right Paint
Choosing the right paint is as essential as selecting the right rock. Different paints offer various qualities, so understanding them improves your ability to create long-lasting art.
Types of Paints for Rock Painting
Various paints can be used on rocks, but the most common options offer a blend of durability and vividness.
-
Acrylic Paints: These are highly recommended due to their water resistance, color brilliance, and ability to adhere well on most surfaces. They dry quickly, enabling layers, and are widely available in numerous shades.
-
Oil-Based Paints: Although less common, oil-based paints offer a smooth finish and are incredibly durable. However, they take much longer to dry and clean up, which can be a downside for quicker projects.
-
Paint Pens: Suitable for detailed work, paint pens offer precision that’s difficult to achieve with a brush. They’re available in various colors and are great for adding intricate details or text.
Painting Tools and Techniques
The right tools and techniques can significantly enhance your painting experience and the quality of the final artwork. Consider the following:
-
Brush Types: Use flat brushes for larger areas and round or liner brushes for fine details. Having a variety of sizes will make handling different parts of the design easier.
-
Application Techniques: Layers are instrumental in avoiding colors mixing unintentionally. Start with background colors and enlarge to more detailed work as the paint dries.
-
Blending Tips: Create gradients and interesting textures by wet-on-wet blending, but remember acrylics dry quickly so work in sections.
Sealing and Preserving Your Work
After you’ve painted your rocks, the final step to ensure longevity is sealing. Proper sealing protects against environmental elements and wear.
Choosing a Sealer
Selecting the right sealant impacts the durability of your work. Consider these options:
-
Spray Sealers: These offer an even coat and are easy to apply. They come in matte, satin, and gloss finishes depending on your preference for shine.
-
Brush-On Sealers: Provide a thicker protection layer, ideal for heavily used objects or high exposure to the elements.
How to Apply Sealer
Applying sealer correctly enhances the durability and appearance of your painted rocks.
-
Dry Thoroughly: Ensure the paint is completely dry before applying a sealer. This usually takes at least 24 hours.
-
Apply Evenly: Spray sealers should be applied in sweeping motions at a consistent distance across the rock. For brush-on sealers, use a clean, flat brush and cover the surface evenly.
-
Multiple Coats: For outdoor rocks, consider applying multiple layers of sealer to enhance durability.
-
Drying and Curing: Allow sufficient time for each coat to dry fully before applying the next one. Check sealer instructions for specific curing times.
Frequently Asked Questions
Can I paint any rock?
While you can technically paint on any rock, selecting smooth, less porous rocks will enhance the quality and durability of your painting. Avoid highly textured or crumbly rocks.
Is it necessary to sand the rocks?
Sanding is not mandatory, but it can provide a smoother surface, enhancing paint adhesion.
How long will painted rocks last outdoors?
With proper preparation and sealing, painted rocks can last several years outside. Choosing durable paints and high-quality sealers significantly contributes to their lifespan.
What should I do if the paint peels off?
Peeling can be rectified by gently sanding the area, priming it again, and painting over it. Ensure correct sealing to prevent recurrence.
Are sealing and priming harmful to the environment?
When selecting primers and sealers, seek products labeled non-toxic and eco-friendly to minimize environmental impact.
Conclusion
By now, you should appreciate the importance of properly preparing rocks for painting. Each step—from selecting the suitable stones to meticulously cleaning, priming, and sealing—plays a crucial role in ensuring your artwork not only looks fantastic but also lasts for years. This attention to detail underscores the professional approach, transforming a simple craft into a refined art form. Your painted rocks are now ready to be sourced of joy, creativity, and personal expression for you and those around you.