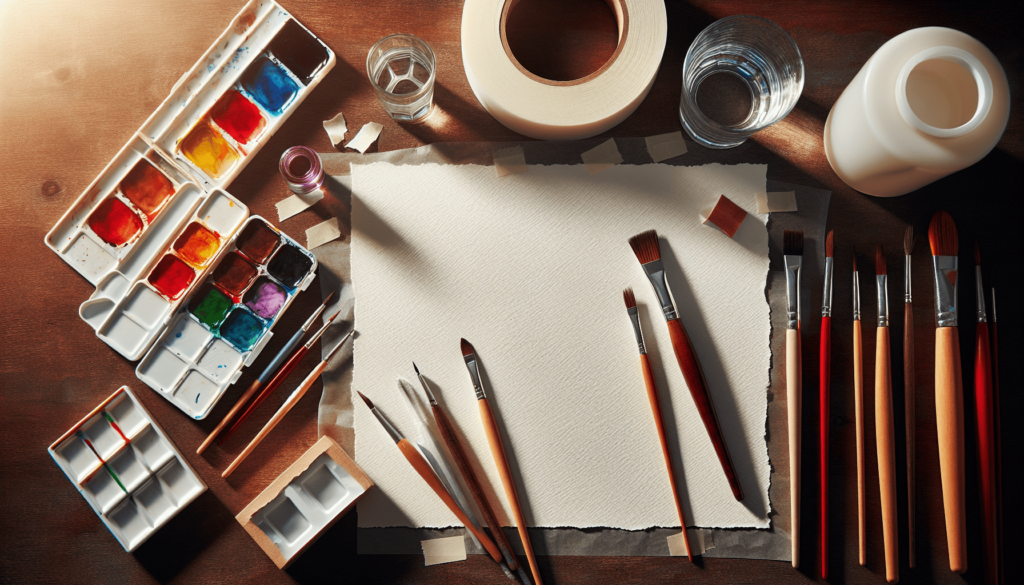
In the article “How To Prepare Paper for Watercolor Painting,” you will discover essential techniques to ensure your paper is adequately prepped for watercolor art. By understanding the importance of selecting the right type of paper, properly stretching it, and preparing the surface, you can greatly enhance your painting experience and achieve superior results. Emphasizing both traditional and contemporary methods, this guide provides you with detailed steps on how to create a stable and receptive surface for your watercolor paints, helping you to avoid common pitfalls such as buckling and uneven paint application. Have you ever wondered how to prepare paper for watercolor painting to achieve the best results?
Whether you’re an aspiring artist or a seasoned painter, properly preparing your paper is crucial to ensuring your watercolor paintings turn out as intended. In the ever-evolving world of watercolor painting, the journey from a blank sheet of paper to a magnificent work of art begins before your brush even touches the paper. Let’s dive into the meticulous steps and considerations required to prepare paper for watercolor painting, ensuring your artistic creations not only look stunning but also stand the test of time.
Understanding the Importance of Proper Paper Preparation
Before delving into the process of preparing your paper, it’s essential to understand why this step is so critical. Preparing your watercolor paper properly ensures that it can handle the amount of water and pigment you intend to use, helps prevent warping and buckling, and can significantly affect the longevity and appearance of your artwork.
The Role of Watercolor Paper in Art
Watercolor paper is uniquely designed to absorb water and pigment in a way that’s conducive to blending and layering. Unlike regular paper, it’s made from a mix of cotton and other plant fibers, which provide the texture and strength required to support the dynamic nature of watercolor painting.
Benefits of Proper Preparation
When you prepare your watercolor paper correctly, you gain several benefits:
- Enhanced Absorption: Proper stretching allows the paper to absorb water evenly, facilitating smoother washes.
- Minimized Warping: Preparing the paper reduces the likelihood of it buckling or warping under the pressure of wet washes.
- Improved Durability: Adequately prepped paper is less prone to tearing or fraying around the edges.
Choosing the Right Paper
The foundation of any great watercolor painting is the paper you choose. Not all watercolor papers are created equal, and selecting the right one means considering several factors.
Types of Watercolor Paper
Watercolor paper comes in different types based on the manufacturing process, weight, and texture. Here are the primary categories:
| Type | Description |
|---|---|
| Cold-Pressed | Also known as “NOT” paper, it has a slightly textured surface, ideal for general use. |
| Hot-Pressed | Has a smooth surface, suitable for detailed work and fine lines. |
| Rough | Features a pronounced texture, great for bold, expressive paintings. |
Weight of Paper
Paper weight is another crucial consideration. It’s typically measured in pounds per ream or grams per square meter (gsm). Here are common weights:
| Weight | Description |
|---|---|
| 90 lb (190 gsm) | Lightweight, often used for practice or thinner washes. |
| 140 lb (300 gsm) | Medium weight, versatile, and commonly used by artists. |
| 300 lb (640 gsm) | Heavyweight, excellent for thick applications and minimal warping. |
The Importance of Sizing
Sizing refers to a treatment applied to watercolor paper to control its absorbency. Papers are either externally-sized (sized after making) or internally-sized (sized during making). The type of sizing affects how the paper interacts with water and paint, influencing the final look of your artwork.
Choosing the Right Surface Texture
The surface texture of watercolor paper can dramatically impact your painting’s aesthetic. Cold-pressed paper provides the most versatility with its balanced texture, while hot-pressed paper is ideal for detailed work. Rough paper, with its pronounced texture, works best for expressive, bold paintings.

The Stretching Process
Stretching watercolor paper is vital for preventing it from warping or buckling as it dries. This process involves soaking the paper and securing it to a flat surface while it dries. Let’s explore this step-by-step.
Materials Needed for Stretching
To effectively stretch your watercolor paper, you’ll need the following materials:
- Watercolor paper
- A clean, flat surface (such as a drawing board or plywood)
- Masking tape or watercolor tape
- A large brush or sponge
- A basin or bathtub filled with water
Step-by-Step Guide to Stretching Paper
- Soaking the Paper: Submerge your watercolor paper in a basin or bathtub filled with room-temperature water. Let it soak for approximately 5-10 minutes for lighter paper or 15 minutes for heavier paper.
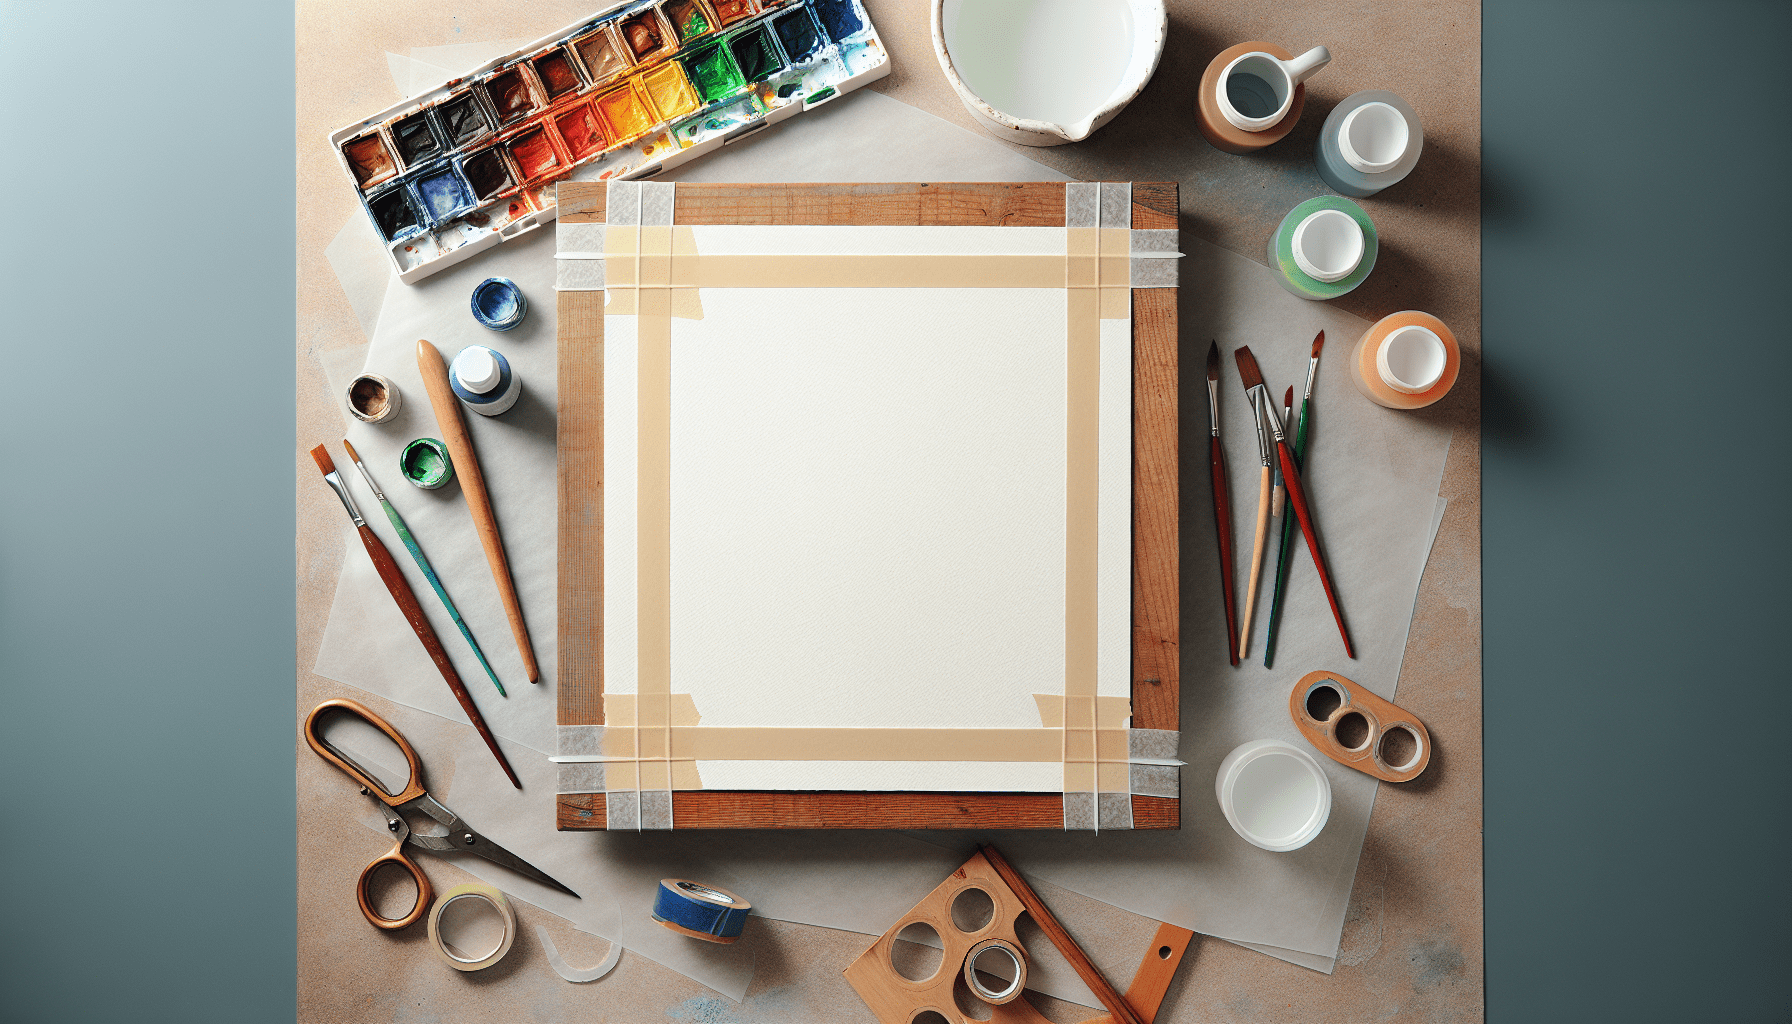
- Preparing the Board: While your paper soaks, prepare a clean, flat surface. Lay out your masking tape or watercolor tape around the perimeter, sticky side up, to secure the edges of your paper.
- Removing Excess Water: Gently lift the soaked paper from the water and let the excess water drip off. Be careful not to tear or damage the paper.
- Securing the Paper: Place the wet paper onto the prepared board, smoothing out any wrinkles or bubbles. Stretch the paper slightly to remove slack and ensure it’s evenly flat. Firmly press the edges of the paper onto the tape to secure it in place.
- Drying: Allow the paper to dry naturally, which may take several hours or overnight. Once completely dry, you’ll have a taut and sturdy surface ready for painting.
Alternative Stretching Methods
There are several alternative methods to stretch paper, including using gummed tape or a stretching board. Each technique offers distinct advantages and caters to different preferences and project requirements.
| Method | Description |
|---|---|
| Gummed Tape | Activated by water, gummed tape adheres to the paper, providing a strong hold as it dries. |
| Stretching Boards | Pre-fabricated boards with clamps or slots to hold the paper in place. |
Pre-Treating with Gesso or Ground
In addition to stretching, you may consider pre-treating your watercolor paper with gesso (a primer) or watercolor ground. This preparation step enhances the paper’s properties and provides unique painting effects.
What is Gesso?
Gesso is a primer that can be applied to watercolor paper to create a stronger, more uniform painting surface. Here’s how to use it:
- Choosing the Right Gesso: Select acrylic gesso specifically designed for watercolor paper.
- Application: Use a wide, flat brush to apply a thin, even layer of gesso across the entire sheet. Allow it to dry completely, then sand lightly for a smooth finish.
Using Watercolor Ground
Watercolor grounds are akin to gesso but tailored specifically for watercolor paintings. They come in various textures and colors to suit different artistic visions.
- Application: Similar to gesso, apply watercolor ground with a wide brush, creating a smooth layer. You can apply multiple coats for different effects.
- Drying Time: Ensure the ground dries completely (usually 24 hours) before starting your painting.

Surface Preparation Tips and Tricks
An often-overlooked aspect of paper preparation is surface preparation. Ensuring a clean, dust-free environment greatly contributes to a flawless painting experience.
Preparing Your Workspace
Before you start painting, prepare your workspace. A clean, organized area prevents dust and debris from settling on your paper and ultimately your painting.
- Cleaning: Wipe down your workspace regularly to remove dust and ensure a smooth surface.
- Organization: Keep your tools, paints, and water containers organized to streamline your painting process.
Handling Your Paper
How you handle your watercolor paper can impact its longevity and performance. Oils and dirt from your hands can transfer to the paper, affecting its texture and absorbency.
- Washing Hands: Always wash your hands before handling the paper.
- Using Gloves: Consider wearing clean, cotton gloves to prevent oils from transferring to the paper’s surface.
Testing Different Techniques
Before starting a major project, it can be beneficial to test your techniques on a scrap piece of similarly prepared paper. This helps you understand how the paper and paint interact, allowing you to adjust your approach as needed.
Troubleshooting Common Issues
Even with careful preparation, you might encounter issues with your watercolor paper. Understanding how to troubleshoot these common problems ensures your painting process remains smooth and enjoyable.
Warping and Buckling
Despite your best efforts, paper sometimes warps or buckles. Here’s how to address this:
| Problem | Solution |
|---|---|
| Warping During Painting | Work in smaller sections, allowing areas to dry before adding more water. |
| Buckling After Drying | Secure the dry painting under a stack of heavy books to flatten it out. |
Paint Not Absorbing Properly
If your paint isn’t absorbing into the paper, it may be due to excess sizing or an oily surface.
- Addressing Sizing Issues: Test the paper by dampening a corner. If water beads up excessively, lightly sand the surface with fine-grit sandpaper.
- Cleaning the Paper Surface: Use a clean, damp sponge to gently wipe the surface before starting your painting.
Final Preparation and Beyond
After preparing your paper, you’re ready to embark on your watercolor journey. However, your work isn’t done once the paint dries. Proper finishing techniques ensure that your masterpiece remains in pristine condition for years to come.
Archival Finishing
Archival finishing is key to preserving the longevity and vibrancy of your watercolor artwork.
| Technique | Description |
|---|---|
| Spray Varnish | Apply a UV-protective spray varnish to shield the painting from sunlight and dust. |
| Matting and Framing | Use acid-free mats and frames to protect the edges and surface of your painting. |
Storing Watercolor Paintings
Proper storage protects your paintings from environmental damage. Here are some tips:
- Flat Storage: Store unframed paintings flat in acid-free folders or portfolios.
- Environment: Keep artwork in a cool, dry environment to avoid humidity and temperature fluctuations.
Conclusion
Proper preparation of your watercolor paper is an essential step that sets the foundation for your artistic success. By choosing the right type and weight of paper, mastering the stretching process, and using additional pre-treatments like gesso or watercolor ground, you can ensure a resilient and receptive surface. Careful surface preparation and knowledge of common troubleshooting methods will save you frustration and allow your creative process to flow seamlessly.
With all these steps meticulously followed, you are now better equipped to transform a simple sheet of watercolor paper into a beautiful piece of art. Remember, the time and effort dedicated to preparation are investments in the quality and longevity of your artwork. Happy painting!


