In this article, you will discover the essential techniques and tips for effectively painting with gouache and watercolor. By combining the unique properties of these two mediums, you can achieve stunning and vibrant artworks. Whether you are a beginner or an experienced painter, this guide will provide you with the necessary knowledge to create beautiful pieces using gouache and watercolor. Emphasizing on techniques such as layering, blending, and color mixing, you will learn how to bring your artistic vision to life with these versatile mediums. With a solid understanding of the materials and techniques, you will gain the confidence to explore and experiment, allowing your creativity to flourish on the canvas.
Choosing the Right Paper
Understanding the Difference Between Gouache and Watercolor Paper
When starting your journey in painting with gouache and watercolor, one of the first considerations is choosing the right paper. While both mediums can be used on watercolor paper, it is essential to understand the difference between gouache and watercolor paper.
Watercolor paper is specifically designed to absorb and hold water, allowing for the characteristic flow and blending of watercolor paint. It is typically made from cotton fibers or wood pulp and comes in different weights and textures. On the other hand, gouache paper is designed to withstand the heavier opacity and layering of gouache paints. It is usually smoother and less absorbent than watercolor paper, allowing for better control and layering of colors.
Choosing the Right Weight and Texture
Once you have determined whether you will be working with gouache or watercolor, the next step is to consider the weight and texture of the paper. Watercolor paper is available in different weights, ranging from lightweight (90lb) to heavyweight (300lb). The weight of the paper determines its durability and ability to withstand wet washes and layering. Heavier weights are more suitable for professional artists or those who prefer a thicker and more robust surface. Lighter weights are ideal for beginners or artists who prefer a more delicate and translucent effect.
Texture is another important factor to consider when choosing paper for your paintings. Watercolor paper comes in different textures, including rough, cold-pressed, and hot-pressed. Rough watercolor paper has a pronounced texture, making it great for creating texture and rough effects. Cold-pressed watercolor paper has a slightly textured surface, providing a balance between texture and smoothness. Hot-pressed watercolor paper has a smooth surface, ideal for detailed work or a smooth wash.
Considering the Size and Format
The size and format of your paper will depend on your personal preference and the nature of your artwork. Watercolor and gouache paper are available in various sizes, such as sheets, pads, and blocks. Sheets are suitable for larger pieces or custom sizes, while pads and blocks are more convenient for smaller works or when painting outdoors.
Consider the composition and subject matter of your artwork when deciding on the format. A horizontal landscape may require a wider format, while a portrait or still life may work well in a vertical format. It’s also important to have a variety of sizes on hand to accommodate different projects and experimentation.
Selecting the Right Brushes
Understanding the Different Brush Types
Choosing the right brushes is crucial for achieving the desired effects and handling characteristics in your gouache and watercolor paintings. There are various brush types available, each designed for specific techniques and applications.
There are two main types of brushes: natural and synthetic. Natural brushes are made from animal hairs, such as sable, squirrel, or goat, and are known for their excellent water-holding capacity and softness. Synthetic brushes, made from synthetic fibers like nylon or polyester, are more affordable and suitable for those who prefer vegan or cruelty-free options.
Within these categories, there are different brush shapes, including round, flat, filbert, and mop brushes. Round brushes are versatile and commonly used for details, washes, or general application. Flat brushes create crisp edges and are suitable for broader strokes and filling large areas. Filbert brushes have a rounded tip and are useful for blending, softening edges, and creating smooth transitions. Mop brushes have a large, loosely packed head and are ideal for creating soft, flowing washes or blending large areas.
Choosing the Right Brush Shapes and Sizes
The selection of brush shapes and sizes will largely depend on your painting style, subject matter, and personal preference. It is recommended to have a variety of brush sizes in your collection to accommodate different techniques and details.
For finer details, smaller round brushes, such as sizes 0 or 2, are ideal. Larger round brushes, like sizes 4 or 6, are suitable for general application or larger areas. Flat brushes come in various sizes, with wider sizes such as 1/2″ or 1″ being useful for broad strokes and filling large areas. Filbert brushes in sizes 4 or 6 are versatile for blending and softening edges.
Considering the Brush Materials
The choice between natural and synthetic brushes ultimately depends on your budget, preference, and specific painting style. Natural brushes tend to have a higher price point but provide excellent water retention and a softer feel. They are well-suited for watercolor and gouache application, especially for artists who prioritize quality and longevity.
Synthetic brushes, on the other hand, offer affordability and durability. They are easier to clean and maintain and can be ideal for beginners or those on a tight budget. Synthetic brushes are also suitable for acrylic and oil paints, making them versatile for artists who work with multiple mediums.
Before purchasing brushes, it’s advisable to conduct research, read reviews, and consider your specific needs as an artist. Experimentation and personal preference play an important role in finding the brushes that suit your painting style and techniques best.

This image is property of images.unsplash.com.
Preparing Your Workspace
Setting Up a Clean and Organized Space
To ensure a productive and enjoyable painting experience, it’s essential to have a clean and organized workspace. Begin by clearing any unnecessary clutter and organizing your materials and tools. A clutter-free space allows for better focus, concentration, and creativity.
Consider having a dedicated area or studio where you can leave your painting supplies set up and ready to use. Having a designated space helps to avoid the hassle of setting up and dismantling your workspace every time you want to paint. This also allows you to immerse yourself in your artistic process whenever inspiration strikes.
Gathering Essential Tools and Materials
Before diving into your painting session, make sure you have all the essential tools and materials readily available. This includes your chosen paints, brushes, water containers, palettes, paper towels or rags, masking tape, and any other necessary items depending on the techniques you plan to employ.
Having everything within easy reach minimizes interruptions and helps maintain a smooth workflow. It’s also beneficial to have some backup supplies, such as spare brushes or extra paint tubes, in case you run out during a painting session.
Protecting Your Surfaces
Painting with gouache and watercolor can sometimes get messy, especially when working with wet mediums. It’s crucial to protect your working surfaces, whether it’s a table, desk, or easel, from potential spills, splatters, or staining.
Consider laying down a plastic drop cloth or using a dedicated painting mat to protect your surfaces. This not only prevents damage to your work area but also makes it easier to clean up any accidental spills. Additionally, keep a stack of disposable paper or cloth towels nearby for quickly wiping up excess water or blotting brushes.
Taking these precautionary measures ensures that you can focus on your artwork without worrying about potential damages to your workspace.
Understanding Color Theory
Learning the Basics of the Color Wheel
Having a solid understanding of color theory is crucial for creating visually compelling and harmonious artwork. The color wheel is a fundamental tool that helps artists identify and mix different colors effectively.
The primary colors on the color wheel are red, blue, and yellow. These colors cannot be mixed from other colors but can be used to mix all other colors. Secondary colors, such as orange, green, and violet, are created by mixing two primary colors. Tertiary colors are formed by mixing a primary color with a neighboring secondary color.
Understanding the relationship between colors on the color wheel enables artists to create vibrant color schemes, achieve balance, and evoke specific emotions in their artwork.
Understanding the Principles of Color Mixing
Color mixing is a fundamental skill to master when working with gouache and watercolor. Both mediums allow artists to mix colors directly on the paper or palette, making it essential to understand color combinations and the principles of color mixing.
When mixing colors, it’s important to consider the temperature and value of each color. Warm colors, such as red, orange, and yellow, create energetic and vibrant compositions. Cool colors, such as blue, green, and violet, evoke a sense of calmness and tranquility.
By adjusting the ratio of warm and cool colors, artists can create an endless range of hues and tints. For example, combining equal parts of blue and yellow creates a vivid green, while adding more blue than yellow creates a cooler green.
Exploring Complementary and Harmonious Color Schemes
Complementary and harmonious color schemes are widely used in art to create visual interest and balance. Complementary colors are opposite each other on the color wheel, such as blue and orange or red and green. When placed next to each other, complementary colors create contrast and vibrancy, making each color appear more intense.
Harmonious color schemes, on the other hand, involve selecting colors that are adjacent or close to each other on the color wheel. This creates a pleasing and balanced composition while allowing for subtle variations. Harmonious color schemes can range from warm or cool monochromatic palettes to analogous schemes that utilize colors next to each other on the color wheel.
Experimenting with different color schemes and understanding their impact on your artwork will enhance your ability to convey mood, atmosphere, and narrative in your paintings.

This image is property of images.unsplash.com.
Preparing the Paints
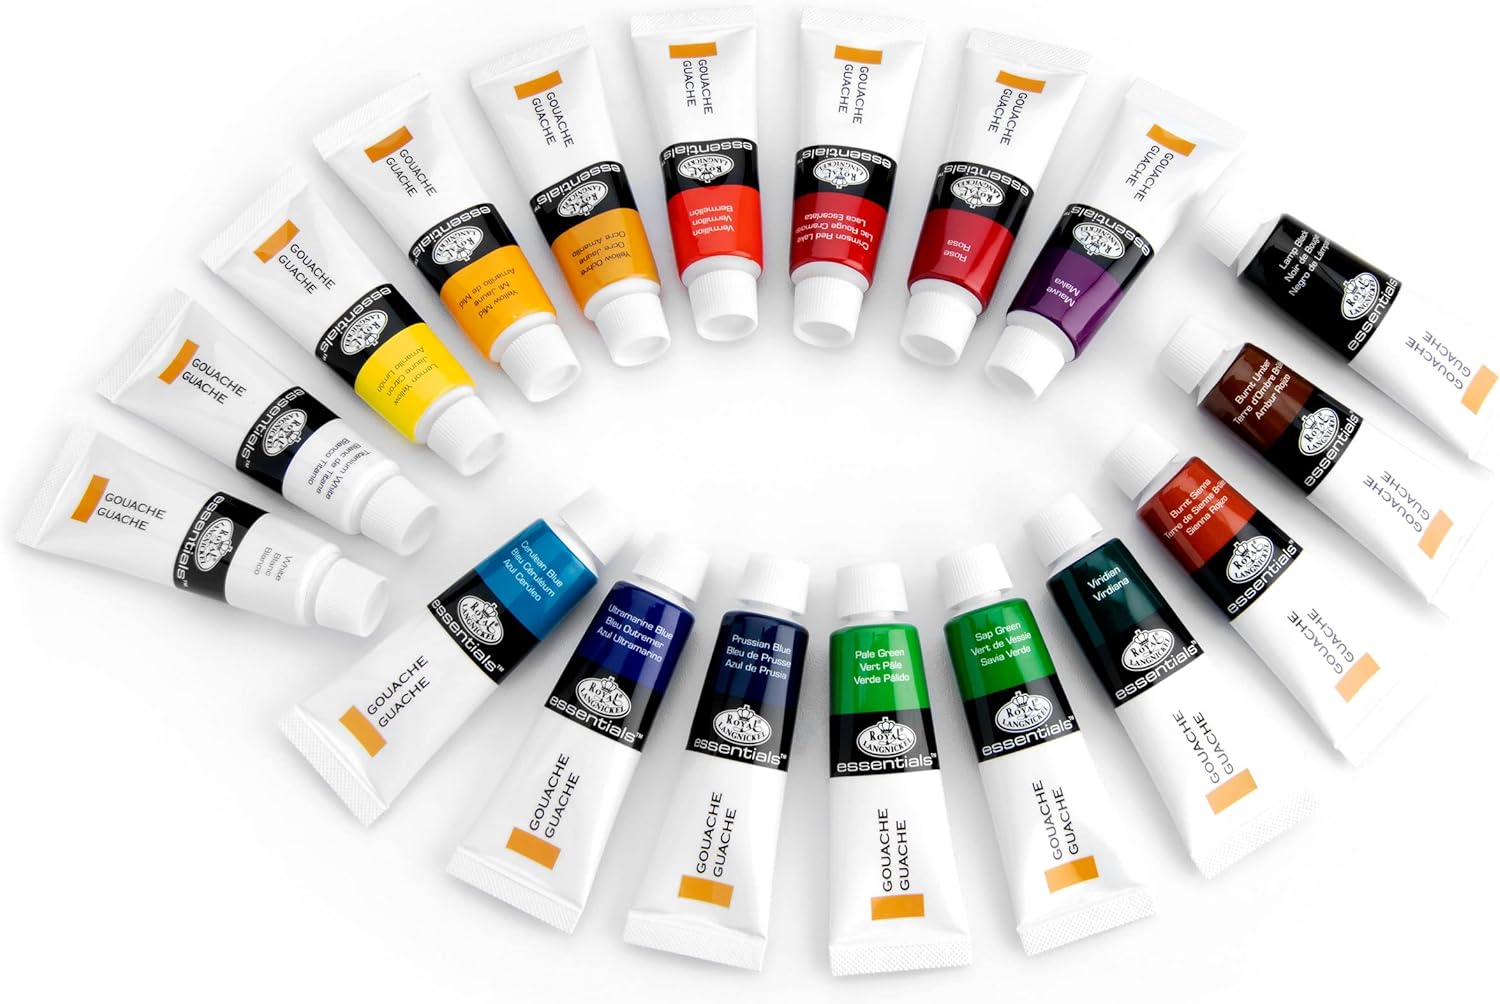
Understanding the Properties of Gouache and Watercolor Paints
Before diving into your painting process, it’s important to familiarize yourself with the properties of gouache and watercolor paints. While both are water-based mediums, they differ in terms of opacity, layering capabilities, and drying time.
Watercolor paints are renowned for their transparency and ability to create delicate washes. The pigments in watercolor remain visible even after drying, allowing for luminosity and subtlety in your artwork. Watercolor is traditionally applied in transparent layers, with washes of color building up to achieve depth and richness.
Gouache, on the other hand, is an opaque medium that provides solid and vibrant coverage. The pigment particles in gouache are larger and more concentrated, resulting in a more opaque and matte finish. Gouache can be layered on itself or on top of dry watercolor to create rich and textured effects.
Mixing the Right Consistency
The consistency of your paint is crucial for achieving the desired effects and handling characteristics. Different techniques and applications require different consistencies, and it’s important to master the art of mixing the right consistency for your chosen medium.
For watercolor, a good starting point is to mix a watery consistency by diluting the paint with water. This allows for smooth washes and easy blending. Gradually adjust the water-to-paint ratio to achieve the desired transparency or opacity.
Gouache, being naturally more opaque, usually requires less water. Start with a creamy consistency and add water sparingly as needed. This allows for more control over the paint and ensures better coverage.
Setting Up a Palette
Setting up a palette is essential for convenient access to your colors and easy mixing. There are various options available for palettes, including traditional porcelain palettes, plastic palettes, or even a simple white ceramic plate.
Arrange your chosen colors on the palette, leaving enough space between each color for mixing. Keep in mind that the order and arrangement of colors can affect your workflow and ease of color mixing. Some artists prefer arranging their colors in a way that follows the color wheel, while others organize them based on personal preference or practicality.
To prevent the paints from drying out too quickly, it’s advisable to use a palette with wells or compartments for each color. This allows you to control the amount of paint you need for each session and helps preserve the consistency of your paints.
Basic Watercolor Techniques
Wet-on-Dry Technique
The wet-on-dry technique is a popular watercolor technique that involves applying wet paint onto a dry surface. This technique allows for more control and precision in your brushwork, making it suitable for detailed work, crisp lines, and sharp edges. To utilize this technique effectively, ensure that your paper is completely dry before applying paint.
Start by wetting your brush with clean water and apply it to the area of the paper you wish to paint. Then, dip your brush into the desired color and apply it to the damp area with swift and controlled brushstrokes. The paint will blend minimally with the surrounding dry paper, allowing for distinct and crisp edges.
Wet-on-Wet Technique
The wet-on-wet technique is characterized by applying wet paint onto a wet surface. This results in softer and more diffused edges, as the colors blend and bleed into each other. The wet-on-wet technique is ideal for creating atmospheric effects, soft washes, or building up backgrounds.
To use the wet-on-wet technique, wet the entire paper or specific areas with clean water using a brush or spray bottle. While the paper is still wet, apply paint directly onto the wet surface. The paint will spread and blend organically, creating beautiful gradients and soft transitions.
Dry Brush Technique
The dry brush technique involves using a dry brush with minimal moisture. This technique provides more control and creates textures and details with a dry, scratchy appearance. It is often used to depict rough surfaces, foliage, or intricate details.
To use the dry brush technique, load your brush with a small amount of paint and remove excess moisture by blotting it on a paper towel or tissue. The goal is to have a brush with a minimal amount of paint and a slightly rough texture. Apply the dry brush strokes lightly over the paper, allowing the texture of the paper to create texture and interest in your artwork.

This image is property of images.unsplash.com.
Basic Gouache Techniques
Opaque Layering and Blending
One of the defining characteristics of gouache is its opacity, which allows for layering and blending of solid colors. Opaque layering involves applying one layer of paint on top of another, completely covering the underlying layers. This technique is useful for corrections, adding highlights, or building up texture.
To achieve opaque layering, start with a dry layer of gouache and apply subsequent layers on top once the previous layer is dry. Blend the edges of each layer to create smooth transitions. Gouache has a fast drying time, so work efficiently to avoid uneven or chalky results.
Wet-in-Wet Technique
The wet-in-wet technique in gouache involves applying wet gouache paint onto a wet surface. Similar to the watercolor wet-on-wet technique, this technique creates soft and diffused edges, allowing for smooth gradients and blends.
To use the wet-in-wet technique, wet the desired area of the paper with clean water using a brush or spray bottle. While the paper is still wet, apply the wet gouache paint directly onto the wet surface. The paint will spread and blend, creating beautiful transitions and a lush, painterly effect.
Creating Textures with Drybrush
The drybrush technique in gouache involves using a brush with very little moisture to create textures and details. This technique is especially useful for depicting fur, foliage, or adding intricate details to your artwork.
To create drybrush textures, load a flat or round brush with a small amount of paint and remove excess moisture by blotting it on a paper towel or tissue. The goal is to have a brush with minimal paint and a slightly rough texture. Apply the brush strokes lightly over the paper, allowing the texture of the paper to interact with the dry paint and create interesting textures.
Understanding Layering and Masking
Working with Transparent Watercolor Layers
Layering in watercolor involves applying multiple transparent washes on top of each other to achieve depth and dimension. Transparent layering is particularly effective when working with watercolor, as the pigments remain visible even after drying, allowing each layer to interact with the previous ones.
To create transparent layers, start with light and diluted washes, gradually building up to darker and more concentrated layers. Allow each layer to dry completely before proceeding to the next wash. This technique allows for luminosity and the creation of dynamic color combinations.
Using Masking Fluid to Preserve White Areas
Masking fluid is a valuable tool for preserving white areas or specific details in your watercolor paintings. Masking fluid is a liquid compound that can be applied with a brush or pen to block out areas where you want to maintain the white of the paper.
Before applying masking fluid, make sure your paper is completely dry. Apply the masking fluid to the desired areas, ensuring a smooth and even application. Once the masking fluid is dry, proceed with your watercolor painting. After completing the watercolor painting, gently remove the dried masking fluid with an eraser or your fingers, revealing the preserved white areas.
Using masking fluid allows for more control in preserving highlights or intricate details, enhancing the overall impact of your watercolor artwork.
Building Layers with Gouache
Gouache lends itself well to layering, as its opaque nature allows for solid coverage and the ability to paint over previous layers without the underlying colors showing through. Building layers with gouache can create depth, texture, and a more three-dimensional appearance.
Start with a dry layer of gouache and apply subsequent layers on top once the previous layer is dry. Depending on your desired effect, you can either apply thicker layers for more pronounced texture or thinner layers for more delicate transitions. Experimentation with layering techniques will allow you to achieve the desired level of opacity, texture, and depth in your gouache paintings.

Exploring Different Subject Matters
Landscape Painting with Gouache and Watercolor
Both gouache and watercolor are popular mediums for landscape painting, allowing artists to capture the beauty of nature with different effects and techniques. Gouache provides solid coverage and vibrant colors, making it ideal for capturing the boldness of landscapes. Watercolor, with its transparent layers and delicate washes, gives a more ethereal and atmospheric quality to landscape paintings.
When approaching landscape painting, start by sketching or blocking in the main elements of the scene with a light pencil or diluted paint. Begin with lighter washes and build up the layers gradually, paying attention to the values, colors, and textures of the landscape. Experiment with different techniques, such as using drybrush for foliage or wet-in-wet for skies, to create depth, texture, and visual interest.
Still Life Painting
Still life painting provides an opportunity to explore composition, lighting, and the arrangement of objects. Both gouache and watercolor can be effective mediums for still life painting, allowing artists to capture the beauty and intricacies of everyday objects.
Begin by setting up a still life arrangement that includes a range of objects with varying shapes, textures, and colors. Consider the lighting and how it affects the composition. Start with a light sketch or block in the main shapes with a light wash. Gradually build up the layers, paying attention to the values, colors, and reflections within the still life. Experiment with different techniques and brushwork to create texture and capture the essence of the objects.
Portrait Painting
Gouache and watercolor can also be used for portrait painting, allowing artists to capture the unique features and expressions of individuals. The choice between gouache or watercolor for portrait painting depends on the desired effect, style, and personal preference.
Watercolor portraits often have a delicate and luminous quality, with transparent layers and soft washes that create a sense of depth and luminosity. Gouache portraits, on the other hand, provide solid coverage, vibrant colors, and the ability to achieve fine details, making them suitable for a more opaque and graphic style.
When painting portraits, begin by sketching the proportions and features using a light pencil or diluted paint. Gradually build up the layers, paying attention to the values, colors, and subtleties of the face. Experiment with different techniques, such as wet-in-wet for softer transitions or dry brush for texture, to capture the unique qualities of each individual.
Finishing Touches and Mistakes
Adding Details with Fineliner Pens
Fineliner pens are excellent tools for adding fine details and precision to your gouache and watercolor paintings. These pens have a narrow, firm tip that allows for controlled lines and intricate mark-making.
To add details with fineliner pens, make sure your paint is completely dry before applying the ink. Start by lightly sketching or outlining the desired details with the pen. Gradually build up the lines or hatch marks, paying attention to the weight and variation of the lines. Fineliner pens can be used to enhance the contours, add fine textures, or emphasize specific areas in your artwork.
Using White Gouache or Opaque White to Fix Mistakes
Mistakes are inevitable in any artistic process, but they can be easily corrected in gouache and watercolor using white gouache or opaque white paint. These opaque paints can be used to cover or correct errors, adjust values, or add highlights to your artwork.
To fix mistakes, make sure the area you want to correct is completely dry. Using a small brush, apply a thin layer of white gouache or opaque white over the mistake. Let it dry completely before continuing with your painting. It’s important to exercise caution and avoid overusing white paint to prevent muddying or making your colors appear dull.
Applying Varnish or Fixative to Protect Your Artwork
Once your gouache or watercolor painting is complete, it’s essential to protect it by applying a varnish or fixative. This extra step ensures that your artwork remains vibrant, prevents smudging or fading, and helps preserve its longevity.
Varnish is commonly used for protecting oil or acrylic paintings, while fixative is more suitable for pastel, charcoal, or pencil artworks. When selecting a varnish or fixative, ensure that it is compatible with gouache or watercolor paints to avoid any adverse effects on the surface or colors.
Follow the instructions provided with the chosen varnish or fixative and apply it in a well-ventilated area. Apply thin, even coats, allowing each layer to dry before adding the next. Use a soft brush or spray bottle for an even application. It’s important to protect the areas surrounding your artwork to prevent any accidental overspray or smudging.
By applying a varnish or fixative, you are safeguarding your artwork and ensuring that it remains in its best condition for years to come.
In conclusion, painting with gouache and watercolor offers endless possibilities for creativity and expression. By understanding the different papers, brushes, techniques, and principles of color theory, you can confidently embark on your artistic journey. With practice and experimentation, you will develop your own unique style and create beautiful and captivating paintings in gouache and watercolor.