For those seeking to add a vibrant and eye-catching touch to their wooden creations, learning how to paint with fluorescent paint on wood can be a valuable skill. The luminous and intense colors of fluorescent paint can transform any wooden surface into a bold statement piece. Whether you are a seasoned artist or a DIY enthusiast, this article will guide you through the process of creating captivating and radiant designs on wood using fluorescent paints. From prepping the surface to selecting the right materials, we will explore the essential steps to achieve stunning results. So, get ready to unleash your creativity and bring a radiant glow to your wooden projects.

Gathering Materials
Before you begin painting with fluorescent paint on wood, it is important to gather all the necessary materials. This will ensure that you have everything you need to successfully complete the project.
Selecting Fluorescent Paint
When choosing fluorescent paint, consider the color and quality of the paint. Look for paints specifically designed for wood surfaces, as these will provide better adhesion and durability. Additionally, check the label to ensure that the paint is suitable for indoor or outdoor use, depending on your project requirements.
Choosing the Right Wood
Selecting the right wood is crucial for a successful painting project. Choose a wood that is free from knots, cracks, and other imperfections, as these can affect the final outcome of your paint job. Popular choices for painting projects include plywood, MDF, and hardwood. Consider the size and shape of your project and choose the appropriate wood accordingly.
Gathering Tools
Apart from paint and wood, you will need several tools to complete the painting process. These tools may include brushes, rollers, paint trays, sandpaper, primers, UV light, and protective wear such as gloves and goggles. Make a checklist of all the tools you will need to complete the project and ensure you have them on hand before you begin.
Preparing the Wood Surface
Preparing the wood surface is an important step in ensuring a smooth and long-lasting paint finish on wood. This process involves cleaning, sanding, and priming the wood.
Cleaning the Wood
Before painting, it is essential to clean the wood surface thoroughly to remove any dirt, dust, or grease. You can use a mild detergent mixed with water to clean the wood. Scrub the surface gently with a soft brush or sponge, then rinse off with clean water and allow it to dry completely.
Sanding the Wood
Sanding the wood surface helps to create a smooth and even finish. Use sandpaper with a medium grit (around 120-150) to sand the entire surface, ensuring that you remove any splinters, rough patches, or old finish. Sanding in the direction of the wood grain will provide the best results. After sanding, wipe off any dust with a clean cloth or tack cloth.
Priming the Wood
Priming the wood is an essential step in preparing the surface for painting. Apply a coat of primer specifically designed for wood surfaces, using a brush or roller. Primer helps the paint adhere better, provides an even base color, and prevents the wood from absorbing too much paint. Allow the primer to dry completely before proceeding to the next step.
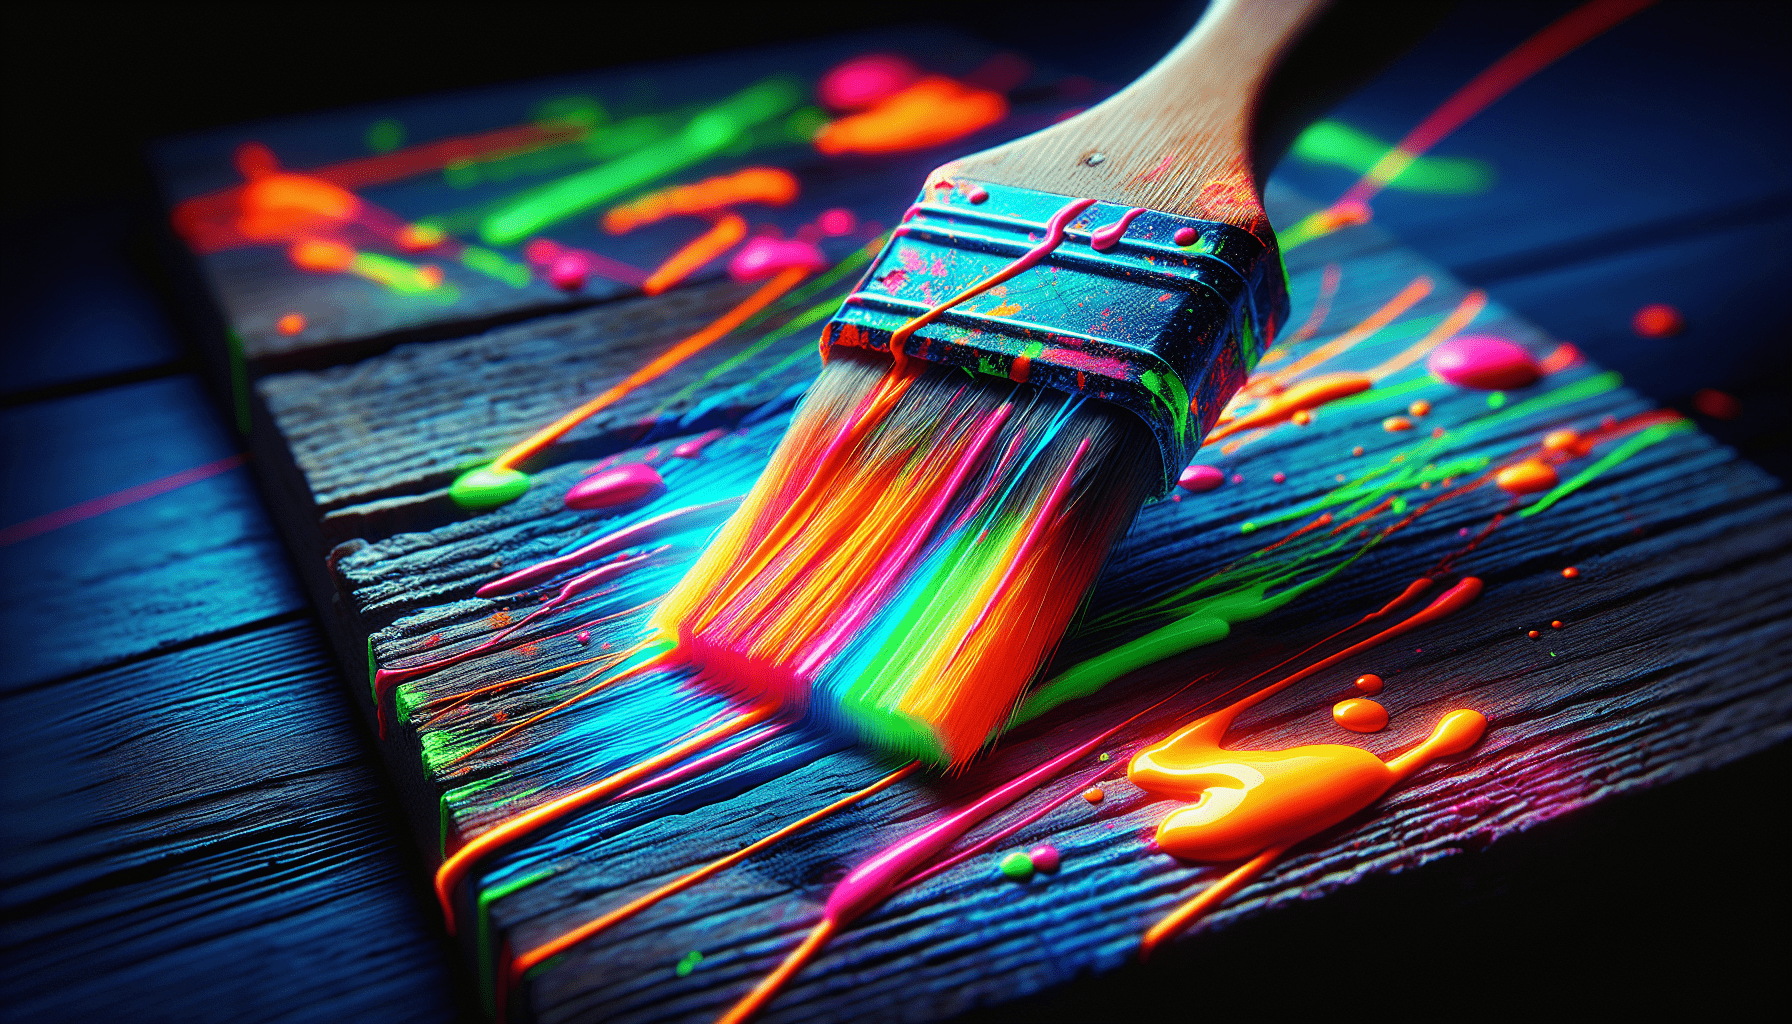
Applying the Fluorescent Paint
Once the wood surface has been properly prepared, it is time to apply the fluorescent paint. This section will guide you through the steps of preparing the paint, applying the base coat, allowing it to dry, applying additional coats, and adding details or patterns if desired.
Preparing the Paint
Before beginning to paint, ensure that the fluorescent paint is well-mixed. Shake the paint can or stir it thoroughly with a paint stick to achieve a consistent color and texture. If using multiple colors, ensure they are thoroughly mixed as well.
Applying the Base Coat
To apply the base coat, use a brush or roller and work in long, even strokes, following the grain of the wood. Apply the paint evenly, ensuring complete coverage of the wood surface. Take care not to apply too thick of a coat as this can result in drips or an uneven finish.
Allowing the Base Coat to Dry
After applying the base coat, it is crucial to allow it to dry completely before proceeding to the next step. Follow the manufacturer’s instructions for drying time, as it may vary depending on the type of paint used. Avoid touching or moving the wood while the base coat is drying to prevent smudges or uneven drying.
Applying Additional Coats
Depending on the desired intensity of the fluorescent color, additional coats may be necessary. Apply each coat in the same manner as the base coat, ensuring even coverage and allowing sufficient drying time between coats. Multiple thin coats are often preferable to thick coats, as they provide a smoother and more even finish.
Adding Details or Patterns
If you wish to create unique designs or patterns on your painted wood, now is the time to do so. Use smaller brushes or stencils to add details or mask off areas for different colors. Take your time and ensure that the details are well-executed. Allow any additional paint to dry completely before moving on to the next step.
Curing the Paint
Curing the paint ensures that it fully sets and provides maximum durability. This step involves allowing sufficient drying time and using UV light if necessary.
Allowing Sufficient Drying Time
After applying the final coat(s) of fluorescent paint, it is essential to allow sufficient drying time. Follow the manufacturer’s instructions for the specific paint used, as drying times can vary. Keep in mind that thicker coats or high humidity conditions may require additional drying time. Avoid exposing the painted wood to any moisture or humidity during this curing period.
Using UV Light for Curing
If the fluorescent paint used requires UV light for curing, set up a UV light source or take the painted wood outdoors in direct sunlight. UV light helps to activate the fluorescent properties of the paint, resulting in a vibrant and long-lasting finish. Follow the manufacturer’s instructions regarding the recommended exposure time for curing with UV light.

Finishing Touches
Once the paint is fully cured, it is time to add the finishing touches to your project. This includes sealing the paint, choosing a finish, and applying a protective coating.
Sealing the Paint
To protect the fluorescent paint and extend its lifespan, apply a clear sealant over the painted wood surface. Choose a sealant that is compatible with the type of paint used and apply it evenly following the manufacturer’s instructions. This will provide an additional layer of protection against UV rays, moisture, and general wear and tear.
Choosing a Finish
Deciding on the desired finish for your painted wood is an important step in the finishing process. Whether you prefer a glossy, satin, or matte finish, select a clear finish that will enhance the fluorescent color and provide the desired aesthetic. Apply the finish evenly and allow it to dry completely before handling or displaying the finished piece.
Applying a Protective Coating
If your painted wood project will be subjected to heavy use or outdoor elements, consider applying a protective coating to further enhance its durability. This could include a polyurethane or varnish specifically designed for wood surfaces. Apply the protective coating following the manufacturer’s instructions, ensuring complete coverage and even application. Allow it to dry fully before using or displaying the finished piece.
Cleaning Up
After completing your fluorescent paint project, it is important to clean up properly to maintain a clean and organized workspace. This involves cleaning paint brushes, properly disposing of paint, and tidying up the work area.
Cleaning Paint Brushes
If you used brushes to apply the fluorescent paint, clean them thoroughly to remove any residual paint. Rinse the brushes with water or the recommended cleaning solvent for the particular type of paint used. Gently comb through the bristles to remove any excess paint or debris. Allow the brushes to air dry or follow the manufacturer’s instructions for proper drying.
Properly Disposing of Paint
Dispose of any unused or leftover paint properly according to local regulations. Avoid pouring paint down drains or into the soil, as it can be harmful to the environment. Contact your local waste management facility for guidance on proper paint disposal methods.
Cleaning Work Area
To maintain a tidy and functional workspace, clean up any paint spills, drips, or splatters in the surrounding area. Use a damp cloth or sponge to wipe down surfaces and remove any paint residue. Dispose of any disposable materials such as paint trays or drop cloths according to local regulations.
Safety Precautions
When working with fluorescent paint on wood, it is important to prioritize safety. Taking proper precautions will help ensure a safe and enjoyable painting experience.
Working in a Well-Ventilated Area
Always work in a well-ventilated area when using fluorescent paint. Open windows or doors to allow for proper air circulation and help minimize exposure to fumes. Consider using fans or air purifiers to further enhance ventilation if necessary.
Wearing Protective Clothing and Gear
Protective clothing and gear are essential when working with fluorescent paint. Wear long sleeves, long pants, closed-toe shoes, and coveralls to prevent direct contact with your skin. Additionally, wear gloves and safety goggles to protect your hands and eyes from potential splatters or spills.
Avoiding Skin Contact
Fluorescent paint may contain chemicals that can irritate or harm the skin. Avoid direct contact by wearing protective gloves and washing your hands thoroughly after each painting session. If any paint comes into contact with your skin, rinse it off immediately with warm water and mild soap.
Handling and Storing Paint Properly
Follow the manufacturer’s instructions for handling and storing fluorescent paint. Store it in a cool, dry place away from direct sunlight or extreme temperatures. Ensure that the paint containers are securely closed to prevent spills or leaks.
Using Protective Measures
For additional protection, consider using a respirator mask to minimize inhalation of fumes or particles. If working outdoors or in a dusty environment, wear a dust mask to protect your respiratory system. These simple protective measures can reduce the risk of respiratory or allergic reactions.
Tips and Tricks
To enhance your painting experience and achieve the best results, consider implementing these tips and tricks when working with fluorescent paint on wood.
Testing the Paint on a Small Area
Before applying fluorescent paint to the entire wood surface, it is a good idea to test it on a small, inconspicuous area. This will allow you to assess the color, coverage, and adhesion of the paint. Make any necessary adjustments before proceeding with the full application.
Mixing Fluorescent Colors
Experimenting with mixing different fluorescent colors can create unique and vibrant combinations. Use a palette or small containers to mix small amounts of paint and observe the results. This will allow you to customize your project and add depth to your artwork.
Creating Stencils or Masks
If you want to create precise patterns or designs, consider using stencils or masks. These can be purchased or made by cutting shapes out of cardboard or plastic. Secure the stencil or mask onto the wood surface and paint over it, ensuring clean and crisp lines.
Experimenting with Techniques
Don’t be afraid to experiment with different techniques to achieve various effects. Try dry brushing, sponge painting, or using different brush strokes to create texture and dimension. These techniques can add visual interest and uniqueness to your painted wood project.
Common Mistakes to Avoid
When painting with fluorescent paint on wood, it is important to be aware of common mistakes and avoid them to achieve the best possible results.
Avoiding Thick Layers of Paint
Applying thick layers of fluorescent paint can result in an uneven finish, drips, or cracks as it dries. It is better to apply multiple thin coats, allowing each layer to dry completely before adding another. This will provide a smoother and more professional-looking result.
Not Allowing Sufficient Drying Time
Rushing the drying process can lead to smudges, smears, or paint transfer. Ensure that each coat of fluorescent paint is given ample time to dry before applying additional coats or any finishes. This will prevent any unwanted mishaps and increase the durability of the paint.
Skipping Surface Preparation
Properly preparing the wood surface is crucial for a successful and long-lasting paint job. Skipping steps such as cleaning, sanding, or priming can result in poor adhesion, uneven paint application, or premature peeling. Take the time to prepare the surface properly, and you will be rewarded with a flawless finish.
Neglecting Safety Precautions
Safety should always be a priority when working with fluorescent paint. Neglecting to wear protective clothing and gear, working in a poorly ventilated area, or mishandling the paint can lead to health hazards or accidents. Always follow safety guidelines and take the necessary precautions to protect yourself and those around you.
Inspiration and Ideas
Now that you have learned the step-by-step process of painting with fluorescent paint on wood, it’s time to get inspired and let your creativity flow. Here are some ideas and sources of inspiration to fuel your imagination.
Exploring Different Designs and Patterns
Look for inspiration in various sources such as nature, architecture, or art. Browse through books, magazines, or online platforms to discover different designs and patterns that can be translated onto wood. Experiment with geometric shapes, intricate motifs, or abstract concepts to create visually stunning pieces.
Getting Inspired by Nature
Nature is a never-ending source of inspiration. Take inspiration from vibrant flowers, intricate animal patterns, or striking landscapes. Incorporate elements such as leaves, branches, or birds into your painted wood projects to bring a touch of the outdoors into your living space.
Creating Unique Art Pieces
Painting with fluorescent paint on wood allows you to create one-of-a-kind art pieces. Explore your own imagination and experiment with different techniques and color combinations to produce truly unique artworks. Let your creativity take the lead and enjoy the process of bringing your vision to life.
In conclusion, painting with fluorescent paint on wood requires careful preparation, attention to detail, and an understanding of the proper techniques. By following the steps outlined in this comprehensive guide, you can create vibrant and long-lasting art pieces that will add a pop of color to any space. Remember to prioritize safety, allow adequate drying time, and let your creativity shine through as you explore different designs and patterns. With the right materials, techniques, and inspiration, you are ready to embark on your fluorescent paint on wood journey. Happy painting!