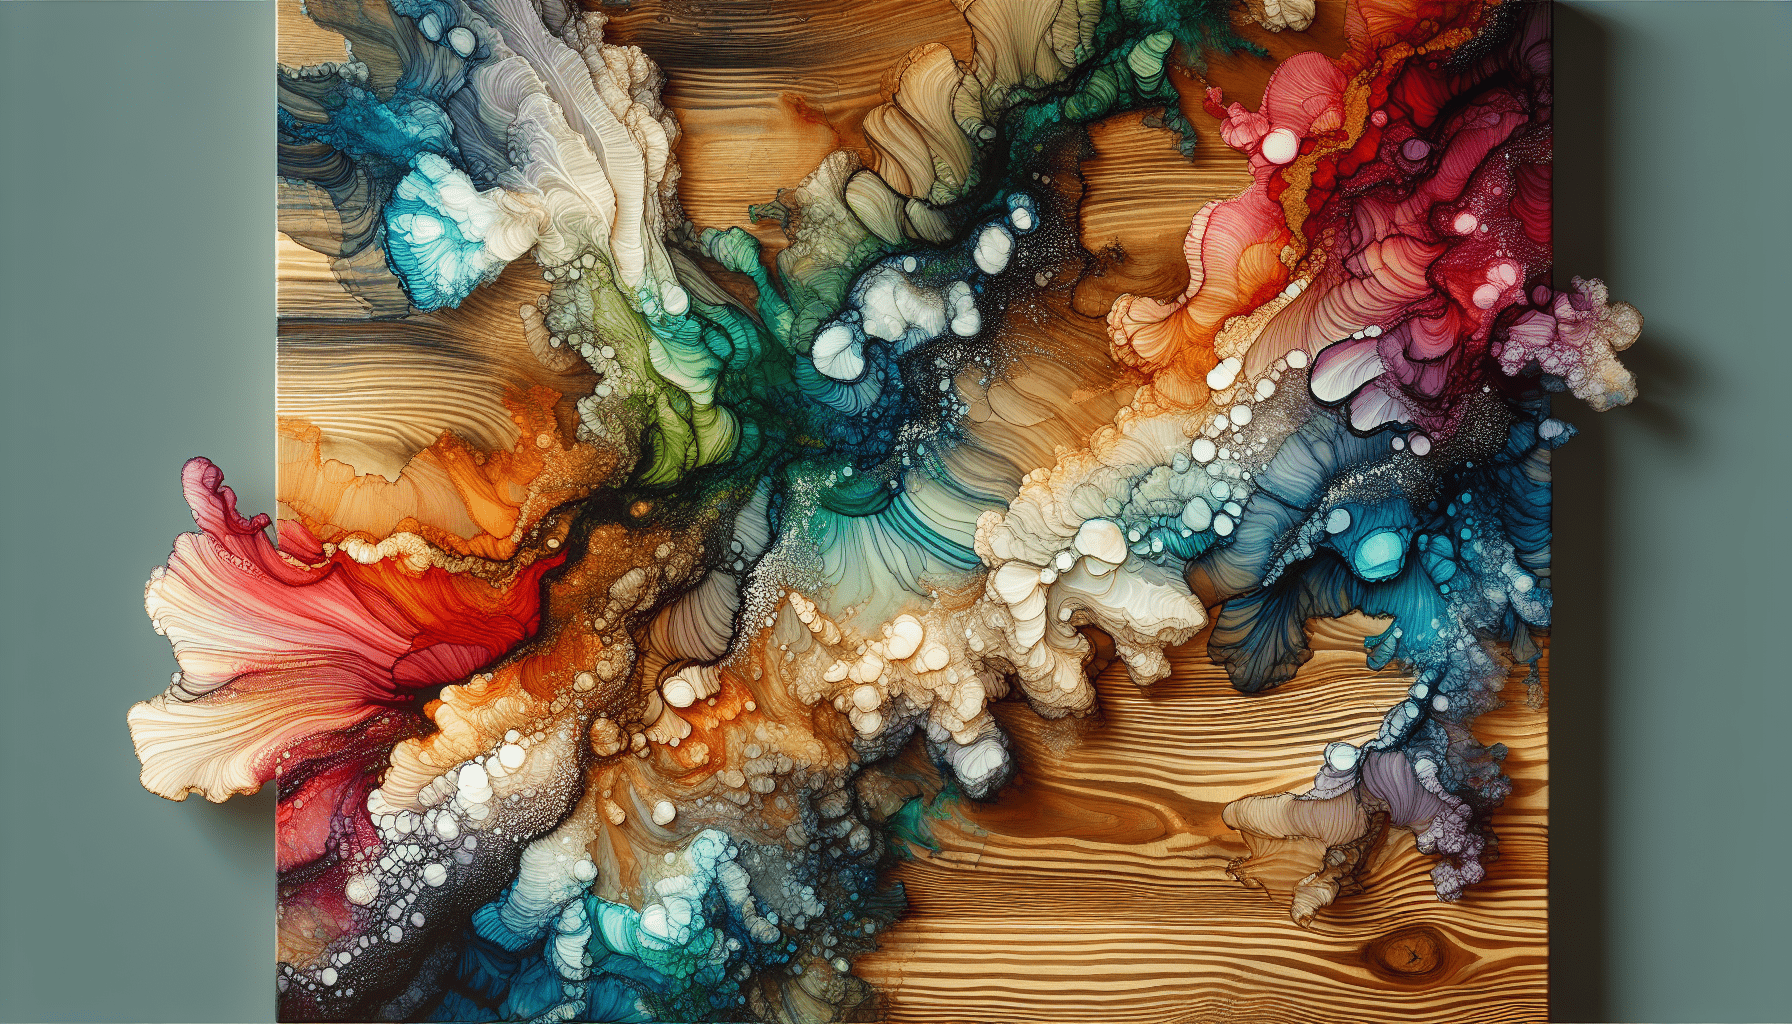
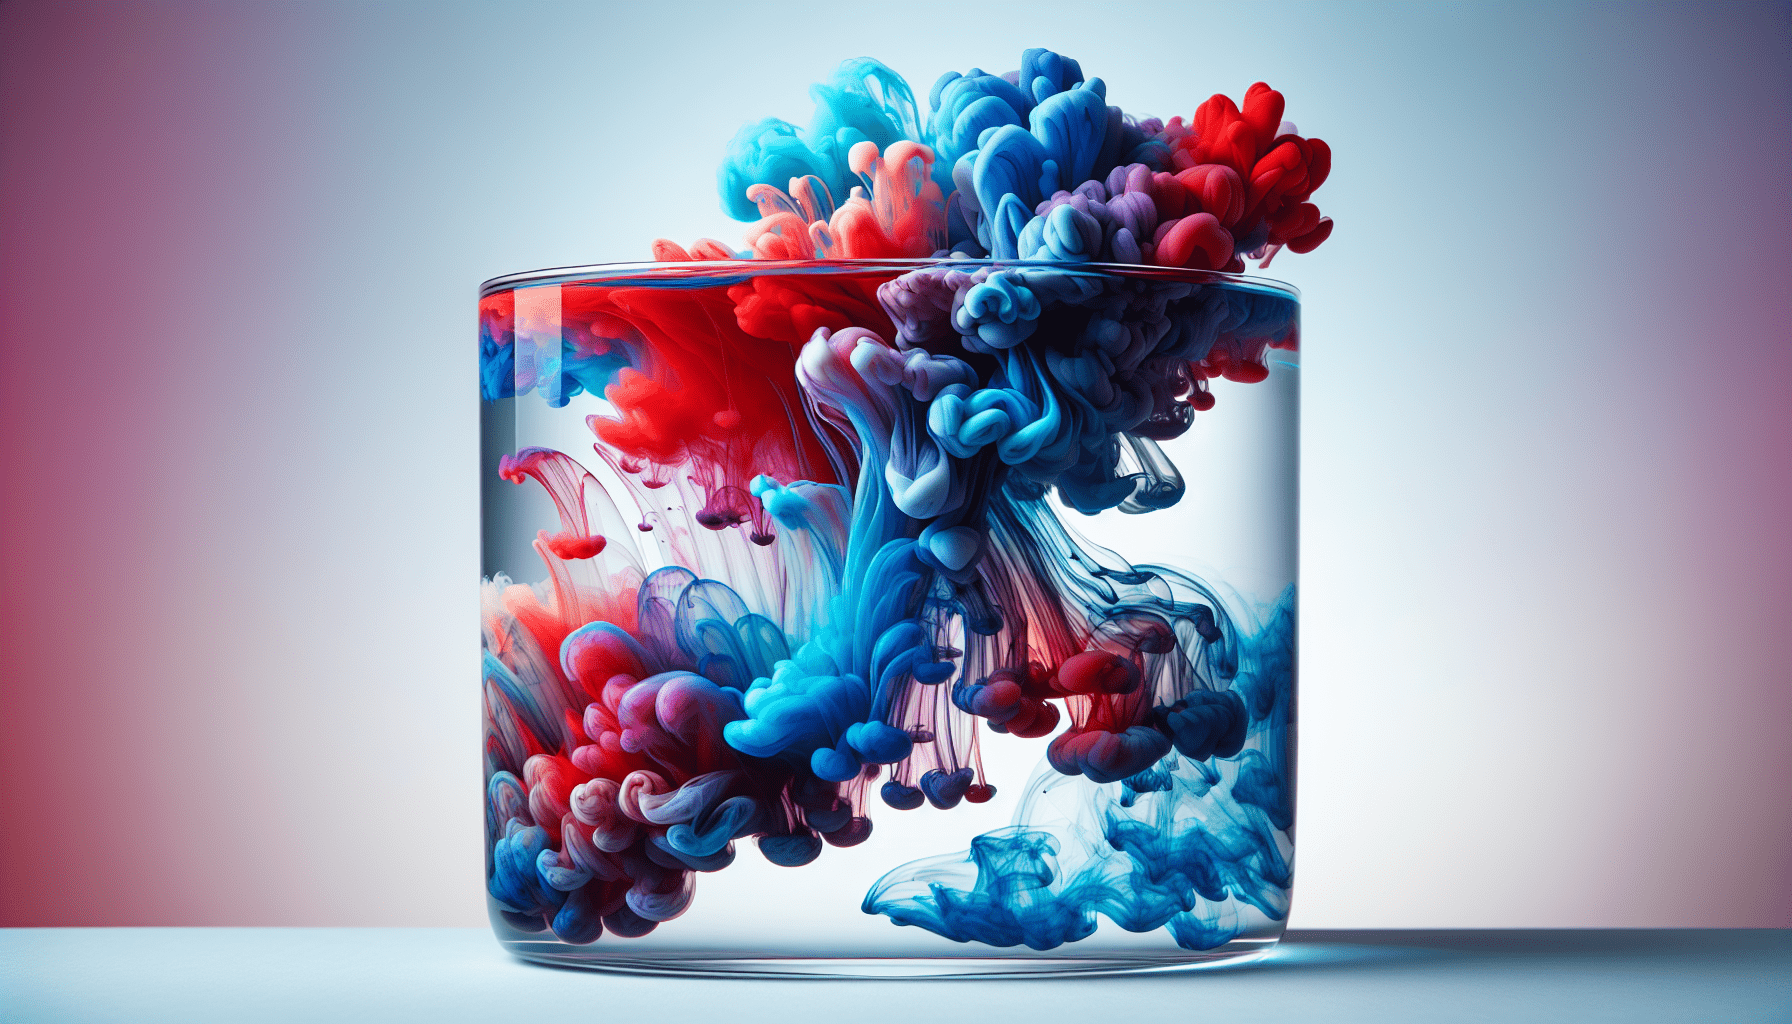
Have you ever wondered how to paint with alcohol ink on wood? This intriguing art form has gained popularity due to its vibrant colors and fluid movements. Engaging with it provides not only a visually pleasing experience but also a challenging and rewarding creative outlet. In this article, you will learn how to paint with alcohol ink on wood, exploring the materials and techniques needed to create stunning pieces.
Understanding Alcohol Inks
Alcohol inks are fast-drying, alcohol-based inks that can be used on non-porous surfaces to create vibrant, fluid art. Their unique properties make them distinct from other types of inks and paints. You can use alcohol inks to create intricate designs or organic patterns, depending on the level of control and technique applied.
Properties of Alcohol Inks
One of the most striking features of alcohol inks is their intense, saturated colors. These inks are highly pigmented and, when applied, can produce translucent to opaque effects. The alcohol base allows the inks to dry quickly, making them ideal for layering and blending but also demanding in terms of application time.
Why Use Alcohol Inks on Wood?
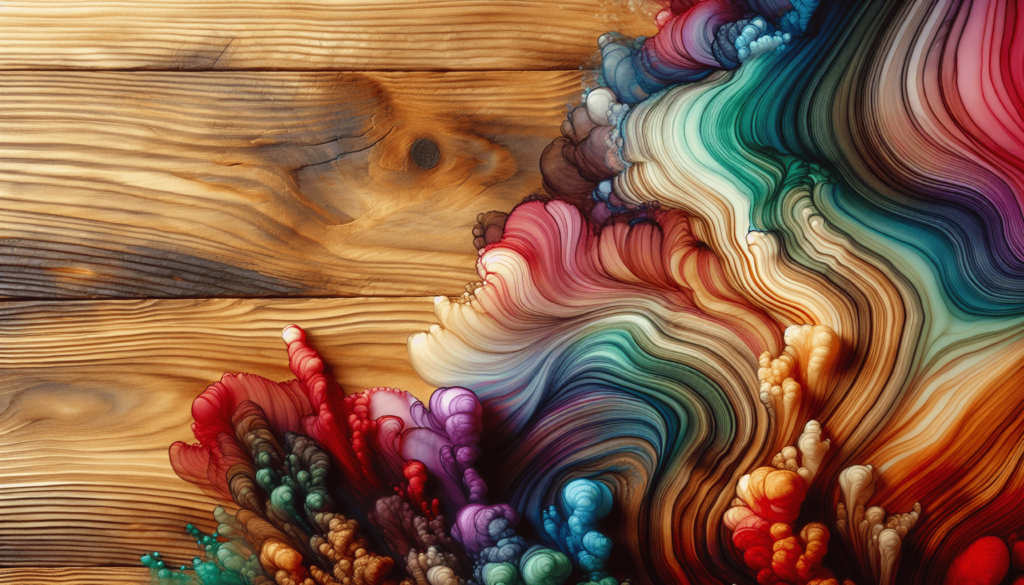
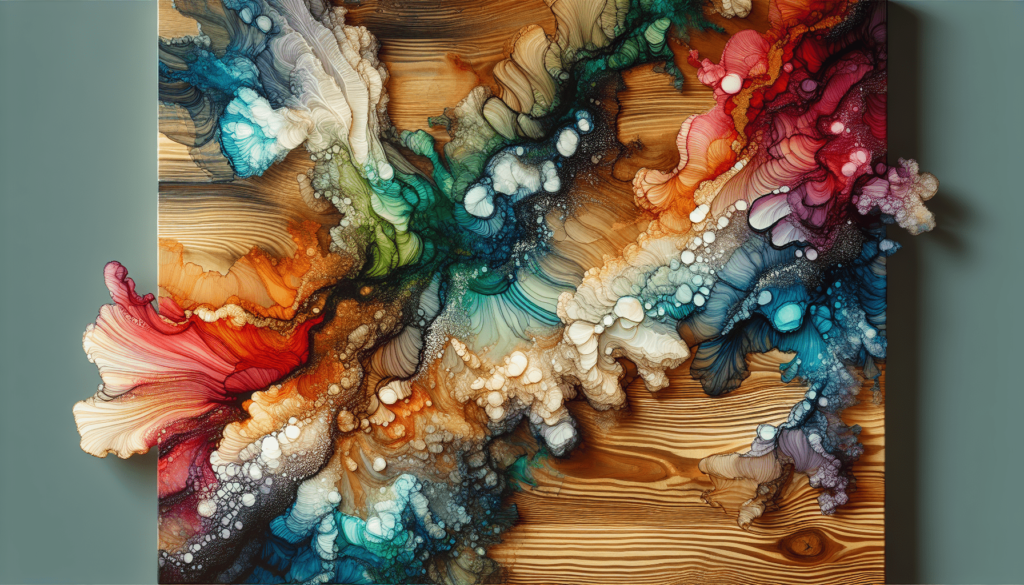
While traditionally used on surfaces like tiles, metal, and glass, alcohol inks can also be applied to wood. Painting with alcohol ink on wood offers unique textural and visual possibilities, as the ink interacts differently with the natural grain present in the material. The wood surface adds warmth to the vibrant colors, creating a different feel than other substrates do.
Preparing to Paint with Alcohol Inks on Wood
Preparation is a vital step when painting on wood with alcohol inks. Ensuring the integrity and readiness of your materials will influence the final result significantly.
Selecting the Right Wood
The choice of wood affects the outcome of your artwork. Smooth, sanded wood surfaces like birch or maple are preferable, as they allow the alcohol inks to glide and absorb in a controlled manner. Porous wood types can absorb the ink too quickly, reducing control over your design. If using rough wood, consider sanding it to achieve a more even surface.
Priming the Wood Surface
Not all wood surfaces are naturally suited for alcohol inks. Priming creates a non-porous layer that enhances the vibrancy and fluidity of the inks. Typically, white gesso or a primer specifically made for sealing wood should be applied. This step prevents excessive absorption and helps the colors remain bright and stable.
Gathering Necessary Materials
Before you begin working, it’s important to have all the necessary materials at your disposal. This includes:
| Material | Purpose |
|---|---|
| Alcohol Inks | Primary medium for creating art |
| Yupo Paper/Card | Practice surface |
| Primer | Seals the wood and preps it for ink |
| Brushes/Applicators | Tools for applying ink |
| Blending Solution | Adjusts saturation and tones of the ink |
| Protective Gear | Gloves and apron to protect skin and clothing |
Having these materials prepared ensures a smooth creative process without unnecessary interruptions.
Techniques for Painting with Alcohol Inks on Wood
With your workspace set up and materials prepared, it’s time to explore various techniques for applying alcohol inks to wood. Each technique offers unique advantages and can cater to different artistic styles.
Direct Application
One of the simplest techniques involves directly applying alcohol inks to the primed wood surface. Using an applicator or brush, apply the ink generously and allow it to move naturally across the wood. This technique emphasizes organic flow and spontaneous design.
Layering and Blending
Alcohol inks lend themselves beautifully to layering. By applying additional layers of ink, you create depth and complexity in your work. Using a blending solution, you can manipulate and soften the edges of your ink, enhancing transitions between colors and creating beautifully blended effects.
Using Alcohol Blending Solutions
Blending solutions can be used to alter the movement and appearance of alcohol inks. These solutions can be applied before, during, or after ink application and serve various purposes: reducing the concentration of pigment, increasing drying time, and creating soft, watercolor effects. Experimenting with blending solutions can lead to surprising and delightful results.
Creating Patterns with Tools
You can use tools like brushes, droppers, and swabs to create intentional patterns and effects. For instance, using a dropper allows for more controlled ink placement, while brushes can create fine lines and details. Experiment with different tools to see how each affects the flow and appearance of the inks.
Troubleshooting Common Issues
Like any art form, painting with alcohol inks on wood can present challenges. Being prepared to address these challenges will ensure a more enjoyable and successful creative process.
Addressing Blotchy Coverage
Blotchy areas may appear when ink is soaked unevenly into the wood. To fix this, ensure that the surface is evenly primed and practice applying consistent ink amounts. Use blending solution to correct uneven spots, allowing the ink to spread more uniformly.
Correcting Color Bleeds
Due to the fluid nature of alcohol inks, colors may bleed into one another unintentionally. To manage this, allow each layer to dry fully before applying the next. Additionally, using a blending solution can help control and refine edges between colors.
Handling Over-Absorption
If the wood absorbs the ink too quickly, consider adding an additional layer of primer to create a more non-porous surface. This step can prevent unnecessary absorption and maintain the vibrant quality of the ink on the surface.
Protecting and Preserving Your Artwork
Ensuring the longevity of your alcohol ink artwork calls for proper sealing and care. Alcohol inks can fade if left unsealed, so it’s important to take measures to preserve your work.
Sealing Your Painting
Once your piece is complete, apply a protective sealant to preserve its vibrant colors and prevent damage from moisture or UV light. Typically, a clear acrylic spray sealant or a resin coating can be used. Apply multiple thin layers and allow each to dry completely before adding the next.
Display and Storage Considerations
Displaying your art in areas with stable humidity and minimal direct sunlight will further protect it from fading. If storing the artwork, ensure it is kept in a cool, dry space that shields it from damage.
Tips for Success
Your journey with alcohol inks is unique, and developing your style takes time and practice.
Practice Regularly
Regular practice is instrumental in getting accustomed to the behavior of alcohol inks. Use practice surfaces like Yupo paper to hone your skills and experiment with new techniques without the pressure of damaging good materials.
Experiment with Different Techniques
Don’t hesitate to try new methods and experiment with different applications. The balance between control and spontaneity can lead to outstanding results, and new techniques might unlock fresh creative pathways.
Learn from Fellow Artists
Engaging with a community of artists can provide fresh insights and encouragement. Participate in workshops, online forums, and social media groups to exchange tips and experiences with fellow alcohol ink artists.
Conclusion
Mastering the art of painting with alcohol ink on wood is an exciting endeavor that harnesses vibrant hues and dynamic movement. By understanding the properties of alcohol inks, preparing appropriately, and implementing effective techniques, you can create stunning and lasting works of art. Enjoy your creative process, practice diligently, and embellish your world with the beautiful fluidity of alcohol inks.
