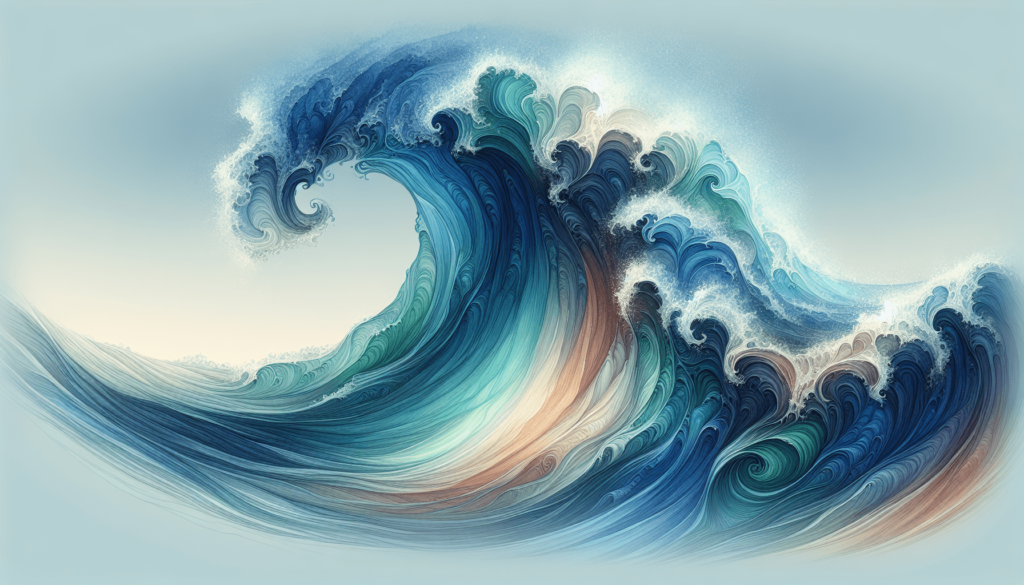
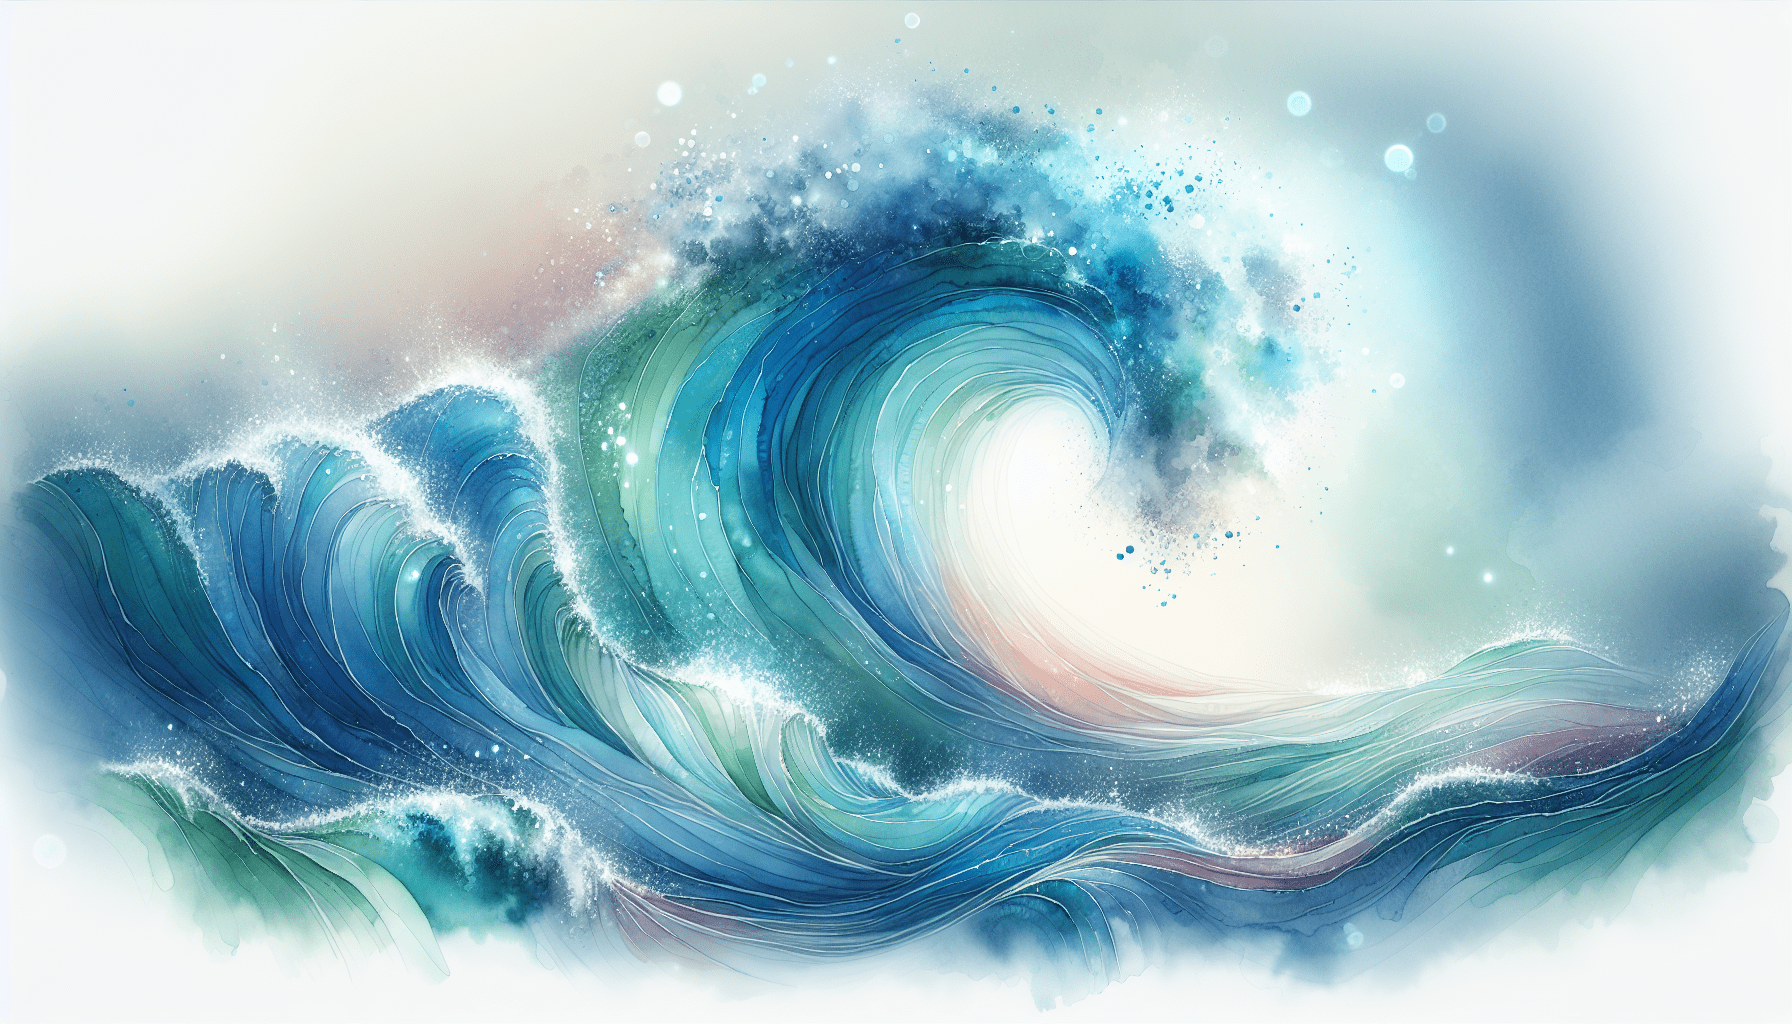
Immerse yourself in the artistry of painting waves in watercolor with this comprehensive guide. “How To Paint Waves In Watercolor” provides you with clear, step-by-step instructions that will elevate your watercolor techniques to new heights. You will discover essential tips on brushwork, color blending, and layering that bring the dynamic motion and subtle nuances of ocean waves to life. Enhance your artistic skills and create captivating seascapes that resonate with vibrant realism and beauty. Have you ever found yourself transfixed by the ebb and flow of ocean waves and wondered how to capture that dynamic beauty in watercolor? Painting waves in watercolor can be both a rewarding and challenging experience, especially given the fluid and unpredictable nature of both the medium and the subject. However, with the right techniques and practice, you can render realistic and captivating ocean waves on paper.
Understanding the Nature of Waves
Before diving into specific techniques, it’s crucial to understand the fundamental aspects of how waves operate. Waves are created by wind transferring energy to water, which causes it to travel and break. As a watercolor artist, your goal is to capture this energy and movement.
Anatomy of a Wave
A typical wave consists of several parts: the crest (the highest point), the trough (the lowest point), and the face (the slope between the crest and the trough). Understanding these components will help you structure your painting more accurately.
Light and Shadow
Waves, like all objects, are affected by light and shadow. The interplay of light and shadow creates the illusion of depth and volume. The light usually hits the crest of the wave, while the trough and backside of the wave are in shadow.
Materials You’ll Need
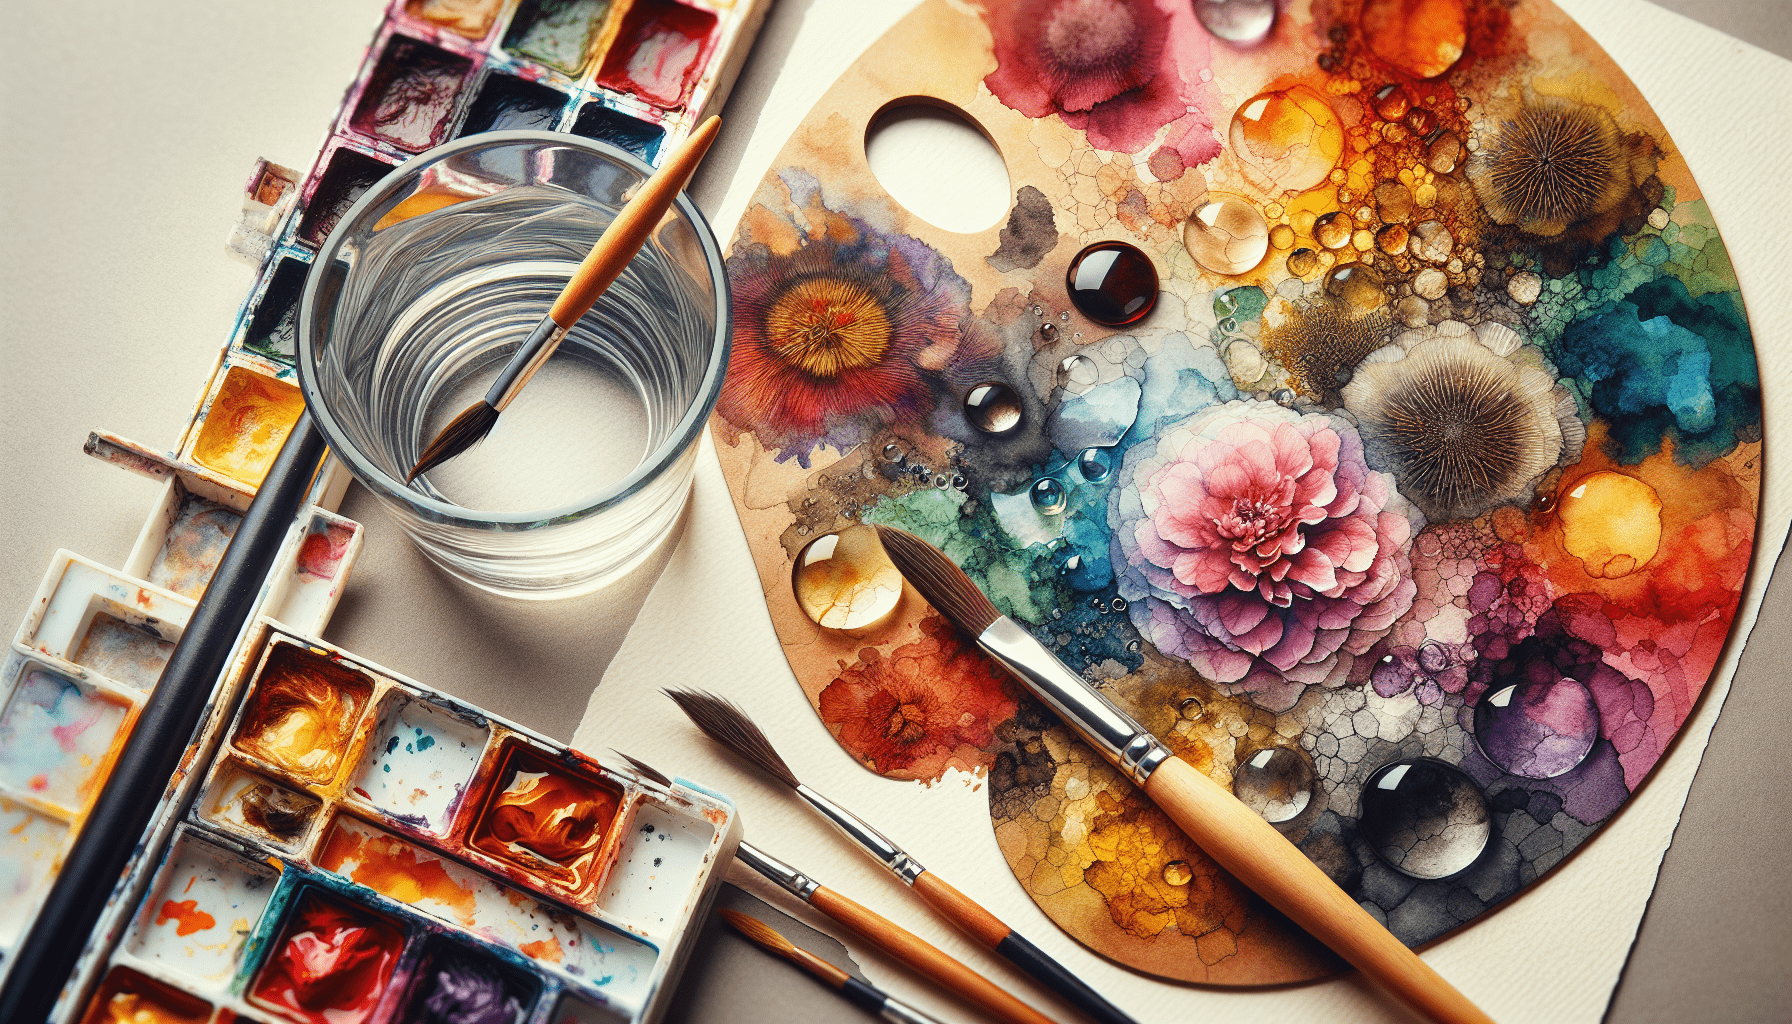
To create a stunning watercolor painting of waves, you’ll need specific materials.
- Watercolor Paper: Opt for 300gsm (140lb) cold-pressed paper, which handles water well.
- Watercolors: A palette with a range of blues, greens, and neutral tones.
- Brushes: Round and flat brushes ranging from size 4 to 12.
- Masking Fluid: To preserve the white of the paper in critical areas.
- Palette: For mixing your paints.
- Water Containers: One for clean water and one for rinsing brushes.
- Tissue or Sponge: For lifting excess water or paint.

Basic Watercolor Techniques
Before you begin painting waves, familiarize yourself with some basic watercolor techniques.
Wet-on-Wet
The wet-on-wet technique involves applying wet paint onto wet paper. This is excellent for creating soft gradients and fluid transitions, which are perfect for painting the ocean.
Wet-on-Dry
In wet-on-dry, you apply wet paint onto dry paper. This technique gives you more control and is useful for adding details such as the edges of waves.
Lifting
Lifting involves removing paint from the paper using a damp brush or tissue. This technique can be used to create highlights and correct mistakes.
Layering
Layering involves applying multiple layers of paint to build depth and richness. Each layer must dry before the next is applied to avoid muddling the colors.
Step-by-Step Guide to Painting Waves
Now that you understand the foundational elements and the techniques, let’s go through a step-by-step guide to painting waves.
Step 1: Sketch Your Composition
Start with a light pencil sketch of your wave composition. Focus on the main elements: the crest, the trough, and any foam details. Keeping the sketch light ensures it won’t interfere with your watercolor application.
Step 2: Apply Masking Fluid
Use masking fluid to preserve the white areas of the paper. This includes the highlights on the crest of the wave and any foam details. Apply the masking fluid with an old brush or a specialized tool, as it can ruin good brushes.
Step 3: First Wash
Begin with a wet-on-wet technique to lay down your initial wash. Use a light blue or turquoise to cover the entire ocean area. This will be your base layer. Allow it to dry completely before moving on to the next step.
Step 4: Adding Depth and Shadows
Once your initial wash is dry, add the first layers of shadows onto the wave. Use a slightly darker blue and apply it to the areas that are in shadow, such as the troughs and the backside of the waves. This is done using the wet-on-dry technique for more control.
Step 5: Detailing the Crest
With your shadow areas dry, it’s time to focus on the crest of the wave. Use a bright, almost white, blue for the crest, where the light hits the strongest. You can use the wet-on-dry technique again to maintain precision.
Step 6: Creating Foam
Remove the masking fluid gently from the areas where you want to create the foam. Use a combination of white gouache or diluted watercolors to paint the foam details. This part requires a good understanding of how foam interacts with the crest and the troughs.
Step 7: Refining Details
This is where you add the finishing touches to your painting. Use a fine brush to paint tiny details, such as the ripples on the water surface and any additional highlights or shadows. This step enhances the realism and depth of your painting.

Troubleshooting Common Issues
Despite your best efforts, you may encounter some common problems when painting waves. Here’s how to troubleshoot them.
Blooms or Backruns
These occur when excess water spreads unevenly on your paper. To avoid this, control your water-to-paint ratio and work in smaller sections.
Muddy Colors
Muddy colors happen when you mix too many pigments together. Stick to a limited palette and allow each layer to dry fully before applying the next one.
Lack of Depth
If your waves lack depth, it may be because your shadows aren’t dark enough. Use a range of values to create a realistic sense of depth.
Practicing Techniques
Mastering the art of painting waves takes time and practice. Here are some exercises to help you hone your skills.
Wave Studies
Create small studies of different types of waves. Focus on capturing the unique characteristics of calm waves, breaking waves, and turbulent waves.
| Exercise | Purpose |
|---|---|
| Calm Waves | Practice gentle gradients and soft edges. |
| Breaking Waves | Focus on energy and movement. |
| Turbulent Waves | Study the chaotic and dynamic nature. |
Color Mixing
Experiment with mixing different shades of blue and green to find the perfect hues for your ocean scenes. Understanding color theory will significantly enhance your ability to create realistic wave paintings.
Advanced Techniques
Once you’re comfortable with the basics, you can explore more advanced techniques to add sophistication to your work.
Glazing
Glazing involves applying a thin, transparent layer of paint over dried layers to add richness and depth. Use this technique to enhance the colors and shadows of your waves.
Negative Painting
Negative painting focuses on painting around the positive shapes (in this case, the waves), rather than painting the shapes themselves. This can create a striking contrast and highlight the white foam of the waves.
Final Thoughts
Painting waves in watercolor is a journey that combines technical skill with an understanding of the water’s flowing nature. By mastering the fundamental techniques and practicing regularly, you’ll be able to capture the captivating essence of waves on paper. Never be afraid to experiment and learn from each painting you create.
Frequently Asked Questions
How long does it take to learn to paint waves in watercolor?
The time it takes varies from person to person. Consistent practice and dedication are crucial. Some artists may begin to see significant improvement within a few months, while others may take longer.
What are some common mistakes to avoid?
Avoid using too much water, as it can lead to blooms and backruns. Additionally, don’t overwork your painting—sometimes, less is more.
How can I create more realistic looking foam?
Observing real waves and practicing negative painting techniques can help you create more realistic foam. You can also use white gouache to add detailed highlights.
Should I use reference photos?
Using reference photos is highly recommended, especially when starting. They provide a visual guide to understanding the structure, colors, and lighting of waves.
Painting waves can be one of the most satisfying subjects in watercolor, offering endless possibilities for creativity and expression. With the right techniques and plenty of practice, you’ll soon be able to bring the mesmerizing beauty of ocean waves to life on your canvas.


