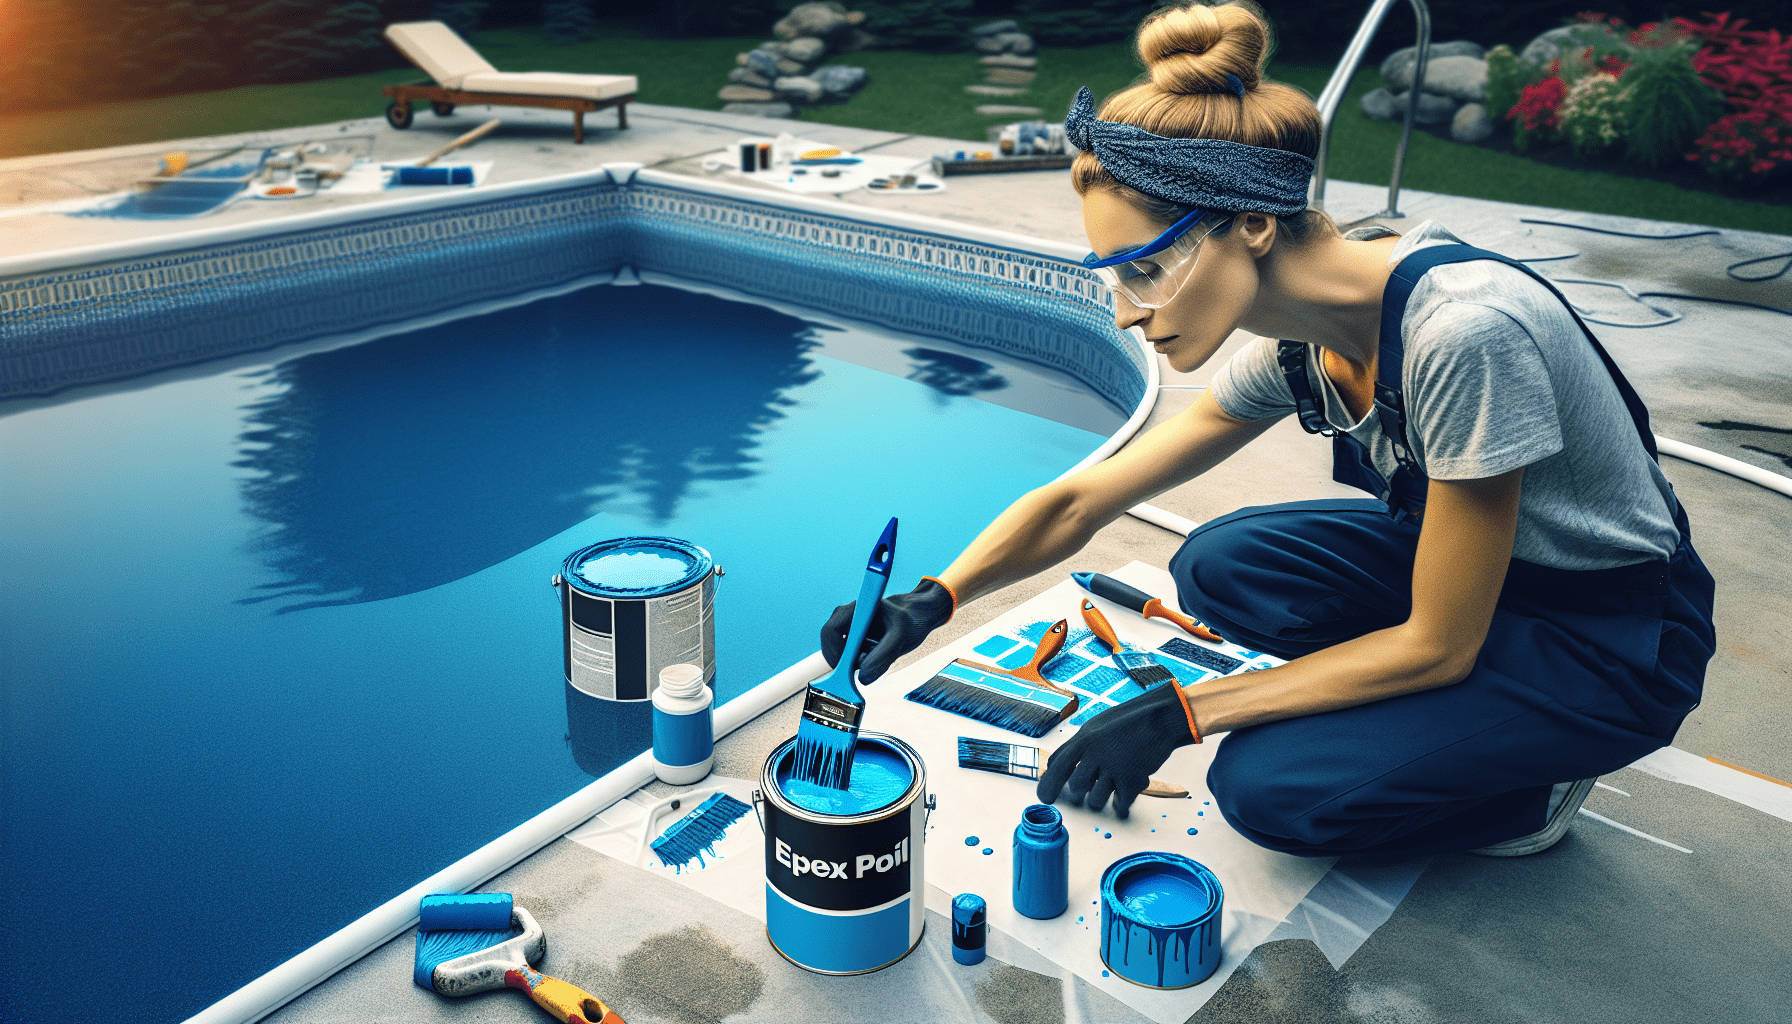
In order to achieve a polished and durable garage floor, it is imperative to master the technique of applying epoxy paint. This article provides a step-by-step guide on how to effectively paint your garage floor with epoxy, ensuring a seamless and long-lasting finish. From preparing the surface to selecting the right tools, you will gain valuable insights into the entire process, enabling you to transform your garage into a clean and visually appealing space. By following these expert tips, you can confidently tackle this project and achieve professional results that will enhance the overall aesthetic and functionality of your garage.

Preparation
Before you start painting your garage floor with epoxy, there are several important steps you need to take in order to ensure a successful and long-lasting result. These steps include cleaning the floor, repairing any cracks or damage, and removing oil stains.
Clean the floor
The first step in preparing your garage floor for epoxy painting is to thoroughly clean it. Remove any loose dirt or debris by sweeping the floor with a broom or using a shop vacuum. This will help to ensure that the epoxy adheres properly to the surface.
Repair any cracks or damage
Next, carefully inspect the floor for any cracks or damage. If you come across any cracks or holes, it is important to repair them before applying the epoxy. To fill cracks, use a concrete crack filler and follow the instructions carefully. Smooth out the filler to create an even surface.
Remove oil stains
Lastly, check for any oil stains on the garage floor. Oil stains can prevent the epoxy from adhering properly, so it is crucial to remove them before painting. Use an oil stain remover or a degreaser specifically designed for concrete surfaces. Apply the product to the stained areas and scrub with a brush. Rinse the floor thoroughly to remove any residue.
Choosing the Epoxy
After preparing your garage floor, it is time to choose the right epoxy for your project. There are a few factors to consider when selecting the type of epoxy, such as the level of durability and the intended use of the space. Additionally, you may want to consider the color options available and calculate the amount needed for your garage.
Select the type of epoxy
When choosing an epoxy, consider the level of durability required for your garage floor. If you anticipate heavy traffic or plan to use the garage for industrial purposes, opt for a high-performance epoxy that can withstand wear and tear. On the other hand, if your garage is more of a personal space, a standard or decorative epoxy might be suitable.
Consider the color options
Epoxy comes in a variety of colors, allowing you to customize the look of your garage floor. Consider the overall aesthetic of your garage and choose a color that complements it. Whether you prefer a classic gray or want to make a bold statement with a vibrant color, there are plenty of options to choose from.
Calculate the amount needed
Before purchasing your epoxy, it is important to calculate the amount needed for your garage. Measure the square footage of your floor and consult the manufacturer’s instructions to determine the recommended coverage per gallon. This will ensure that you purchase enough epoxy to complete the project without running out or having excess.
Gather the Tools and Materials
In order to successfully paint your garage floor with epoxy, you will need to gather the necessary tools and materials. Having everything prepared ahead of time will make the process smoother and more efficient. Here is a list of the items you will need:
Safety equipment
Safety should always be a priority when working with epoxy. Make sure to wear appropriate safety gear, including goggles, gloves, and a respirator mask to protect yourself from fumes and chemicals.
Epoxy paint
Purchase the epoxy paint that you have selected, making sure to buy the required amount based on your calculations. Choose a reputable brand to ensure high-quality results.
Concrete etching solution
A concrete etching solution is necessary to prepare the surface of your garage floor for the epoxy. It helps to open up the pores of the concrete, allowing the epoxy to bond more effectively.
Concrete crack filler
If you identified any cracks or damage during the preparation phase, you will need concrete crack filler to repair them. Make sure to select a filler that is compatible with the epoxy paint you have chosen.
Paint roller
A high-quality paint roller with a medium to long nap is ideal for applying the epoxy paint. Look for a roller specifically designed for use with epoxy to ensure smooth and even coverage.
Paintbrush
A paintbrush is necessary for cutting in along the edges and corners of the garage floor. Choose a brush that is suitable for use with epoxy paint and has bristles that can handle the thickness of the paint.
Paint tray
A paint tray will come in handy for pouring and distributing the epoxy paint. Look for a sturdy and easy-to-clean tray that can hold a sufficient amount of paint.
Plastic sheeting
Covering the walls and surfaces of your garage with plastic sheeting is crucial to protect them from accidental drips or spills. Choose a heavy-duty plastic sheeting that is large enough to cover the entire area.
Painter’s tape
Painter’s tape is essential for creating clean and straight edges when painting. Apply it along the baseboards, walls, and any other areas where you want to avoid getting epoxy paint.
Preparing the Garage
Now that you have gathered all the necessary tools and materials, it is time to prepare your garage for the epoxy painting process. These steps will help create a clean and protected environment for your project.
Remove all items and debris
Before you begin painting, remove all items from your garage, including vehicles, tools, and other belongings. This will not only prevent them from getting damaged but will also give you more space to work.
Cover walls and surfaces with plastic sheeting
To protect the walls, baseboards, and other surfaces from accidental splatters or drips, cover them with the plastic sheeting you gathered earlier. Use painter’s tape to secure the sheeting in place.
Apply painter’s tape
After covering the walls and surfaces, use painter’s tape to create clean lines along the baseboards and any other areas where you want to avoid getting epoxy paint. Make sure the tape adheres firmly to create a barrier.

Cleaning the Floor
Before applying epoxy paint, it is crucial to thoroughly clean the floor to ensure proper adhesion and longevity of the paint. Follow these steps to clean the garage floor effectively:
Sweep the floor
Start by sweeping the entire garage floor with a broom or using a shop vacuum. This will remove any loose dirt, debris, or dust that could interfere with the epoxy bonding process.
Remove any loose dirt or debris
After sweeping, inspect the floor for any remaining loose dirt or debris. Use a shop vacuum or a damp cloth to remove any stubborn particles, ensuring that the floor is clean and ready for the next step.
Scrub the floor with a degreaser
To remove any grease or oil stains that may be present on the floor, scrub the surface with a suitable concrete degreaser. Follow the manufacturer’s instructions and use a stiff bristle brush to work the degreaser into the stains.
Rinse the floor thoroughly
Once you have scrubbed the floor with the degreaser, rinse it thoroughly with clean water. This will remove any residue and ensure that the floor is completely clean before proceeding with the next steps.
Repairing Cracks and Damage
If you identified any cracks or damage during the preparation phase, it is crucial to repair them before applying the epoxy paint. Follow these steps to effectively repair the cracks and create a smooth surface for the epoxy.
Fill cracks with concrete crack filler
Using the concrete crack filler you gathered earlier, carefully fill in each crack or hole in the floor. Follow the manufacturer’s instructions to ensure that you are applying the filler correctly.
Smooth out the filler
After filling the cracks, use a putty knife or a trowel to smooth out the filler and create an even surface. Make sure to remove any excess filler to prevent unevenness once the epoxy paint is applied.
Allow the filler to dry
Give the concrete crack filler enough time to dry completely. Follow the manufacturer’s instructions for the recommended drying time. This step is important to ensure that the repaired areas are solid and ready for the next steps.
Etching the Floor
Etching the floor is an important step in the epoxy painting process as it helps to open up the pores of the concrete, allowing the epoxy to bond effectively. Follow these steps to etch the floor properly:
Prepare the concrete etching solution
Carefully read and follow the instructions on the concrete etching solution you have chosen. Dilute the solution with the appropriate amount of water as instructed.
Apply the solution to the floor
Thoroughly wet the floor with the diluted concrete etching solution. Use a mop, a sponge, or a sprayer to evenly distribute the solution across the entire garage floor. Make sure to apply it generously but not excessively.
Let the solution sit for the recommended time
Allow the concrete etching solution to sit on the floor for the recommended amount of time specified by the manufacturer. This will give it enough time to react with the concrete and prepare the surface for the epoxy paint.
Rinse the floor with water
After the designated time has passed, thoroughly rinse the floor with water. Use a hose or a mop to remove any residual etching solution and ensure that the floor is clean and ready for the next steps.
Mixing and Applying the Epoxy
Now that you have prepared the garage floor, repaired any cracks, and etched the surface, it is time to mix and apply the epoxy paint. Follow these steps to achieve a smooth and durable epoxy finish:
Prepare the epoxy paint according to the instructions
Carefully read and follow the instructions provided with your epoxy paint. Mix the components of the epoxy as instructed, ensuring that the mixture is well combined. Use a stir stick or a paint mixer attached to a drill for effective mixing.
Apply the epoxy paint to the floor
Pour the mixed epoxy paint onto the garage floor, starting in a corner of the room. Use a paintbrush to cut in along the edges and corners, creating clean lines. Then, use a paint roller to evenly spread the epoxy paint across the rest of the floor.
Smooth out the paint using a roller
As you apply the epoxy paint with the roller, make sure to maintain a consistent and smooth application. Roll in one direction to avoid creating uneven lines or bubbles in the paint. Add more epoxy paint as needed to ensure proper coverage.
Allow the epoxy to cure
After applying the epoxy paint, follow the manufacturer’s instructions for the recommended curing time. It is crucial to let the epoxy cure completely before using the garage to avoid damaging the finish.
Adding a Second Coat (Optional)
Depending on the desired level of durability or the aesthetic preference, you may choose to apply a second coat of epoxy paint. Follow these steps if you decide to add a second coat:
Determine if a second coat is necessary
Before applying a second coat, assess the coverage and the overall appearance of the first coat. If you are satisfied with the results and the level of durability, a second coat may not be necessary.
Prepare and apply the second coat
If you decide to proceed with a second coat, repeat the steps for mixing and applying the epoxy paint, following the same guidelines you followed for the first coat. Make sure to allow the first coat to cure fully before applying the second coat.
Finishing Touches
Once the epoxy has fully cured, it is time to complete the finishing touches and prepare your garage for use. Follow these final steps to wrap up your epoxy garage floor painting project:
Remove the painter’s tape and plastic sheeting
Carefully remove the painter’s tape from the edges and corners, being cautious not to damage the epoxy paint. Remove the plastic sheeting from the walls and surfaces, disposing of it properly.
Allow the epoxy to fully cure
Even though the epoxy may be dry to the touch, it is important to allow it enough time to fully cure. Follow the manufacturer’s instructions for the recommended curing time, which is typically several days.
Replace items in the garage
Once the epoxy has fully cured, you can safely return items to your garage. However, avoid dragging or sliding heavy objects across the floor, as this may scratch or damage the epoxy finish. Regular maintenance and cleaning will help prolong the life and appearance of your newly painted garage floor.
By following these comprehensive steps, you can successfully paint your garage floor with epoxy, achieving a durable and visually appealing finish. Remember to thoroughly prepare the surface, choose the right epoxy for your needs, and follow the manufacturer’s instructions throughout the process. With proper care and maintenance, your epoxy-painted garage floor will provide a clean and professional look for years to come.