In this article, you will discover the magic of creating mesmerizing swirls with acrylic paint. Whether you’re a seasoned artist or just starting out, this step-by-step guide will teach you how to add a touch of whimsy and wonder to your artwork. Get ready to unleash your creativity as we explore the techniques, tools, and tips that will help you master the art of painting swirls with acrylic. Let’s dive right in and transform your canvas into a captivating masterpiece!
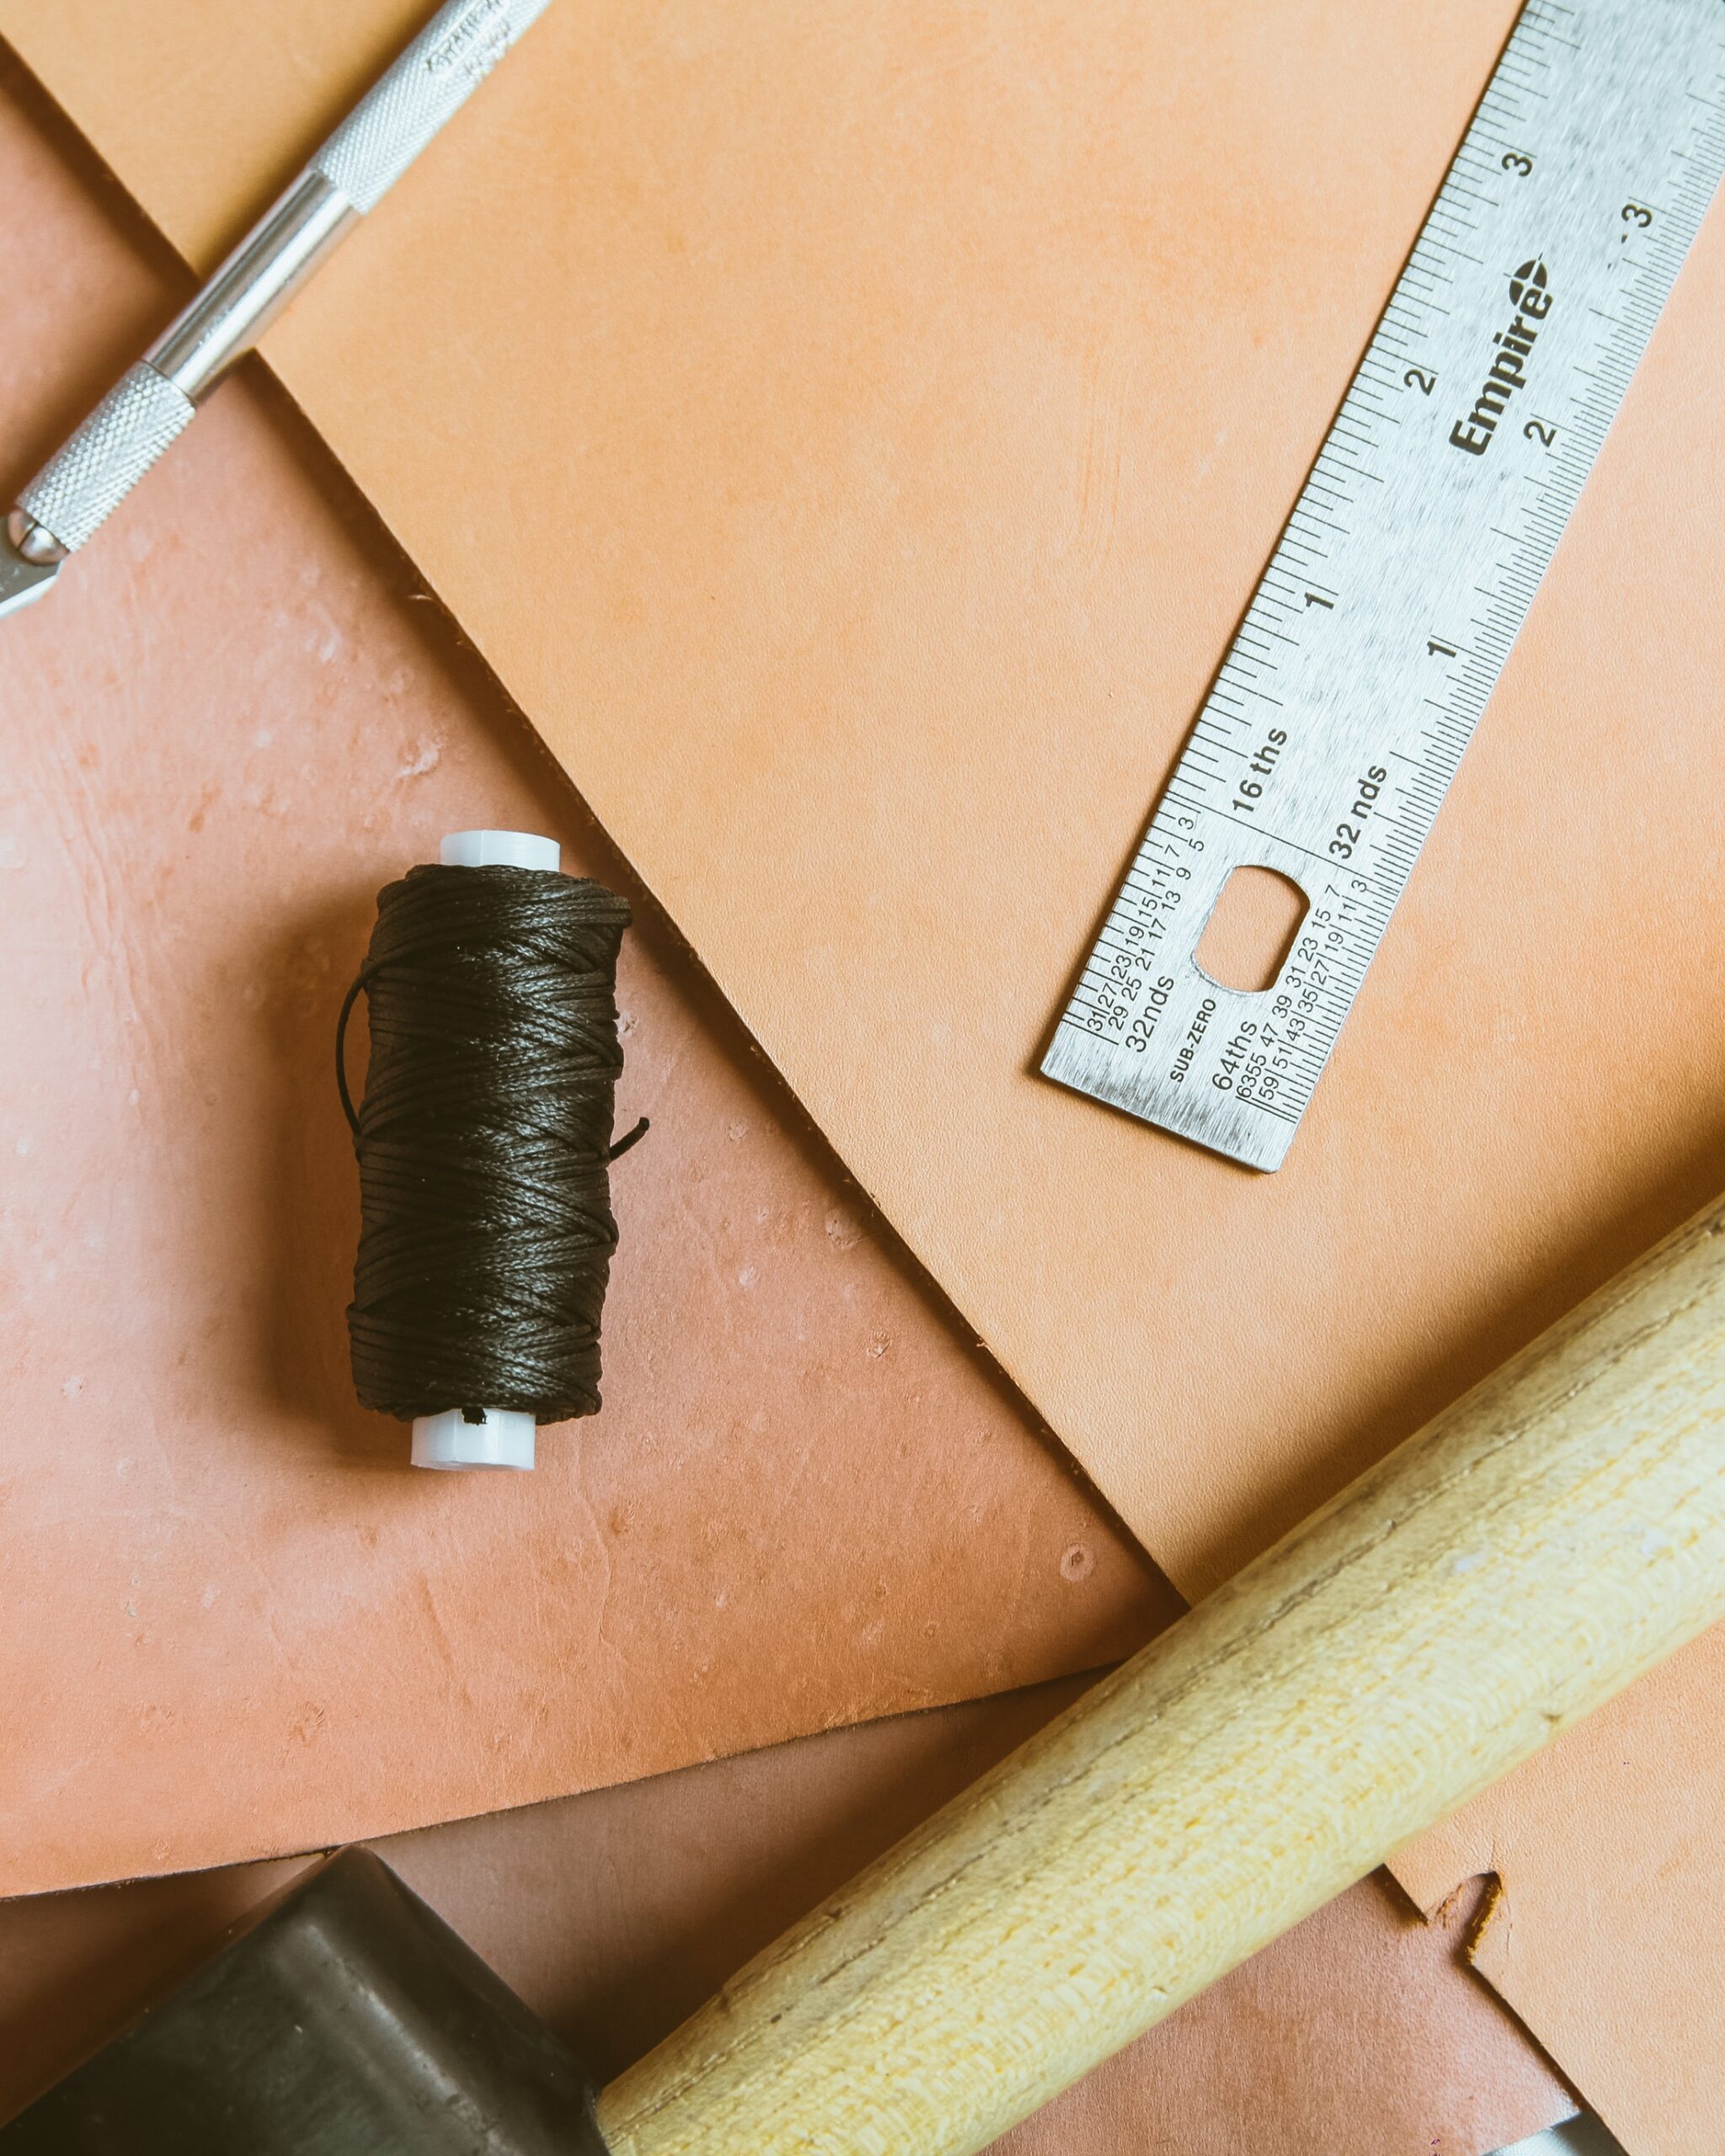
Choosing the Right Materials
When it comes to painting swirls with acrylic, selecting the right materials is crucial. Acrylic paints are a popular choice for this technique due to their vibrant colors and quick drying time. Look for high-quality acrylic paints that offer a wide range of colors and good pigmentation. This will allow you to achieve the desired depth and richness in your swirls.
In addition to paints, you will also need a variety of brushes to create different textures and effects. Synthetic brushes with different sizes and shapes are ideal for acrylic painting. Flat brushes are great for creating bold swirls, while round brushes work well for smaller details. Experiment with different brush types to find what works best for your style.
Preparing the canvas is another important step in creating beautiful swirls. Start by choosing a high-quality canvas that is appropriately sized for your project. Make sure to prime the canvas with a layer of gesso to create a smooth and even surface. This will allow the paint to adhere properly and prevent any unwanted texture or streaking in your swirls.
Preparing Your Workspace
Before you dive into painting your swirls, it’s essential to set up a comfortable and organized workspace. Cover your work surface with a disposable plastic tablecloth or an old sheet to protect it from any paint splatters or spills. This will make cleaning up much easier and prevent any damage to your work area.
Organizing your materials is key to a smooth painting process. Arrange your paints, brushes, and other tools in a way that is easily accessible and visually appealing. This will allow you to quickly find what you need without interrupting your creative flow. Consider using a palette or tray to keep your paints separate and prevent them from drying out too quickly.
Proper lighting is crucial for accurately seeing the colors and details of your swirls. Set up your workspace near a window or use a combination of natural and artificial light sources to create a well-lit environment. This will help you see the true colors of your paints and ensure that your swirls are executed with precision.

This image is property of images.unsplash.com.
Understanding Color Theory
Having a basic understanding of color theory will greatly enhance your ability to create stunning swirls. Start by familiarizing yourself with the primary colors – red, yellow, and blue. These colors cannot be created by mixing other colors and serve as the foundation for all other colors.
Secondary colors are created by mixing two primary colors together. Experiment with mixing red and yellow to create orange, blue and yellow to create green, and red and blue to create purple. Tertiary colors are created by mixing a primary color with a neighboring secondary color.
Color harmonies and schemes are important concepts to consider when painting swirls. Complementary colors, which are opposite each other on the color wheel, create a vibrant contrast when used together. Analogous colors, which are adjacent to each other, create a harmonious and cohesive look. Experiment with different color combinations to achieve the desired mood and visual impact in your swirls.
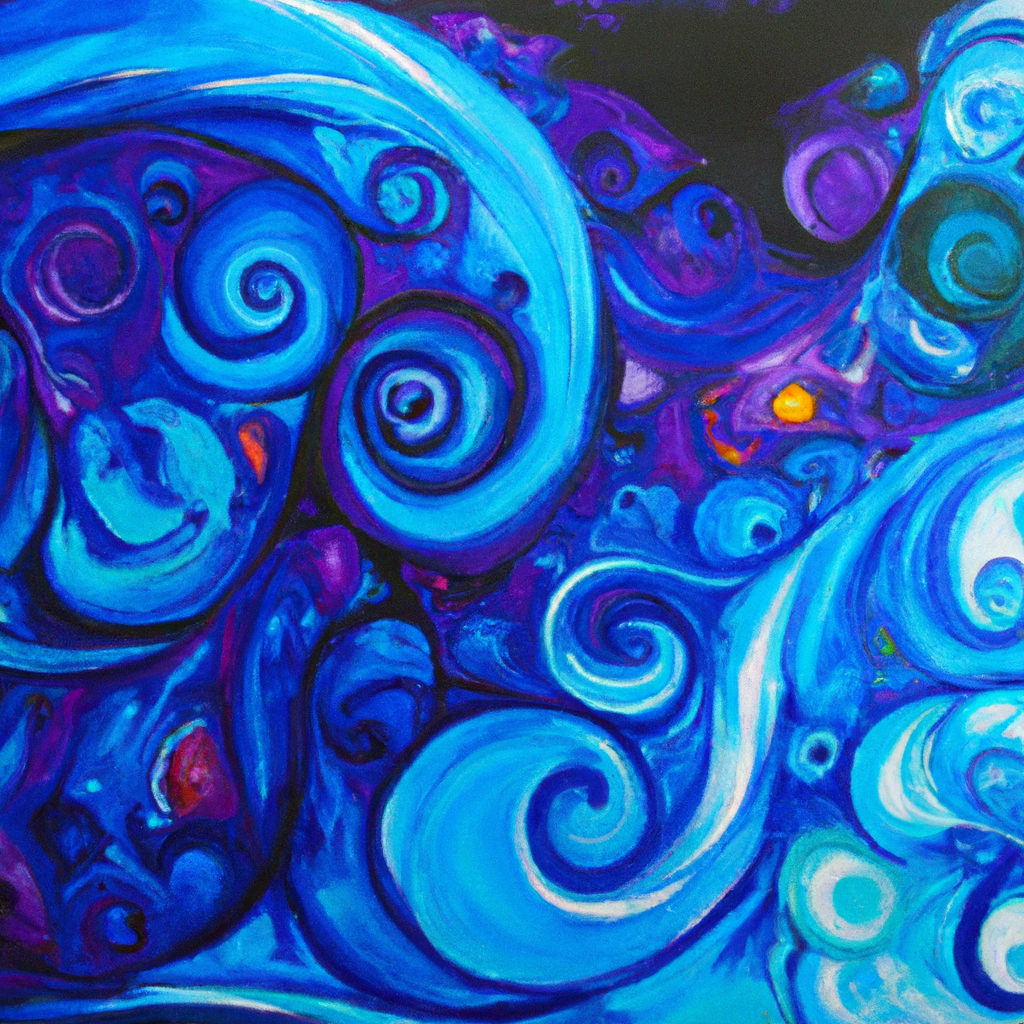
Mastering Basic Swirl Techniques
Creating a base layer is the first step in mastering basic swirl techniques. Start by applying a thin wash of paint to your canvas using a large flat brush or a sponge. This will create a smooth and even surface for your swirls. Allow the base layer to dry completely before proceeding to the next step.
Diluting the paints is crucial for achieving smooth and flowing swirls. Mix a small amount of water or acrylic medium with your paint to create a thinner consistency. This will allow the colors to glide across the canvas more easily and blend together seamlessly. Experiment with different levels of dilution to achieve the desired effect in your swirls.
Blending colors is a key technique to creating dynamic and visually interesting swirls. Use a clean, damp brush to blend two or more colors together. Start by applying one color to the canvas and then add another color directly beside it. Use a gentle back-and-forth motion to blend the colors smoothly, creating a beautiful gradient effect. Practice different blending techniques to achieve a variety of swirling patterns.

This image is property of images.unsplash.com.
Creating Different Swirl Patterns
Now that you have mastered the basic swirl techniques, it’s time to explore different patterns and styles. Spiral swirls are a classic and timeless choice. Start by applying a base layer in a contrasting color and then use a round brush to create a spiral pattern from the center of the canvas outward. Experiment with different sizes and speeds to achieve different spiral effects.
Marbled swirls create a mesmerizing and unique look. Start by applying a base layer in a light color and then use a palette knife to add streaks of different colors on top. Use a toothpick or a small brush to create a marbled effect by gently dragging and swirling the colors together. This technique allows for endless possibilities and can create a truly eye-catching swirl design.
Crisscross swirls offer a geometric and structured approach to painting swirls. Start by applying a base layer and then use a flat brush to create a series of intersecting lines. Fill in the spaces between the lines with different colors, allowing them to overlap and blend. This technique creates a dynamic and intricate pattern that adds depth and dimension to your swirls.
Adding Depth and Texture
To truly bring your swirls to life, it’s essential to add depth and texture to your paintings. Layering techniques are a great way to achieve a sense of depth and dimension. Start by applying a base layer and allow it to dry completely. Then, add additional layers of paint, gradually building up the colors and textures. This technique adds depth and complexity to your swirls, making them visually interesting and captivating.
Dry brushing is another technique that adds texture and a painterly quality to your swirls. Load a small amount of paint onto a dry brush and then gently drag it across the canvas, allowing only the bristles to make contact. This technique creates a rough and textured appearance, adding depth and visual interest to your swirls. Experiment with different brushes and pressures to achieve different textures and effects.
Splattering paint is a fun and unconventional way to add texture to your swirls. Dip an old toothbrush into the paint and then use your finger or a brush to flick the bristles, causing the paint to splatter onto the canvas. This technique creates a random and organic texture that adds energy and movement to your swirls. Be sure to protect your workspace and wear appropriate clothing when using this technique.

This image is property of images.unsplash.com.
Experimenting with Tools
While brushes are the traditional tool for painting, there are many other tools you can use to create unique swirl effects. Palette knives are excellent for creating bold and textured swirls. Load a palette knife with a generous amount of paint and then use the flat edge to apply the paint to the canvas. Experiment with different angles and pressures to achieve different textures and effects.
Toothbrush splattering is a technique that adds a spontaneous and speckled texture to your swirls. Load an old toothbrush with paint and then use your finger or a brush to flick the bristles, causing the paint to splatter onto the canvas. This technique creates a random and organic texture that adds energy and movement to your swirls. Be sure to protect your workspace and wear appropriate clothing when using this technique.
Sponge techniques can create interesting textures and patterns in your swirls. Dip a sponge into the paint and then gently dab it onto the canvas. This technique creates a mottled and textured appearance that adds visual interest to your swirls. Experiment with different sponge shapes and sizes to achieve different effects and patterns.
Enhancing Swirls with Metallic Accents
To add a touch of glamour and sophistication to your swirls, consider using metallic paints. Choose metallic acrylic paints in colors that complement your chosen color palette. Apply the metallic paint sparingly to create shimmering highlights on your swirls. This technique adds depth and dimension to your paintings, making them truly stand out.
When applying metallic paints, use a smaller brush to create precise and controlled accents. Apply the metallic paint sparingly and strategically to areas where you want to create a focal point or add visual interest. This technique adds a touch of luxury and elegance to your swirls, elevating them to a new level.
Creating glowing effects with metallic accents is another way to enhance your swirls. Choose metallic paints in colors that have a warm or cool undertone depending on the desired effect. Apply the metallic paint in thin, translucent layers to create a glowing and luminous appearance. This technique adds a magical and ethereal quality to your swirls, making them truly captivating.

Finishing Touches
Once you have completed your swirl painting, it’s time to add the finishing touches. Start by sealing the painting to protect it from dirt, dust, and moisture. Apply a layer of varnish or acrylic medium to the surface of your painting using a clean brush. This will create a protective barrier and enhance the longevity of your artwork.
For an extra touch of elegance, consider adding a glossy finish to your swirls. Apply a layer of gloss medium or varnish to the canvas after the sealant has dried. This will create a shiny and reflective surface, further enhancing the vibrant colors and intricate details of your swirls. Be sure to follow the manufacturer’s instructions for the specific product you are using.
Lastly, don’t forget to sign and frame your artwork. Sign your name or use a unique artist signature to add a personal touch to your swirls. When selecting a frame, choose one that complements the colors and style of your painting. A well-chosen frame will not only protect your artwork but also enhance its overall presentation.
Tips and Tricks for Success
To maximize your success in painting swirls with acrylic, here are some helpful tips and tricks:
- Practice on scrap paper before starting your actual canvas to get a feel for the paint consistency and brush techniques.
- Working with a limited palette can help create a cohesive and harmonious look in your swirls. Choose a few colors that complement each other and experiment with different shades and tones.
- Properly cleaning your brushes is crucial for maintaining their shape and preventing cross-contamination of colors. Rinse your brushes in warm water and use mild soap or brush cleaner to remove any paint residue.
- Taking breaks during the painting process is important to avoid overworking your swirls. Step back and evaluate your progress periodically to make sure you are achieving the desired effect.
- Have fun and experiment with different techniques and ideas. Painting swirls with acrylic is a creative and expressive process, so don’t be afraid to think outside the box and let your imagination soar.
By following these guidelines and putting your own personal touch into your paintings, you can create stunning swirls with acrylic that showcase your artistic talents and bring joy to those who view your artwork. Happy painting!