In the article “How to Paint Sunset With Acrylic,” you will uncover the secrets to creating stunning sunset scenes using acrylic paints. Attention to detail, understanding of color harmony, and the ability to creatively interpret light and shadow are all vital components of the process. As you engage with the step-by-step guide contained within this piece, you’ll find yourself not merely mimicking the sights of a sunset, but capturing and conveying the powerful emotions they so often stir.

Materials Needed
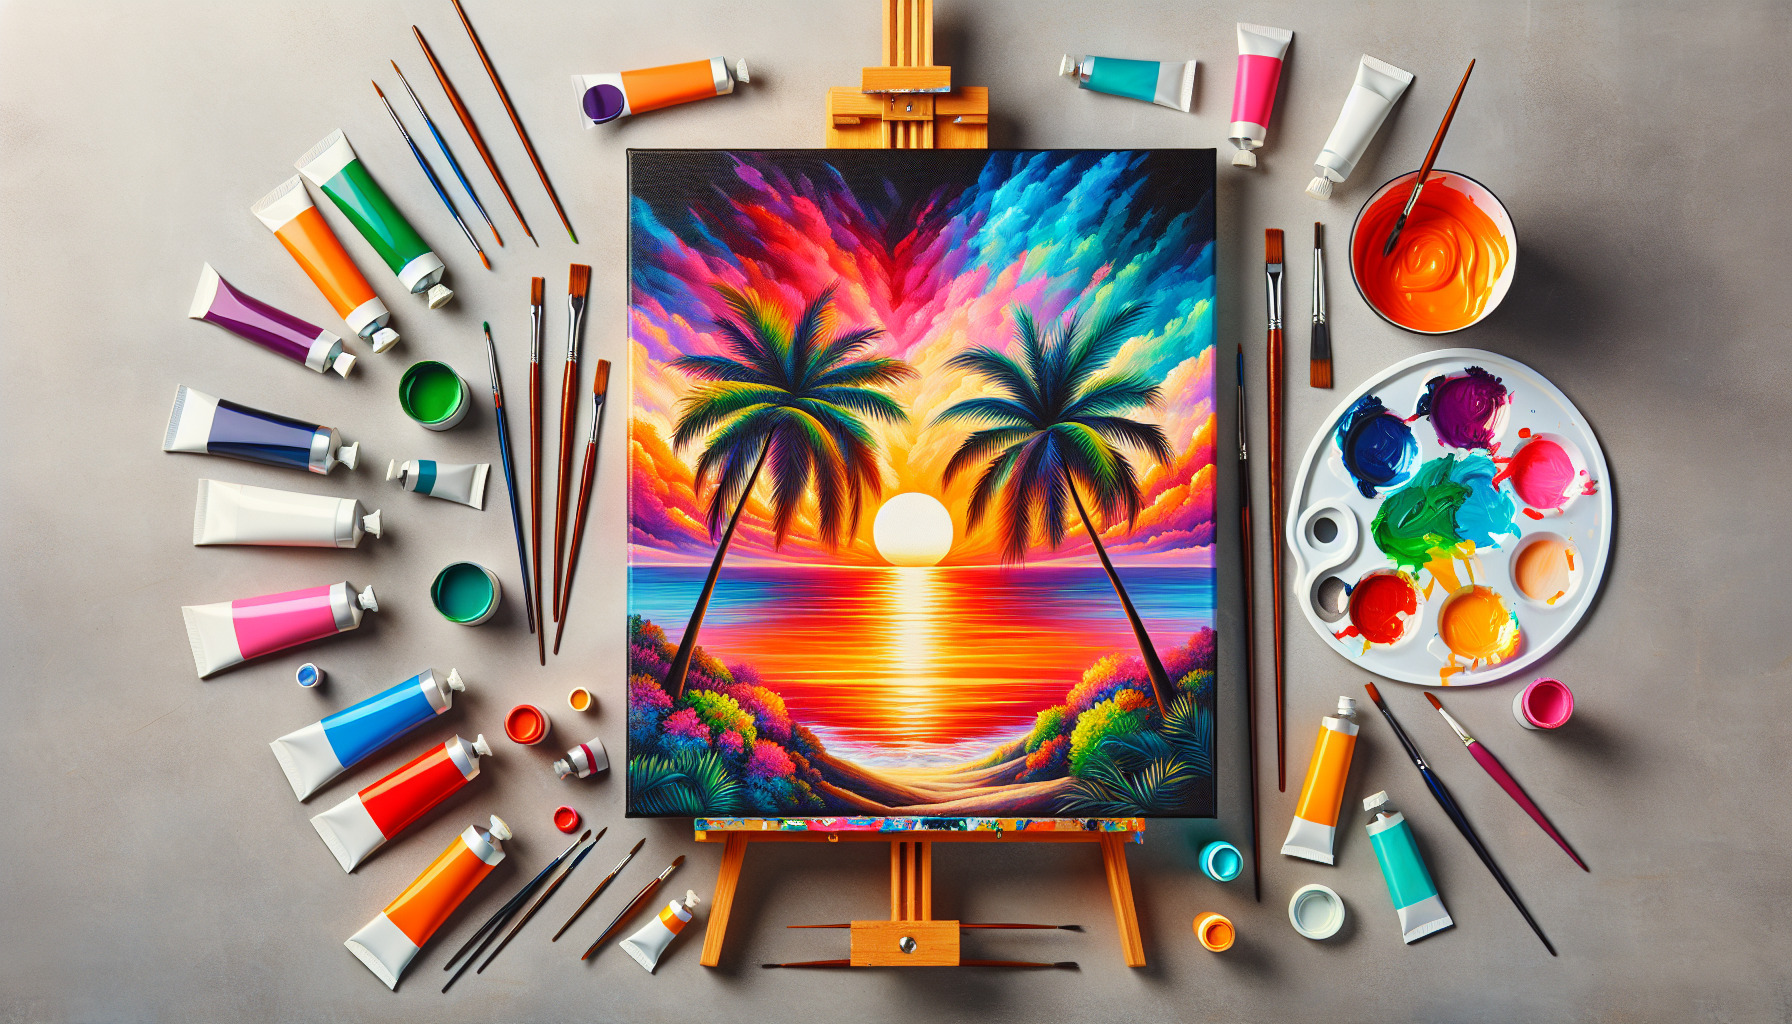
Before you start your painting journey, make sure to gather your materials. Primarisly you will need acrylic paints. These come in various colors and are perfect for beginners as they dry faster and can be thinned to achieve the desired consistency.
Next, you need to equip yourself with a set of paintbrushes. Endeavour to have different sizes and shapes as each serve different purposes in the painting process.
The canvas or painting surface is where you will make your masterpiece. Canvases come in different sizes so choose one that suits your design.
Your color mixing process will occur on a palette or mixing tray. This is an essential tool for combining your paint colors.
To clean your brushes after each use, have a water container nearby. Always remember to use paper towels or a rag to wipe off extra water from your brushes.
To hold your canvas in place while painting, consider using an easel or painting surface holder.
Optionally, a palette knife can be utilized for mixing your acrylic paints or adding texture to your painting. Likewise, masking tape is a perfect tool for creating clean edges or blocking off areas of the canvas that you do not want to paint on.
Choosing the Right Colors
The choice of colors sets the overall mood of your sunset painting. Reds and oranges often emulate a fiery and dramatic sunset. Purples and pinks will add a touch of romance and tranquility to your masterpiece. Yellows and golds represent a warm, inviting and radiant ambiance.
Do not forget to include blues and violets as they can provide a cool contrast to the warmer tones and help enhance the depth of the painting. Lastly, white and black are essential colors that will aid in creating various tints, shades, tones, and can also be used to add highlights and shadows to your sunset painting.
Preparing the Canvas
Before you start painting, it is always a good idea to prepare your canvas. Gessoing the canvas creates an ideal surface for painting and prevents the paint from sinking into the canvas fibers. This step is especially essential if you are working with a raw, unprimed canvas.
After gessoing, you’ll need to decide on the canvas size. This will be guided largely by the complexity of your composition and the space for display.
If you prefer, sketching the composition of your sunset can be done to guide your painting.
Applying masking tape on areas of your canvas where you don’t want your paint to reach can help maintain clean and sharp edges.
Setting up the Workspace
Your workspace is a crucial part of your painting experience. Select a well-lit area where you can easily see your colors and details.
A stable surface to paint on such as an easel or painting surface holder will ensure that your canvas is secured and tilted at a comfortable angle while you work.
When laying out the materials, organize your space in a way that allows easy access to all your painting tools.
Having your palette prepared before you start painting helps in ensuring a smoother painting process. This typically involves laying out your paint colors in a specific order that suits your process.
Lastly, make sure to fill the water container for cleaning your brush between changing colors or techniques.

Creating a Gradient Background
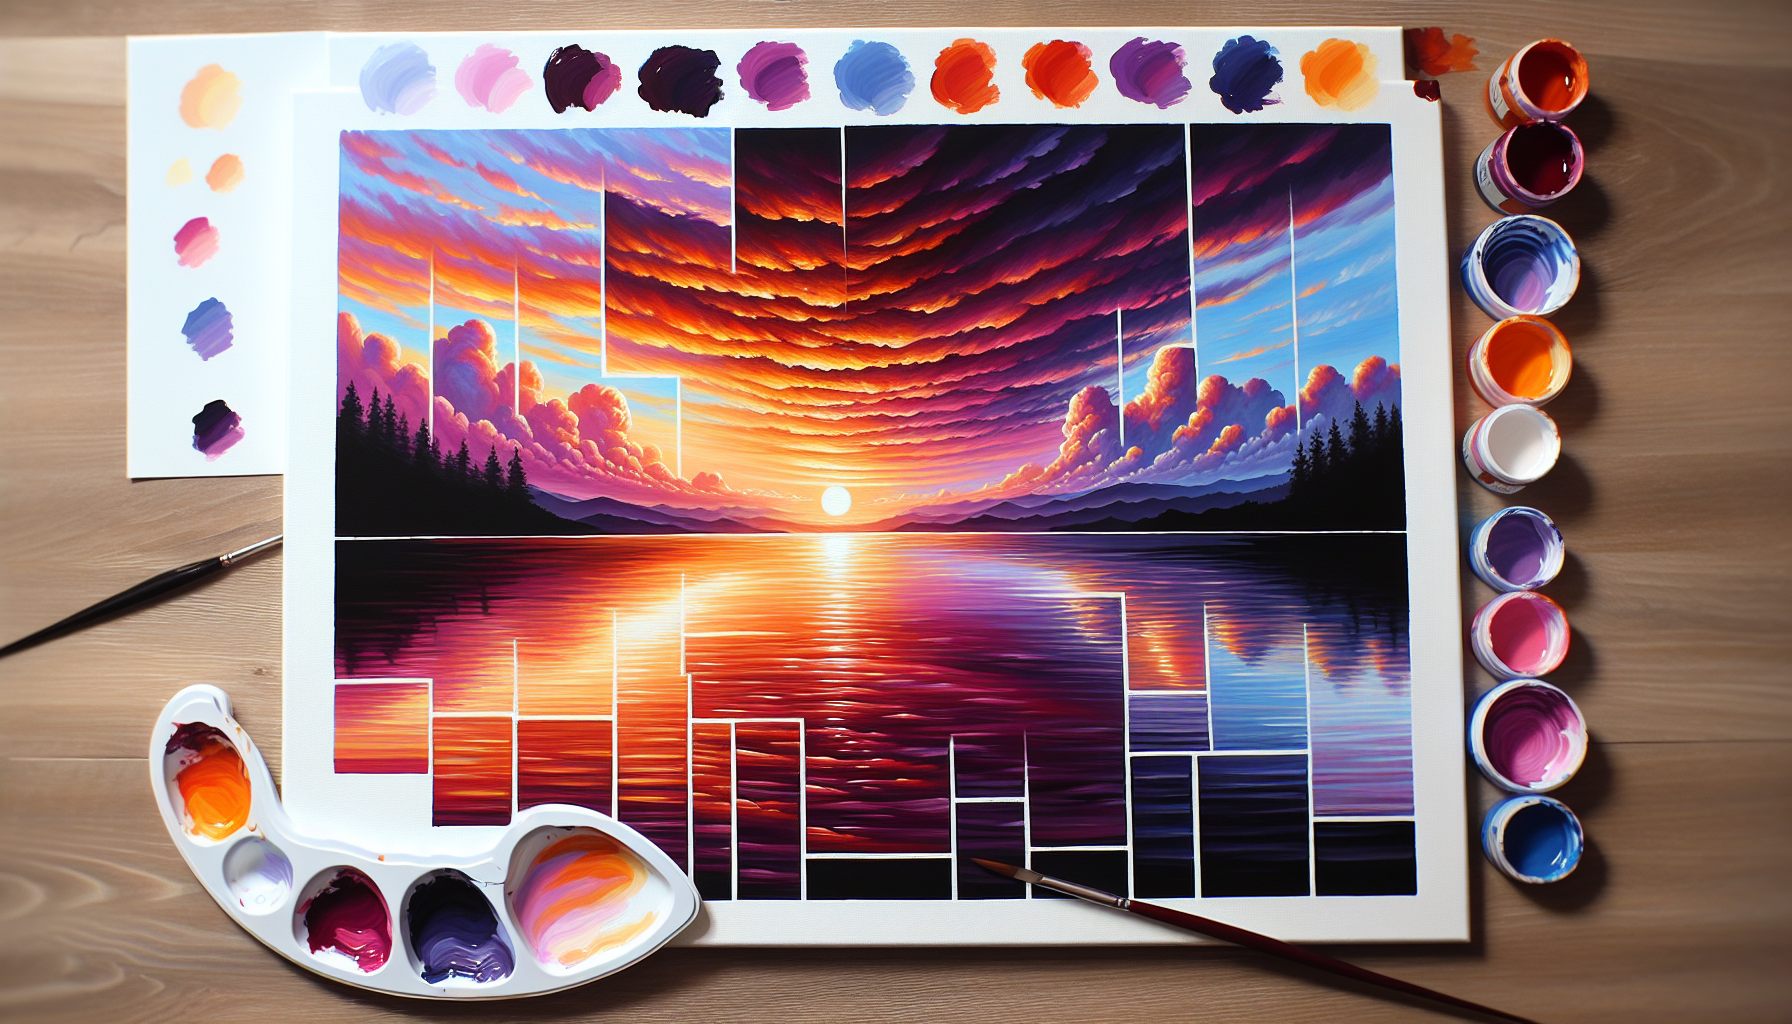
The backdrop of your sunset painting is generally sky and usually features a gradient effect. Start by mixing the sky colors. Begin with lighter colors at the horizon and progressively add darker colors as you move upwards.
When applying the first layer, start from the top with your darkest color and gradually move down to your lightest color. Ensure the paint is still wet when you start blending the colors.
Gradually add deeper hues to add depth to your sky.
The last part of this process involves painting the horizon line, which is usually the lightest part of the sky during sunset.
Painting the Sun
When creating a circular shape for the sun, using a template or stencil can be useful.
The sun’s color during sunset ranges from bright yellow to deep red, so choose a color that fits within your chosen range.
Paint the sun’s radiance by blending outward from the sun with soft, circular strokes.
Then, add highlights and details to make the sun look more realistic and glowing.
Adding Clouds
To add more drama to your sunset painting, consider adding clouds. Start by creating cloud shapes using light strokes, then gradually mixing cloud colors on your palette.
Using different hues of your chosen cloud colors, begin to paint the cloud shapes. Try to keep the strokes loose and flowy.
Next, blend the clouds by softening the edges and adding shadows and highlights to give the clouds a three-dimensional look.
Including Silhouettes
Silhouettes are a great way to add interest and focus to your sunset painting. Choose a subject that complements your sunset scene.
Start by creating silhouettes using a dark color, usually black or a dark mix of colors.
Lastly, add foreground elements such as trees, buildings, or a body of water as silhouettes to complete the scene and add depth to your painting.
Enhancing the Sky
After painting the basic elements of your sunset, you might want to go back and add depth to the sky with additional layers of color.
Blend the colors for a more realistic look, and consider creating a sense of movement with brush strokes that mimic the direction and flow of the clouds and light.
Final Touches
Finish off your painting by adding details such as reflections on water, if applicable.
Adjust the colors and details as you see fit and add your signature to the artwork.
Last, but not least, allow the painting to thoroughly dry before displaying or storing.
Remember, painting is a process of learning and experimentation, so don’t be afraid to try new techniques and make the sunset scene your own. Happy painting!